Bleach bypass is a process that has intrigued me for a while. Recently, while listening to Matt Melcher's podcast Box of Cameras, he mentioned using this process in an upcoming project. I had tried this before and not really liked the results, but this prompted me to try again since he specifically mentioned Fujicolor film and I happen to have some of that in the fridge. It is Expired (2010) Fujicolor 100, and he is using Fujicolor 200, but I figured "How different could it really be?". It's that kind of thinking that often gets me into photographic trouble. But that's how I think, so waddaya gonna do?
To take a step back, what is bleach bypass? Well to answer that, you have to know the various steps in color film processing. The steps are:
- Develop
- Bleach
- Fix
- Developer does what it says. It develops the silver image, just like with black and white film. Byproducts of the silver development activate the color dyes selectively so that color dye clouds are formed in the emulsion.
- Bleach converts the developed silver back into silver halides, basically 'undeveloping' the silver image.
- Fixer, then dissolves away the 'undeveloped' silver halides, just like in black and white development, leaving just the color dye clouds in the emulsion layers.
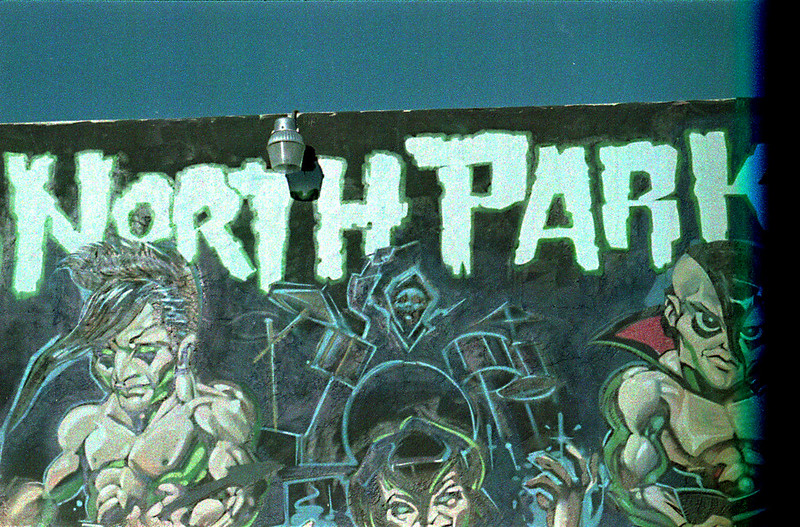
I developed this picture of a mural in the North Park neighborhood of San Diego using bleach bypass. Now I didn't get quite what I thought I would or even what I wanted. There was a base fog because the film was 10 years expired and of unknown storage history. So the negatives were very dense and my scanner (Epson V600) had trouble pushing enough light through them to get the image. So there is electronic noise on top of the add grain from the remaining silver. So what to do? I just took the strips and dunked them in the bleach (room temp for about 15 minutes). Curiously, I did not need to re-fix. The negatives were nice and 'clear', that is the base fog was gone and they looked like normally developed color negatives. One more note is that I used ECN2 chemistry on these. That system is meant for use with motion picture films, but this was just regular old color negative (CN) film designed for C-41 development. So technically, this is a cross process, though not a drastic one like developing slide film as negatives.
So here are the results, first the bleach bypass, then the same image after bleaching.. Let me know which you like better. I personally like the bleached image better, but I will definitely try this process with other film stocks. Since it is 'reversible', there is really nothing to lose.