If you have read parts 1-5 in this series, you might have been left wondering "What happened?? Where are the pictures???" Well, I'll tell you. The bellows I made (seen in part 5) were not light tight in the end and there were light leaks apparent in the photos. I am not strictly opposed to light leaks (EXHIBIT A), but in this case, I was hoping to realize the full potential of this camera in the sharpness and contrast categories. So I was unhappy with my results and I took the bellows off and put the camera parts back into the box of disassembled cameras. Sad really. When Christmas rolled around however, I decided to put a custom-made bellows on my list. I knew just where to get it and gave all the details to Santa's little helper. For the benefit of my readership (hi, mom) I'll let you know that the craftsman is Sandeha Lynch and his site is found at http://www.sandehalynch.com/camerawork/bellows.html. It is a beautifully made bellows and fit perfectly without any trimming or fussing.

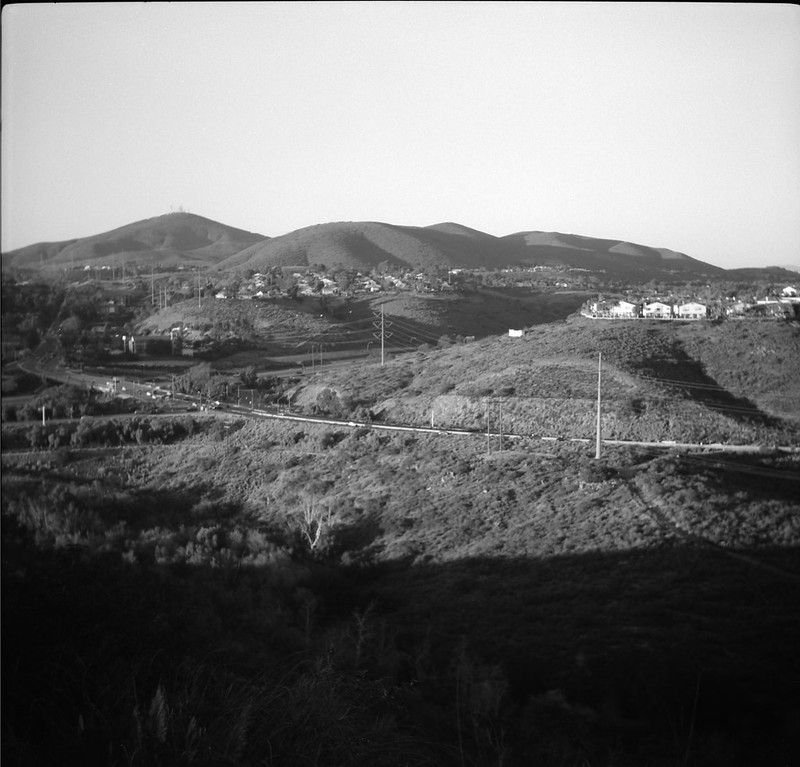
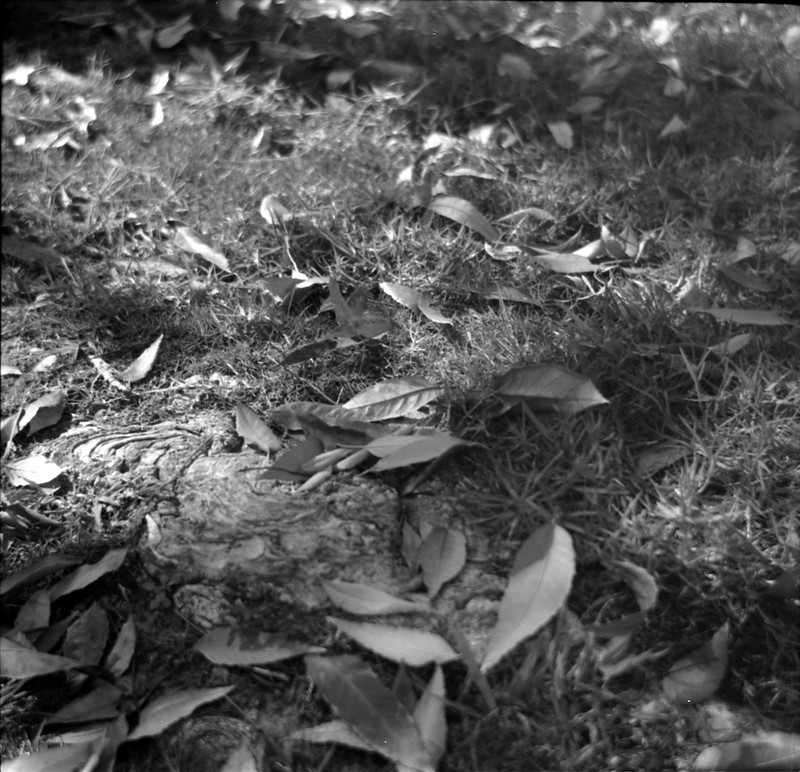
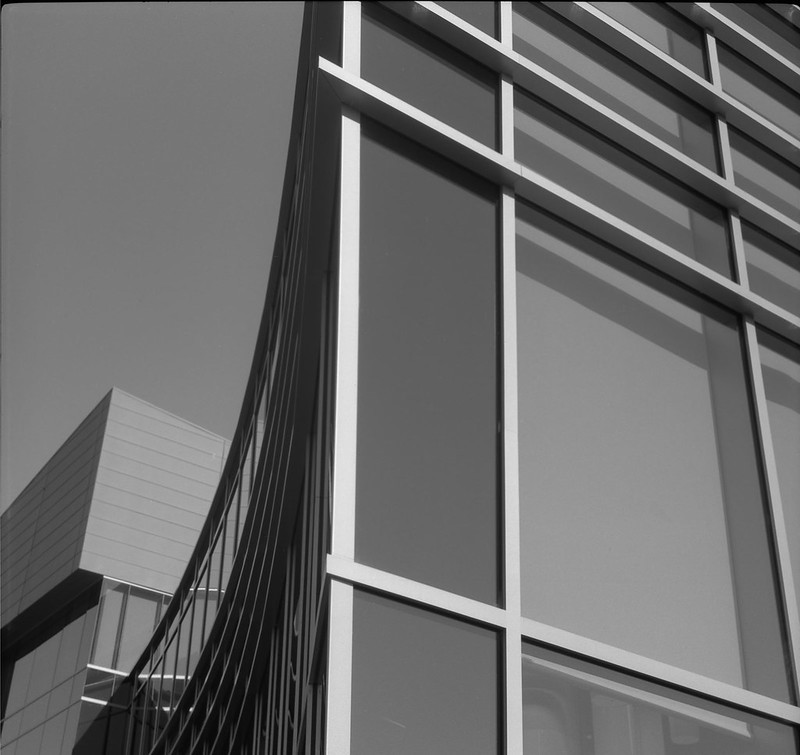
The one struggle I had was getting the retaining ring on the back of the lens plate, but eventually that went on and I loaded a roll of Fuji Acros 100 and started shooting. Here are a few shots from that roll, developed in Rodinal 1:100 x 60min.


Now I'm happy. This camera is fun to use and the results are quite good (technically). The range finder needs a little vertical adjustment, but I think that the lens collimation was successful and especially when stopped down, the Apotar lens produces good sharpness and contrast. This was a good experience overall. I think it is good to get out the tiny screwdrivers once in a while and get a feel for the ingenuity of these little machines. It certainly increased my appreciation for this camera and its manufacture. If you get a chance, pick up an Isolette and see how it works for you.
No comments:
Post a Comment