Tuesday, February 2, 2016

Isolette III Overhaul part 6

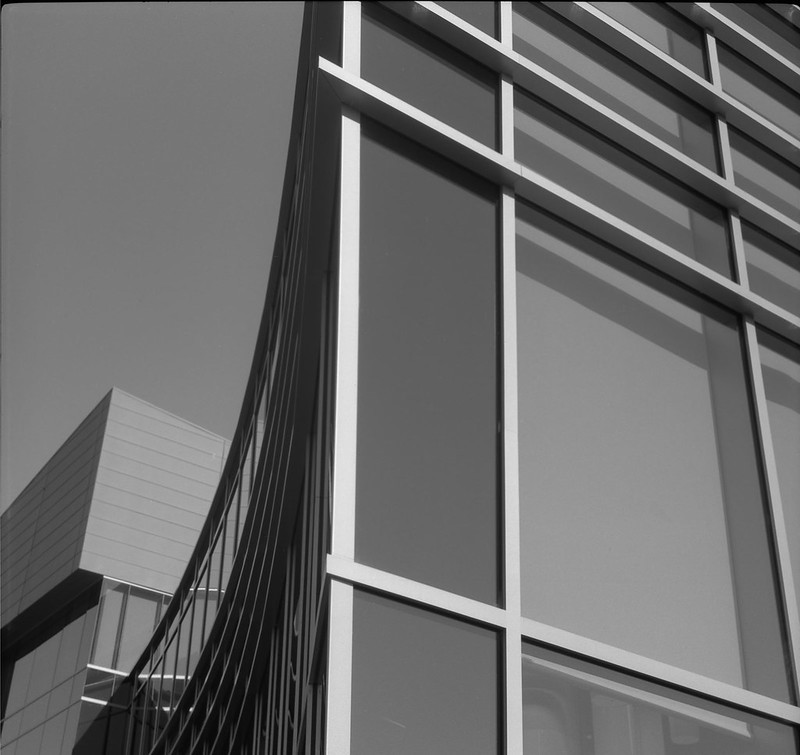
If you have read parts 1-5 in this series, you might have been left wondering "What happened?? Where are the pictures???" Well, I'll tell you. The bellows I made (seen in part 5) were not light tight in the end and there were light leaks apparent in the photos. I am not strictly opposed to light leaks (EXHIBIT A), but in this case, I was hoping to realize the full potential of this camera in the sharpness and contrast categories. So I was unhappy with my results and I took the bellows off and put the camera parts back into the box of disassembled cameras. Sad really. When Christmas rolled around however, I decided to put a custom-made bellows on my list. I knew just where to get it and gave all the details to Santa's little helper. For the benefit of my readership (hi, mom) I'll let you know that the craftsman is Sandeha Lynch and his site is found at http://www.sandehalynch.com/camerawork/bellows.html. It is a beautifully made bellows and fit perfectly without any trimming or fussing.

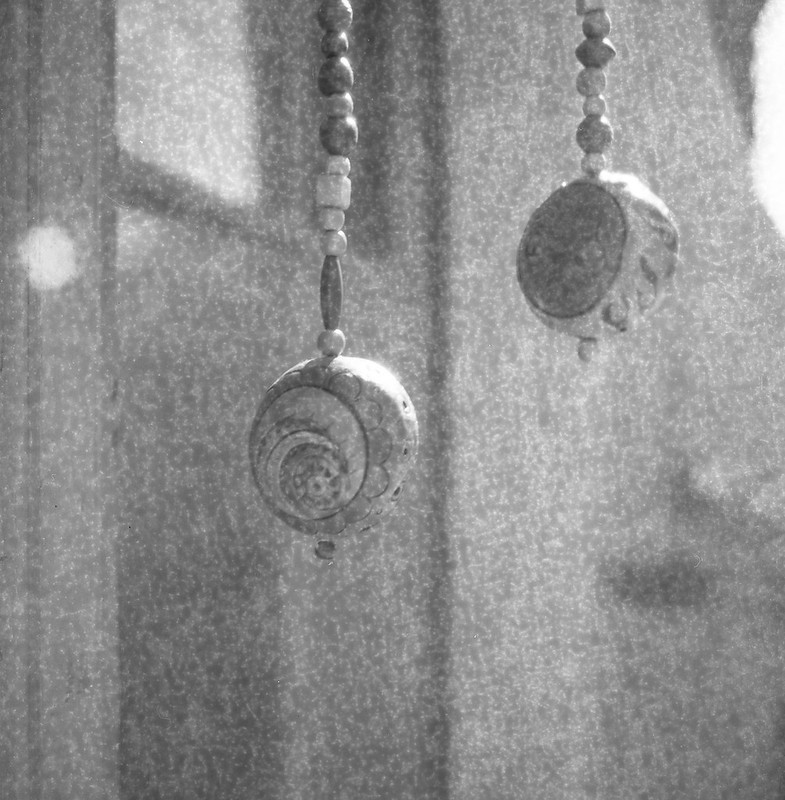
The one struggle I had was getting the retaining ring on the back of the lens plate, but eventually that went on and I loaded a roll of Fuji Acros 100 and started shooting. Here are a few shots from that roll, developed in Rodinal 1:100 x 60min.
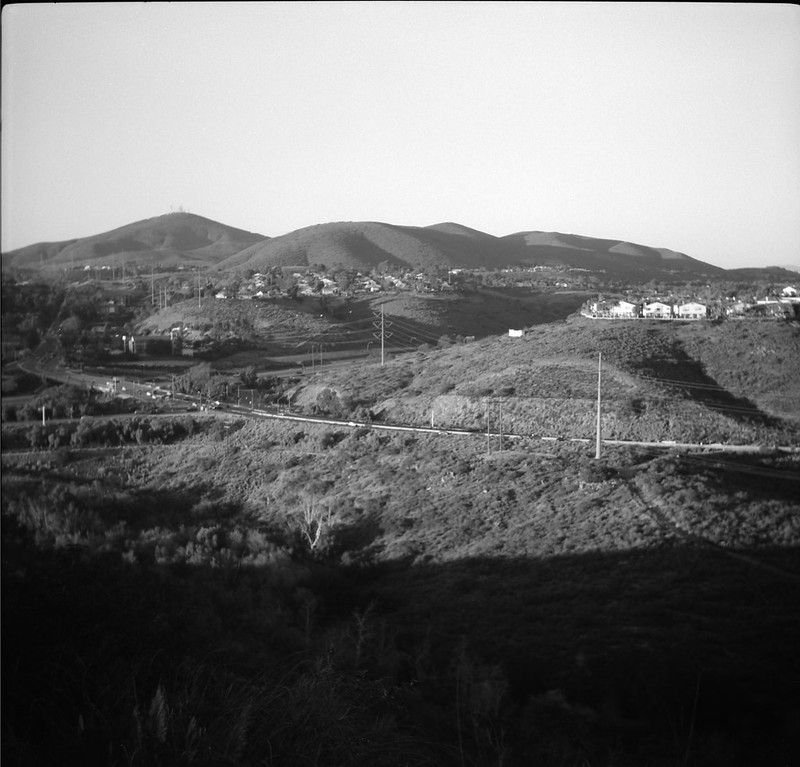
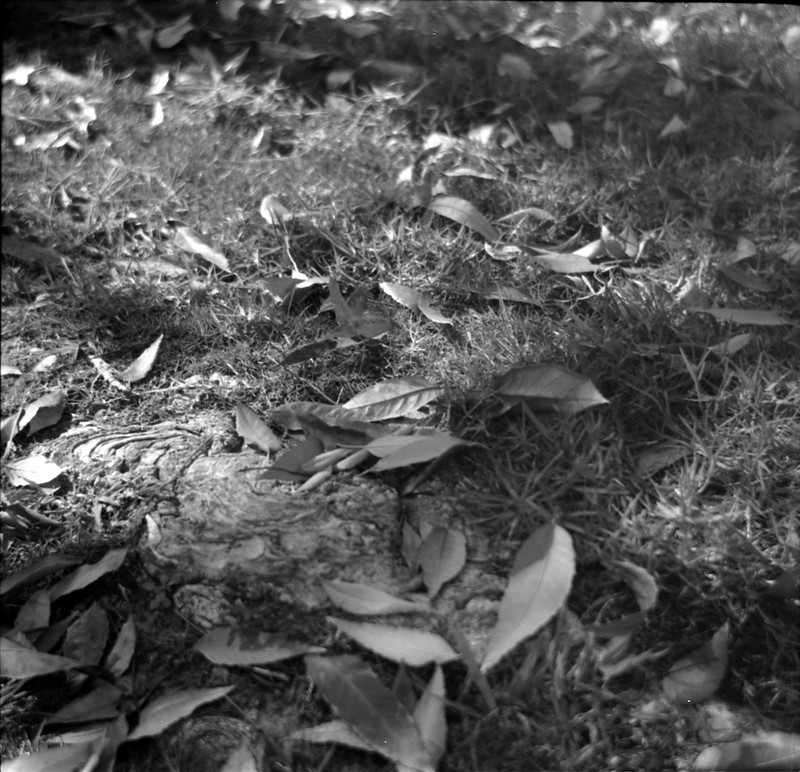
Isolette-Acros100-005
Isolette-Acros100-003
Isolette-Acros100-006

Now I'm happy. This camera is fun to use and the results are quite good (technically). The range finder needs a little vertical adjustment, but I think that the lens collimation was successful and especially when stopped down, the Apotar lens produces good sharpness and contrast. This was a good experience overall. I think it is good to get out the tiny screwdrivers once in a while and get a feel for the ingenuity of these little machines. It certainly increased my appreciation for this camera and its manufacture. If you get a chance, pick up an Isolette and see how it works for you.

Saturday, December 26, 2015

Fall Color

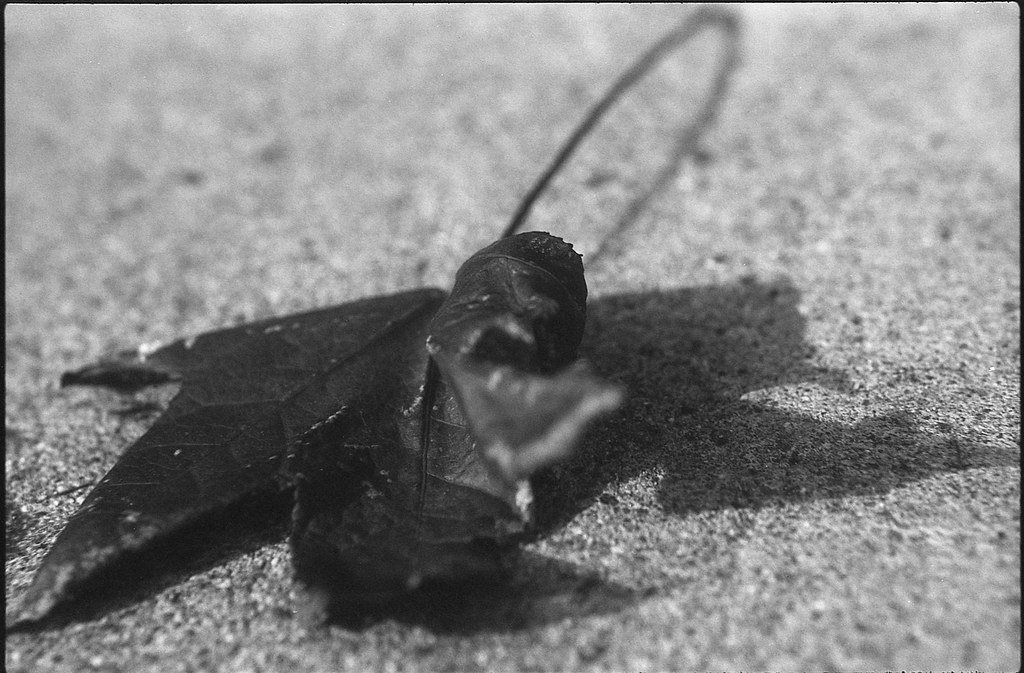
Okay, that title is a little misleading since I am only going to show black and white photos in this post. But I was out around the neighborhood shooting some colorful leaves the other day and the film I had loaded in my Pentax K1000 was my trusty Kodak Recordak Dacomatic. This film was intended for use in the Recordak Microfilmer.


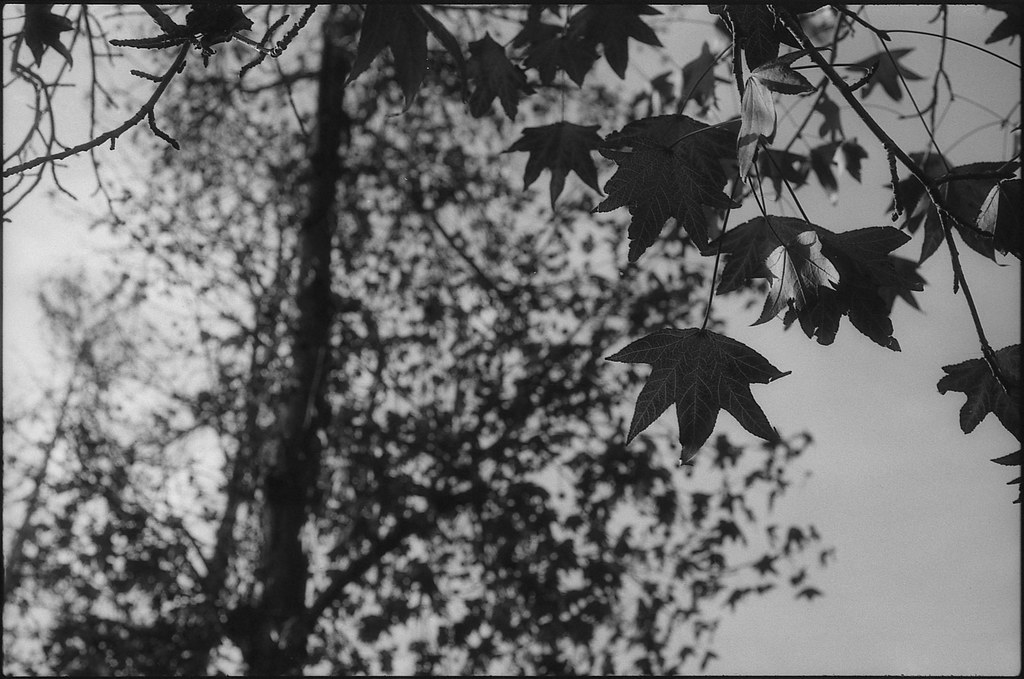
I am old enough to have used microfilm and microfiche in college. It was just for copying text and half-tone images, so really it was just a high contrast medium, not intended for pictorial use at all. There was no need for it to be even panchromatic (sensitive to all visible wavelengths of light), so it was orthochromatic (sensitive to the blue/uv end of the spectrum). That means that red things tend to be dark, even black when photographed with this film. So I had this in mind when I went out for my walk. There aren't many colorful trees here in San Diego, but one that does turn a nice color is the liquidambar tree. The leaves turn a deep red color from November throughout the winter. If there isn't much wind or rain, many leaves stay on the tree. So I decided to try a few shots of these red leaves using my orthochromatic (red insensitive) film. I got pretty much what I thought I would... some very dark colored leaves with good detail. I developed the film in X-tol diluted around 1+3 for 11 minutes with agitation every 30 sec. The film was exposed at EI 100 which is a little fast for this, especially with red subjects, but I still got some decent images.


K1000-Dacomatic-004
K1000-Dacomatic-002

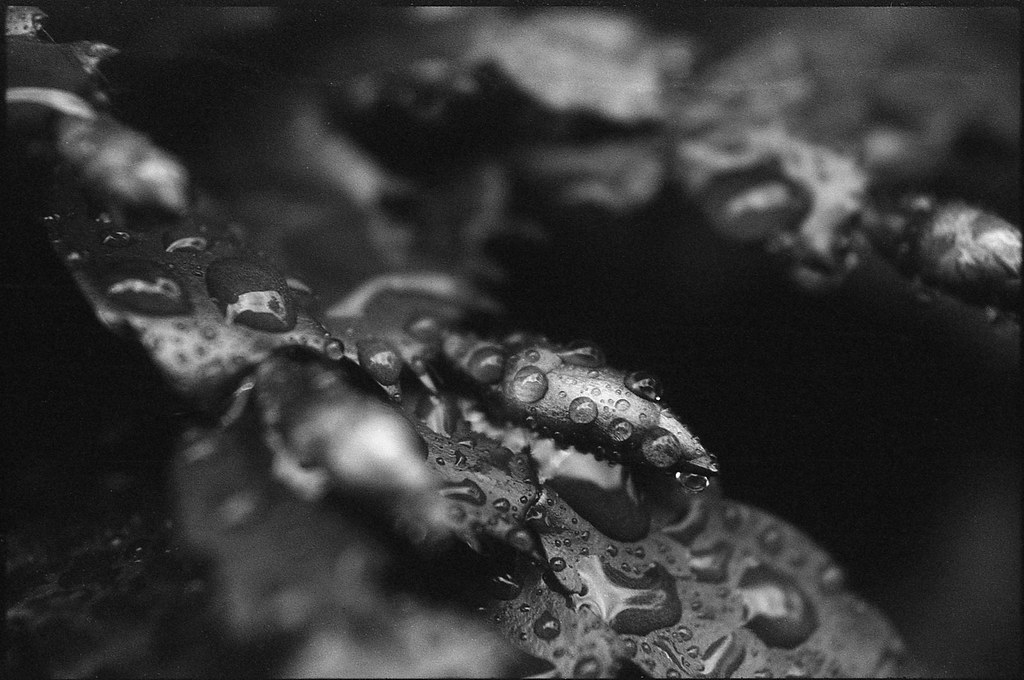
This last one is of a red Christmas Cactus with some water drops. The red subject with this film becomes pretty abstract, which I often like.


K1000-Dacomatic-020

I hope you enjoyed this little trip down 'Orthochromatic Lane'. Expired microfilm is a fun change of pace for people who like black and white images, but are a little bored with the usual offerings of Tri-X and FP5. Give it a shot and let me know how it goes!

Saturday, December 19, 2015

To correct or not to correct...

While driving home from a high school football game last Oct, we happened across North Algodones Dunes Wilderness Area. There was a pull-out, so I thought I might get a few snaps of the place. I think it would be worth going back at a better time of day or maybe pre-dawn and just sit and see what the light does. Anyway, I had Some Ektachrome Slide Dupe film loaded in my Fed-3 and I just snapped a few shots off casually. I developed the film a couple of months later and was in a bit of a rush when I decided to scan the negatives. So I just put them on the scanner and let the auto settings do their magic. Well a couple of things happened. First, I hand wound the film into an old 35mm canister and as it turns out, the light seal was imperfect, so there were some light leaks on the film. Some shots had worse streaks than others and so this in turn caused the scanner to make different decisions about what was 'white' in each frame. So when I came back to view the photos, these shots of the dunes, while taken at the same time in the same place, were different colors. It looked like this.


Sand Tryptich

You can see that the center one doesn't have a light leak in it and it looks more 'true' to the color of sand (mid-day-ish). The other two got shifted with more red and blue. I thought this was sort of an 'interesting' outcome of some random inputs, but I wondered what the same triptych would look like with the color balance corrected so they all looked alike. So I went about rescanning them, using the RGB levels of the middle photo to adjust the other two manually. I do my scanning with the Epson Perfection V600 flatbed scanner and the Epson Scan software that comes with it. It is easy to use and produces results acceptable for sharing online which is about 95% of what I do with my photos. Here is the result of the adjusted photos (sorry about the dust, I didn't bother doing the dust spotting on the second scan).


balanced-tryptich
I like this version, but not as much as I like the first one. That left me with a question though. Is it artistically honest to accept my scanner's decisions resulting in random changes to my images? Can I post those photos and tout their beauty when this was not my intention when I took them? I might just have to leave that one to the philosophers and accept the "happy accident" of light leaks and scanner color shifting. I like the results too much to delete them.

Sunday, December 13, 2015

LC-69 Process Film

What's that?? You've never heard of LC-69 film? Well apparently, not many other people have either. I certainly never had until I was given a very generous gift of a Pentax K1000 with a few lenses, filters, and not surprisingly, an old roll of film forgotten in the bottom of the bag. The canister said "Images Professional Color Print Film". Then it had three little boxes where you would put a check mark next to the speed at which you shot the film, 100, 200 or 400. then there was a mysterious marking, "Process LC-69". What sort of color print film was this? Well, straight to the Googlz I went and oddly, there was very little to be found about this beast. What I did find was not very informative as far as how to process it. So, I figured, what the heck... shoot it at iso 100 and process it in C-41 at room temp and see what you get. Worst case, I would have wasted some time on murky brown images. I did learn that this film was used by the mail order places like Seattle Film Works where you would mail them your film, pay for processing and they would send you replacement film for free. I also read somewhere that there was rem-jet on these films, but more about that later.

The Pentax had been stored for quite some time, but it was in a bag with silicone packs, so I figured it was probably servicable as far as shutter speeds go. Heck, the battery that powers the meter is still holding a charge! Anyway, I went down to the lovely Balboa park on a sunny December morning (yes, most December mornings are sunny here in San Diego) to meet some friends from work. We were going to do a photo walk for a couple of hours and I was heading the charge. Of course everyone else was shooting nice digital cameras, both SLRs and mirrorless. I shot up the LC-69 film and some Dacomatic copy film as well as a roll of Acros in my Bronica S2a. But you are here to read about the LC-69, right?

I decided that I would follow a procedure outlined by Reinhold of Caffenol.org fame whereby regular C-41 chemicals are used at room temperature instead of the usual 102F. I figured that would be more gentle on the emulsion if this happened to be a sensitive film. So the temperature in my house was about 70F and Reinhold's calculations said that I would need 17 minutes in the developer. That seemed like a long time, but I'm all about the trust. So 17 minutes with 4 inversions every 30 seconds passed. I did a strip test on the leader in the Blix and it looked like it cleared in about 3 minutes, so the usual 6.5 minutes in the Blix was going to work. It didn't look to me like there was any rem-jet on the leader after the blix test, but I did a 1 minute soak and agitate in some Borax at the end of the Blix cycle. Nothing really came off, so I think that part was erroneous.

The scans look like regular expired cross processed slide film. Nothing surprising or extra special about the LC-69 film. Sorry, that's anti-climactic, I know. But here are some nice pictures for you to look at.

K1000-LC69-010
K1000-LC69-005
K1000-LC69-021
K1000-LC69-017

Tuesday, November 24, 2015

Three films, One flower

This isn't really a very scientific comparison since most of the variables involved were not controlled. In fact none of the variables except for the subject were controlled. So take it for what it's worth... a simple visual comparison of the same subject on three different expired color films.

First is one of my favorite color films (see more here). It is 35mm Ektachrome Slide Dupe film cross-processed in C-41 as CN. I think it expired in the 90's and I shoot it at iso 25 and develop normally in Unicolor C-41 chems.

ftn-slide-dupe025

Next up is some expired 35mm Ektachrome 64D. This film was not stored well so there is some fogging and grain, but still not a bad looking film. I shoot this around iso 12 and cross-process in the same Unicolor C-41.

Chinon-Ektachrome-006

Finally, we have some 4x5 Vericolor II sheet film, also expired in the 90's. This shot seems particularly low contrast and there is a strange banding that I haven't seen with this film before, but I still like the look.

SpeedGraphic-VericolorII-6

I hope you enjoyed this informal look at these different films. I (obviously) like shooting expired color film. Fresh CN film is also very nice, but there are no surprises really. You get pretty much what you see through the viewfinder. I like surprises, so I will keep shooting this old stuff as long as I can find it for reasonable prices. Long live FILM!!

Saturday, November 21, 2015

There's Expired Film, and Then There's...

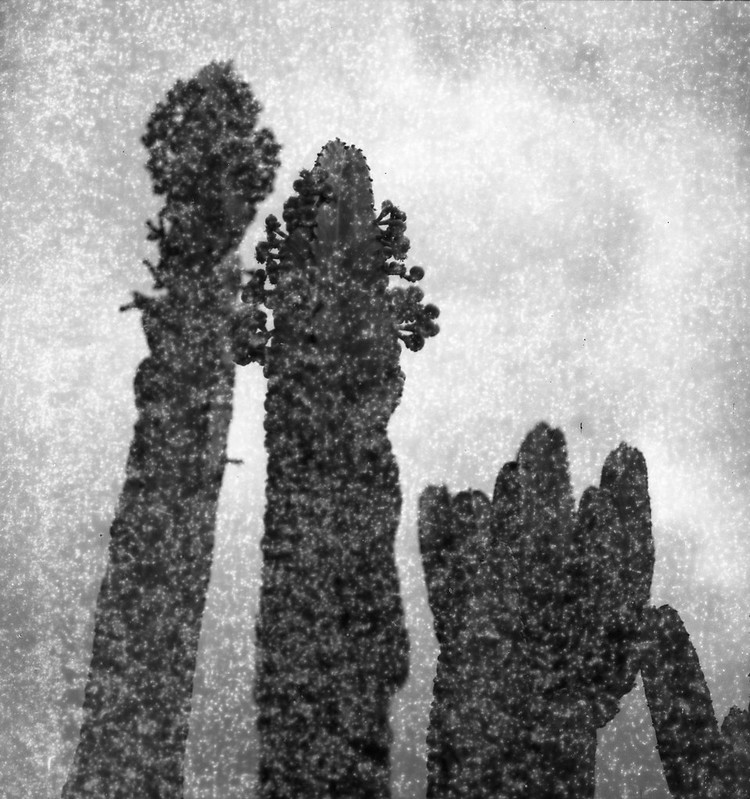
When I see a bargain on 'the bay', there is a fleeting moment when my brain says, "That's too good to be true, and if it were really a bargain someone else would have snatched it up before you." Often that is enough to discourage me from making impulsive purchases. However, when it comes to cheap film, I am a complete sucker. So when I came across a 10-pack of 120 film for around $3/roll shipped, my urges got the better of me. Now this film was a little odd, but not unheard of. It was the Russian brand Svema and it was the FN64 black and white negative emulsion. It had expired in 1996 which is less than 10 years ago, so I figured between the relative newness and the slow iso, it would be good to go, maybe even at box speed. So I ordered the 10 rolls and hoped for the best. When it came in the mail (from Ukraine) I thought the cold war style packaging was quaint. The rolls were individually boxed with Cyrillic letters on them. The rolls inside were wrapped in a foil-lined paper, not sealed in plastic like most other 120 films are. I unwrapped one to find a bright red backing paper that seemed a little bit thicker than most backing papers I have encountered, but you never know until you try, right? So I put the roll into my Bronica S2a and started shooting. My concern grew on about the fourth shot. I wound the film, the shutter cocked and then the film kept winding. It wasn't like a free spin as if the film had broken, but a sort of squishy wind that gradually got stiffer. I finished the roll with this sort of strange 'feel' to the winder. Normally when I reach 12 on the counter, I get the free wind as the film is all on the take-up spool and no longer turning the sprockets in the winding mechanism. This time that didn't happen. It just got harder and harder to wind. So I opened it up, figuring it had something to do with the thickness of the backing paper. Maybe I was going to have to respool all of this onto regular 'Western-style' backing papers. But no, when I opened the back, the film sort of sprung out at me like one of those trick snakes in a can novelties. It was not wound around the take up spool at all. Instead it was crammed all around it accordion style. What I discovered was that the tape that normally holds the film to the backing paper on the leading edge had lost all of its stickiness and so it did not lead the film onto the spool. One roll down. One lesson learned. The next roll I took into a darkened room and unrolled it until I could feel the leading edge of the film and the old tape. Out with the old and in with a new piece of nice sticky tape. I rolled it back up and put it in the camera. This time it wound like a charm. I shot the roll at iso 50 because that is what I read someone else did on the interwebz. Here is where we learn the lesson about film storage conditions and what effect they have on film over time. Here is an example from that roll.

Cactus

Sometimes you can overcome background/base fog simply by bumping the exposure a stop or two. So for the next roll, I decided to go for it and shoot it two stops slower than box speed at iso 16. This might have been a little better, but not significantly so.

S2a-Svema64-008

This film was obviously stored at 'room' temperature or worse. This caused oxidation of the emulsion which turns things all 'speckeled'. It's not the worst thing that could happen. If I know the photos are going to look like this, I can choose my subjects and lighting accordingly and set my expectations. So I'm not sure what exactly I will do with the remaining 7 rolls of this old film, but I'll bet one day I will find myself in the mood for something a little 'different' and I'll pull another one of these old Russian rolls out of the freezer.

Monday, September 28, 2015

A Beach, A Bucket, and a Brownie 2a

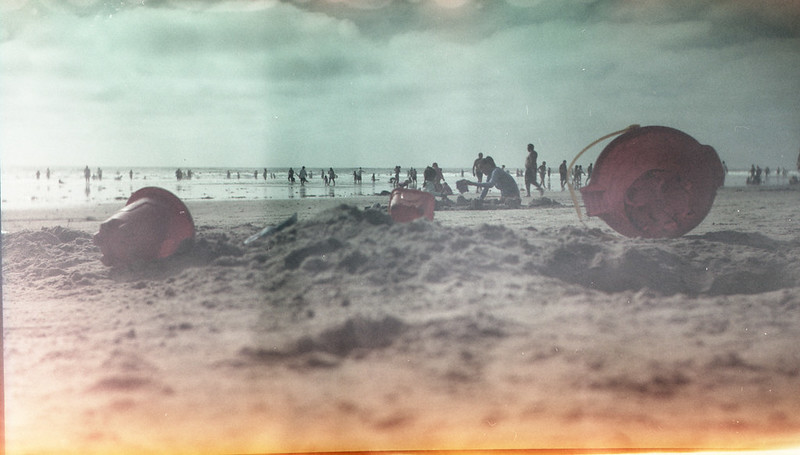
So I have this roll of 70mm Kodak Vericolor III which was originally a tungsten balanced film. It expired in 1989, so I shoot it at iso 50 instead of its “box speed” of 160 for daylight. However, since it is 70mm film, the only camera I have that will take it is a Kodak Brownie 2a Model B (1920-24). These cameras were made in the days of relatively low film speeds, so I figured I was safe. The white balance could be taken care of in post by applying an 85b warming filter to the images. So I snapped away, not worrying a whit about f-stops or shutter speeds. The 2a has 1 shutter speed (around 1/30th) and 3 apertures of approximately f/11, f/16 and f/22. Doing a quick 'sunny sixteen' calculation in my head, I set it at aperture #2 and happily set about taking some shots of people doing the beach thing, some scenery, etc.

Skip ahead a few weeks. I am ready to develop some color film. In fact Reinhold (some of you may know him from his caffenol blog) over on Filmwasters had suggested that C-41 development could be done at room temperatures by simply extending the development time. So I thought I would try this. There has been a heat wave recently where I live and so my house is a warm 85F during the day. I looked that temp up on Reinhold's graph and figured I would develop for 8 minutes instead of the 104F time of 3.5 minutes. Well, the negatives were a little thin. I suspect that my C-41 kit is nearing exhaustion since I have had it since Last summer and have developed MANY more rolls of film than the manufacturer recommends. This is a testimony to the Unicolor kit. It just goes and goes and dies off slowly, so instead of having a suddenly blank roll, I have a thin roll that I can still scan, and I know that I need to replace my chemistry.

So I scanned the negatives and saw some pretty massive light leaks that weren't "camera" leaks, but leaks where the edges of the backing paper got torn or folded and the film was exposed when I put it in and took it out of the camera, not to mention the 3 weeks in the refrigerator. Given all that, I will accept the leaks as "happy accidents" as well as the thin negs and the color shifts. This photo seems to be especially well received over on Filckr where it earned me my very first "Explored" photo. I hope you enjoy it too.

Brownie2a-VericolorIII-004