So I decided to make another 8x10 pinhole camera with these things in mind. This first picture is just for the youngsters out there (like my oldest son) who think, "I'm never going to use geometry in real life! Why do I have to take it in school!??". I probably thought that same thing in high school, but here I am in my mid 40's with a hobby that demands the use of math on an almost daily basis. I couldn't have predicted that I would ever want to build a curved plane camera, but had I not been diligent in my math classes, I couldn't; 1.) build this camera, or 2.) help said son with his math assignments. Stick with the math people. It is an investment that will pay dividends later.
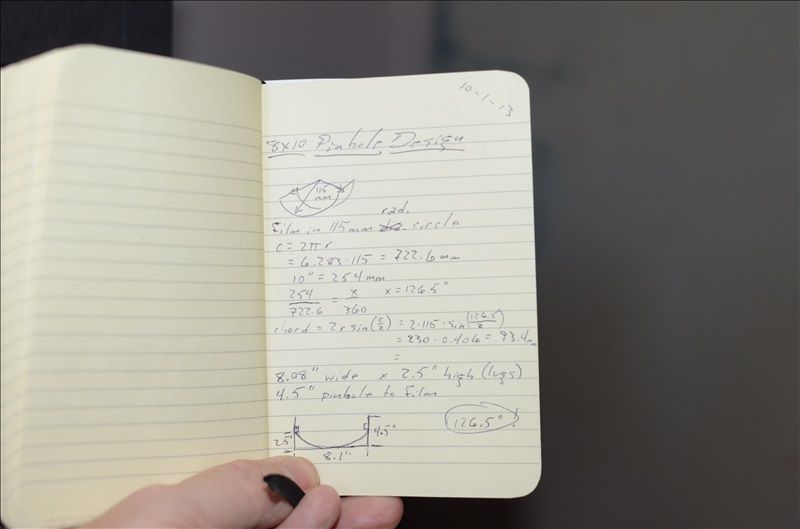 Here is my Moleskine with design calculations.
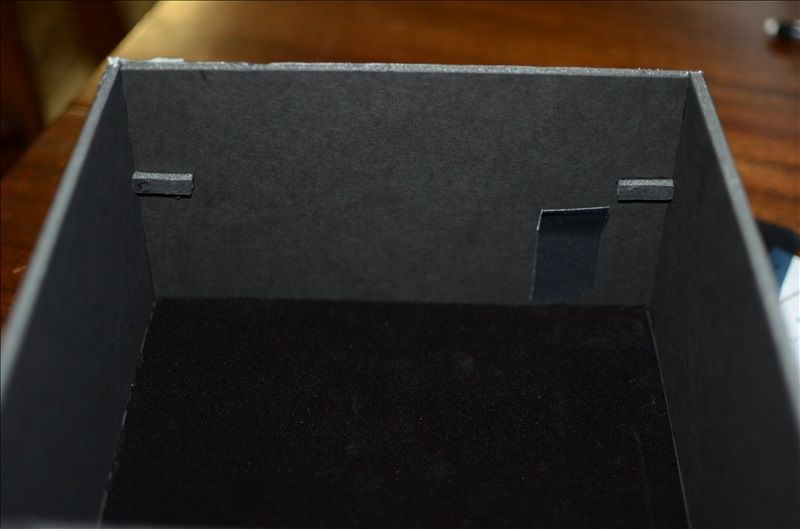 Here is the inside of the 'back' of the camera. Note the "lugs" and the flap of gaffer's tape.
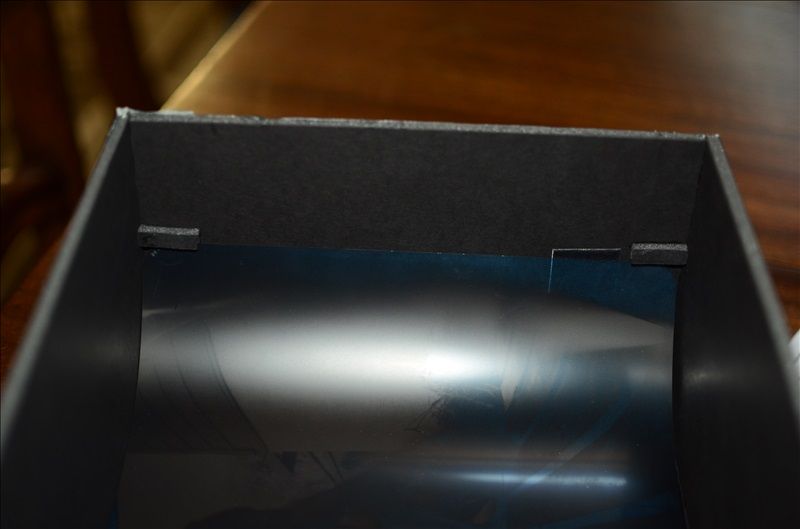 The film sits under the lugs, keeping it in place and centered and curved to the right arc.
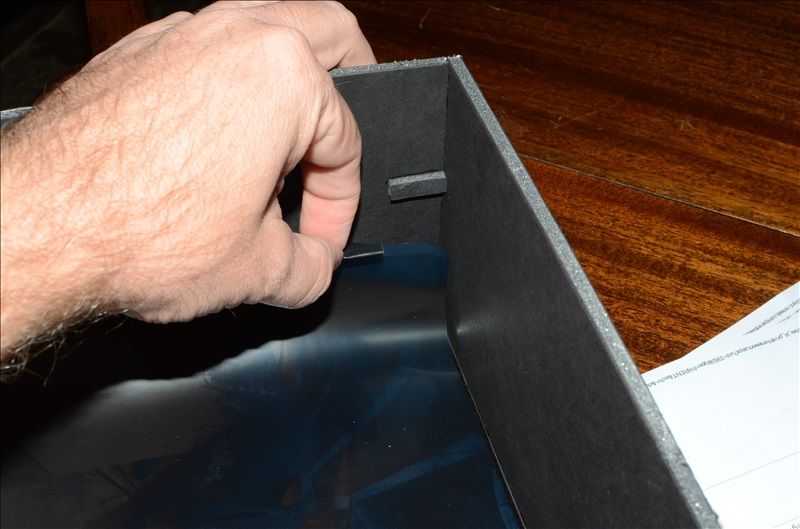 The flap of tape allows me to pull the edge of the film away from the side of the camera. Otherwise, it is difficult to get the film out of the camera without scratching the emulsion.
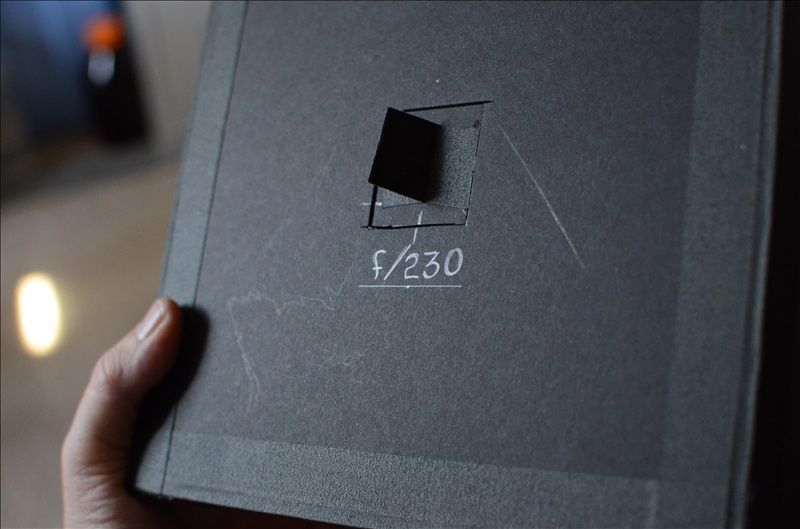 The front of the camera is simpler. Just a box 2" deep that fits over the opening of the camera back. It fits snugly, so no need for more light sealing. The shutter is again a simple 'drain plug' type since exposures are consistently in the >10s range. The focal length (I know it isn't the right term, but everyone knows what I mean) is 115mm, the pinhole is 0.5mm, the effective aperture is f/230 and the field of view is about 109°.
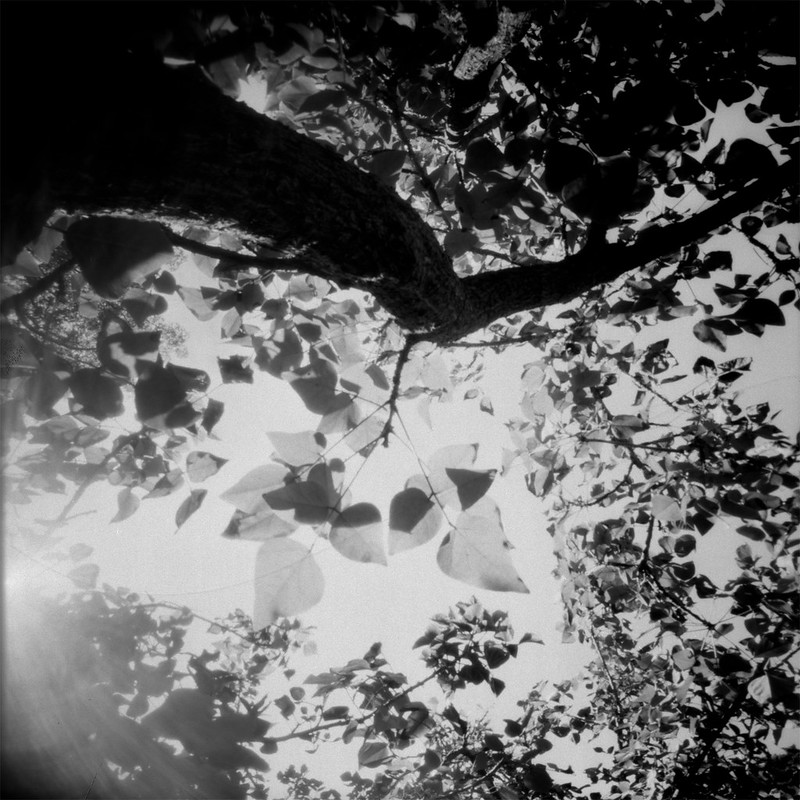 Here is the first shot with this camera. The field of view doesn't quite cover the film, so I cropped it square. This can be remedied by shortening the focal length to about 82mm which should be pretty easy to do. I probably would also need to change to a .4mm pinhole in that case. This picture was made by wedging the camera into a tree. This pointed the pinhole to the sky which is a problem for this x-ray film (blown highlights) it also caught the sun, which I couldn't really tell since the camera was above my head. That accounts for the characteristic pinhole flare. BUT! there are no light leaks that I can see and so I think that this camera with a little modification will be a nice addition to the toolbox. I may even take it to the wedding I am shooting next month. Leave your questions or comments here or on the forum that brought you here. I am glad to answer.
No comments:
Post a Comment