Showing posts with label cross-processing. Show all posts

Sunday, March 17, 2019

To Bleach Or Not To Bleach

Bleach bypass is a process that has intrigued me for a while. Recently, while listening to Matt Melcher's podcast Box of Cameras, he mentioned using this process in an upcoming project. I had tried this before and not really liked the results, but this prompted me to try again since he specifically mentioned Fujicolor film and I happen to have some of that in the fridge. It is Expired (2010) Fujicolor 100, and he is using Fujicolor 200, but I figured "How different could it really be?". It's that kind of thinking that often gets me into photographic trouble. But that's how I think, so waddaya gonna do?

To take a step back, what is bleach bypass? Well to answer that, you have to know the various steps in color film processing. The steps are:

  • Develop
  • Bleach
  • Fix
There are various stop baths and rinses and washes in between these, but these are the chemically important steps. So knowing that, it becomes obvious from the name, that bleach bypass skips the bleach step. So what does that mean? Well, let's dig into the process chemistry a little more.
  • Developer does what it says. It develops the silver image, just like with black and white film. Byproducts of the silver development activate the color dyes selectively so that color dye clouds are formed in the emulsion.
  • Bleach converts the developed silver back into silver halides, basically 'undeveloping' the silver image.
  • Fixer, then dissolves away the 'undeveloped' silver halides, just like in black and white development, leaving just the color dye clouds in the emulsion layers.
So, if you skip the bleach step, you are leaving the developed silver black and white image on the film. If it isn't converted back to silver halides, then the fixer does not remove it. So what does all of that mean? What is the point? Basically, what you get (to varying degrees with different films) is an image with muted (possibly shifted) colors and higher contrast. It is a distinctive look, but don't take my word for it. Take my pictures' word for it.

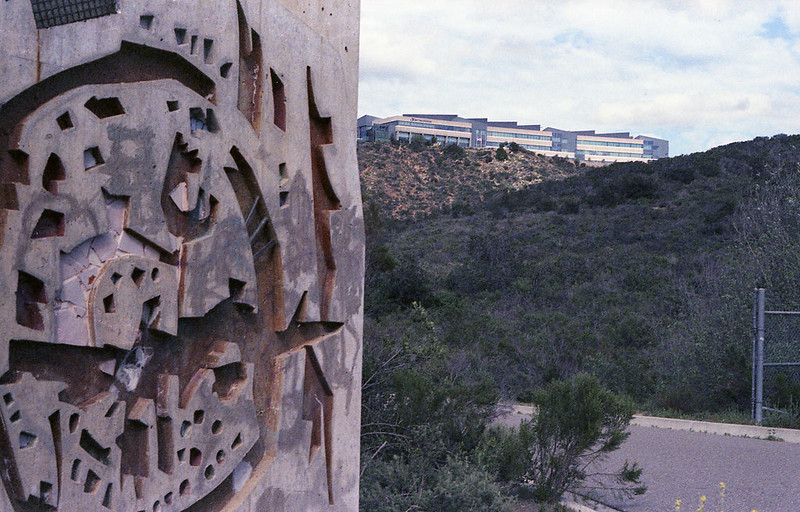
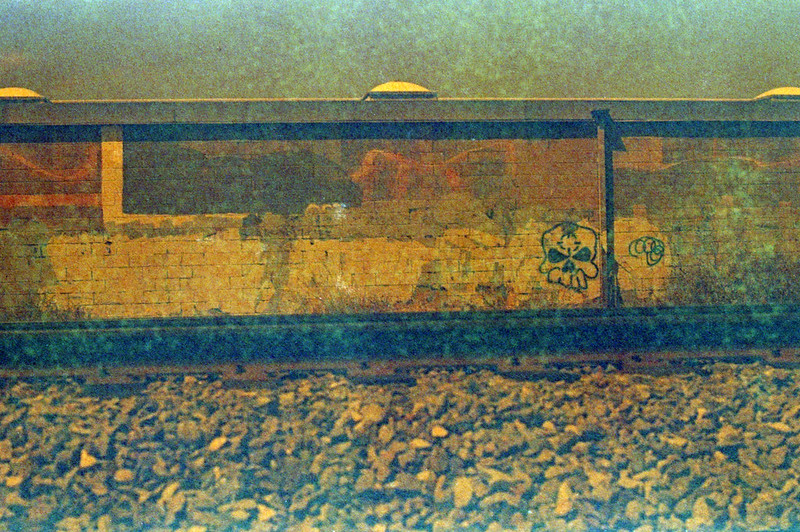
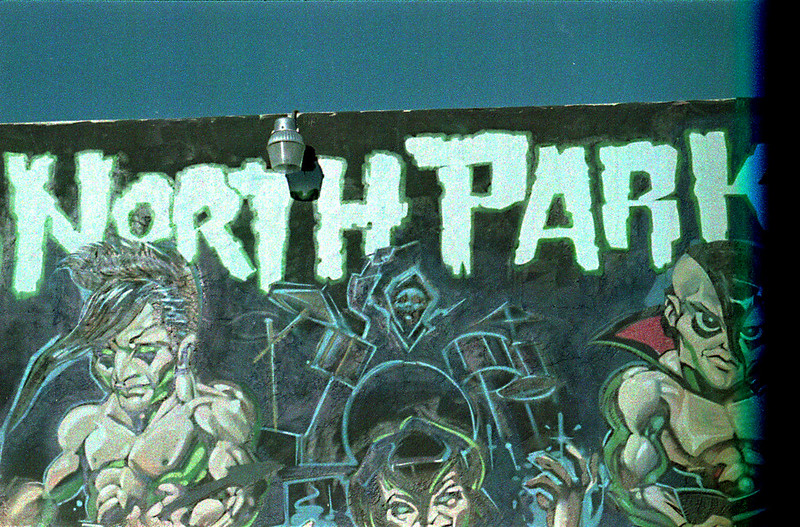
I developed this picture of a mural in the North Park neighborhood of San Diego using bleach bypass. Now I didn't get quite what I thought I would or even what I wanted. There was a base fog because the film was 10 years expired and of unknown storage history. So the negatives were very dense and my scanner (Epson V600) had trouble pushing enough light through them to get the image. So there is electronic noise on top of the add grain from the remaining silver. So what to do? I just took the strips and dunked them in the bleach (room temp for about 15 minutes). Curiously, I did not need to re-fix. The negatives were nice and 'clear', that is the base fog was gone and they looked like normally developed color negatives. One more note is that I used ECN2 chemistry on these. That system is meant for use with motion picture films, but this was just regular old color negative (CN) film designed for C-41 development. So technically, this is a cross process, though not a drastic one like developing slide film as negatives.

So here are the results, first the bleach bypass, then the same image after bleaching.. Let me know which you like better. I personally like the bleached image better, but I will definitely try this process with other film stocks. Since it is 'reversible', there is really nothing to lose.


Saturday, October 14, 2017

DIY Color Dev Comparison

If you have by chance read any of the other posts on this blog, you might have gotten the impression that I am into do-it-yourself (DIY) film developing and historic (aka 'alt') processes printing. That is really only half true. The other half of this blog is that I'm really cheap and am always looking for ways to economize with my photography hobby. The third half is that I just like taking pictures on film rather than with digital devices. So having said that, this post is about my first foray into making my own color developers. I started down this path when I somehow cross-contaminated my Unicolor developer with the blix, thereby killing all activity and pulling 3 completely clear rolls of film out of my developing tank. That sucked and it was completely my own fault for not doing a test strip. Always do a test strip in the developer! Anyway, I was faced with the choice of buying another kit (not a bad or really expensive option) or figuring out how to make my own (attractive to the chemist in me and probably cheaper). I googled up this post over on Flickr and it seemed like a reasonable place to start. I had most of the chemicals, so I just needed to get the developers for C-41 and ECN2. ECN2 is the process used for 35mm movie film (like Cinestill). Most people just cross process it in C-41 and it looks fine, but I thought there was enough overlap in the chemistry that I could just get the developer and give it a try.

I bought the developers from Artcraft and the other components either from Amazon or eBay. I did the calculations for both developers and bleaches and they came out pretty close. For a liter each of C41 developer and bleach it cost $5.47 and for a liter each of ECN2 developer and bleach it cost $4.57. I used my regular Ilford Rapid Fix diluted 1:4 and didn't include that in the cost, but it's cheap too. I know that (if I'm careful) I can get 25+ rolls through a Unicolor kit. So if I only get 5 through this DIY mix, that effects the price per roll. That will take longer to determine, so stay tuned.

These are the recipes I used for each developer and bleach:

C-41 DeveloperECN2 Developer
Sodium Carbonate - 24gSodium Sulfite - 2g
Sodium Sulfite - 3.6gPotassium Bromide - 1.4g
Potassium Bromide - 1.6gSodium Carbonate - 25.6g
Hydroxylamine Sulfate - 2gSodium Bicarbonate - 2.8g
CD4 - 5gCD3 - 4g
Distilled water to make 1LDistilled water to make 1L

C-41 BleachECN2 Bleach
Potassium Ferricyanide - 80gPotassium Ferricyanide - 40g
Potassium Bromide - 20gPotassium Bromide - 29g
Distilled water to make 1LDistilled water to make 1L

C-41 Times all 100FECN2 Times
Developer - 3:15Developer - 3:00 @ 106F
Stop - 00:45Stop - 1:00 @ 100F
Rinse - 00:30Rinse - 1:00 @ 100F
Bleach - 3:30Bleach - 6:00 @ 106F
Wash - 1:00Wash - 1:00 @ 100F
Fix - 5:00Fix - 5:00 @ 100F
Wash & fotoflow - 5:00Wash & fotoflow - 5:00 @ 100F

Here's what I did to test out the developers. I loaded up a roll of expired Eterna 500T into each of two comparable cameras (Pentax K1000 and Chinon CP5)with comparable lenses (50mm f/1.8-ish). I used the Chinon to meter at iso 250 (1 stop over exposed per decade past expiry) and then set the K1000 to the same exposure and took the same shot. I put both rolls into a dev tank and soaked them in remjet remover then shook and rinsed in tap water until it ran clear. Then I put one roll into a different developing tank. I repeated the shooting process with two rolls of regular C-41 film (Fujicolor 100 - expired, shot at iso 50). Each of those rolls went in with one of the Eterna rolls and I developed one tank with my DIY C-41 developer and one tank with my DIY ECN2 developer. So what I have now is two rolls with identical shots, one developed in 'native' chemistry and one cross-processed. I scanned each roll with color correction turned off, then I scanned it again with color correction turned on. I am using my Epson Perfection V600 flatbed scanner with the bundled EpsonScan software. So enough talk, let's see some pictures!

First up we have the Eterna.

Images on the left are developed in native ECN2 chemistry and images on the right are x-pro'd in C-41. First I did a straight scan with no color correction. These are obviously different. The C41 developer made denser negatives. They weren't so dense that the scanner had any trouble with them, but just good to know in case you are intentionally over-exposing, which is a common practice with color negative film. The color difference on the raw scan is not really reflective of any real difference in the color of the negatives as I look at them. Just the density seems to be different. Now let's see what the scanner does with color correction.

Now we're getting something interesting. Never mind the low contrast on the lower left shot, that's probably an issue with the scanner on that frame. I could have corrected it, but I really wanted to compare the color hue between the two processes. What I see is that the native process is reproducing a more 'true' color. That shouldn't surprise me, but I never really thought that C41 x-pro of cine film gave much of an "x-pro" look. I always thought it was just the tungsten balance cooling everything down. But now I can clearly see that the colors are shifted, and significantly.

Next let's look at the Fujicolor 100 film, designed for the C-41 process. For consistency, I will keep the ECN2 negatives on the left and the C-41 on the right. First the raw scans.

Pretty much the same story here. Not much to say, but the ECN2 negs are denser. But look at the color corrected scans.

The Fujicolor C-41 film is actually showing more dynamic range in the ECN2 developer. Now that's interesting. There is some color shifting going on as the orange umbrella on the right is the 'truer' color, but given this 'out of the box' corrected scan, I think I like the ECN2 developer results better!

So what did I learn with this little experiment? I think either film works adequately in either one of these DIY developers. Now it comes down to personal preference. Do I like the x-pros or the natives? I think I like the x-pros better in both cases. The C-41 developer gives the Eterna a bit more of that "cinematic" look that I want when I shoot that film. The ECN2 developer certainly provides a saturation and dynamic range bump to the C-41 film thought the blue-shift might need a little work in post. I am excited to try these developers on different color films in the future. Since they are so cheap to make, I suspect that they will become my regular CN developers going forward.

Please leave a comment if you have any further information, or experience with these homemade developers. I'd love to hear from you. Also, check out my Flickr album to see more photos from these rolls.
Monday, March 28, 2016

Film Mini Review - K-Mart Focal Slide Film

I belong to a pretty vibrant and active community of film photographers online. No, not APUG, not Photo.net, not Rangefinderforum. Those are all great places, but I have found a home over at Filmwasters.com. It is a very relaxed place to share photos and information about film photography in general. I enjoy running a film trading thread over there and have gotten a number of interesting films from other members. This film in particular wasn't part of that thread, but just came along in a box of film that one of the other members there sent to me. Yeah, people are still generous like that.

I had never heard of the film. Of course growing up and living in the US, I have always known about the K-Mart stores, but I wasn't aware that they made film. Actually, it was pretty common for drug stores and other corporate entities to rebrand films from the major manufacturers and this is one of those cases. The film is actually Scotch Chrome 640T probably from the Ferrania factory in Italy. To note, this was different than the 3M Scotch Chrome and also different than the new films being produced (hopefully soon) by the revived Film Ferrania.

So this film was produced for iso 640, and I generally follow the guideline to add a stop for every decade past expiration, but there was no expiration marked on this film. I didn't get the original boxes, just the 35mm cartridges, so now what? Well, I had a roll of 36 exposures and another of 20 (?) exposures, so I figured I would start with the short roll and see if I could gain any information about it. I figured it was at least 20 years past expiration, so that would mean 2 stops slower. That puts it at around iso 160. I threw it into my trusty Nikkormat FTn with a new-to-me Nikkor-S 50mm f/1.4 lens and set my handheld meter to 160. The lens I bought came with a 27.5mm extension tube, so I went a little crazy with the macro shots. I should have looked up the required exposure compensation for that tube, but I didn't and subsequently, a lot of the macro shots were under-exposed.

I developed the film in Unicolor C-41 chems at room temperature for 20 minutes with a 10 minute blix. Agitation was 1 minute initial and 4 inversions each minute thereafter. I did the RT development because I was developing some old 126 print film at the same time and wanted to be gentle with that. Unfortunately, there were no visible images on that film. So here are a few of the photos from this old film. The grain on the under-exposed shots is formidable, but on the brighter ones, not so bad. I have the 36 exposure roll left, so I will probably expose that with an EI of 80 and try to stay out in the sun without any extension tubes connected.

FTN-KMart-004
FTN-KMart-010
FTN-KMart-012
FTN-KMart-001

Wednesday, March 16, 2016

The Last of the Dupe

So it happened. I shot the last roll of one of my favorite "no longer in production" films. It is Kodak's Ektachrome Slide Dupe (Duplicating) film emulsion #5071. It is a color reversal (slide) film that was designed to make exact duplicates of existing slides. It was intended to be processed with E-6 chemistry, but I only ever processed it at home with C-41 chemistry (cross processed) to make negatives. It is probably the height of vanity to quote one's self in one's own blog, but since I have now referred to myself as "one" two times in this sentence, why not just go for it? From my first post using this film..."I knew that the film I had loaded in my 1967 Nikkormat FTn was expired 30 years ago, so there would be grain. I also knew that I was going to cross-process the film so there would be color and contrast shifts. I also knew that the film was tungsten balanced, so shooting in daylight would throw the color balance toward the 'cool' spectrum." And those characteristics pretty much drove my love for this film right down to the last frame. I have been looking for another 100' bulk roll of this, but it is getting scarce. I guess I will have to direct my x-pro love somewhere else, so this could be the very last post of slide dupe film images on this blog. I hope you have enjoyed it as much as I have.

K1000-SlideDupe-003
K1000-SlideDupe-002 K1000-SlideDupe-013
K1000-SlideDupe-011
K1000-SlideDupe-006
K1000-SlideDupe-005
K1000-SlideDupe-004

Sunday, December 13, 2015

LC-69 Process Film

What's that?? You've never heard of LC-69 film? Well apparently, not many other people have either. I certainly never had until I was given a very generous gift of a Pentax K1000 with a few lenses, filters, and not surprisingly, an old roll of film forgotten in the bottom of the bag. The canister said "Images Professional Color Print Film". Then it had three little boxes where you would put a check mark next to the speed at which you shot the film, 100, 200 or 400. then there was a mysterious marking, "Process LC-69". What sort of color print film was this? Well, straight to the Googlz I went and oddly, there was very little to be found about this beast. What I did find was not very informative as far as how to process it. So, I figured, what the heck... shoot it at iso 100 and process it in C-41 at room temp and see what you get. Worst case, I would have wasted some time on murky brown images. I did learn that this film was used by the mail order places like Seattle Film Works where you would mail them your film, pay for processing and they would send you replacement film for free. I also read somewhere that there was rem-jet on these films, but more about that later.

The Pentax had been stored for quite some time, but it was in a bag with silicone packs, so I figured it was probably servicable as far as shutter speeds go. Heck, the battery that powers the meter is still holding a charge! Anyway, I went down to the lovely Balboa park on a sunny December morning (yes, most December mornings are sunny here in San Diego) to meet some friends from work. We were going to do a photo walk for a couple of hours and I was heading the charge. Of course everyone else was shooting nice digital cameras, both SLRs and mirrorless. I shot up the LC-69 film and some Dacomatic copy film as well as a roll of Acros in my Bronica S2a. But you are here to read about the LC-69, right?

I decided that I would follow a procedure outlined by Reinhold of Caffenol.org fame whereby regular C-41 chemicals are used at room temperature instead of the usual 102F. I figured that would be more gentle on the emulsion if this happened to be a sensitive film. So the temperature in my house was about 70F and Reinhold's calculations said that I would need 17 minutes in the developer. That seemed like a long time, but I'm all about the trust. So 17 minutes with 4 inversions every 30 seconds passed. I did a strip test on the leader in the Blix and it looked like it cleared in about 3 minutes, so the usual 6.5 minutes in the Blix was going to work. It didn't look to me like there was any rem-jet on the leader after the blix test, but I did a 1 minute soak and agitate in some Borax at the end of the Blix cycle. Nothing really came off, so I think that part was erroneous.

The scans look like regular expired cross processed slide film. Nothing surprising or extra special about the LC-69 film. Sorry, that's anti-climactic, I know. But here are some nice pictures for you to look at.

K1000-LC69-010
K1000-LC69-005
K1000-LC69-021
K1000-LC69-017

Tuesday, November 24, 2015

Three films, One flower

This isn't really a very scientific comparison since most of the variables involved were not controlled. In fact none of the variables except for the subject were controlled. So take it for what it's worth... a simple visual comparison of the same subject on three different expired color films.

First is one of my favorite color films (see more here). It is 35mm Ektachrome Slide Dupe film cross-processed in C-41 as CN. I think it expired in the 90's and I shoot it at iso 25 and develop normally in Unicolor C-41 chems.

ftn-slide-dupe025

Next up is some expired 35mm Ektachrome 64D. This film was not stored well so there is some fogging and grain, but still not a bad looking film. I shoot this around iso 12 and cross-process in the same Unicolor C-41.

Chinon-Ektachrome-006

Finally, we have some 4x5 Vericolor II sheet film, also expired in the 90's. This shot seems particularly low contrast and there is a strange banding that I haven't seen with this film before, but I still like the look.

SpeedGraphic-VericolorII-6

I hope you enjoyed this informal look at these different films. I (obviously) like shooting expired color film. Fresh CN film is also very nice, but there are no surprises really. You get pretty much what you see through the viewfinder. I like surprises, so I will keep shooting this old stuff as long as I can find it for reasonable prices. Long live FILM!!

Friday, August 28, 2015

Expired Ektachrome Delight

I like using expired film. It is cheap and slow and grainy and contrasty and just suits my style of photography well. I use fresh film too sometimes. Really it just depends on what is on hand. I don't keep a second refrigerator dedicated to large stockpiles of film. I have enough to give me a selection to choose from. Most of what I have right now is expired 35mm film. I do have a 100 ft roll of expired 70mm Vericolor III that I use in my Brownie 2a. But back to the actual topic. A while back, I traded some film over on the Filmwasters Forum and I received 10 rolls of 36exp Ektachrome 64D that had expired in the 80's. The person who bought it tried it and didn't like the greenish background fog. Apparently, the film had not been stored properly and was showing signs of age. I decided to take some of it off of his hands with the intention of doing experimental redscale and pinhole kinds of things with it (which I have done).

After a few rolls like that, I thought "Why not just shoot a roll of this straight and cross process in C41?" Okay, so what iso do I shoot expired fogged film? The rule of thumb is to add a stop for every decade past expiration. That gives me 3 stops for the expiration and puts the film at iso 8. That's a little slow even for me, so I decided to try iso 12 and see what happened.

The first roll I loaded into my Chinon CP5 with a nice prime 50/1.9 lens. I was going to a football scrimmage to see my son play, so I thought I would take it along. The event was at a local junior college which I knew would be mostly abandoned, giving good opportunities for architecture or landscape types of shots. I shot the roll and developed it in Unicolor C41, my usual for CN film. I was really surprised at how well the colors turned out. It is definitely cross-processed and the added contrast and color shifts give it that sort of 'lomo' look. Here are a couple from that day.

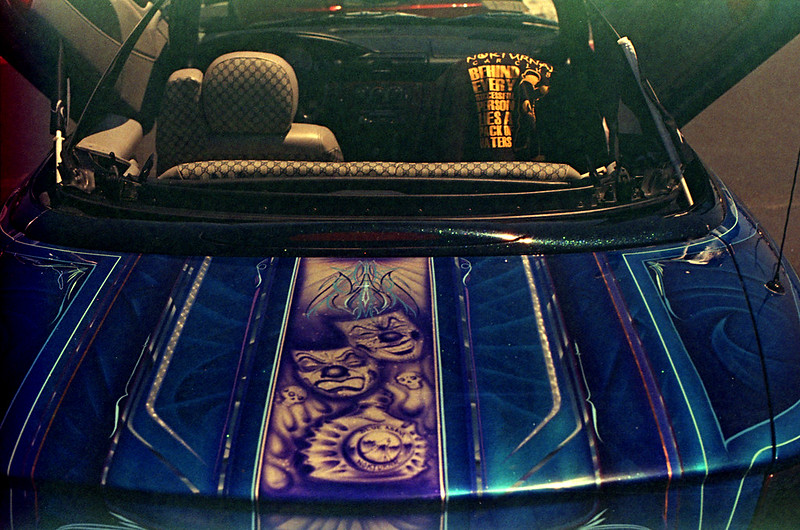
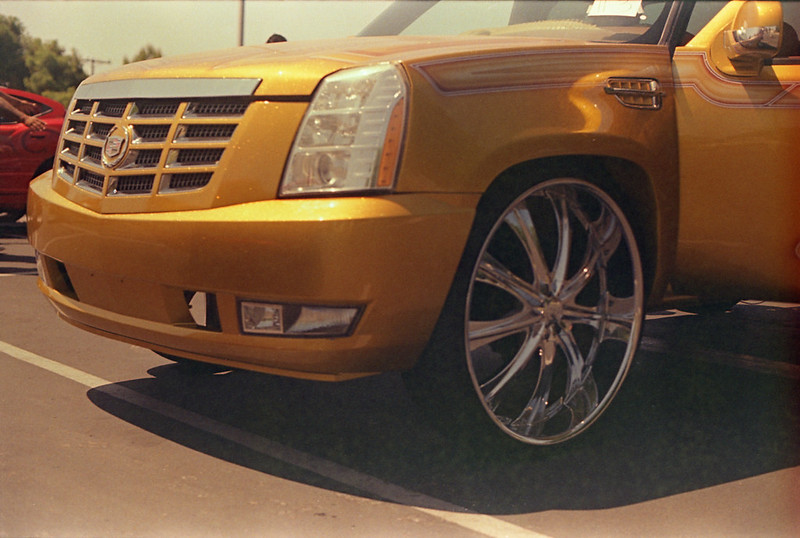
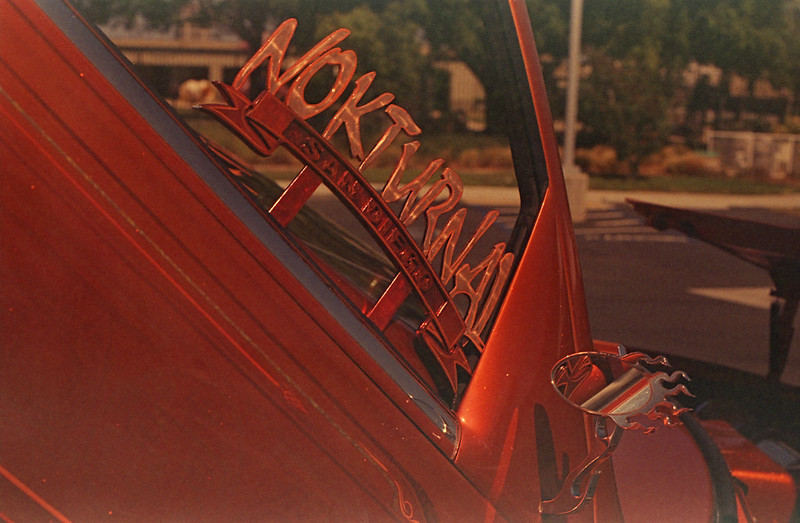
This film does well in the bright San Diego sun, so when the football team announced that they were having a car show as a fundraiser, I thought it would be another great opportunity to see what this film could do, this time with brightly colored subjects. Again, the film did great, this time in my Nikkormat FTn with the venerable Nikkor 50/1.4. It seems that these shots had less base fog, but that could be attributed to a few different things, so I'll probably just call it 'anomalous' and move on. Here are a few from the car show. FTn-Ektachrome64T-031 FTn-Ektachrome64T-005 FTn-Ektachrome64T-025 FTn-Ektachrome64T-018 FTn-Ektachrome64T-001 That last one with the fog and the light leak is my favorite. I like the visceral quality of this old film, and I like making up stories about its tortured past.

So go find some old expired Ektachrome and see if it doesn't do a little magic in your camera.

Monday, October 20, 2014

Motion Picture Film

Ever since Cinestill hit the market, shooting movie film in still cameras has become all the rage. Not being one to miss a passing bandwagon, I thought I would jump on and see where the ride went. However, being err... "thrifty", I did not want to pay $10/roll + s/h for 35mm film. Also, I seem to have a good thing going with expired film, so why fix what doesn't seem to be broken? With that philosophy in mind, I went searching for the cheapest movie film I could find on a reasonably sized (<400ft) roll. I want to try it, not shoot it exclusively for the next 10 years. I looked at a LOT of different sellers and emulsion numbers. I also started researching the "remjet" issue. I would have to get that layer of black gunk off the back of the film either before shooting it ("premoval") or after exposing, but before developing. The remjet layer is there for anti-halation as well as anti-static for when the film is whizzing through a motion picture camera. Anti-halation is nice and most still films have a layer of dye on the back of the film to keep light from reflecting off of the pressure plate inside the camera and making glowing "halo's" in the highlights on the film. Premoving the remjet will eliminate this benefit, but if you are going to send the film off for processing, it has to be done. The machines that process film will not remove it and when it comes off in the machine's chemistry and mechanics, the operator will be unhappy with you. Cinestill removes the remjet for you, so that is part of the price you pay (which is fair, but for me unnecessary since I dev my own C-41). So what did I do?? I did both premoval and nothing. Keep reading and I'll explain.

I rolled up one 12-exp roll just like I would for any other bulk film. This will be the "control" sample and I will not do anything special to it regarding the remjet. The other roll, I measured the length and spooled it onto a Paterson developing spool and put it in the tank for 15min with a solution of 2Tbs Borax in 500mL water. At the end of 15min, I agitated the tank vigorously for about a minute. I really shook it hard. Disappointingly, the liquid that came out was just sort of a weak greenish solution. Subsequent rinses were clear. There was no sign of black flakes, so either, my solution did nothing to remove the remjet, or the remjet was really thin. A third option is that there is no remjet on this film. I'm not sure what remjet looks like, so I can't say, but the film is Super F-Series which does appear to have a remjet backing according to the interwebz. So at this point, I just dried the film in a 'dark' place and rolled it up into a canister. Here is what the two treatments look like side by side. The premoval roll is on the left and the untreated roll is on the right. There is clearly a difference between them, but is it remjet or just anti-halation dye?

I shot both rolls at iso 400 in the same camera, mostly in cloudy daylight. For this test, I'm not so much interested in color rendition as much as just the processing workflow. I fully expected to see some black bits stuck to the film and/or floating in my developer. The developer came out clear as always, so I figured the remjet must still be stuck fast to the film and I would have to do a removal at the end. To my surprise though the film was clear. The two films were developed in the same tank at the same time and I couldn't tell which was which until I looked at the specific images. There was no sign of remjet anywhere. Here are a couple of images from the "control" roll that was not pre-treated. I scanned these on an Epson Perfection V600 using the auto color correction, but nothing else in post. The color is shifted/cast a little as you might expect with cross processing, but other than that, there is nothing notable. The grain is there and looks about how my other expired color films look, so that's that.

Fujifilm 8572 Fujifilm 8572

Here are a couple of shots from the premoval roll. It looks like the film got fogged during the drying process. I did my best to keep it absolutely dark, but probably failed to some degree. There also seems to be some damage to the film. This is either chemical from the borax or mechanical from the vigorous shaking. Hard to say without more testing. Having said that, I will probably not do any more tests since the untreated roll came out nice without any ill effects from the remjet. I will just shoot this like any other color negative film.

Fujifilm 8572 Premoval Fujifilm 8572 Premoval

Saturday, August 23, 2014

That's Just Crazy

I traded some film with another Filmwaster. I sent him some expired FP4 and he sent me some expired Ektachrome 64 Daylight. He had exposed a roll and cross-processed it and didn't like the results, but I thought it was kind if cool. It had this blue/green color cast that was unique. I instantly thought that a little red would 'balance' things and add some contrast. Redscale would certainly do that. What's redscale? That's when the film is in the camera the 'wrong' way so that the emulsion side is facing the back and the light is passing through the base material first and the emulsion layers in the reverse of the intended order. It generally makes things look like you have shot them through a red filter, but with some color balancing magic, you can get some really cool effects. So I went into the darkened bathroom at my house and pulled the film out of its canister. I then clipped it off at the end, flipped it over and taped it back on the stub hanging out of the canister. Then I wound it back into the canister and trimmed the leader so that it would fit into the takeup spool of my '65 Nikkormat FTn. These shots were all taken with the Nikkor 50mm f/1.4 lens. The first part of the roll (about 20 exposures) I metered at iso 25. The next 8 shots were at iso 16 and the final 8 were at iso 8. I figured with that scheme, I would at least find out the best speed for this film when 'redscaled'. I developed in a Unicolor C-41 kit that is probably nearing the end of its life (but still good).

Here are a couple of shots from the roll. Head over to my Flicker album to see more.

redscale-029
redscale-016
redscale-013

Sunday, June 29, 2014

Fresh or expired?

I use lots of different films. Mostly because I am cheap and will take just about anything I find at a bargain. So my photography doesn't really have a consistent "look". That bothers me sometimes and then not at other times. Today it isn't bothering me. I just got done scanning four rolls of film and so I am a little excited about what I got. Scanning film is on one hand really tedious, but on the other hand it's like being a kid again on Christmas morning. The first time I see the negatives in inverted color, I get that sort of 'awe' feeling inside. It is surprise and delight and relief all in one.

I had 3 rolls of 35mm film and one of 120. The 35mm was all Kodak Ektachrome Slide Duplicating Film that had expired back in 1981. The 120 was fresh Kodak Portra 160. I had developed them all in Unicolor C-41 chemistry which is 'right' for the Portra, but 'cross' for the Ektachrome. Read more of my Adventures in Cross Processing here. So why am I making yet another post about this technique with the same old film?? Well the point here is to compare fresh negative film with expired slide film using photos of the same subject(s). This isn't strictly scientific since the photos weren't taken at the same time of day or under any other strictly controlled conditions. If you want that level of technical correctness, you will have to look elsewhere. I do science for a living, so I'm in this for the fun of it. But it is worth a look just to compare.

First the photos on the fresh Portra 160. I used my Yashica Mat 124G to take these. This poor camera is barely clinging to life, but still takes pretty good photos.


Nice, huh? The colors are natural, the grain is quite fine. I could easily blow these up to 24x24 inches and hang them on my wall if I chose to. In short, it is everything we have come to expect from this exceptional film emulsion.

Next, the photos from my Chinon CP-5. This was the first time I had used this camera, and I am pretty pleased with the quality of the glass and the exposures all seem correct.


This film creates a (to my eye) VERY different look. The colors are shifted (even when 'corrected' by the scanner) and saturated a little bit. The grain is noticeable, but not obtrusive. I think it lends a bit of a painterly or 'pictorialist' quality to the photos. It is short of the 'hipster/lomography' look that I think has been a bit over-done (just my opinion).

The bottom line is that I like both sets of photos, but I slightly favor the Ektachrome. It's very subjective and my opinion is likely to flip flop over time. Whichever you like better, I hope you enjoy them and have fun shooting some expired slide film on your own sometime.