Showing posts with label diy. Show all posts

Sunday, June 11, 2017

70 + 35

I finished off two rolls of color film. Nothing exciting there. One of them was 35mm. Still nothing. The other was 70mm (616 format). That's a little more interesting, since I don't have a developing tank with a spool that holds 70mm film. Standard Patterson spools will take 35mm, 127 (46mm) and 120 (60mm). So I improvise... I take apart a standard spool.

The bottom half is the 'outer' piece that has a bigger hole through the middle. That slides on the center post.

The upper part slips down on top and I use a rubber band around the column as a 'stop' that holds it at the right place for 70mm. Loading the film is a little fiddly to get started. Doing a good job estimating the height is important. It will be about a millimeter shorter than the backing paper, so use that as a guide. If you have to adjust it in the dark, it's not that hard. This has to be done with the two halves on the center post, of course.

Then I slide the 35mm spool on top of that (after loading the film). One liter of chemistry will cover these two films in this configuration. I didn't check that before I started, but noticed when doing the stabilizer step that they were covered (whew!)

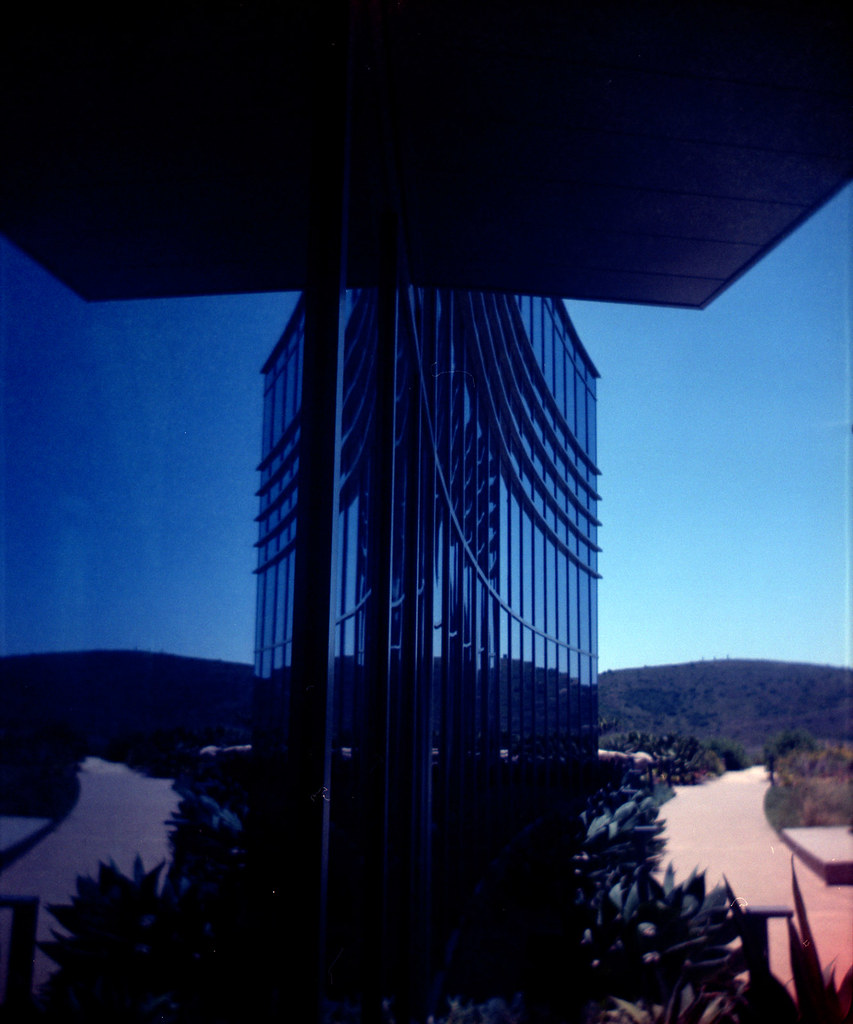
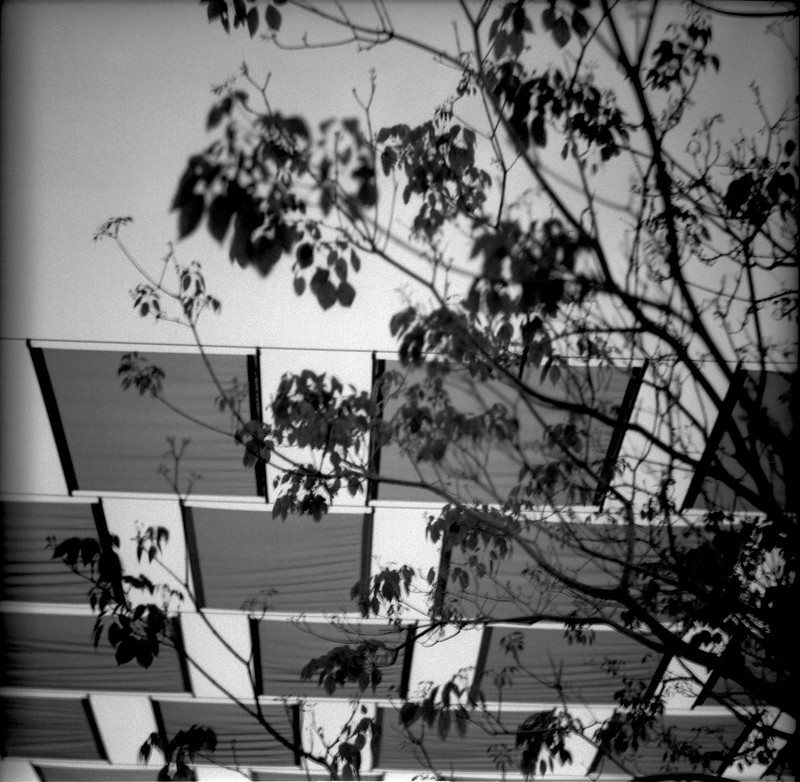
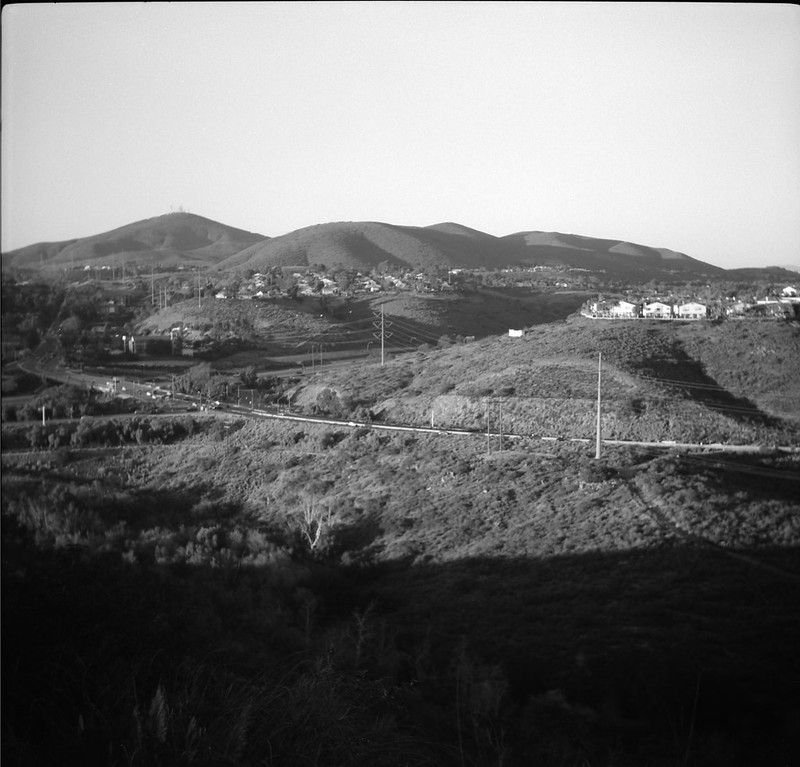
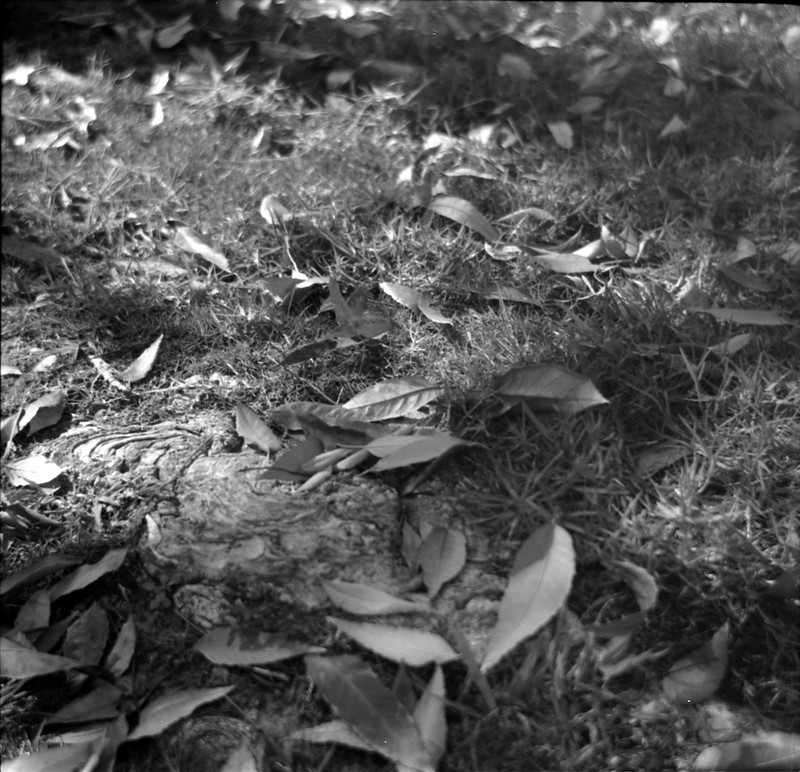
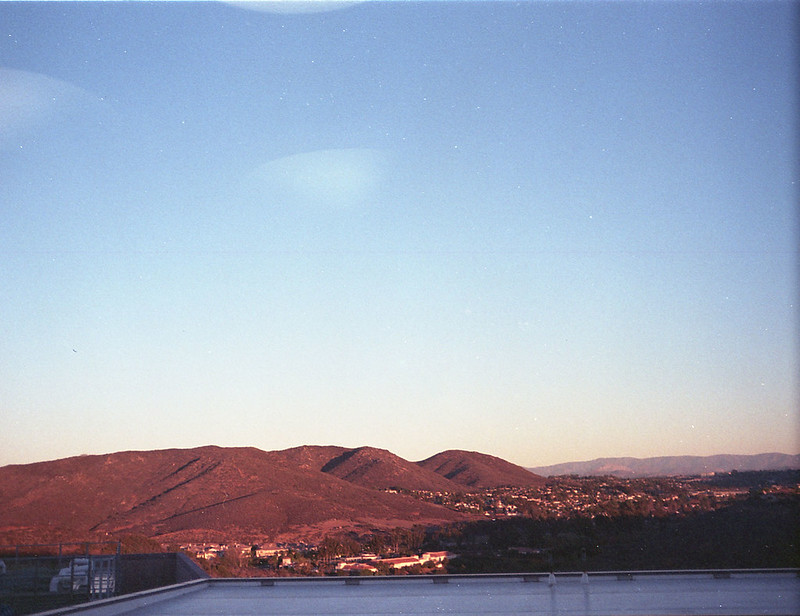
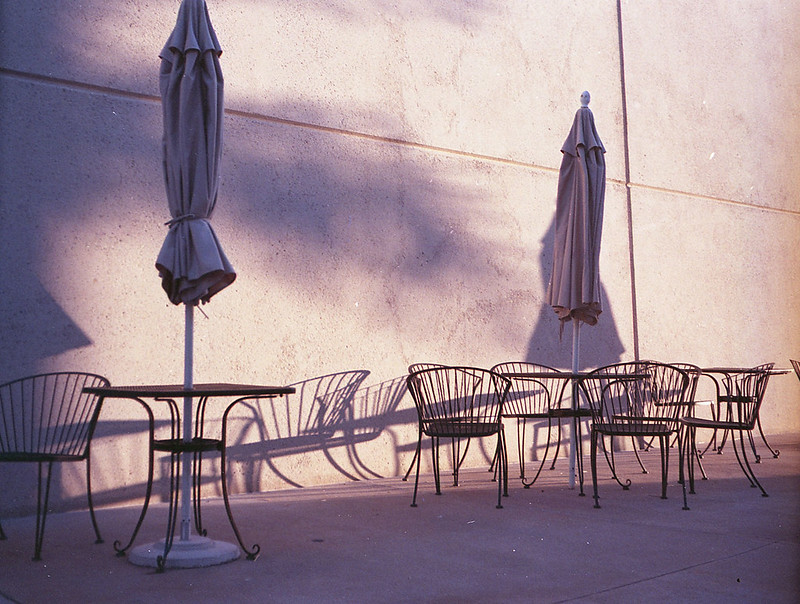
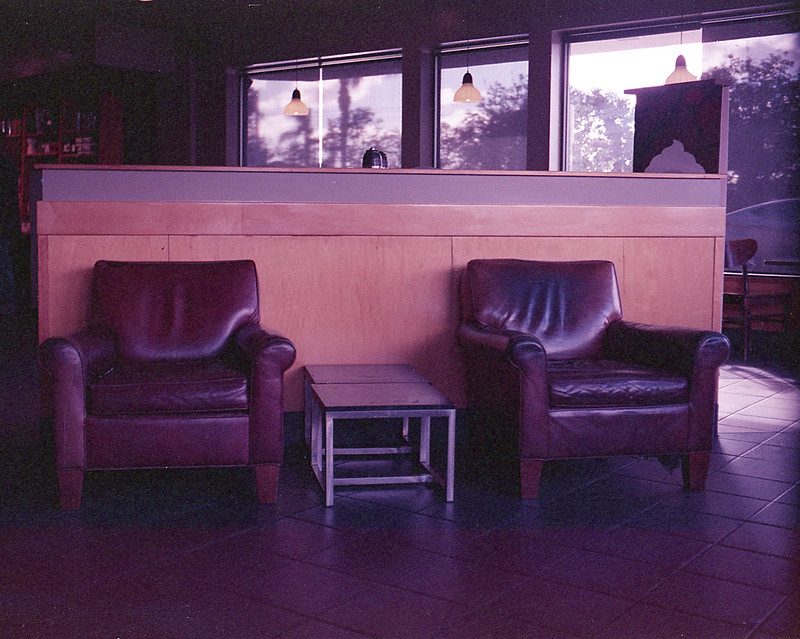
The camera I used for the 616 film was an old Agfa PD16 Clipper. I love the simplicity of this point and shoot viewfinder. Fixed focus, fixed aperture, fixed shutter speed. Literally, point and shoot. The film is Vericolor III (expired 1989). In good sunny conditions, this pair works pretty well together.

Reflected

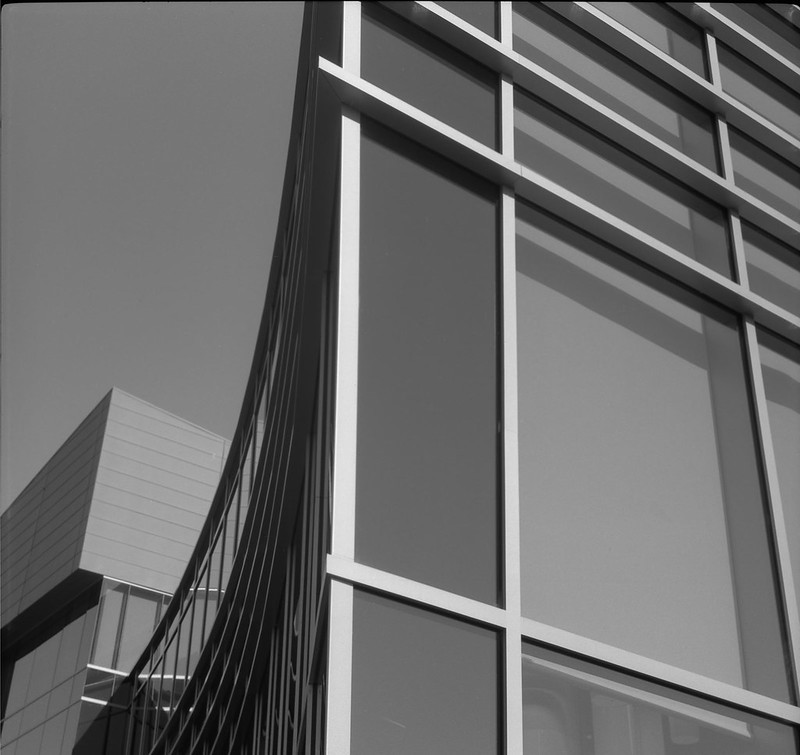
The camera I used for the 35mm roll was a Kodak 35RF I got in a trade.

Pencils

Tuesday, June 28, 2016

Putting That Chemistry Degree To Work

I have been a user (if not a devoted one) of caffenol ever since I ran into Reinhold's blog and saw the wonderful results he and others like Jon Caradies get with that simple 3-ingredient developer. I do enjoy weighing the ingredients on my little 3-beam balance and making the solution. The smell is a little funky, but I think it's growing on me and I don't mind it so much anymore. I even have my own modest gallery on Flickr where I upload various films both expired and fresh that have been processed with this earth-friendly concoction. Here is the first photo I ever developed and shared that was processed with caffenol-C-L.

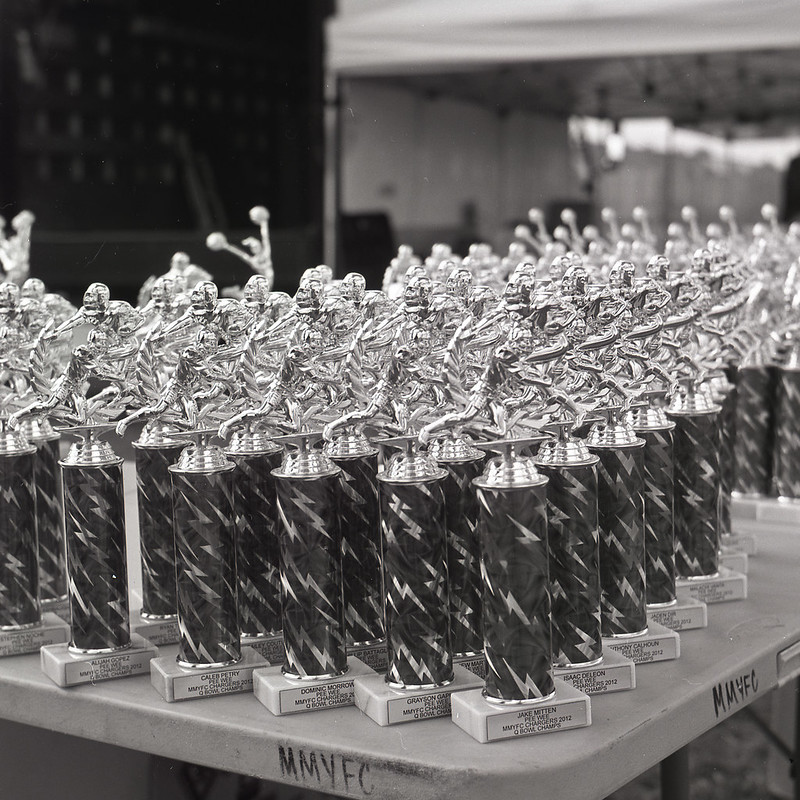
Youth Football Trophies

I even went out on a limb and made my own variant, substituting ground up eucalyptus bark. I called it eucalyptol. You may have read about it HERE. That one needs to be revisited with a little different methodology, but I'll save that for another post. For this post, I want to talk about something very different. Okay, maybe it isn't "very" different. It is still a 3-ingredient developer made with things that are readily available at your local drug store and/or online. I chose to get my ingredients online just because it is easier than driving around to different places trying to find things. So what is this "different" developer? It is called Parodinal because it is a Rodinal clone based on Paracetamol. Paracetamol, also known as Acetaminophen, is the active ingredient in Tylenol which is cheap and abundant. Here is the shopping list and the amounts I use for a single 250 mL batch.

  • 30x 500mg Paracetamol tablets
  • 50gr of Sodium Sulfite (Anhydrous)
  • 20gr of Sodium Hydroxide (Anhydrous)
  • Water (distilled) to make 250ml

I based this recipe on what I found over on Martin Zimelka's blog. He in turn learned about it on APUG (I think).

For my first batch, I went simple. I made the Sodium Hydroxide (drain cleaner crystals) solution, then I just crushed up the Tylenol tablets with a stainless steel mortar and pestle and tossed it in. The Sodium Sulfite did not dissolve even in warm water, so I just combined the two as best I could and figured it would either work or it wouldn't and if it didn't, I'd try something different. But guess what? It worked!

S2a-acros-001

It was a cloudy suspension for sure. The binders and coatings of the ground up tablets did not dissolve and just sort of sat there. They didn't seem to have any effect on the action of the developer and that jives with things I read online. It's just sort of disconcerting to have a cloudy developer. You get the feeling that that all of that sediment is somehow ending up on your film. To get around this, some people either start with neat paracetamol. That gets around the sediment problem, but it is a little more expensive and a little more difficult to obtain. Others filter the binders out of the solution, I suppose with something like a coffee filter. That is also effective, but sheesh! That can take a loooong time to filter. Who has the patience for that? So what is a chemist turned data scientist to do? Extract the paracetamol away from the binders! Alright, so that isn't really going to save me any time. In fact, it's probably going to take a lot longer since I don't have a roto-vap handy. Ah well, it would be fun and interesting to see if I could get a clear developer that worked.

So off I went to the hardware store to find an organic solvent that would dissolve the paracetamol and leave the binders behind. I had done some internet research and found out that methanol is great at dissolving paracetamol. But pure methanol is hard to buy because it is quite poisonous. Next best? Ethanol. Denatured alcohol is mostly ethanol with a little bit of methanol thrown in to make it undrinkable. I ground up 36 tablets, just in case the extraction efficiency was low. I ground them up very fine and poured it into a bottle with 200 mL of denatured ethanol. I shook that for a few minutes. Then I let it settle and poured the supernatant (the clear part) through a coffee filter into a plastic tub. Thinking back, a shallow glass dish would have sped things up. That took about 2.5 days to evaporate. Yeah, I know. Filtering would have been faster, but this has more 'cool factor'. Once the ethanol evaporated, I had a pink-ish powder. I scraped it off the walls and bottom of the tub and weighed out 15g. I ended up with a few grams left over, so that means that the extraction efficiency is quite high. Now I used that as my paracetamol source and followed the recipe as before. Bingo! A nice clear solution (with some of the sodium sulfite settled on the bottom). I let it 'age' for a few days and a sort of 'crust' formed on the top. So I gave it a shake and re-filtered this off along with the extra sulfite. The next day, the usual 'rodinal' crystals formed on the bottom of my bottle and I knew I was in business. I had a nice clear parodinal with preservative crystals. The only thing left to do was to develop some film. So that's what I did.

Isolette-Acros-010

So what are you waiting for. Get out there and make some developer! :)

Tuesday, February 2, 2016

Isolette III Overhaul part 6

If you have read parts 1-5 in this series, you might have been left wondering "What happened?? Where are the pictures???" Well, I'll tell you. The bellows I made (seen in part 5) were not light tight in the end and there were light leaks apparent in the photos. I am not strictly opposed to light leaks (EXHIBIT A), but in this case, I was hoping to realize the full potential of this camera in the sharpness and contrast categories. So I was unhappy with my results and I took the bellows off and put the camera parts back into the box of disassembled cameras. Sad really. When Christmas rolled around however, I decided to put a custom-made bellows on my list. I knew just where to get it and gave all the details to Santa's little helper. For the benefit of my readership (hi, mom) I'll let you know that the craftsman is Sandeha Lynch and his site is found at http://www.sandehalynch.com/camerawork/bellows.html. It is a beautifully made bellows and fit perfectly without any trimming or fussing.

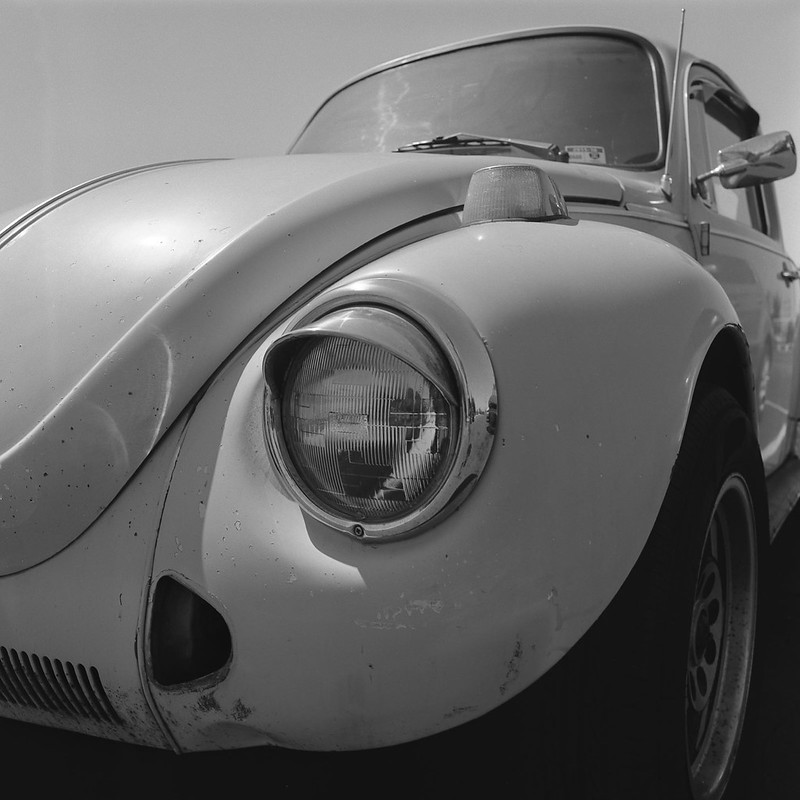
The one struggle I had was getting the retaining ring on the back of the lens plate, but eventually that went on and I loaded a roll of Fuji Acros 100 and started shooting. Here are a few shots from that roll, developed in Rodinal 1:100 x 60min.

Isolette-Acros100-005
Isolette-Acros100-003
Isolette-Acros100-006

Now I'm happy. This camera is fun to use and the results are quite good (technically). The range finder needs a little vertical adjustment, but I think that the lens collimation was successful and especially when stopped down, the Apotar lens produces good sharpness and contrast. This was a good experience overall. I think it is good to get out the tiny screwdrivers once in a while and get a feel for the ingenuity of these little machines. It certainly increased my appreciation for this camera and its manufacture. If you get a chance, pick up an Isolette and see how it works for you.

Tuesday, August 18, 2015

Eucalyptol

One or both of my readers (hi mom) may be familiar with the b/w film developer Caffenol. This is made with instant coffee, washing soda and vitamin C powder. It is environmentally friendly, cheap, high quality, easy and cheap. Alright, I am cheap and Rodinal might be a little cheaper than Caffenol, but there is just something very cool about mixing household ingredients and getting film developer out of it. So I occasionally mix up a batch when I have time. There are examples around here.

Recently, there was a discussion of the active ingredient. It turns out NOT to be caffeine, but caffeic acid. So that begs the question (for me): What else has caffeic acid in it that might be readily available? The answer: The bark of Eucalyptus globulus (according to Wikipedia). This is an Australian native tree that happens to be a common invasive species in So. Cal. where I live. In fact, there are big ones just outside my front door. So it is very simple for me to step outside and collect some bark off the ground, and that's just what I did. I didn't weigh it or anything, this was more of a 'proof of concept' experiment than an optimization. So the best I could say about the quantity used would be 'a couple of handfuls'. I took it inside and broke it into little pieces, then I put those into my coffee grinder. Legal Disclaimer: Do not use anything you plan to later use for food prep when preparing photographic chemistry. I ground it up pretty fine and put it into a pint mason jar. Then I poured boiling water in and let it steep for about 30 minutes. I then poured the liquid through a coffee filter and discarded the used bark. I have absolutely no idea how much caffeic acid is in this tea (if any). I subsequently did some Google Scholar research and found a paper where the researchers could not detect caffeic acid in the bark of Eucalyptus globulus. That was discouraging, but I had come this far, so I decided to at least do a drop test on a piece of film.

To do a drop test, just get an old piece of film, expose it to the light and put a drop of your developer on it. If it turns black, your developer is active, if not, then it isn't. I had a little over 500mL of eucalyptus tea, so I followed the recipe for Caffenol C-L, adding 16g of Washing Soda and 10g of Vit. C. I didn't add any KBr. Then I topped off to 1L with distilled H2O. The film that needed to be developed was Kadak Recordak Dacomatic. This is copy film with a very thin emulsion layer and no anti-halation layer, so probably would be my best bet if the developer ended up being weak. So I cut the leader from one of my rolls and put a drop of the developer (heretofore known as Eucalyptol) on the emulsion. One minute later... nothing. Give it a little shake. Then it happened. The emulsion started to turn. First just a faint brown, then darker and darker. It was working! I swirled the drop of developer onto a different area of the film and there it sat. Maybe there was a little development, but not much. So there it was. A one-shot developer.

Now to decide on a developing time. I figured I would do a stand development, but I didn't want the bromide drag that comes with it on 35mm film. So I decided 1 hour semi-stand with inversions at 20, and 40 minutes. That way, if the dev was weak, at least I might get thin but scanable negs.

Here are some of the results:

N2020-Dacomatic-004 N2020-Dacomatic-003 N2020-Dacomatic-021 N2020-Dacomatic-018 N2020-Dacomatic-014

Okay, HCB I am not, but you get the idea. The tonal scale is compressed (more contrast), though part of that is attributable to the fact that I was shooting mostly in full sun, mid-day at the freakin' beach. You won't find many more contrasty scenes than that. Also the film itself is intended for copying documents, so contrast is sort of its thing. Normally, I develop this film in Adonal (Rodinal) 1:100 for 70min with inversion initially and at 30 min. That gives a pronounced grain that I find appealing. It's not for everyone, especially those who enjoy the digital aesthetic, but I like the grain. With this developer, I am going to call the grain "chunky style", but still not so obtrusive as to be distracting. Additionally, while I was doing some light dust spotting in Photoshop, I did notice some very very small pinholes in the emulsion. These appear as tiny black dots on the scan. My intuition tells me that there could be something in the eucalyptus extract that is being hard on the thin emulsion layer of this film. I am doubtful that I would see it with a regular pictorial photographic film (stay tuned).

Over all, I think this is a good alternative to caffenol for those of us who want to see just how far down we can drive the cost of developing a roll of film in a home-made developer. Here's the math. I used about $0.10 worth of washing soda, about $0.76 worth of vit. C powder, and maybe a nickel's worth of distilled water. So that's around $0.90 in ingredients, not counting the film which was practically free (I think I paid about $0.03/ft). To compare, the same amount of Adonal 1:100 would cost about $0.14. So this isn't really a money saving proposition, especially if you consider the time spent collecting, grinding, steeping and weighing. It is more about the adventure of making something that works. It is closely related to the "maker" movement you see in places like the Maker Faire and Make magazine. It lets us explore our creativity while still engaging our left-brained nature.

Sunday, April 26, 2015

Vericolor III Expired

If you read the post on DIY 120 Film, then this will be old news. Skip to the pictures.

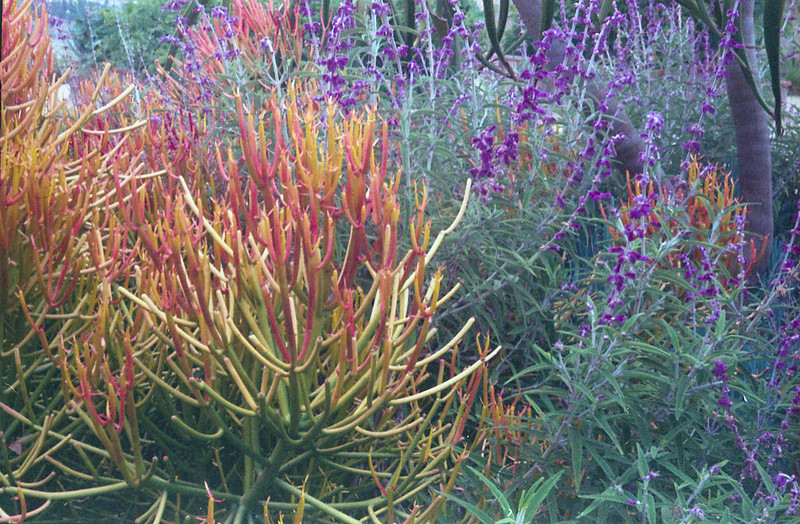
A couple of weeks ago, I found a deal on a 100ft roll of 70mm film. The film expired in 1989 and the seller didn't know how it had been stored, so was selling it at a deep discount. I bought it, knowing the risk. If it had been stored in a San Diego car trunk, chances were that it would be so badly fogged that it wouldn't be usable. However, if it had been stored refrigerated or in a freezer, it could very well make some nice images. As with most 'aged' film, the grain would be pronounced and the speed would decrease about one stop per decade. Vericolor III had a nominal speed of 160, so I decided to shoot it almost 2 stops slower at iso 50. I cut off 1 cm from the edge using the film slitter I made (see link above) and loaded it into my Bronica S2a. I shot the roll and developed it with an old-ish Unicolor C-41 kit at normal times and temps. The uncorrected scans have a bluish cast, but that is pretty easily corrected with the Epson Scan software. It actually does a pretty good job with the 'automatic' corrections it does. So here are a few shots off of that roll. It isn't high art, just some test shots to see how the color and grain fared over the last 26 years.

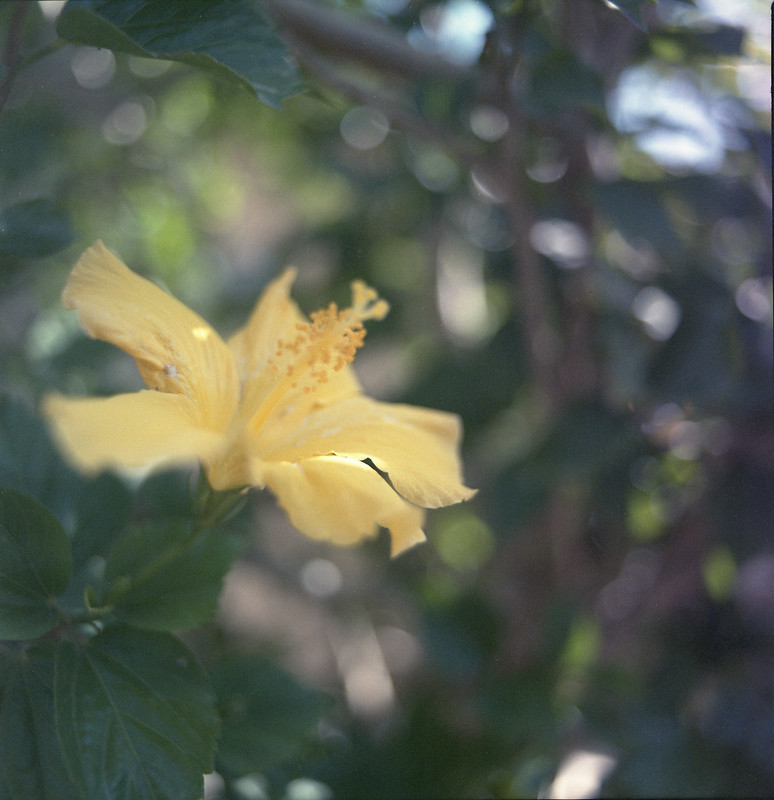
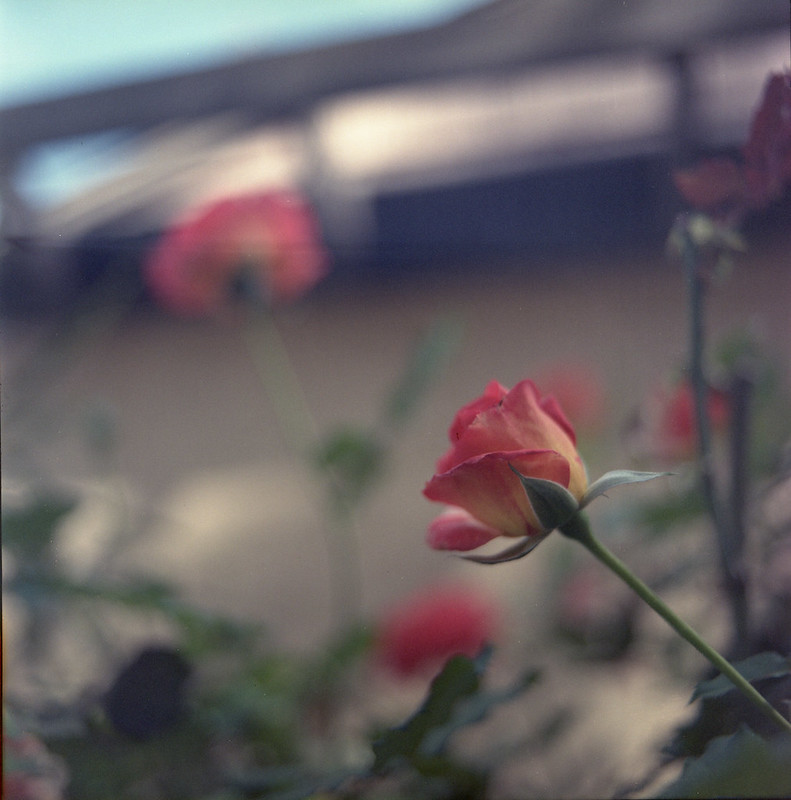
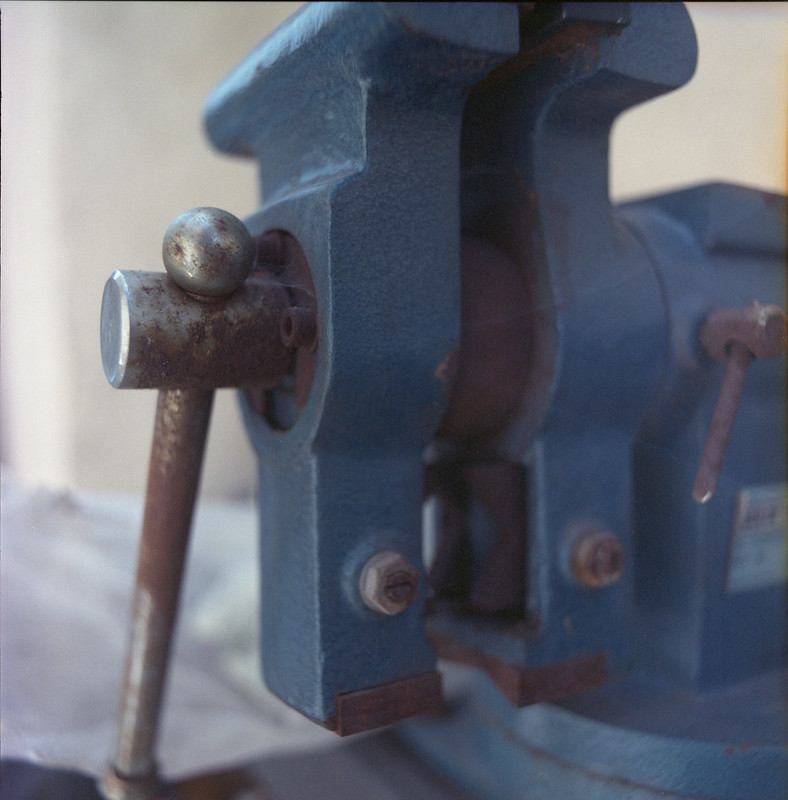
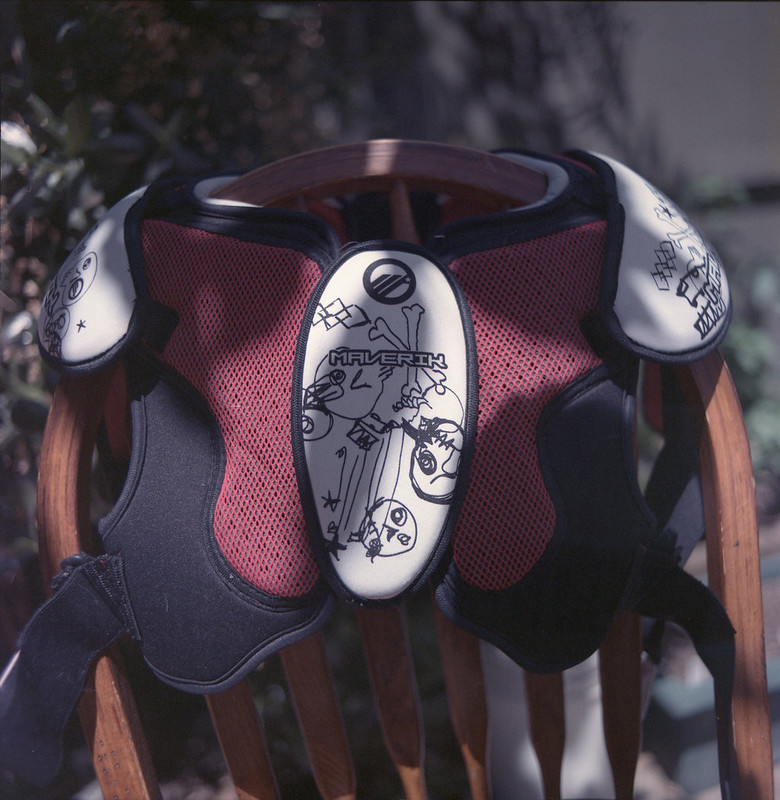
Hibiscus roses vise lacrosse pads

Monday, April 20, 2015

DIY 120 Film

I am in the habit of saving the spools and backing papers from the 120 film I use. I keep thinking, "At some point these will be useful somehow." You know, typical pack rat mentality. I have long wanted to reuse them for their intended purpose and reload 120 film from bulk rolls. Sadly, it seems that I might be the only one. The film manufacturers just don't make bulk rolls of 6 cm film stock. So recently, while poking around the analog photography corners of the big auction sites, I found a bulk roll of 70 mm Vericolor III. It was cheap because the current owner didn't know how it had been stored. It was unopened IOB and marked expired in 5/89. Twenty-five years is not too old for film kept refrigerated, but kept in a So. Cal. closet, 25 years can be pretty damaging. Ah well, it was cheap (about 35¢/ft = <$1/roll). So I am set for rolling 616/116 rolls (though I need to get my hands on some backing papers), but I'm ~1cm too wide for 120. What I need is commonly called a film slitter. These are common among the sub-mini shooters who need to cut 35mm film lengthwise to fit their tiny format cameras. However, they are not so common for the medium formats. Being me, I figured "How hard can it be?" and drew a couple of little sketches to see what I thought might be feasible. For me though, the design work really starts happening when I sit down with a cutting mat, some foam core and an exacto knife.

Here is a list of the materials I ended up using:

  • Black Foam Core
  • Self-adhesive Flocking Material
  • Single-edged Razor Blade
  • Steel Ruler
  • School Glue
  • Thick Tape (Gorilla Tape)

The following is just my experience. I am not suggesting that you do this. Razors are sharp and you can get cut if you are not careful. Please don't sue me if you cut yourself or ruin a bunch of film. I am not liable for anything bad that happens as a result of anyone following these steps.

First, I made the film channel. I did this by cutting and gluing a foam core 'sandwich' with two narrow pieces on either end to create the gap and a 70mm wide channel through the middle. If I made another, I might make this with thinner material in the middle, but as it is, the thickness makes a good amount of material to hold the razor blade. I lined the channel with the camera flocking material. In my mind, it seems like this will help prevent scratches as the film passes through. In practice, it might just hold dust and stuff that will make the scratches worse. We'll see.

Next, I measured off 61mm and cut a slit in which to insert the razor. I could make other slits for different formats like 127, but maybe on the next one. I figured inserting it at an angle would increase the cutting efficiency and give more surface area for the razor to 'grip'. I don't want to glue this in as I would like to be able to change the razor if it gets dull. There was still a good amount of the razor exposed, so I used the Gorilla Tape to cover the sharp edge. Obviously, having an exposed razor in the dark is a bad idea.

Finally, I figured it would be good to have another channel to feed the backing paper through since it needs to line up with the film while I roll it onto the spool. I cut another piece of foam core to the width of the slitter and instead of using foam core pieces to make the channel, I just rolled up some Gorilla Tape and used that. This makes a narrower chamber and the paper slide through nice and straight. Here is a shot of it ready to go into the dark room. The film will be feeding through the top channel, emulsion side up. I put a crease in the backing paper where the film should start. In the dark, I just line up the end of the film with that crease and start rolling. There is another crease at the other end where the film gets taped down.

In the dark, I got the film out of the can and put the spool back into the cardboard box it came in so that the emulsion was up as I pulled the film out. I then started feeding the film into the top channel of the slitter. It wouldn't start cutting. After a few false starts, I decided I had to cut some off and try in the light. So I cut about 10" and put the spool back in the can, and put the can back in the box. In the light, I had no better luck. I thought the razor would just cut through that film like a hot knife through Justin Bieber's face, but it would not start. So I cut a little notch 1cm from the edge and tried again. Success!! It pulled through trimming a perfect 1cm strip from the edge of the film. So that's the trick. I have to start a cut 1cm from the edge in the dark. I cut a little strip of thin cardboard from a cereal box 1cm x ~6cm. This would be my guide. In the dark, I held the guide even with the long edge of the film and made a cut with a pair of scissors. Then I fed the film into the slitter and pulled the edge through so that it was even with the crease in the paper. Then I would pull a few inches through and roll it up, pull, roll, pull roll. All the time I was feeling for the final crease. That is where I would cut the film. I figured if I want to do another 120, then I would cut the film on the near side of the slitter, leaving the 'start' for next time. If I want to do a 116 next, I would cut the film on the far side, leaving the full 70mm width with no starting cut.

I loaded this 120 roll up into my Bronica S2a (article on that camera to come) and went out to test it and see if it at least fed through the camera normally. Twelve shots came off without a hitch. I suppose I could roll 220, but I would have to devise a way to measure the length in the dark. Not impossible, but probably not worth it since I don't really like 220. I will post some of the pictures if the film turns out to be any good. Feel free to post any questions or comments about this slitter or one that you have made. I am eager to improve the design.

Saturday, November 8, 2014

Perforating 126 Film II

I thought I would follow up with a little bit of what I've learned after using the perforating rig on two rolls and running them through the Kodak Instamatic 500.

First, there is a little bit of room in the rig, so the film can slip down maybe a mm or two and the holes end up being up on the edge of the film. That makes them too high for the shutter reset pin to engage. Here is a pic of the shutter reset pin in the camera.

And here is one of the film I perforated.

The two strips on the bottom are the first roll I did and after I only got 5 shots for 12 perforations, I was more careful about lining up the second roll with the top edge of the perforating jig. That one did much better and I got 10 shots on that one. The ones that missed were still up at the top edge. I attribute this to the 'wiggle room' I mentioned before and also to the fact that the holes are hard to find in the cardboard in the dark. Also the paper hole punch is a little difficult to manage in the dark because I have to get the cardboard and the film into the punch where it is designed for only a piece of paper to go.

The next steps are to cut a new jig out of 1/16 inch acrylic and possibly purchase a hollow leather hole punch to make the holes in the film. That would be simpler because I would just have to get the end of the punch into the existing hole in the jig and turn with a little pressure to punch out the film.

One last issue is frame spacing. I used an old roll of 126 film to position the holes in the jig, but the holes in the film are oblong, so I just aimed for the center. That made the images on the film come out right next to each other without any spacing between. I will adjust the distance between the holes and see if that problem doesn't go away. Stay tuned.

Here are a few shots I took with this film. It is Konica brand color negative film which I shot at its box speed of 160. It came out with a purple cast, which is not the end of the world, but I might lower the speed and see what it does. Also, my C-41 chemistry is WAAAY past the manufacturer's recommended roll count, so I will mix up a new batch.

instamatic-007
instamatic-006
instamatic-015

Friday, October 31, 2014

Perforating 126 Film

A while back, I got the idea that I wanted an Instamatic camera. Why would I want an archaic camera for which film is nigh impossible to find? In fact, the only place to find "new" 126 format film is at the Frugal Photographer with an anything but frugal price tag of $25/roll! That's over a dollar a shot for what is essentially 35mm film in a fancy cartridge. The fortunate part of this is that 126 film is, well... essentially 35mm film in a fancy cartridge. That means that (according to the Google) you should be able to manually load the 35mm film of your choice into an empty 126 cartridge and be on your way. Well, yes and no. Most of the instamatic format cameras were quite simple with fixed focus, single aperture, single shutter speed lenses. The winding mechanism worked on the principle that there was a single perforation along the top edge of each exposure, so as you wind the film, a pin in the camera pokes through that single perforation and stops the winding mechanism until the shutter is tripped. Well, 35mm film has 8 sprocket holes for each (24x36) exposure, so that pin no longer works for spacing. The 'work around' most instamatic cameras allow is that you fire the shutter for your picture, then you hold the shutter release button down again when you wind the film and instead of the camera telling you where to stop, you guess and by trial and error, you figure out how many actuations of the winding lever you need to make the right frame spacing. Unfortunately, the camera I have is a Kodak Instamatic 500. I say "unfortunately" not because I don't like the camera. Quite the opposite. This camera has full manual control of a good quality lens and shutter. However, it does not allow the "hold down the button" trick to work. Once the shutter is fired, the pin is up. If you have 35mm film in the cartridge, you have to try to power through the sprocket holes (note: forcing dials, knobs, and levers on a camera is never a good idea). So what to do with a perfectly working camera that is impractical to use with current film?? The only rational thing I could think to do is to make my own 126 film.

There are a couple of options here. First would be to use some sort of tape to cover the unwanted perforations in current 35mm stock. It would have to be done in the dark and working with sticky tape and film in the dark is just a recipe for disaster and frustration. The other option is to buy unperforated 35mm film and make the perforations myself. Again, it will have to be done in the dark, but a hole punch is a lot easier to deal with than sticky tape (I think). The trick then is figuring out where to punch the holes in a reasonably accurate way and then lining them up with corresponding holes in the backing paper (should you choose to use it). The answer is to use a 'jig' that will guide the hole punch to the right places. First, I made a prototype with cardboard. I used an existing authentic roll of old 126 film as a guide to put the holes in the right places.

The two pieces fold together to 'sandwich' the film, holding it steady with some bulldog clips. Here is a picture of the jig with film loaded.

The first time I tried punching the holes with my eyes closed, I accidentally punched an extra hole. When I make the real jig with acrylic sheet, that won't happen because the hand held hole punch won't be strong enough to punch new holes. It will just punch through the pre-drilled holes through the film. Otherwise, it worked perfectly and the film holes lined up with the paper holes.

Getting the film positioned correctly on the backing paper in the dark is a little tricky, but usually I will put a crease in the paper where the film end is to be taped down. Also, the holes in the backing paper are sort of oblong, so there is some tolerance for misalignment. The alternative is to tape the film to the paper first and then punch the holes through both at the same time. Then alignment is pretty much assured.

I have yet to test this in-camera, but I am hopeful that I will be able to use this unperforated film to get this camera running. I will update soon with results.

Update: Go see PART II.

Tuesday, May 20, 2014

Isolette III Overhaul part 5

Ok, two posts in one day must be some kind of a record (for me). Actually, I should have just waited and added this last part to part 4, but I didn't so here it goes.

The (almost) last step is to re-attach the focusing ring to the outer (front) lens element so that when you turn the ring, the front element turns as well. The trick is to make sure that what the ring reads is actually the distance at which the lens is focused. That process is called collimating the lens. First, you need two cameras; the one you are reassembling (camera A) and another with an accurate infinity focus (camera B). First though, we need something on the film plane of camera A on which to focus camera B. I used a couple of pieces of cello tape and drew an 'X' at (or near) the center. Like this:

Screw the front lens element of camera A all the way in (to the right), but not too tight. Now open the shutter on camera A either with a 'T' setting or with a remote shutter release cable and a 'B' setting. My Isolette doesn't have a 'T' setting, so I am using option 'B'. :) Once the shutter is open, point the cameras at each other. I read online that it doesn't matter how far apart they are from each other, but after a few frustrating minutes, I found that camera B must be farther away than the minimum focusing distance of its lens (duh!). I set camera A on the mantle with a light shining behind it (to light up the 'X'), and put camera B on a tripod at the same height.

Line things up so that you can see the 'X' on the tape through the viewfinder of camera B. Now focus camera B at infinity. The 'X' will probably now be out of focus. Start turning the front lens element of camera A counter-clockwise about a quarter turn at a time. You should see the 'X' getting clearer (in my case I couldn't see the whole 'X', but part of it was good enough to focus on). Keep going until the 'X' is in sharp focus.

That's it!! Now I just put the focusing ring on so that the infinity (sidways 8) lined up with the focusing mark and tightened the three set screws. The front element doesn't turn real easy, but I was extra careful not to nudge it and lose my focus point. Now I have a fully functioning Isolette III! I immediately loaded up a roll of expired Tri-X and started shooting. I read somewhere that the springs on these cameras are so powerful that they can suck the film away from the pressure plate and ruin the focus of a shot. So the workflow for this camera goes:

  1. Unfold
  2. Wind on
  3. Focus with the rangefinder
  4. Transfer the number from the rangefinder to the focusing ring
  5. Cock the shutter
  6. Compose and shoot
  7. Fold

Stay tuned to see some photos from this camera. So far, just using it while I walked my dog this evening, I am really impressed with the ease of focusing and the quietness of the shutter. I think this will be one of my regulars from now on.


Isolette III Overhaul Part 4

Well, first let me apologize for dragging this out so long. Making bellows turns out to not be recommended for the faint of heart. The first one I made (see Part 3) was really a 'learner'. I didn't really expect that one to work, but it would have been a nice surprise if it had. Mainly, what I learned was that my materials were right on the edge of being too thick, especially on the seams, and the glue I used to attach the outer covering was too goopy and I couldn't spread it evenly. Also, it was hard to get it to fold neatly. Partly this was my fault because I made the inner seam and outer seam on the same side, so it got really thick there. So here is what I did differently...

First, I changed the stiffeners template to include trapezoids for the top and bottom instead of using plain rectangles all the way around. I decreased the thickness by making the seams on opposite sides (top and bottom) and also by cutting a piece out of the middle of the stiffeners right where the inner seam was. That is the thickest part of the bellows, so every little bit helps. Cutting and gluing all of those pieces on individually was a pain. I will find a better way next time.

Next was gluing on the outer cover. I made sure to position the seam on the opposite side from the inner seam. Also I diluted the glue 1:1 with water and used a broad brush to apply it to the cloth. That made it pretty wet, but not dripping. That actually helped to spot and press out any air that was trapped between the layers. I let that dry overnight. I know it doesn't look that good here because the fabric is wet and nearly transparent.

Once it was dry, I went about folding the pleats. Remember, the wide stiffeners go 'up' from front to back. That's partly how it gets bigger at the rear. It folded up pretty easily with the new improved stiffener shapes. Once folded, I put a piece of paper over it and a heavy object on top of that to help set the creases. That sat for a few hours that way. Now for installation!!

It was pretty straightforward, just a reversal of the disassembly process. I started at the front, putting the brass plate in place. That was a pretty tight fit and I ended up cutting off the front most pleat. Then I put the lens/shutter in place on the front plate/standard and screwed the rear retaining ring (inside the bellows) to the threads on the rear lens element. Then I applied a little contact cement to the back flange where the other bellows was attached and folded over the back pleat of my bellows. Again, I cut off the rear most pleat for a better fit. There is still plenty of length for the camera to extend. I had to wrestle the mask back into place, but once there, it lined right up with the screw holes in the film roll wells and I got it screwed down. Finally, I replaced the film roller rods and folded the camera. It worked!! The camera folded up and closed. It's a little tighter than the original, but I was very excited that I got this thing to work at all.

Now all that is left is to collimate the front lens element, so that it is focused on infinity and replace the front focusing ring. Once that is done, I will have a fully functioning Isolette III. Stay with me for one more post!


Sunday, May 11, 2014

Isolette III Overhaul part 3

In the last post, I left off after assembling the aperture. The shutter leaves go together in a similar fashion only they are all identical and there are only 5. If you took pictures before (I document almost every step with my phone) it should be easy to put it back together like it was. Now the trick is to put the two 'halves' back together. It took me a couple of tries since the shutter leaves tend to move out of position, but I got it back together without too much hassle. One thing I didn't check before putting the screws in was the self timer. It turns out that it doesn't stay cocked. These are notoriously fickle on many old shutters and I don't plan on taking any 'selfies' with this camera, so for now I'm going to leave it. I might change my mind later and take it apart again, but that will take a little more disassebly of gears and whatnot.

I had some trouble getting the front lens element screwed in to the middle element assembly. It just wouldn't start on the threads. The threads are VERY fine and the metal is a little on the soft side, so forcing it is going to end only in sorrow. I sent an email to Jurgen over at Certo6.com and he was very kind and gracious enough to give me this advice.

Hmmmm, happens often with Zeiss front lens units... almost never with Agfas.... hmmmm. Well, when I do run across this annoyance, I make sure I really really clean the threads, first with q-tips and a solvent. Then use a dremel wire brush ( without glass in the brass holders ) to really make sure its clean... this is for both the front lens unit and the middle one that the front screws into. In both cases having removed the glass. If it is still tight or "can't find the thread", then I have to use a very fine polish compound on the front lens unit and work it till it goes in and smoothly. This is really tough on the hands and must be done with the glass in the holders and having the correct size clamp tool on the middle unit ( which is being screwed into ).

A little extra time cleaning the threads with solvent and q-tips and adding a tiny bit of lithium grease did the trick. I got the front element on and screwed all the way down. Notice that the focusing ring isn't on yet. That will be the last step, recollimating the infinity position.

Next I needed to reassemble the top. Before that, I needed to loosen up the rangefinder wheel. It was frozen with the same green grease that tends to freeze the focusing helicoid. I carefully dripped a little bit of Ronsonol lighter fluid being extra super careful that none got anywhere near the mirrors. The coatings on the mirrors are delicate and if you mess them up, your rangefinder is toast. The rest of the top assembly is pretty straight forward. My model has the focusing range reminder on the left, so those small screws took a little finesse to get into their tiny holes.

Now the shutter and the body are assembled. On to the bellows!!

Fist I had to get the old bellows out. There is a roller bar on either side of the film mask. These are just held in by the tension of the metal at the top and bottom on the pins at the ends of the rollers. Push up at the top and down at the bottom near the roller and it will drop out. The rollers are unique, so note which one goes where. Next the film mask needs to come out. There are two screws on either side in the film roll wells. Remove those. Now there is a bit of glue holding the bellows between the mask and the frame of the camera. Start wiggling the mask around gently until you hear the glue start to crack. Then pry gently with a screwdriver or a butter knife. Eventually, the mask will come off. Now pry the bellows out and away from the frame of the body. It will probably tear a little, but we are throwing it away, so no biggie. Use fingernail polish remover to clean the dry glue off of the frame and the mask. It probably doesn't need to be perfectly clean since it is just going to be glued again.

There is a brass plate glued to the front of the bellows that you will need. Get it out and clean off any dry glue or other remnants of the old bellows. You will now need an Isolette III bellows. There are sources to buy them pre-made on the interwebz, but if you have come this far, you may as well make your own, right? There are patterns for free download. I used these from the Most excellent resource RolandAndCaroline.co.uk:
Agfa Isolette Replacement Bellows L&C.pdf
Agfa Isolette Replacement Bellows Ribs.pdf
The first template is for the inner and outer fabric coverings. The second is for the paper stiffeners and for the gluing tower. Download and print two of each.

Now there are some decisions to make. First, what will you use for a light-tight layer? I had a blackout curtain panel laying around. One side is black fabric and the other is coated with white rubber making it light-tight. I used one of the 'L&C' templates to cut out the piece I need. It turns out that the template is a little bigger than I need, but it's easy enough to trim later. Next I cut the stiffener ribs out of a thin card stock. It is a little stiffer than regular paper, but not much thicker. You have to be conscious of the thickness of these layers because if they are too thick, they won't properly fold into the camera. It will still take photos, but you just won't be able to fold it and take advantage of one of the awesome features of these MF cameras. I also cut one of the stiffener panels in half so that the overlap would happen in the middle of a panel and not at a corner. That is more of an aesthetic choice than a practical one. Here you can see that the opaque cloth is going to have a lot of overlap when I go to glue it. I trimmed it down so that it only extends about 1/4 inch past the stiffeners.

Once I glued the stiffeners down to the cloth, I let the glue dry and cut the 'support' sides off of the paper stiffeners so that only the 'ribs' are left. Then I cut the cloth as described above.

Next, I needed to make a structure that would hold the flexible (I might even call it 'limp') cloth/stiffeners assembly so that I could glue the seam. I used foam core and Gorilla Tape. I cut two of the 'stiffener' panels from the pattern linked above. Then I cut two more that were narrower by the exact thickness of the foam core. It just so happened that the 'border' lines on the pattern are exactly the thickness of my foam core, so I just cut along those inner lines and it came out to be the perfect width. I also cut all of the pieces a couple of inches longer than the template. I taped them all together and then measured the dimensions of the opening at the bottom of the 'pyramid'. I cut a square of foam core to that dimension and taped it in. This gives the structure more rigidity and keeps things square.

I then put some contact cement on the edges of the cloth and wrapped my 'bellows' around the tower so that the edges of the 'half-ribs' all lined up.

Next will be to glue the outer covering on to the bellows, fold them and install them into the camera. Stay tuned to see it all come together (fingers crossed).