Sunday, August 31, 2014

Exif Data

Since the beginning of photography, artists have recorded information about their camera, emulsion and exposure. Historically, this was done with pen and paper. I myself have used the archaic method of capturing this 'metadata'.

Indeed there are companies who will sell specialized notebooks just for this purpose. These are very handy and if you like the full analog experience, I highly recommend getting one of these to record your photo details.

For those who shoot digital photos, there is an automatic convenience feature called "exif". This stands for Exchangeable Image File Format. Really, the feature is the "tags" or "metadata" that gets captured and encoded with the image data. These are things like make and model of the camera and lens, focal length, exposure time, iso setting, date/time, etc. In cameras with gps (like smartphones) you even get location data. Now that all seems really cool, but I have to admit that when I shoot digital, I don't care about any of that. I shoot RAW so I have 3 stops of data built in. I can chimp to my heart's delight, so I don't have to accept any bad exposures. There just isn't really any use in my workflow for all of the exif data. On the other hand, when I shoot analog (film) I often want to know which camera I used, what the emulsion was and possibly exposure details. This is because when I go to scan the photos and I have a bad exposure (or a particularly good one), or if I was using an unusual type of film, those details can come in handy for correcting mistakes and not making them again. So how do I get the exif for my film photos? Well, we are in the 21st century after all. There must be "an app for that"... and there is.

I am an Andriod user, and in the Google Play store, there is an app called Exif4Film. Actually it's a pair of apps. One for your phone and one for the computer you use for scanning your film. The phone app allows you to enter your equipment (cameras & lenses). Then you add a roll of film and assign the camera/lens you are using. For each shot you take, you add a shot to the roll in the app. It also records the time/date and location from your phone. You also have the option of taking a 'reference photo' with your phone's camera. At the end of the roll, you upload the data to Drop Box (yes you will need a Drop Box account). Then when you scan the photos, you tell the desktop application which file in your Drop Box location goes with those photos. It lets you match which image file goes with which exif entry. That's it! Now your scans have the exif data you recorded when you took the photo. Cool, huh? Ok, it's a bit more work than pressing a button, but it gets the job done and now you don't need to go try to find the data back in the pages of your notebook. I think it is a very nice app and well worth the price. Oh, did I mention that it's free? Give it a try and see if it fits into your analog workflow.

Saturday, August 30, 2014

Brownie Hawkeye Flash Model

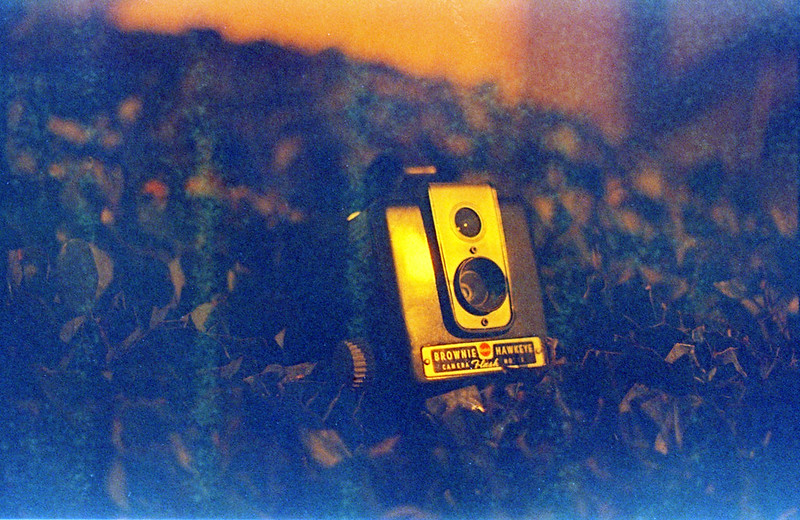
I like Bakelite. There, I said it. Specifically I like Bakelite cameras, but radios, jewelry, you name it. At one time it was probably made out of Bakelite. For the youngsters who might be reading this, Bakelite was the first synthetic plastic. I recently acquired a 11953 Kodak Brownie Hawkeye Flash Model (made with Bakelite) from the local Goodwill. I went to pick it up after winning the auction and the young man there lifted it out of the box and didn't notice that the back was not latched to the front. In his defense, he has probably never held, let alone used a camera that wasn't also a mobile phone, so why would he think to be careful about latching the front and back together? The back fell about 4 feet to the concrete floor. A modern plastic would have cracked if not shattered, but the Bakelite took it like a man and just bounced a little. I picked it up, reassured my intrepid assistant that it was fine and put the two halves of the camera together, making sure the latch was fastened. It looked like it had been sitting in an attic for 50 years (which is fairly likely), but the shutter was working and all of the transparent parts were intact. So I took it home and after loosening the 6 screws that hold it all together, started cleaning. For Bakelite, I haven't found anything much better than Flitz for cleaning. It is like toothpaste for plastic and metal. Instead of a brush, I used a paper towel and inside of 30 min, the Bakelite was shining like brand new!


1953 Brownie Hawkeye Flash Model

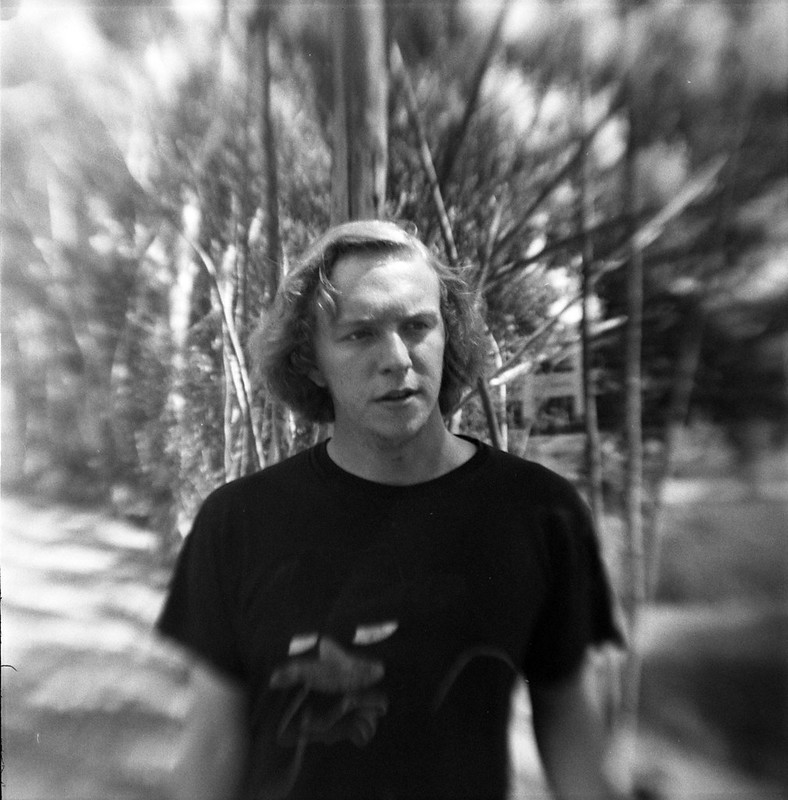
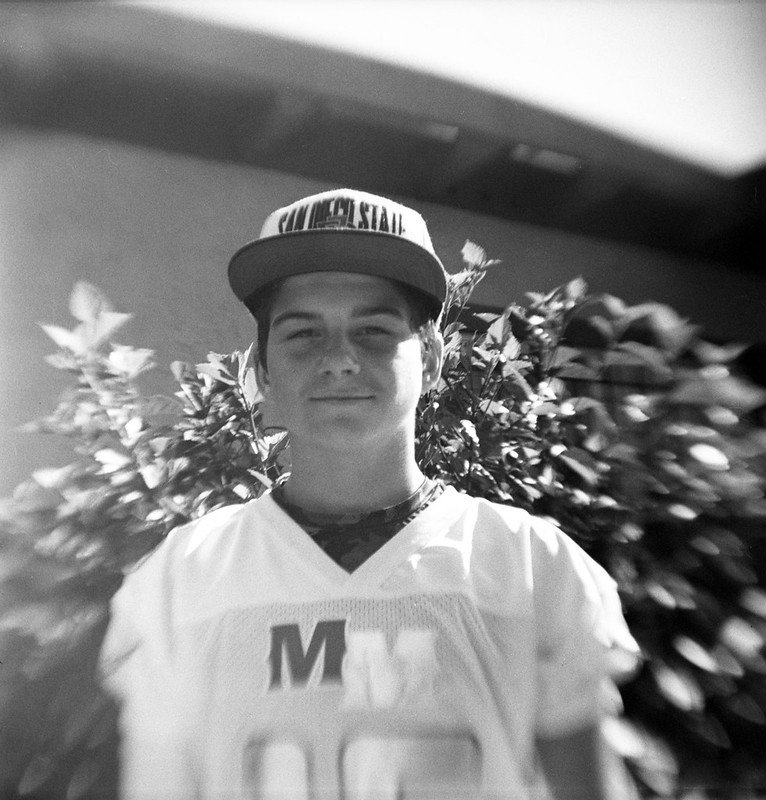
The lenses and mirror took a little soapy water and they were perfect as well. The lens is a single element plastic meniscus lens. So one side is convex and one side is concave. Normally, the convex side goes inward toward the film and that focuses from about 5 feet to around 15 feet. While I was putting it back together, I thought I would flip the lens backwards (this is a common thing to do with these cameras). That causes the lens to focus from about 3 feet to infinity, but only in the center. The edges are thrown into immediate blur. This has a similar effect to vignetting. It draws the viewer's attention to the center of the frame. It is a compositional tool. Especially in square format cameras, which this is, centering your subject is not a 'no no' like it is in rectangular formats. So if you are planning on taking photos where the subject is centered, this might be a good camera to have on hand. It is all fixed (focus, aperture, shutter speed), so the only way to get the right exposures is to choose the right film for the expected light level. I chose expired Tri-X 400 which is nominally iso 200, so works well for sun or shade. Indoors, I would probably have to attach the flash unit (which came with it) and use flash bulbs. Tri-X will push to 3200 or so, but with expired film, the grain is already pronounced, so a 4-stop push is well... pushing it.

Here are a couple photos I took with it.


hawkeye-004
hawkeye-001

Worth noting is that this camera takes 620 film. Google it and find out how to respool regular 120 film onto a 620 spool. You will have to do that in order to use this camera. Don't worry, every one of these I have seen has an empty 620 spool in it. Have fun with these old Bakelite cameras. They will probably outlast us all.

Saturday, August 23, 2014

That's Just Crazy

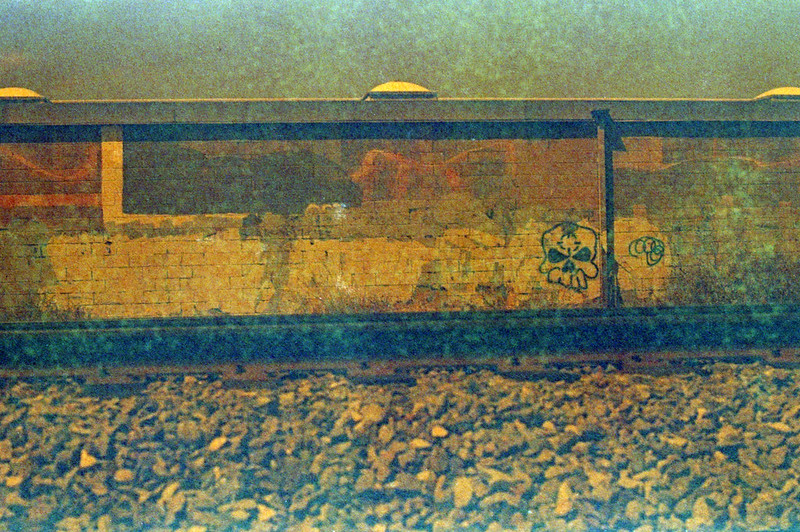
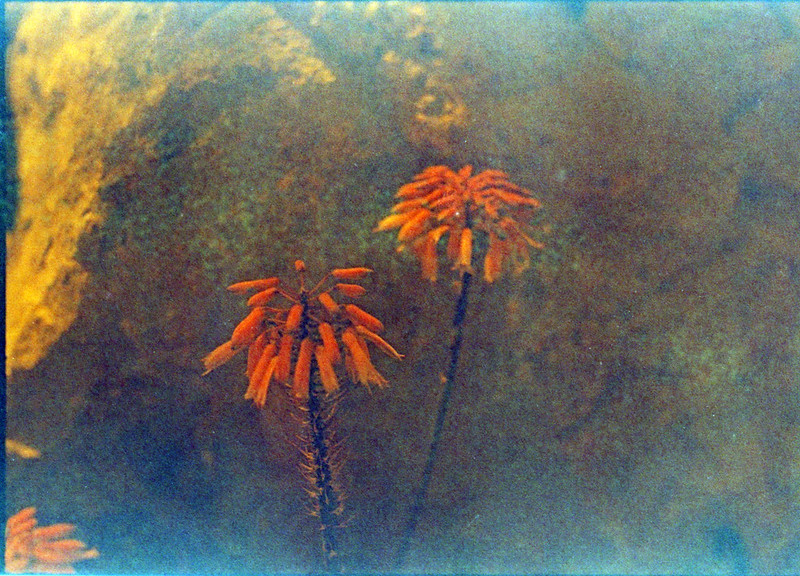
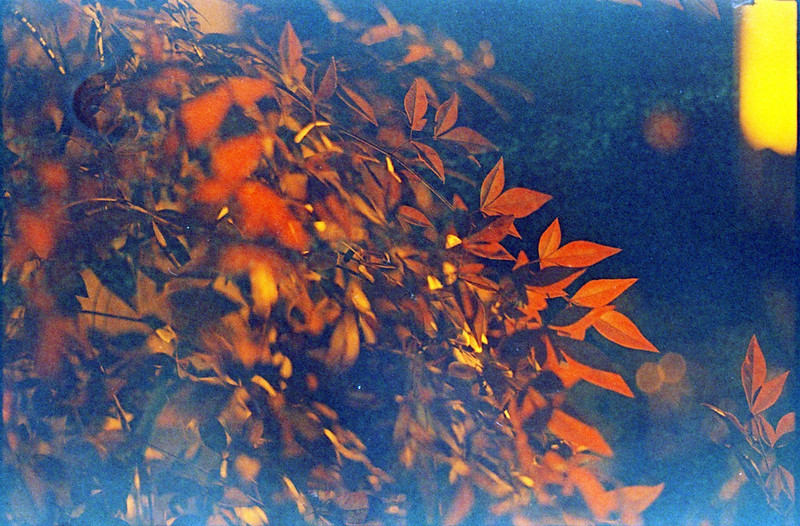
I traded some film with another Filmwaster. I sent him some expired FP4 and he sent me some expired Ektachrome 64 Daylight. He had exposed a roll and cross-processed it and didn't like the results, but I thought it was kind if cool. It had this blue/green color cast that was unique. I instantly thought that a little red would 'balance' things and add some contrast. Redscale would certainly do that. What's redscale? That's when the film is in the camera the 'wrong' way so that the emulsion side is facing the back and the light is passing through the base material first and the emulsion layers in the reverse of the intended order. It generally makes things look like you have shot them through a red filter, but with some color balancing magic, you can get some really cool effects. So I went into the darkened bathroom at my house and pulled the film out of its canister. I then clipped it off at the end, flipped it over and taped it back on the stub hanging out of the canister. Then I wound it back into the canister and trimmed the leader so that it would fit into the takeup spool of my '65 Nikkormat FTn. These shots were all taken with the Nikkor 50mm f/1.4 lens. The first part of the roll (about 20 exposures) I metered at iso 25. The next 8 shots were at iso 16 and the final 8 were at iso 8. I figured with that scheme, I would at least find out the best speed for this film when 'redscaled'. I developed in a Unicolor C-41 kit that is probably nearing the end of its life (but still good).

Here are a couple of shots from the roll. Head over to my Flicker album to see more.

redscale-029
redscale-016
redscale-013

Saturday, August 16, 2014

Moving Back to Flickr

I know a while back I said I was moving away from Flickr because of all of the changes they were making to their user interface, and I was having some real problems getting links and such. So I went over and used Ipernity for a while. I never joined the "Club", so I had limitations on my account and had to find work-arounds for some things like direct links to photos. It wasn't long before I started creeping up on the 200 image limit and when I saw the end in sight, I needed to make a decision. Either join the "Club" or go back to the less limiting free Flickr account. So after weighing the cost/benefit I decided to return to Flickr, get used to the problematic user interface and get on with sharing photos. It turns out that some of the bugs I was experiencing before had been fixed, so that's nice. I will leave the photos I uploaded to Ipernity over there since I don't want to go figure out where all the links are and change them.

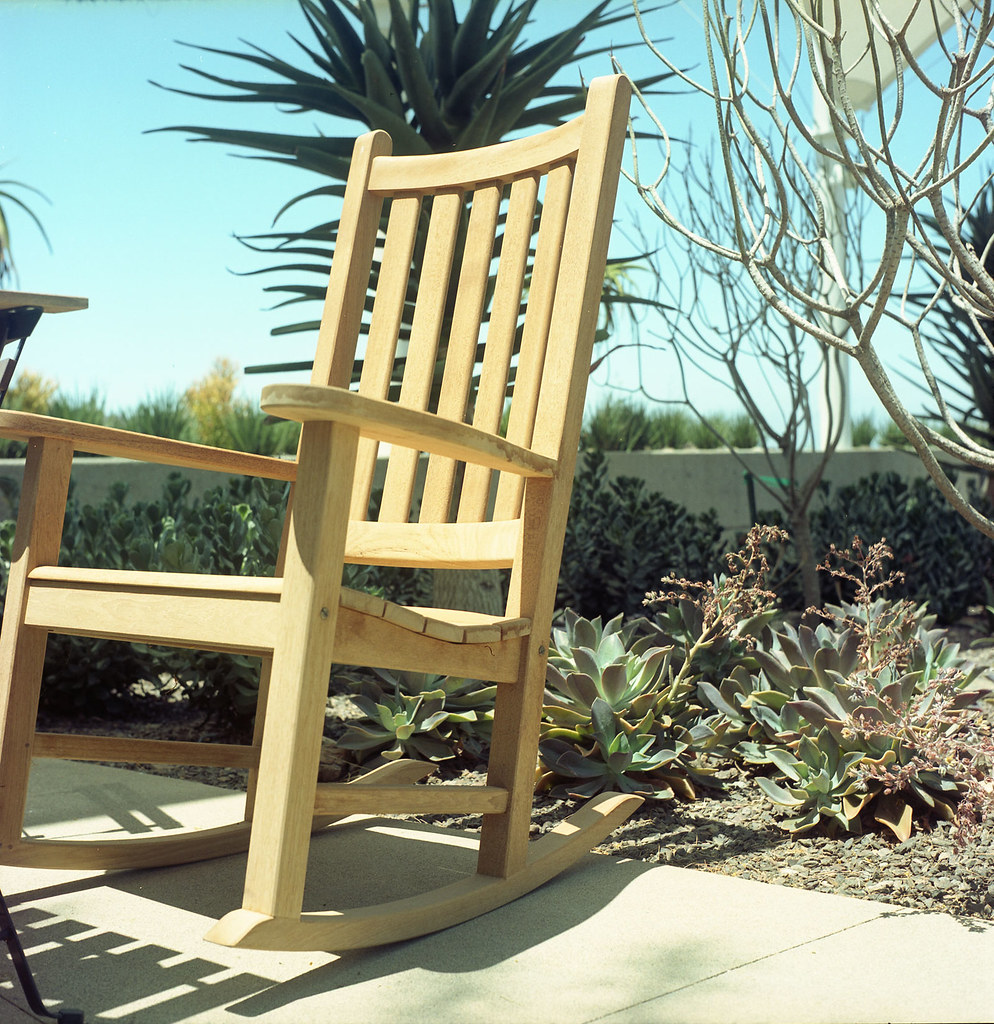
Since I don't like posting without having a photo to show, I will just put this up for your enjoyment. :)

Taken with my Yashica Mat 124 on Kodak Portra 160

Comfy Chair

Friday, August 15, 2014

"-matic" Squared

I picked up a Kodak Instamatic 500 at my local Goodwill via the Goodwill Auction Site. It is a beauty even though the instamatic format was doomed. The film came in plastic cartridges called "126". The film was actually 35mm stock that was perforated differently (one oval perforation per frame) and the images were square. The other difference was that the film was wound in the cartridge with a paper backing like 120 film. This allowed the cartridge and the cameras to have windows in the back where the frame count was viewed (printed on the paper). There are videos online that demonstrate how to spool regular 35mm film into a 126 cartridge, so I won't belabor that here. I took some of my 400' reel of Dakomatic Recordak and taped it to the backing paper (that's not how they do it in the videos, but I thought it was worth a try). The iso is set by a notch in the cartridge, so I couldn't use the internal meter. I hand metered or used Sunny 16 at iso 25. One of the nice things about this camera is that aperture and shutter speed can be set manually. Most other instamatics are full-auto point & shoot types of cameras, but there were a few that gave control to the photographer. One thing I noticed about this camera is that the shutter is for all intents and purposes, silent. I can barely hear it when I am shooting. If I were to shoot from the hip and not hold it up to my eye, my guess is that no one would even know a photo had been taken. The view finder is big and bright with parallax lines for closer subjects. The meter's match needle is at the bottom of the finder and I find that I have to adjust my eye to see it, but unless I am shooting film that matches the notch on the one cartridge I have, I won't be using it. Focusing is by distance estimation in m or ft (range focusing) or by matching little pictures (a la Holga) with the focus mark. The ranges are on the top of the lens and the pictures are on the bottom. I have gotten used to range focusing with my Voigtländer Bessa, so that is the method I use and I am usually close enough. This lens opens up to f/2.8, so I will have to work on my accuracy if I want to shoot those sweet sweet OOF backgrounds.

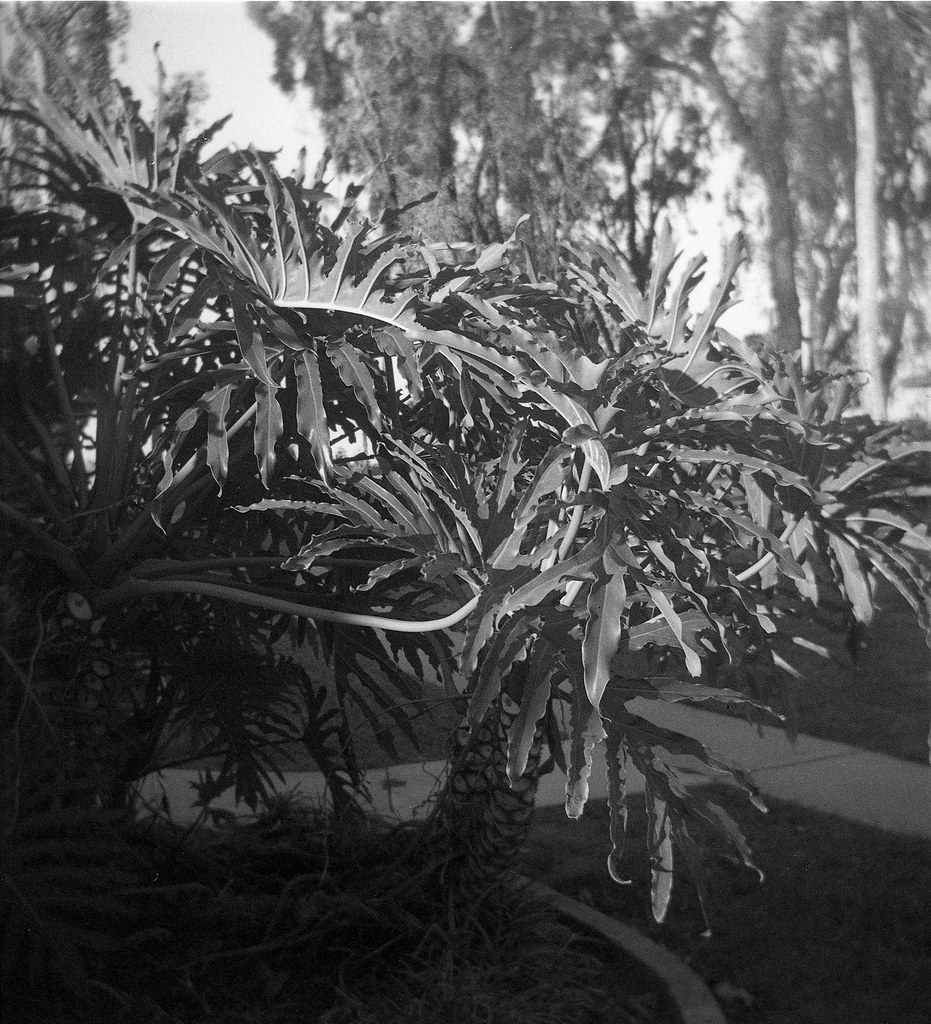
So here is one of the photos I took. Not super exciting, but it does show the contrast and clarity of the Schneider-Kreuznach Xenar f/2.8 38mm 4-element glass lens. There is also a nice little bit of 'swirl' in the corners that adds a little old school charm to the photo. I think I will be loading this camera more frequently and keeping it handy.

Dacomatic in the Instamatic