Showing posts with label believeinfilm. Show all posts

Friday, April 20, 2018

This Argus is Super

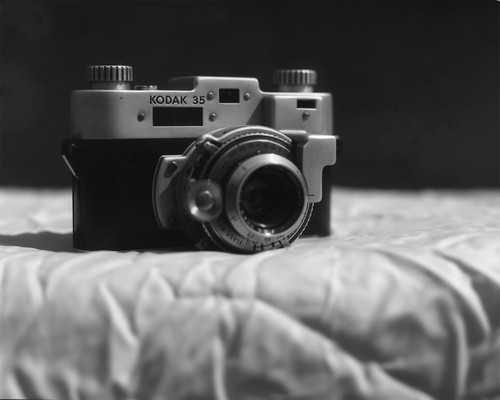
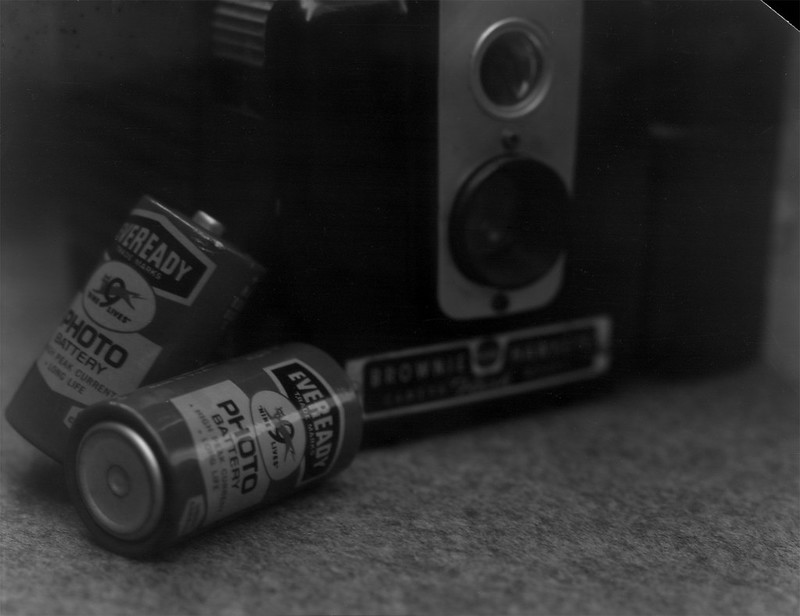
Thanks to Madmen, midcentury modern is the bee's knees. Generally people are looking for furniture and design elements for their homes. Me? I love 50's cameras. Give me bakelite over titanium any day. The classic "faux TLR" is the Brownie Hawkeye Flash. I have two of those and they are genuinely fun to shoot. Taking a (small) step up in control brings me to another favorite, the Argus Super Seventy-five.

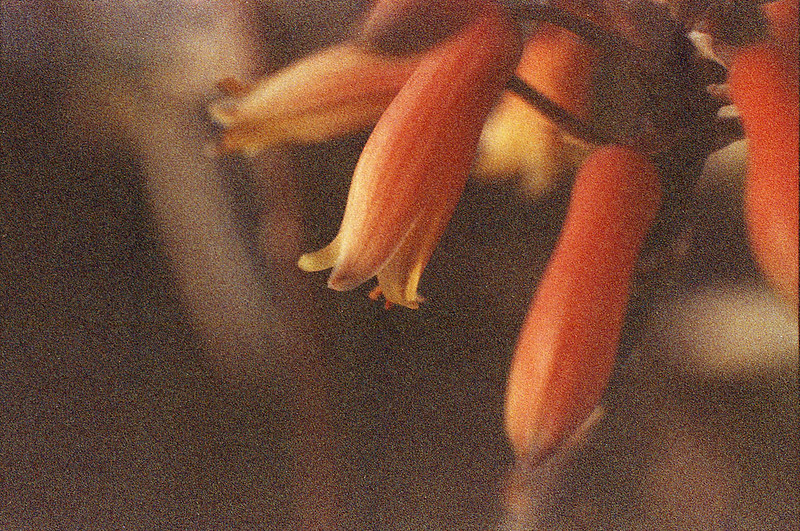
These were made in the mid to late 50's in Ann Arbor, Michigan and man were they well-made! Of course they are pretty simple, but the overall quality of build is just very good. The apertures range from 8 to 16 and the leaf shutter hits in the 1/30th to 1/50th range. Fortunately, the heft of the camera (about 1.2 lb (530g)) and the neck strap make it pretty easy to hold steady. The lens is a simple 65mm "Coated Lumar" meniscus, so don't expect anything tessar-like, but for those of us who enjoy the nostalgic feel of the photos taken with a simple lens, this performs quite well. I have flipped the lens backward in mine, so I get a characteristic radical blur around a reasonably sharp center. Focusing is by range, lining up your subject distance (in ft.) with a pointer next to the lens. At f/8 or higher, you don't have to be extremely accurate with your estimation. It will focus down to 3.5 ft. There was originally a slip-on closeup lens, but I don't have that accessory and probably wouldn't use it if I did. Correcting for parallax with a camera like this is going to take practice and I have too many cameras in the rotation to remember the quirks of each one. In the picture here, you can see the red indicator in the taking lens that says that the shutter is cocked. The shutter button is pretty stiff on this camera, so the chances of accidentally tripping it are practically nil. The real highlight of this camera is the viewfinder. It is so big and so bright that composition is a true pleasure. It is a reflex, so the image is backward, but not upside down. Remembering to focus the lens is the only down-side of having such a nice viewfinder, but get the process locked into your brain before you go out and you shouldn't have a problem (focus, compose, focus, shoot, wind). Lastly, it is worth mentioning that this camera takes 620 film. So get on the google and either clip off the outer edges of your plastic 120 spool or rewind the film onto a 620 spool and you are good to go. New plastic 620 spools can be purchased from the Film Photography Project store, or buy some cheap expired 620 film from Etsy or Ebay and get some classic metal spools with it. However you go about it, these mid-century beauties are well worth the effort to get out and shoot.

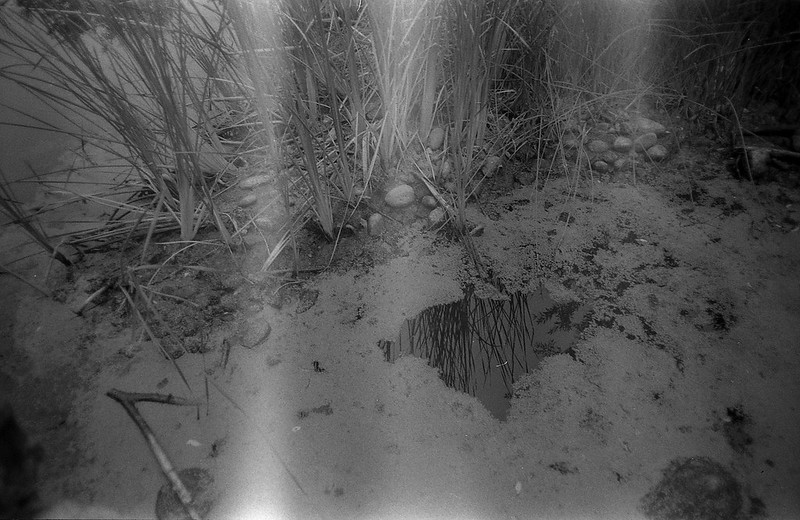
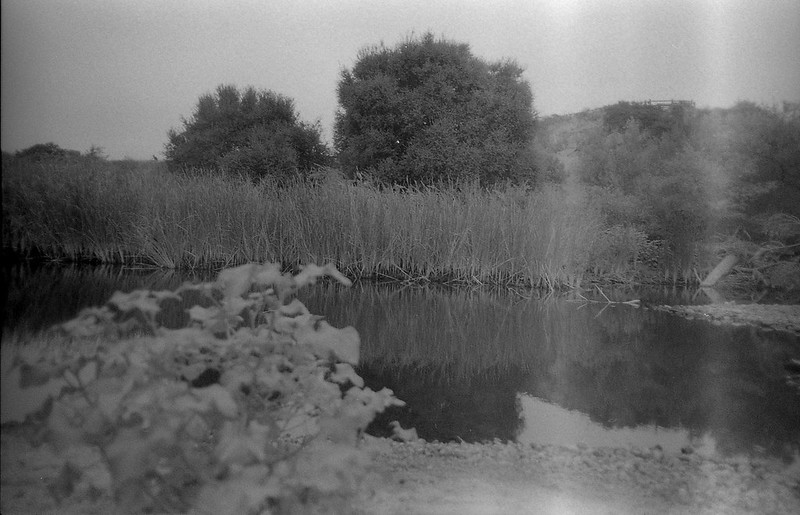
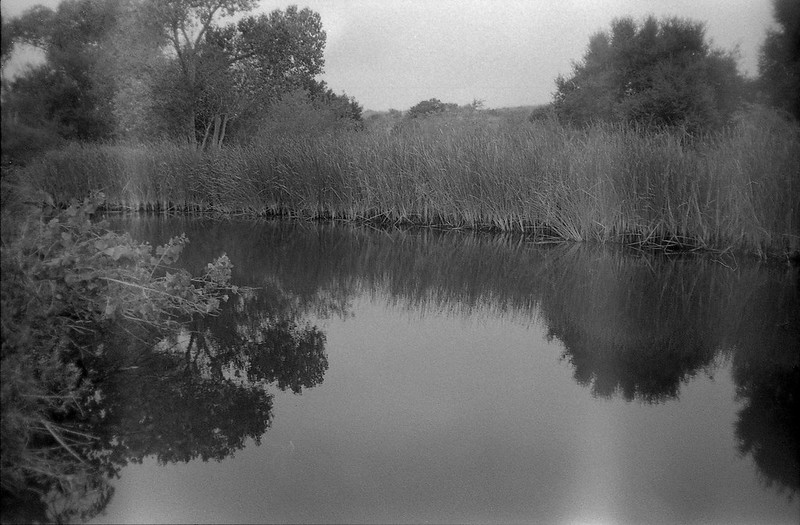
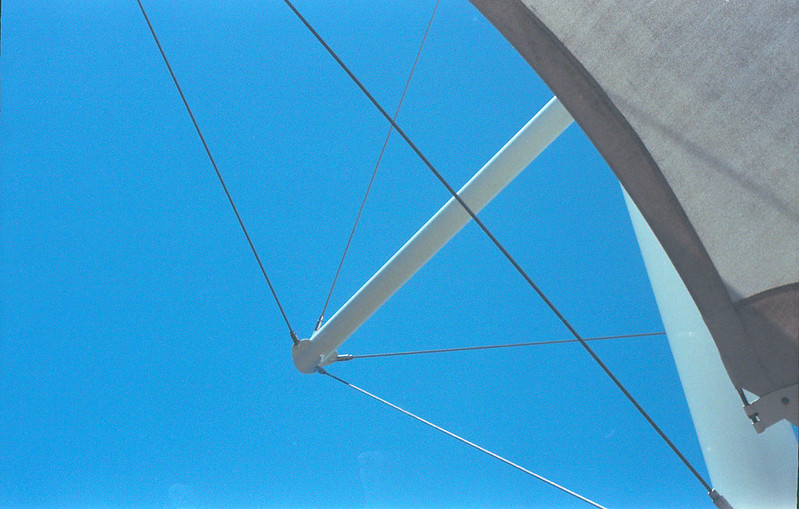
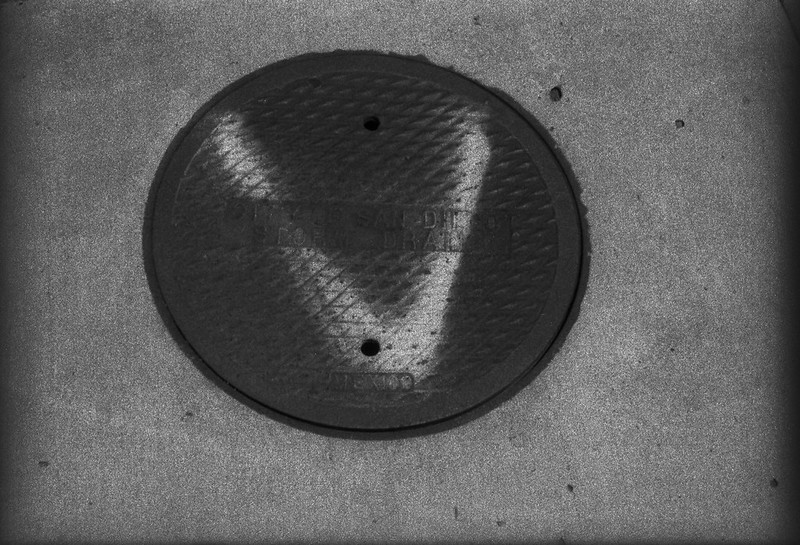
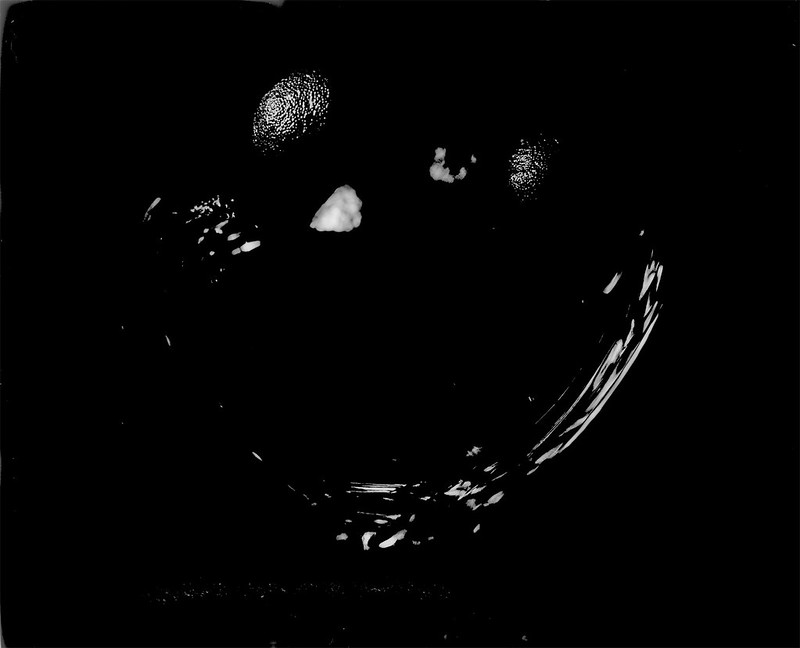
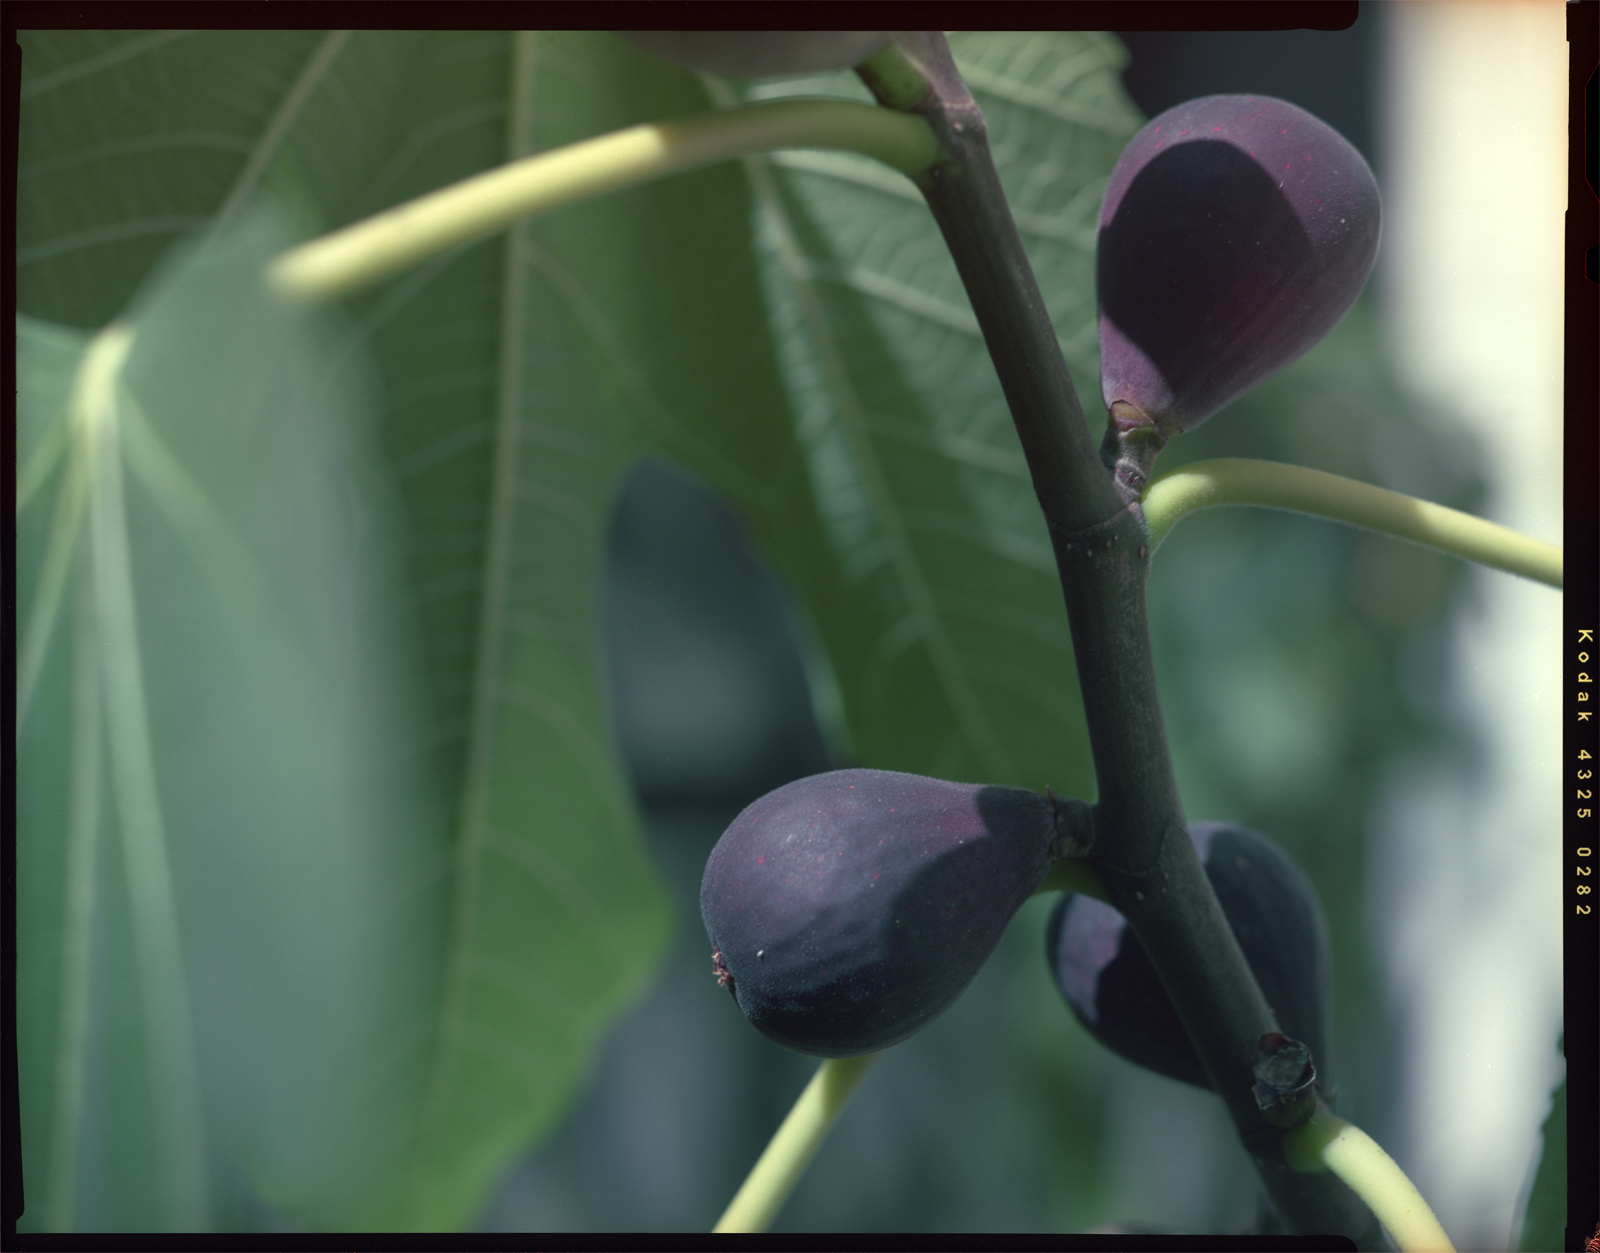
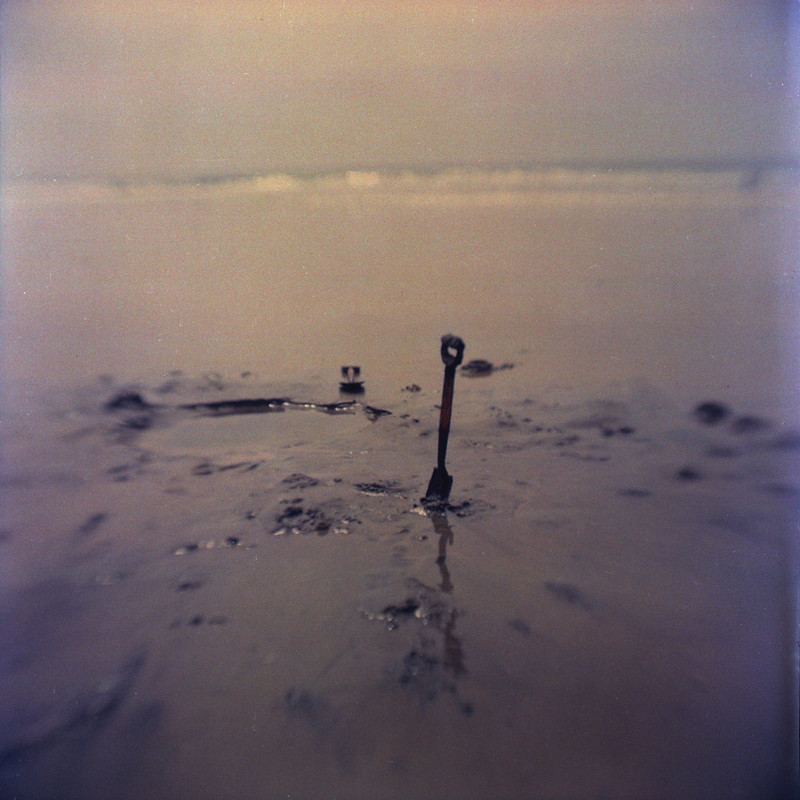
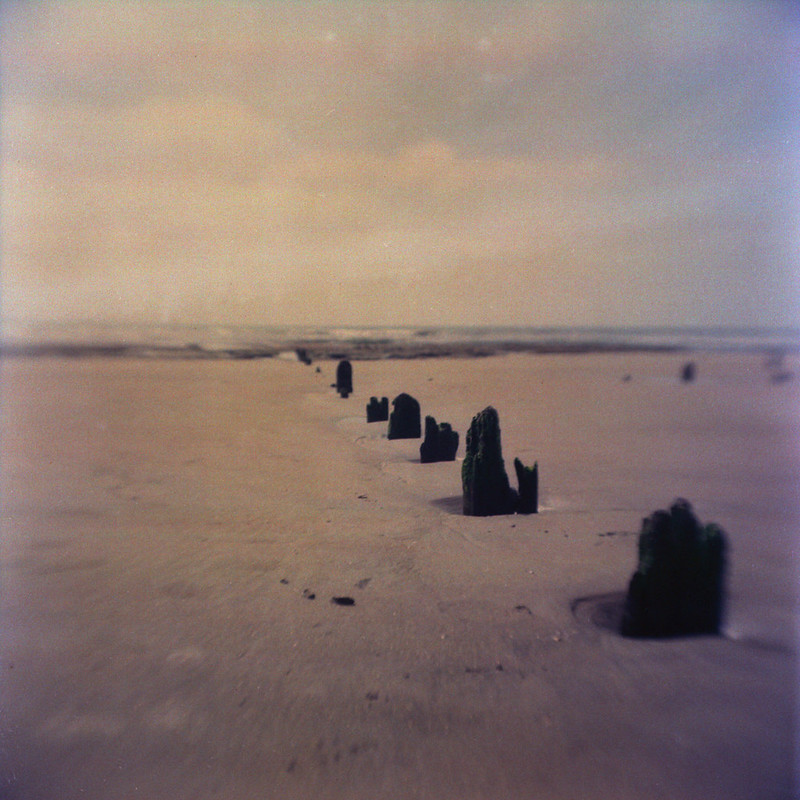
These shots were taken on Ektachrome that expired in 1981 and were developed in my own DIY C-41 soup. First up are shots from a cloudy day at the beach.

argus75-ektachrome200-001 argus75-ektachrome200-002 argus75-ektachrome200-004

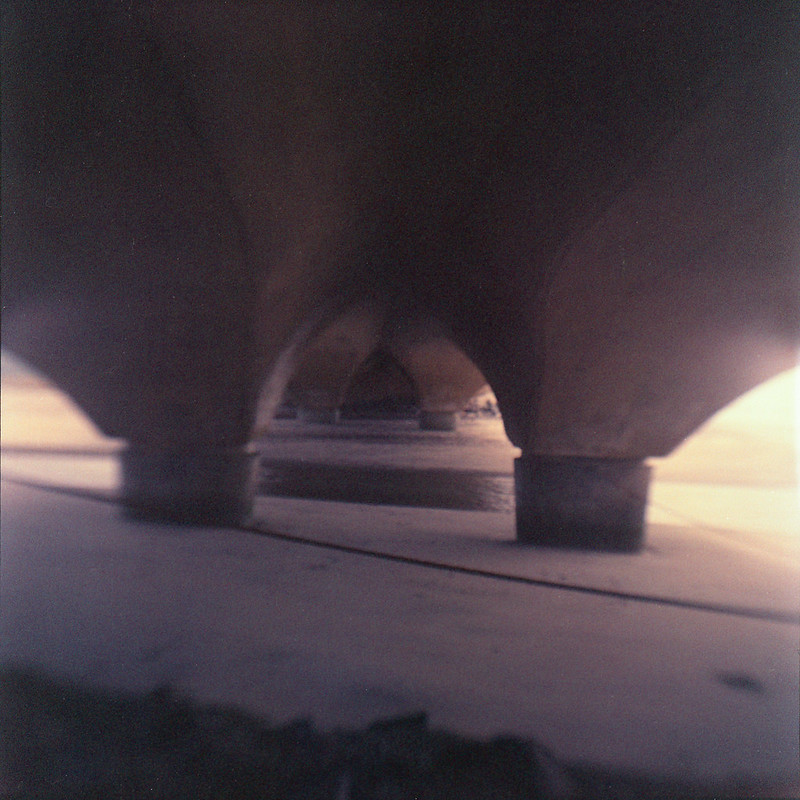
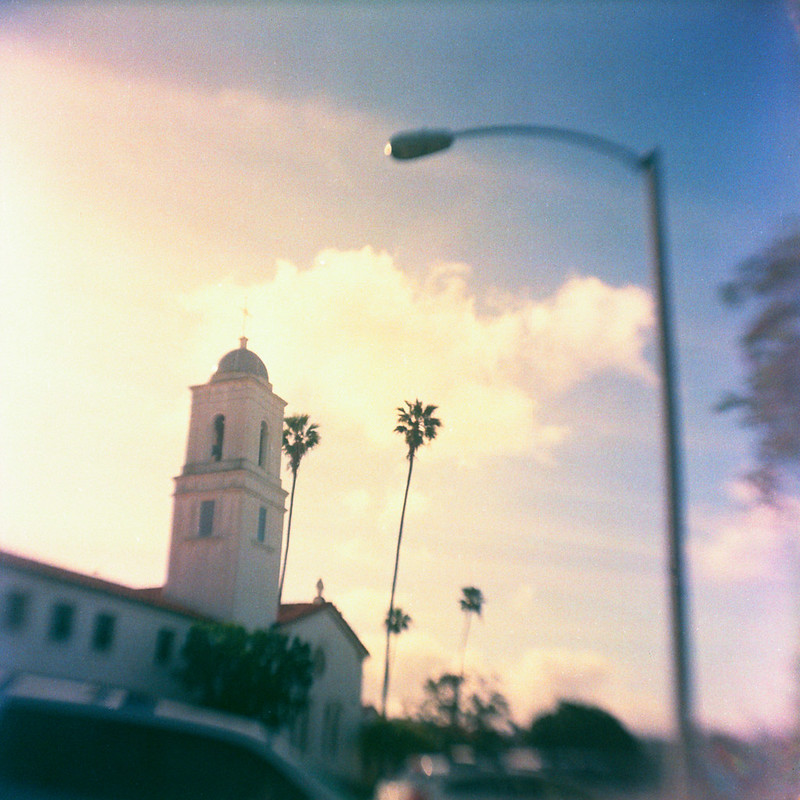
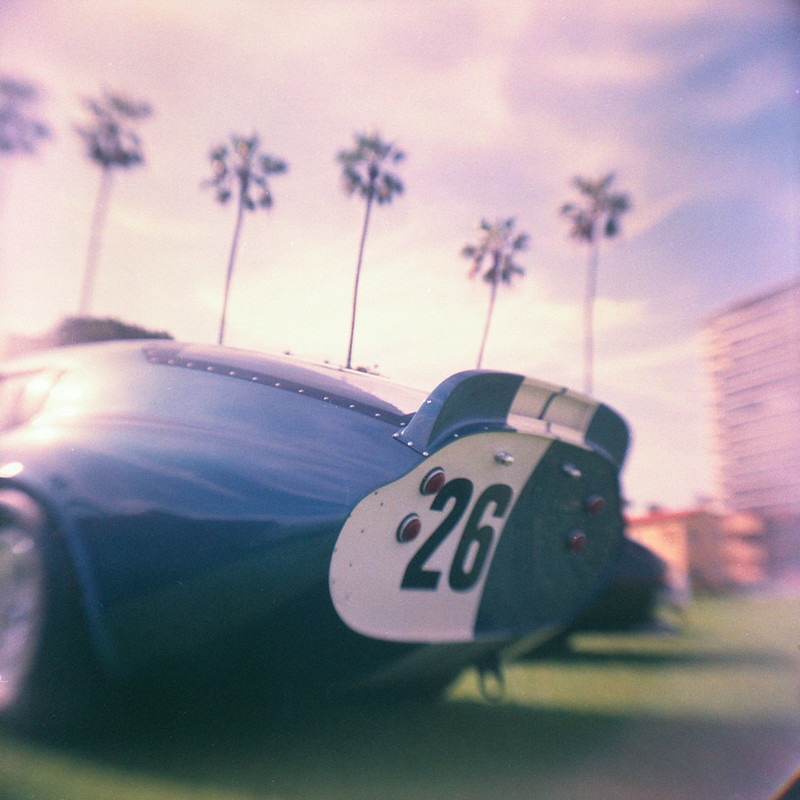
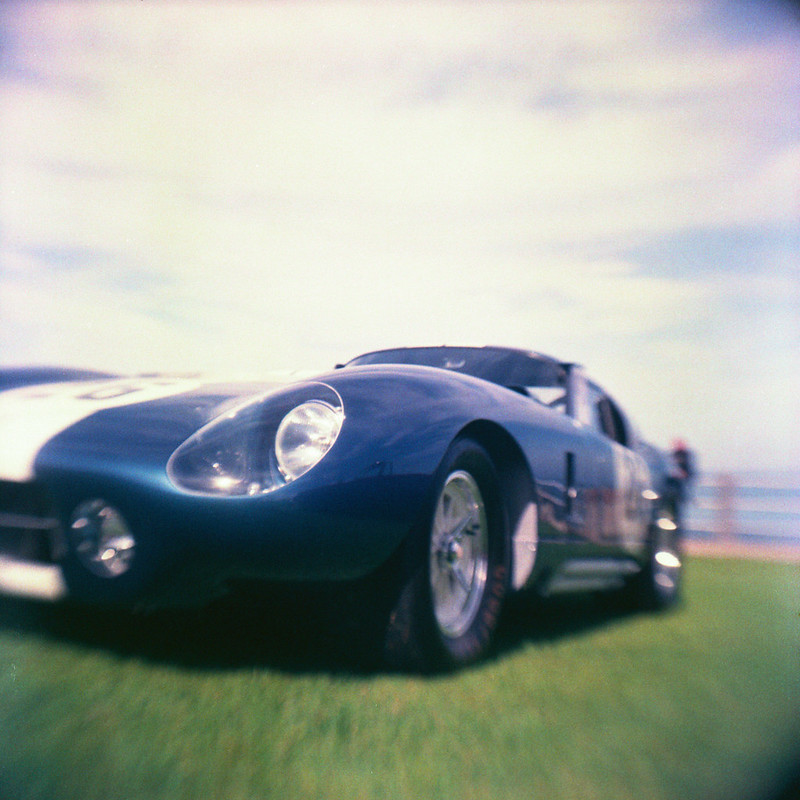
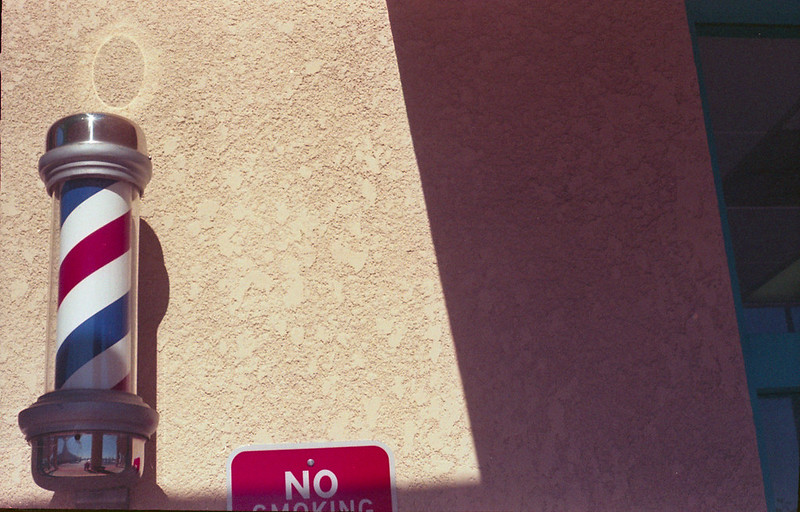
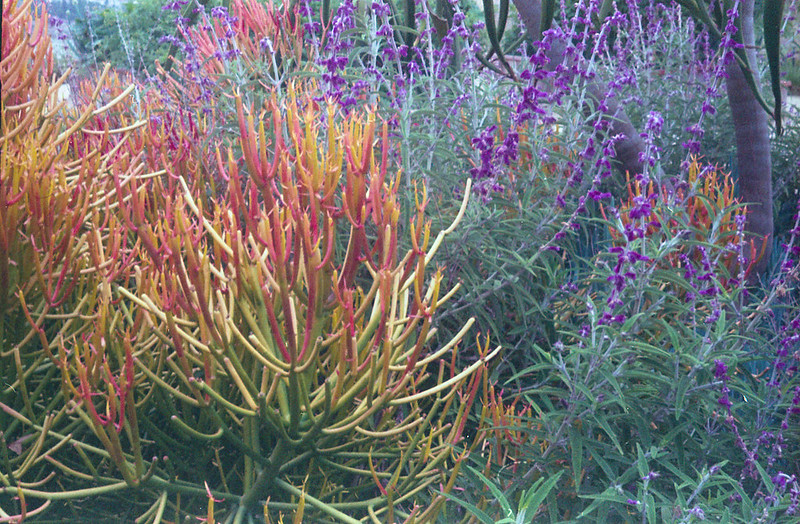
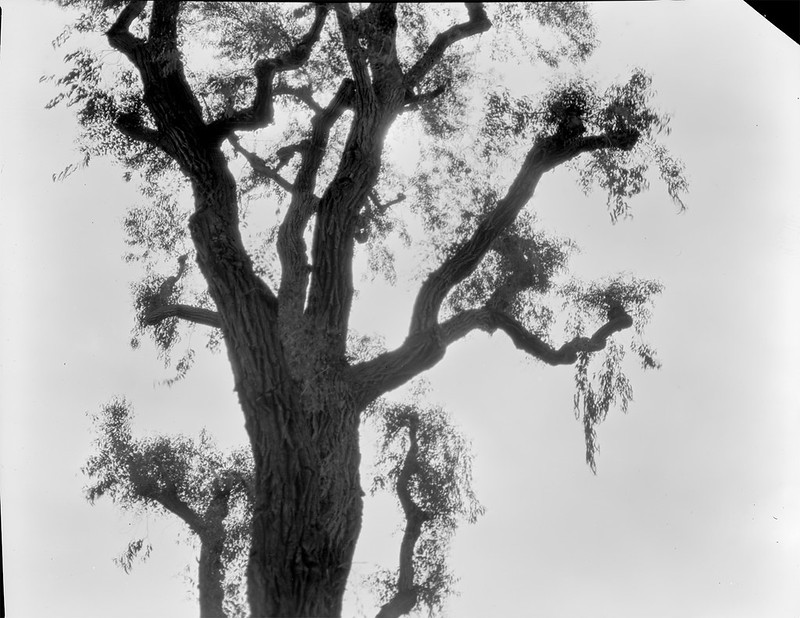
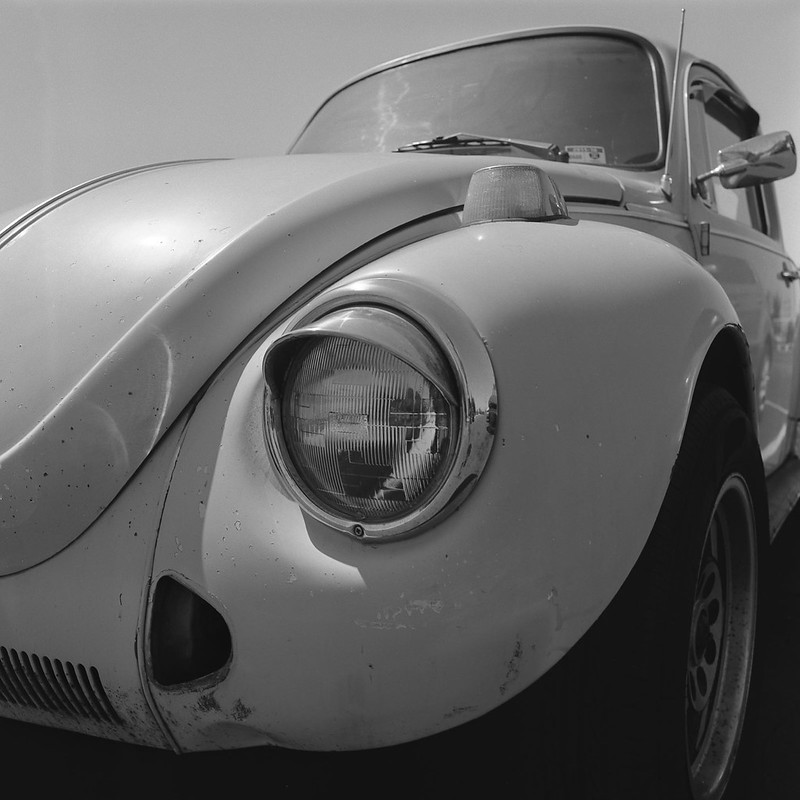
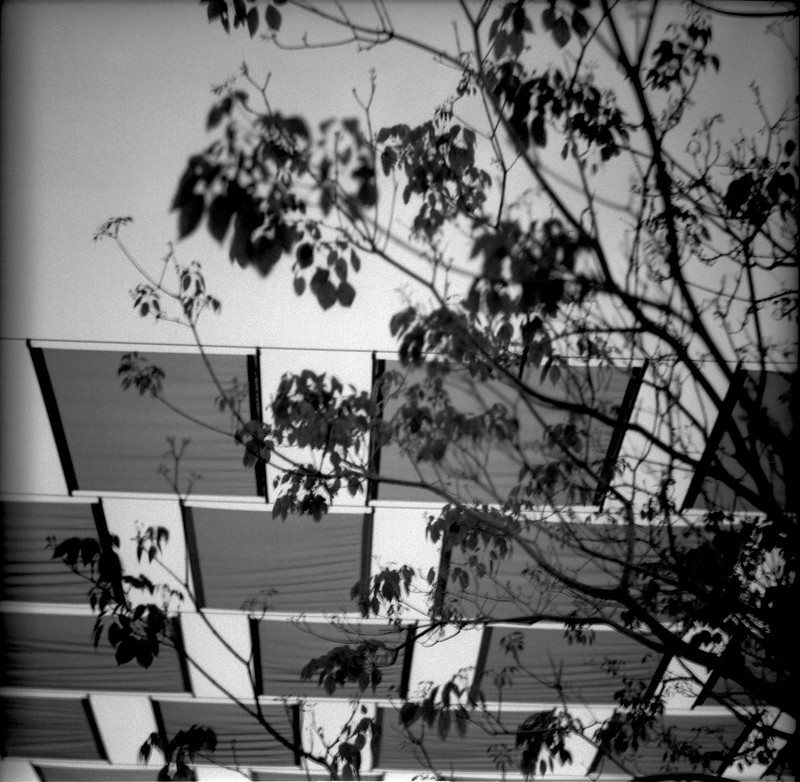
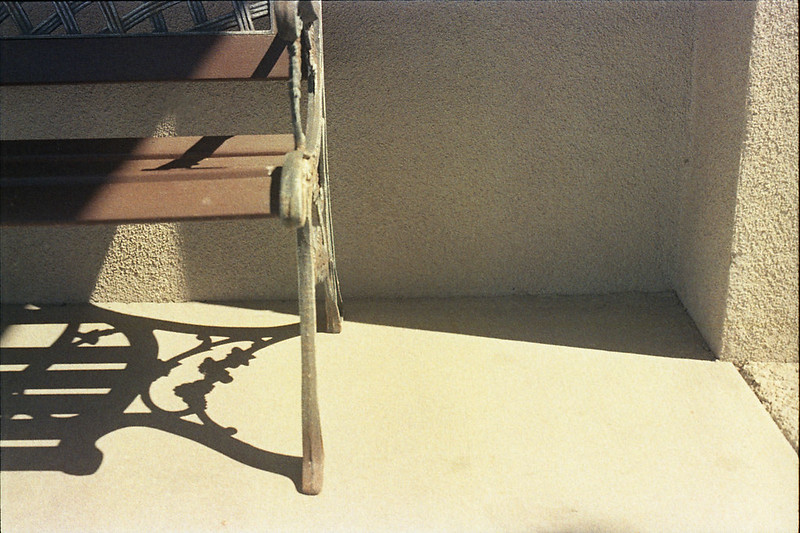
These next shots were from a sunny walk near the beach in La Jolla. I was surprised at the vast difference in color saturation with just a few more stops of light.

argus75-ektachrome200-007 argus75-ektachrome200-008 argus75-ektachrome200-010 argus75-ektachrome200-011

Wednesday, September 13, 2017

An Unexpected Leak

That's like a chapter title from a bad spy novel (or maybe a bad plumber's manual). Anyway, I just thought I would make a brief post to show the dangers of using thin base films. Generally we think of film as just emulsion layered onto a sheet of flexible thin plastic that is then cut, perforated (optionally) and rolled. I realized when I started developing my own film that the 'base' support is quite different for different films. Certainly color films are different than black and white. The support material on most color films is some shade of orange, while on black and white films it is either clear or a neutral grey. But what I hadn't really thought about was that the support material is different thickness depending on the film and it's intended purpose. Movie film needs to be thick and strong enough to stand up to the forces that are pulling it through a movie camera. Still camera film can be thinner so that more exposures can fit into a standard roll. Then you have specialty films like Kodak Plus-X Aerecon II. I have written about this film before, but I don't think I have mentioned much about the consequences of rolling it into standard 35mm cartridges. Standard cartridges have a little fuzzy piece of fabric around the inside of the opening where the film leader comes out. That serves dual purposes. First, it keeps the metal edges of the canister from scratching the film. Second, it acts as a light seal so that light does not enter the canister through the slit and fog the film. Well that's all fine if your film has a thick base support layer and it takes up all of the space between the two light seals on either side of the slit. However, Aerecon II was intended for aerial reconnaissance photography. When flying long distances, it is important to economize on weight so that your fuel will last for the entire mission. So the film was made with a very thin base so that a big roll of a few hundred or a thousand feet would weigh significantly less than it's consumer counterparts. This means that the film does not fill up the space between the light seals in a standard 35mm cartridge and if you are not careful, the light will come in and make nice stripes on your beautiful pictures. So let this be a warning to all of you shooting thin base films. Load and unload in the DARK! Not the shade, and not 'subdued light'... the DARK. Cautionary photos to follow.


K1000-AereconII-001
K1000-AereconII-002
K1000-AereconII-003

Friday, June 30, 2017

Robot Camera - Kodak 35RF

I like "robot cameras". By that I mean cameras that have exposed machinery like gears and levers. There is something to be said for the sleek, plastic-shrouded black boxes like the Contax T2 or the Konica Hexar with their clean lines and mysterious lack of 'machinery'. They take fine photos to be sure, but (for me) they don't hit my "that's so cool!" button. That button is actuated by dials and levers that make ratcheting noises and knurled knobs and gears. So when a friend over on Filmwasters said he had a spare Kodak 35RF that he would trade, I jumped.

Kodak35RF

Where to even start? Well, maybe a brief description... The Kodak 35RF is a 35mm camera with a coupled range finder. It was made from 1940 to 1948. My example rolled off the assembly line in 1946 as indicated by the CAMEROSITY code of 'EO' on the lens. So what's so cool about this camera? I guess the first thing that catches my eye is that gear to the left of the lens. That's for focusing. You turn the little gear with your index finger and the magic happens inside the lens. This is done while looking into the tiny range finder window. That brings me to the next cool feature. There are three freakin' windows on the front of this thing. Each one is a different shape and size which gives it a touch of art deco or maybe cubism. Then there is "the shield". The shield is a piece of metal that covers what I imagine is the mechanism that couples the lens focusing ring to the viewfinder. The shield also extends over the top of the lens and provides a protective er... shield for the shutter release, so you don't accidentally hit it and get a picture of your shoe or the butt of the person walking in front of you. Speaking of the shutter release, it's out on the lens barrel, not on top of the camera like you would expect. There is a button right there on the top right side. It looks like a shutter release, but don't be fooled. It's not. Push it as many times as it takes to convince yourself that the shutter isn't responding to your command (it took me three slow presses and then about five 'spam clicks'). That button releases the film winding knob, so stop pressing it. You need to hold it down and start winding the knob clockwise. The winding process, besides taking a little coordination, takes a little hand strength as well. It is a firm quarter turn with a satisfying "CLACK!" at the end. If you are thinking of loading this up with a thin-base film like Plus-X Aerecon II, think again. The film sprocket holes engage a very tight sprocket and they will tear. In fact my first roll through (Fujicolor Super HR) tore some sprocket holes and that caused the frame counter (next to the winding knob) to do wacky things. My second roll (Ilford FP4 plus) worked just fine. The back comes off to load/unload the film just like most 35mm cameras of this era. The take-up spool is fixed and the slot that accepts the film is quite thin and a bit fiddly to get the film leader into. The rangefinder window, as I said, is very small but the split-screen rangefinder is pretty easy to use. The top and bottom images are both bright and well magnified. The viewfinder window is also bright and easy to use even for me with my required glasses. There are no framing lines or parallax correction that I could tell, but the minimum focusing distance of around 3.5 ft doesn't really require much correction and I didn't notice any badly framed shots. That's about all I have to say about the operation of the camera.

The results I got with this camera were pretty good. It's not in the upper echelons of cameraness like an M3 with a Summicron stuck to it, but for a cool looking robot camera, it takes good pictures. Let's look at a few shots. The first roll lie I said was Fujicolor Super HR. I shot this at iso 200, so here in sunny San Diego, that means the lens aperture was pretty much pegged at f/16 for the whole roll. That gave me a good idea of the sharpness and contrast it was capable of.

Barber Pole
Rigging
Pencils

The next roll was some expired rebranded FP4 Plus that I shot at iso 50. I have shot this film at that iso before and it came out just fine, but this time the negs were very dark and hard to scan. My poor V600 could barely push enough light through some of them to get anything at all. So these look grainy, but that's really noise because the scanner had to crank the voltage on its sensor up to 11! This was a result of me switching developers and not really experimenting enough to get good results. I think the shutter speeds are all pretty accurate (enough for me anyway) and given a better film/dev/time combination, it will do just fine with slower films. The lens also performed adequately corner to corner with maybe a tiny bit of softness at wider apertures, which I also don't mind.

Raised Bed Veggies
Vendetta
Sycamore

Over all, I think this is a keeper and I might get some other robot cameras (e.g. Kinaflex) to keep it company.

Sunday, June 4, 2017

Gone Microfiche-ing

Using expired film can be a bit of a challenge. There is usually some loss in speed, so the apparent iso (or the effective EI, if you like) is lower and it is up to you as the film adventurer to determine by how much. The rule of thumb says one stop for each decade past its expiration date. So assuming you know the expiration date and didn't just come across a random roll of film, you can use that as a starting point. Keep in mind though that 'fast' films (to me that means iso 100 and higher) will lose speed 'faster' than slow films. So if you have a roll of Ektar 25 that expired in 1997, that's 20 years (two stops lost), but since it was slow film to begin with, it probably didn't lose a full two stops. Maybe 1½ or 1 stop would be a better starting point. "So what's your point here Jimbo?", you may be asking. First, I don't really like "Jimbo", people called me "Jim" in college, but generally, it's just "James" and has been since Mr. Salyers' 4th grade class. Secondly, I'm getting there!

Periodically, I search for Kodak Dacomatic Recordak film to buy. I have some in the fridge and I really like it. So I just keep an eye out for a spool. I never find any. But then one day the search popped a result on the big auction site. It was "Recordak", but didn't say "Dacomatic". Additionally, it was 500 ft of 105 mm stock! Well, that seemed odd, so I did some more digging on the specific emulsion number (4462) and it turned out to be a completely different film (seems obvious now). This one was used for microfiche production. So it was copy film like the Dacomatic, but a different type. The price was right, so I went and bought it, hoping against hope that I could get pictures from it. It originally (expired 12/1979) was rated at iso 2.1! So, figuring that this stuff is really not very sensitive to light to begin with, I figured it probably hasn't lost that much speed even in almost 40 years, but I'll give it a stop anyway. That puts it right about iso 1. Okay, so I have an exposure starting point. How am I going to develop this stuff? It was designed with an automated proprietary development scheme in mind, so all I could find in the VERY sparse documentation was "Microfilm DEVELOPER and Replenisher". That's it. So I figured I would hit up the old stand by, Rodinal 1:100 and do a strip test to see if it would even change color. In fact it did! In about 15 seconds, it was fully developed!! So much for 60 minutes of stand development. Well, I cut a few sheets and took some of what I am certain were the best photos of my entire life and dunked them in what I had on hand, which was some homemade Parodinal 1:100 for 4 minutes. That is what I use for x-ray film and it works just fine. This microfilm however, was completely dark. Hmm... Maybe I over-exposed it? I tried again, taking more absolutely stunning photos at higher and higher speeds. Again, completely dark. So over-exposure was not the problem. It must be over-development. I cut the time in half. Still totally dark. I mean just a dark sheet of film... No image whatsoever. The strip test I did showed that the film cleared completely in the fixer, so it wasn't that the fixer was bad or the film was totally fogged.

I was just about to give up and call it a total loss, but I thought I would just try a different developer for grins. Rodinal variants have always developed anything I threw at them, including a roll of Ansco Plenachrome expired in 1949. But desperate times, you know. I had some X-tol powder laying about and that is a phenidone based developer, so I figured one last try. And this time, I would take a high contrast shot with lots of bright San Diego sky AND I would develop under red safelight by inspection. Did I mention that this film is orthochromatic? No? Well, now I have.

BAM!!!

Recordak-iso-1

I got an image! That was in X-tol 1:3 for 10 minutes. Now to see if I could get something with a few more grays in there. So I took a shot in the shade. I gave it a little more exposure because I had the bellows extended a bit, but I forgot about the reciprocity failure that was mentioned in the tech doc. The negative was very thin, but still there was a photo and it had much more scale to it. It is still quite fine grained and in 4x5 sheets that means some super fine detail can be had.

Retro Eveready Photo Cells

Now I've got about 490 feet left of this to see what I can do with this flavor of copy film. I'm looking forward to making some photos with this oddball microfilm.

Tuesday, December 13, 2016

Strange New Development

I am unafraid of getting chemicals on my hands (figuratively) and mixing up concoctions. I have spent my share of time in the lab and have even blown a couple of things up, so mixing up photochemistry is not a problem. Additionally, I am comfortable with a certain amount of uncertainty in my photographic outcomes. I don't shoot weddings anymore, so no world is going to end if I totally screw up what I am doing. So when I recently became aware that X-tol and Rodinal could be mixed and that the results might encapsulate the best of both of those developers, I was on it. I had some X-tol powder that I weigh into 1L portions and I had some Parodinal, so I figured I would shoot some 4x5 Kodak CSG and some Arista Ortho Litho and see what came out of it. Normally, I would develop CSG shot at iso 80 in parodinal diluted 1:100 for 4.5 minutes, so I used that as a starting point and at the last minute decided to cut it in half. I shot the Arista at iso 3, but I haven't worked much with this film, so I don't have a standard development for it. My standard dilution for X-tol is 1+3. So 250 mL of X-tol, 5 mL of parodinal and top off to 1L. Nothing exploded, so I figured I was good to go. I chose 5 minutes with 4 inversions every minute. The temp was probably around 68F. Stop was with tap water, changed 4 times. Fix was 2 minutes in Ilford Rapid Fix. Both of these films have extremely thin emulsion layers and actually fix in about 15 seconds.

The Ortho Litho turned out with VERY high contrast as might be expected. Here are a couple of the shots.

SpeedGraphic-AristaOL-pan01
SpeedGraphic-AristaOL-pan03

The CSG was much more tame and the negs looked 'normal' as far as exposure and density goes. I think the grain might be a bit smoother with this X-tol based developer. Hard to say without some sort of side by side with the same exposure of the same subject, but my gut says it is smoother. I know, not very scientific, but this is my hobby not my job. I don't have to be quantitative if I don't want to.

SpeedGraphic-KodakCSG-pan01 SpeedGraphic-KodakCSG-pan02

Sunday, October 9, 2016

Apples and Oranges... and a Sunflower

I have wanted to write a little comparison article about these two films I have for a while, but you know... life... I finally got around to developing some sheets I had exposed months ago and I was happy to see that I had taken the same photo with each of these films. So, let's get to it.
First, let's get the variables out of the way. Both are 4x5 sheets taken within minutes of each other with my trusty Graflex Speed Graphic with the nice Graflex Optar 135/4.7 lens mounted. This was in early summer in the full mid-day sun. Film #1 is Kodak Vericolor II expired in 1997. This film is tungsten balanced, so shooting it in sunlight gives a blue cast. This can be corrected either by putting an 85 color correction (warming) filter on the lens or applying it in post. I do the latter. The problem with this particular box of film is that I don't think it was stored well and the base is fogged. Also, the edges drop off suddenly. I think the original box speed was around 80, but I shoot it at iso 25 to try compensating for the base fog. However, with all of these flaws, it can make some interesting and dramatic photos. Please excuse the dust on this, I hadn't really planned to share this, so I didn't dust spot.
Graflex_Vericolor2_1
You can obviously see the blue shadows and the high contrast. I could let the shadows drop out, but then I would just have some orange flower petals floating in space. I would rather let the film's character shine through and appreciate the uniqueness.
Next is Kodak Internegative Film. This was intended to make a positive duplicate from a negative which would then be used to make more negatives. Alternately, it could be used to make negatives from slides which would then be used to make prints. So it wasn't really intended to be a 'pictorial' film used in the camera. It was meant to be used in a commercial enlarger. With that in mind, I am shocked at the quality of this film. I don't think there was a set iso. The technician would have to test and adjust exposure depending on the original and any filtration they were using in the enlarger. I shot this at iso 5.
Graflex_Internegative_3
The colors are beautiful and the grain is nice and smooth. As I discovered when I scanned these and as I said in the title, these two films are not 'comparable'. So in that respect this little experiment failed. But that is not to say I didn't learn something. I found that the internegative film will produce nice smooth, accurate photos at iso 5. With a moderate scan resolution, this makes a 90 megapixel image that can be enlarged to any size you like. On the other hand, the Vericolor II makes a more unconventional/challenging image that brings a layer of abstraction to the subject. This definitely has its place in most film photographers' repertoire.
Here is another example of each film just for good measure. Enjoy.

Tuesday, June 28, 2016

Putting That Chemistry Degree To Work

I have been a user (if not a devoted one) of caffenol ever since I ran into Reinhold's blog and saw the wonderful results he and others like Jon Caradies get with that simple 3-ingredient developer. I do enjoy weighing the ingredients on my little 3-beam balance and making the solution. The smell is a little funky, but I think it's growing on me and I don't mind it so much anymore. I even have my own modest gallery on Flickr where I upload various films both expired and fresh that have been processed with this earth-friendly concoction. Here is the first photo I ever developed and shared that was processed with caffenol-C-L.

Youth Football Trophies

I even went out on a limb and made my own variant, substituting ground up eucalyptus bark. I called it eucalyptol. You may have read about it HERE. That one needs to be revisited with a little different methodology, but I'll save that for another post. For this post, I want to talk about something very different. Okay, maybe it isn't "very" different. It is still a 3-ingredient developer made with things that are readily available at your local drug store and/or online. I chose to get my ingredients online just because it is easier than driving around to different places trying to find things. So what is this "different" developer? It is called Parodinal because it is a Rodinal clone based on Paracetamol. Paracetamol, also known as Acetaminophen, is the active ingredient in Tylenol which is cheap and abundant. Here is the shopping list and the amounts I use for a single 250 mL batch.

  • 30x 500mg Paracetamol tablets
  • 50gr of Sodium Sulfite (Anhydrous)
  • 20gr of Sodium Hydroxide (Anhydrous)
  • Water (distilled) to make 250ml

I based this recipe on what I found over on Martin Zimelka's blog. He in turn learned about it on APUG (I think).

For my first batch, I went simple. I made the Sodium Hydroxide (drain cleaner crystals) solution, then I just crushed up the Tylenol tablets with a stainless steel mortar and pestle and tossed it in. The Sodium Sulfite did not dissolve even in warm water, so I just combined the two as best I could and figured it would either work or it wouldn't and if it didn't, I'd try something different. But guess what? It worked!

S2a-acros-001

It was a cloudy suspension for sure. The binders and coatings of the ground up tablets did not dissolve and just sort of sat there. They didn't seem to have any effect on the action of the developer and that jives with things I read online. It's just sort of disconcerting to have a cloudy developer. You get the feeling that that all of that sediment is somehow ending up on your film. To get around this, some people either start with neat paracetamol. That gets around the sediment problem, but it is a little more expensive and a little more difficult to obtain. Others filter the binders out of the solution, I suppose with something like a coffee filter. That is also effective, but sheesh! That can take a loooong time to filter. Who has the patience for that? So what is a chemist turned data scientist to do? Extract the paracetamol away from the binders! Alright, so that isn't really going to save me any time. In fact, it's probably going to take a lot longer since I don't have a roto-vap handy. Ah well, it would be fun and interesting to see if I could get a clear developer that worked.

So off I went to the hardware store to find an organic solvent that would dissolve the paracetamol and leave the binders behind. I had done some internet research and found out that methanol is great at dissolving paracetamol. But pure methanol is hard to buy because it is quite poisonous. Next best? Ethanol. Denatured alcohol is mostly ethanol with a little bit of methanol thrown in to make it undrinkable. I ground up 36 tablets, just in case the extraction efficiency was low. I ground them up very fine and poured it into a bottle with 200 mL of denatured ethanol. I shook that for a few minutes. Then I let it settle and poured the supernatant (the clear part) through a coffee filter into a plastic tub. Thinking back, a shallow glass dish would have sped things up. That took about 2.5 days to evaporate. Yeah, I know. Filtering would have been faster, but this has more 'cool factor'. Once the ethanol evaporated, I had a pink-ish powder. I scraped it off the walls and bottom of the tub and weighed out 15g. I ended up with a few grams left over, so that means that the extraction efficiency is quite high. Now I used that as my paracetamol source and followed the recipe as before. Bingo! A nice clear solution (with some of the sodium sulfite settled on the bottom). I let it 'age' for a few days and a sort of 'crust' formed on the top. So I gave it a shake and re-filtered this off along with the extra sulfite. The next day, the usual 'rodinal' crystals formed on the bottom of my bottle and I knew I was in business. I had a nice clear parodinal with preservative crystals. The only thing left to do was to develop some film. So that's what I did.

Isolette-Acros-010

So what are you waiting for. Get out there and make some developer! :)

Monday, March 28, 2016

Film Mini Review - K-Mart Focal Slide Film

I belong to a pretty vibrant and active community of film photographers online. No, not APUG, not Photo.net, not Rangefinderforum. Those are all great places, but I have found a home over at Filmwasters.com. It is a very relaxed place to share photos and information about film photography in general. I enjoy running a film trading thread over there and have gotten a number of interesting films from other members. This film in particular wasn't part of that thread, but just came along in a box of film that one of the other members there sent to me. Yeah, people are still generous like that.

I had never heard of the film. Of course growing up and living in the US, I have always known about the K-Mart stores, but I wasn't aware that they made film. Actually, it was pretty common for drug stores and other corporate entities to rebrand films from the major manufacturers and this is one of those cases. The film is actually Scotch Chrome 640T probably from the Ferrania factory in Italy. To note, this was different than the 3M Scotch Chrome and also different than the new films being produced (hopefully soon) by the revived Film Ferrania.

So this film was produced for iso 640, and I generally follow the guideline to add a stop for every decade past expiration, but there was no expiration marked on this film. I didn't get the original boxes, just the 35mm cartridges, so now what? Well, I had a roll of 36 exposures and another of 20 (?) exposures, so I figured I would start with the short roll and see if I could gain any information about it. I figured it was at least 20 years past expiration, so that would mean 2 stops slower. That puts it at around iso 160. I threw it into my trusty Nikkormat FTn with a new-to-me Nikkor-S 50mm f/1.4 lens and set my handheld meter to 160. The lens I bought came with a 27.5mm extension tube, so I went a little crazy with the macro shots. I should have looked up the required exposure compensation for that tube, but I didn't and subsequently, a lot of the macro shots were under-exposed.

I developed the film in Unicolor C-41 chems at room temperature for 20 minutes with a 10 minute blix. Agitation was 1 minute initial and 4 inversions each minute thereafter. I did the RT development because I was developing some old 126 print film at the same time and wanted to be gentle with that. Unfortunately, there were no visible images on that film. So here are a few of the photos from this old film. The grain on the under-exposed shots is formidable, but on the brighter ones, not so bad. I have the 36 exposure roll left, so I will probably expose that with an EI of 80 and try to stay out in the sun without any extension tubes connected.

FTN-KMart-004
FTN-KMart-010
FTN-KMart-012
FTN-KMart-001