Showing posts with label analog photography. Show all posts

Sunday, October 14, 2018

Worthy of Redundancy

Ultrafine Xtreme! It seems a little silly to brand something with "Ultra" and "Extreme" in the title. In Latin, the prefix 'ultra' means 'extremely' or 'beyond'. So they are trying to send a message here. They want us to know that this film is fine grained. Now if you've shot enough film, you know that these claims are largely created by the marketing department of the film company and don't always hold true in real life. Especially with black and white film, grain is affected by so many variables from EI (exposure index or apparent iso) to the plethora of developers, dilutions, temperatures, agitation schemes... The list goes on. So I'll be forgiven if I approach "Ultrafine Xtreme" film with a touch of skepticism. This is compounded by the very (not Xtremely) reasonable price, which in Western culture means lower quality. I bought 10 rolls of 120 Ultrafine Xtreme 100 for around $5 per roll. For comparison, Ilford Delta 100 and Kodak T-Max 100 are both over the $6 mark (what? no more Acros 100?? BOOOOO! to Fuji!!!). So let's see what my $1 per roll savings is going to cost me.

I loaded my roll up in my 'chrome-tastic' Bronica S2a (read more about that camera here) with the always pleasant and reliable Nikkor-O-C 50mm f/2.8 lens. This is the sharpest medium format option I have and a great camera to use, so why not? I shot the film at iso 100 because that's what the box says on it. Can I push it? Can I pull it? What are it's reciprocity characteristics? None of these questions mattered. I just wanted to shoot it straight and see what the baseline is. And that's what I did.

Before I get to the shots, I'll describe my development scheme briefly for the home developers out there that nerd out on this kind of stuff. I used two DIY developers mixed together. First was My-tol (Kodak X-tol look-alike). I mixed that up at 2:1. Then I added some Parodinal at 1:100. I developed the film for 11 minutes at around 70F using the usual agitation scheme (constant for the first minute and then 4 inversions every 30 seconds). Fixer was Ilford Rapid Fix 1:4. There, how's that for brief?

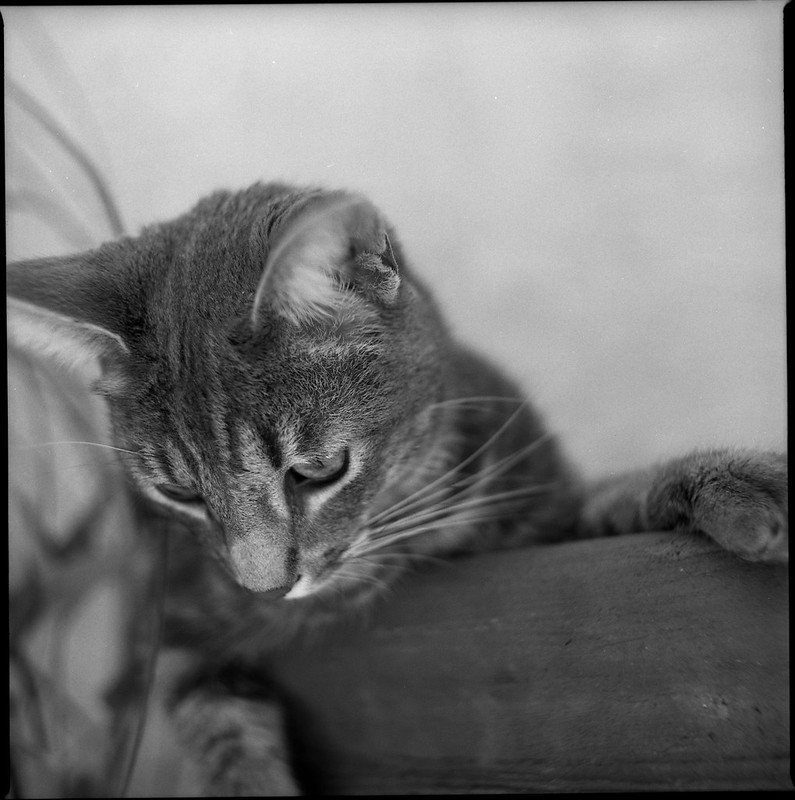
One of the tough subjects when it comes to fine grain and sharp lenses is animal fur. I scanned this shot at 1200 dpi and I think I am running out of pixels before I run into grain.
Scratchy McBiterton

Here is a 100% crop of that shot.

I have to say I was impressed. At least with this developurr combination (sorry), this film does indeed show very very fine grain. Is it "Ultrafine"? Well, we are dealing with sort of subjective, qualitative terminology here, so I'm going to say YES! It is Ultrafine! Put this film behind your sharpest lens, develop it with a high accutance developer, and be confident that you are going to get some Xtremely good results. "But James", you say. "Doesn't high accutance and sharpness mean that the low contrast areas are going to look grainy?" Let's see. Here is a 100% crop of the blank out of focus wall behind the subject.

The answer is "yes, there is some visible grain." Is it distracting? Is it "golf ball grain"? No. It is what I would characterize as "filmy" grain. It's the grain that lets you know that you are shooting film. I personally like grainy film (usually). The exception to that rule was Fuji Acros in Caffenol-CL. That was so smooth and creamy and lovely. I could just stare at the blurry backgrounds. But usually I like to have some grain in the image just as a creative device, sort of like the way I left the S2a film mask in this image as a border. It's a layer of abstraction that adds interest.

Now we come to the 'caveat emptor'. Here we see what saving $1 cost me. There were two shots on the roll of 12 that had artifacts. These looked like perfectly round clear spots on the film. I don't think that they were air bubbles that didn't get developed since that is not ever a problem with my agitation and there were only two of them on the whole roll. I think these are actually flaws in the emulsion. Take a look near the bottom of the gate. I'll keep an eye out for more of these in future rolls. I hope this is a Xtremely rare slip up by the QA department. If it is truly a "feature" of this film, I'll probably spend the extra $1 per roll and use T-max. But if not, if it turns out that Ultrafine Xtreme 100 is a good reliable fine grained film, then I will certainly buy more.

Friday, April 20, 2018

This Argus is Super

Thanks to Madmen, midcentury modern is the bee's knees. Generally people are looking for furniture and design elements for their homes. Me? I love 50's cameras. Give me bakelite over titanium any day. The classic "faux TLR" is the Brownie Hawkeye Flash. I have two of those and they are genuinely fun to shoot. Taking a (small) step up in control brings me to another favorite, the Argus Super Seventy-five.

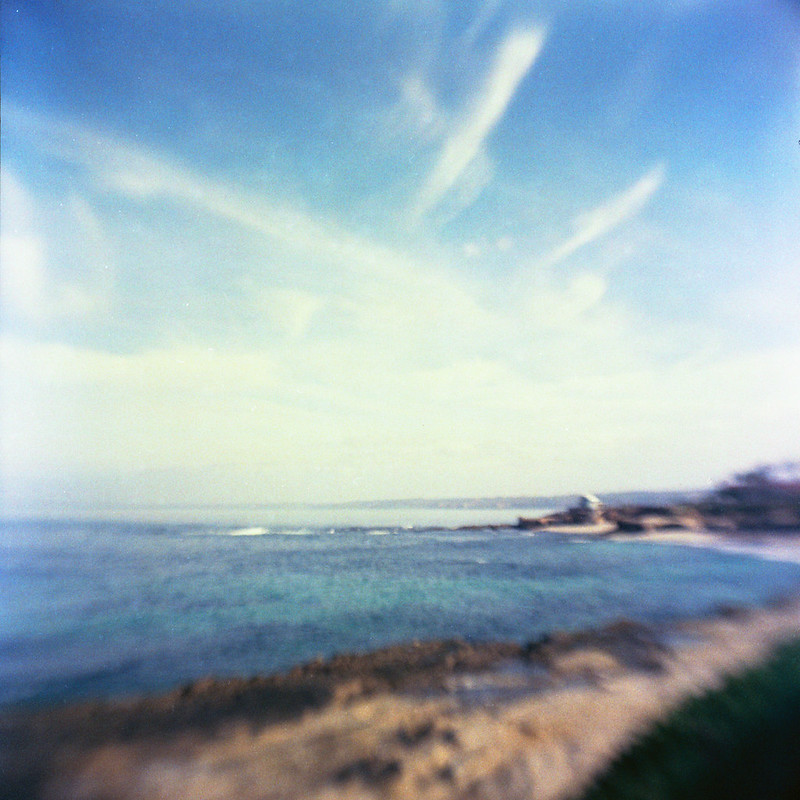
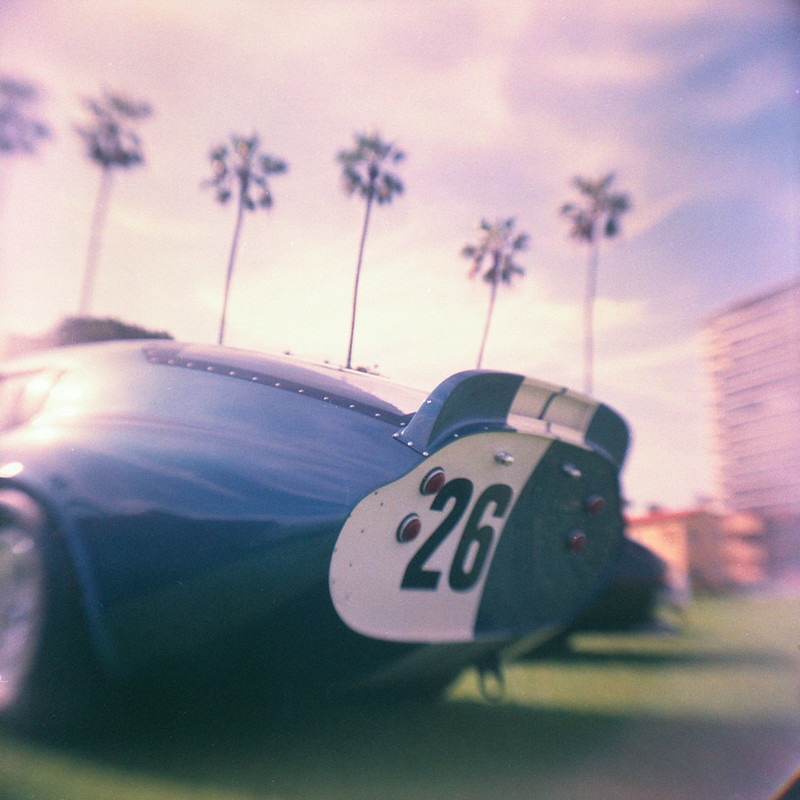
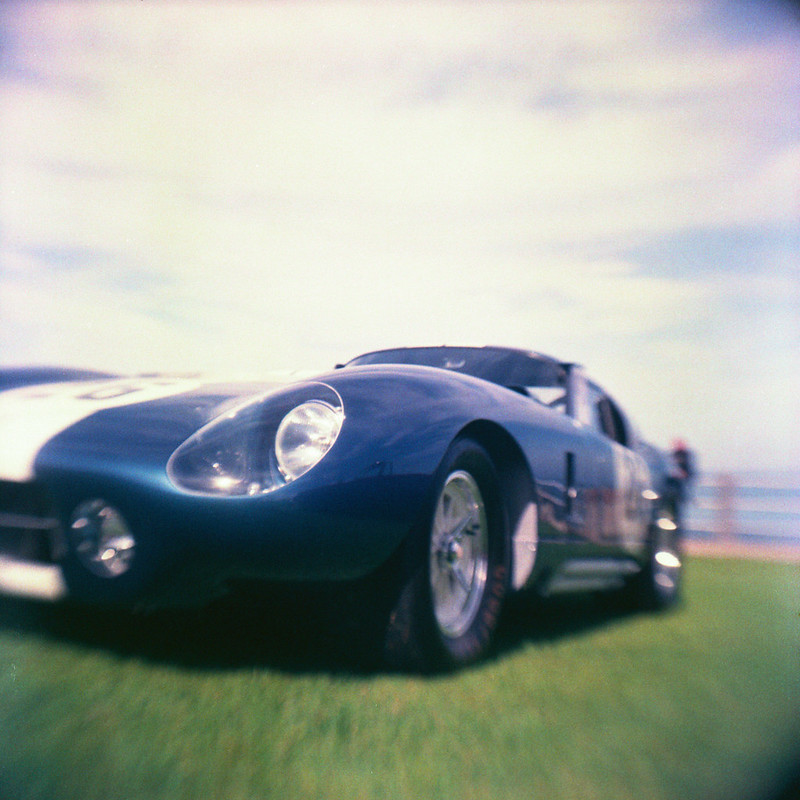
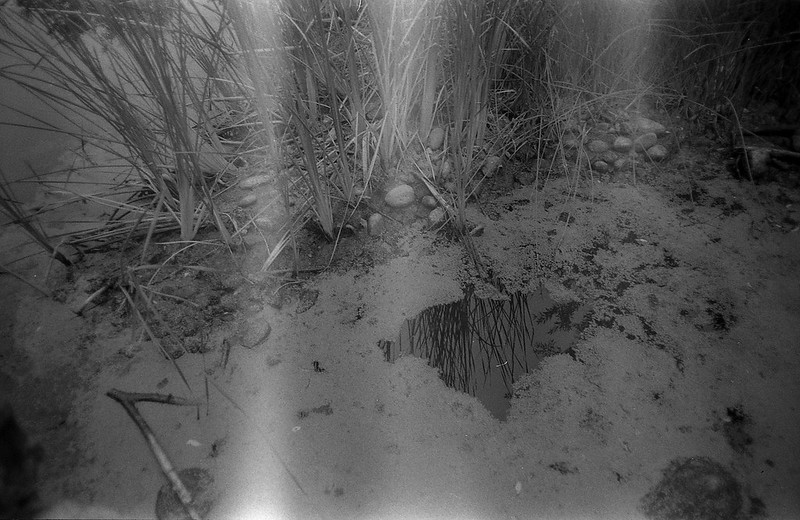
These were made in the mid to late 50's in Ann Arbor, Michigan and man were they well-made! Of course they are pretty simple, but the overall quality of build is just very good. The apertures range from 8 to 16 and the leaf shutter hits in the 1/30th to 1/50th range. Fortunately, the heft of the camera (about 1.2 lb (530g)) and the neck strap make it pretty easy to hold steady. The lens is a simple 65mm "Coated Lumar" meniscus, so don't expect anything tessar-like, but for those of us who enjoy the nostalgic feel of the photos taken with a simple lens, this performs quite well. I have flipped the lens backward in mine, so I get a characteristic radical blur around a reasonably sharp center. Focusing is by range, lining up your subject distance (in ft.) with a pointer next to the lens. At f/8 or higher, you don't have to be extremely accurate with your estimation. It will focus down to 3.5 ft. There was originally a slip-on closeup lens, but I don't have that accessory and probably wouldn't use it if I did. Correcting for parallax with a camera like this is going to take practice and I have too many cameras in the rotation to remember the quirks of each one. In the picture here, you can see the red indicator in the taking lens that says that the shutter is cocked. The shutter button is pretty stiff on this camera, so the chances of accidentally tripping it are practically nil. The real highlight of this camera is the viewfinder. It is so big and so bright that composition is a true pleasure. It is a reflex, so the image is backward, but not upside down. Remembering to focus the lens is the only down-side of having such a nice viewfinder, but get the process locked into your brain before you go out and you shouldn't have a problem (focus, compose, focus, shoot, wind). Lastly, it is worth mentioning that this camera takes 620 film. So get on the google and either clip off the outer edges of your plastic 120 spool or rewind the film onto a 620 spool and you are good to go. New plastic 620 spools can be purchased from the Film Photography Project store, or buy some cheap expired 620 film from Etsy or Ebay and get some classic metal spools with it. However you go about it, these mid-century beauties are well worth the effort to get out and shoot.
These shots were taken on Ektachrome that expired in 1981 and were developed in my own DIY C-41 soup. First up are shots from a cloudy day at the beach.

argus75-ektachrome200-001 argus75-ektachrome200-002 argus75-ektachrome200-004

These next shots were from a sunny walk near the beach in La Jolla. I was surprised at the vast difference in color saturation with just a few more stops of light.

argus75-ektachrome200-007 argus75-ektachrome200-008 argus75-ektachrome200-010 argus75-ektachrome200-011

Wednesday, September 13, 2017

An Unexpected Leak

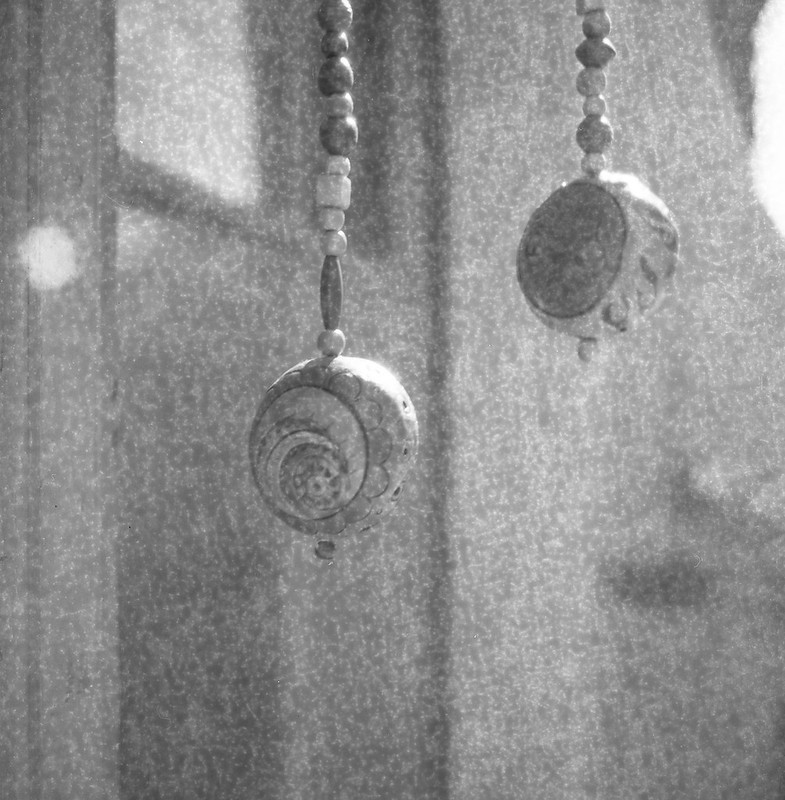
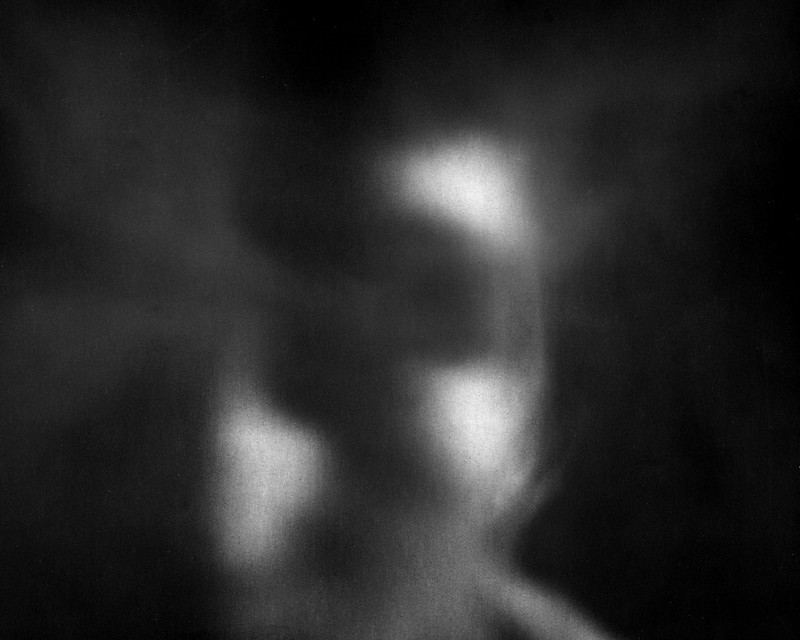
That's like a chapter title from a bad spy novel (or maybe a bad plumber's manual). Anyway, I just thought I would make a brief post to show the dangers of using thin base films. Generally we think of film as just emulsion layered onto a sheet of flexible thin plastic that is then cut, perforated (optionally) and rolled. I realized when I started developing my own film that the 'base' support is quite different for different films. Certainly color films are different than black and white. The support material on most color films is some shade of orange, while on black and white films it is either clear or a neutral grey. But what I hadn't really thought about was that the support material is different thickness depending on the film and it's intended purpose. Movie film needs to be thick and strong enough to stand up to the forces that are pulling it through a movie camera. Still camera film can be thinner so that more exposures can fit into a standard roll. Then you have specialty films like Kodak Plus-X Aerecon II. I have written about this film before, but I don't think I have mentioned much about the consequences of rolling it into standard 35mm cartridges. Standard cartridges have a little fuzzy piece of fabric around the inside of the opening where the film leader comes out. That serves dual purposes. First, it keeps the metal edges of the canister from scratching the film. Second, it acts as a light seal so that light does not enter the canister through the slit and fog the film. Well that's all fine if your film has a thick base support layer and it takes up all of the space between the two light seals on either side of the slit. However, Aerecon II was intended for aerial reconnaissance photography. When flying long distances, it is important to economize on weight so that your fuel will last for the entire mission. So the film was made with a very thin base so that a big roll of a few hundred or a thousand feet would weigh significantly less than it's consumer counterparts. This means that the film does not fill up the space between the light seals in a standard 35mm cartridge and if you are not careful, the light will come in and make nice stripes on your beautiful pictures. So let this be a warning to all of you shooting thin base films. Load and unload in the DARK! Not the shade, and not 'subdued light'... the DARK. Cautionary photos to follow.

K1000-AereconII-001
K1000-AereconII-002
K1000-AereconII-003

Friday, June 30, 2017

Robot Camera - Kodak 35RF

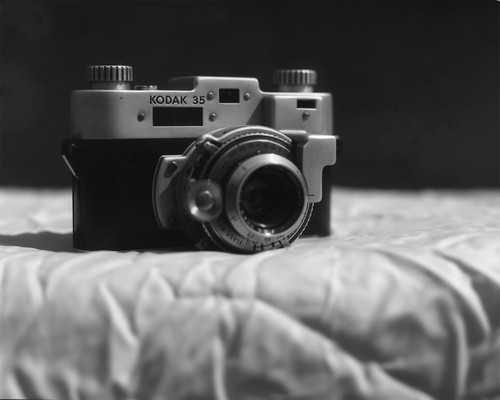
I like "robot cameras". By that I mean cameras that have exposed machinery like gears and levers. There is something to be said for the sleek, plastic-shrouded black boxes like the Contax T2 or the Konica Hexar with their clean lines and mysterious lack of 'machinery'. They take fine photos to be sure, but (for me) they don't hit my "that's so cool!" button. That button is actuated by dials and levers that make ratcheting noises and knurled knobs and gears. So when a friend over on Filmwasters said he had a spare Kodak 35RF that he would trade, I jumped.

Kodak35RF

Where to even start? Well, maybe a brief description... The Kodak 35RF is a 35mm camera with a coupled range finder. It was made from 1940 to 1948. My example rolled off the assembly line in 1946 as indicated by the CAMEROSITY code of 'EO' on the lens. So what's so cool about this camera? I guess the first thing that catches my eye is that gear to the left of the lens. That's for focusing. You turn the little gear with your index finger and the magic happens inside the lens. This is done while looking into the tiny range finder window. That brings me to the next cool feature. There are three freakin' windows on the front of this thing. Each one is a different shape and size which gives it a touch of art deco or maybe cubism. Then there is "the shield". The shield is a piece of metal that covers what I imagine is the mechanism that couples the lens focusing ring to the viewfinder. The shield also extends over the top of the lens and provides a protective er... shield for the shutter release, so you don't accidentally hit it and get a picture of your shoe or the butt of the person walking in front of you. Speaking of the shutter release, it's out on the lens barrel, not on top of the camera like you would expect. There is a button right there on the top right side. It looks like a shutter release, but don't be fooled. It's not. Push it as many times as it takes to convince yourself that the shutter isn't responding to your command (it took me three slow presses and then about five 'spam clicks'). That button releases the film winding knob, so stop pressing it. You need to hold it down and start winding the knob clockwise. The winding process, besides taking a little coordination, takes a little hand strength as well. It is a firm quarter turn with a satisfying "CLACK!" at the end. If you are thinking of loading this up with a thin-base film like Plus-X Aerecon II, think again. The film sprocket holes engage a very tight sprocket and they will tear. In fact my first roll through (Fujicolor Super HR) tore some sprocket holes and that caused the frame counter (next to the winding knob) to do wacky things. My second roll (Ilford FP4 plus) worked just fine. The back comes off to load/unload the film just like most 35mm cameras of this era. The take-up spool is fixed and the slot that accepts the film is quite thin and a bit fiddly to get the film leader into. The rangefinder window, as I said, is very small but the split-screen rangefinder is pretty easy to use. The top and bottom images are both bright and well magnified. The viewfinder window is also bright and easy to use even for me with my required glasses. There are no framing lines or parallax correction that I could tell, but the minimum focusing distance of around 3.5 ft doesn't really require much correction and I didn't notice any badly framed shots. That's about all I have to say about the operation of the camera.

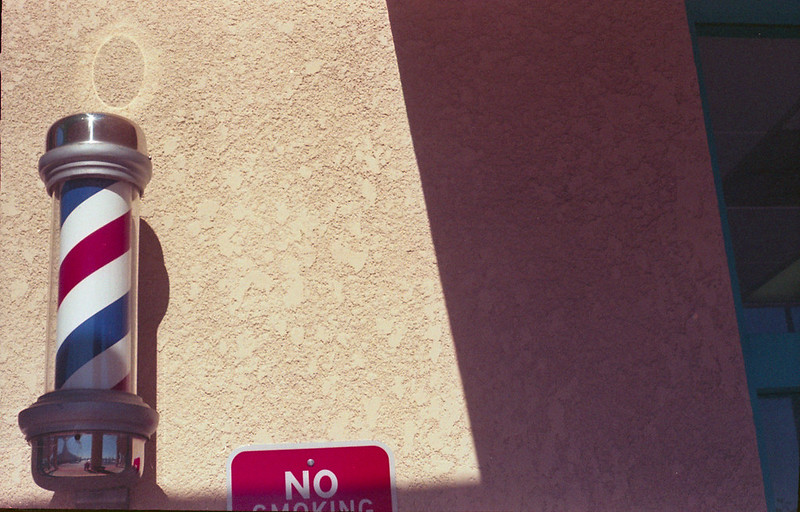
The results I got with this camera were pretty good. It's not in the upper echelons of cameraness like an M3 with a Summicron stuck to it, but for a cool looking robot camera, it takes good pictures. Let's look at a few shots. The first roll lie I said was Fujicolor Super HR. I shot this at iso 200, so here in sunny San Diego, that means the lens aperture was pretty much pegged at f/16 for the whole roll. That gave me a good idea of the sharpness and contrast it was capable of.

Barber Pole
Rigging
Pencils

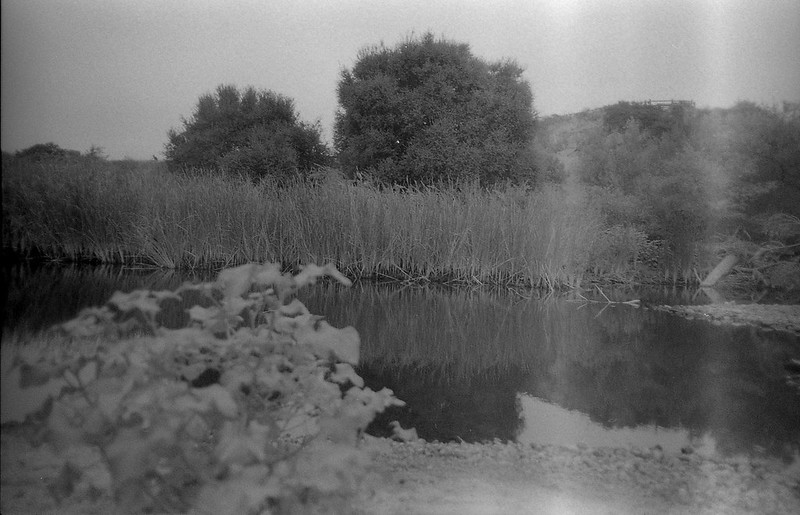
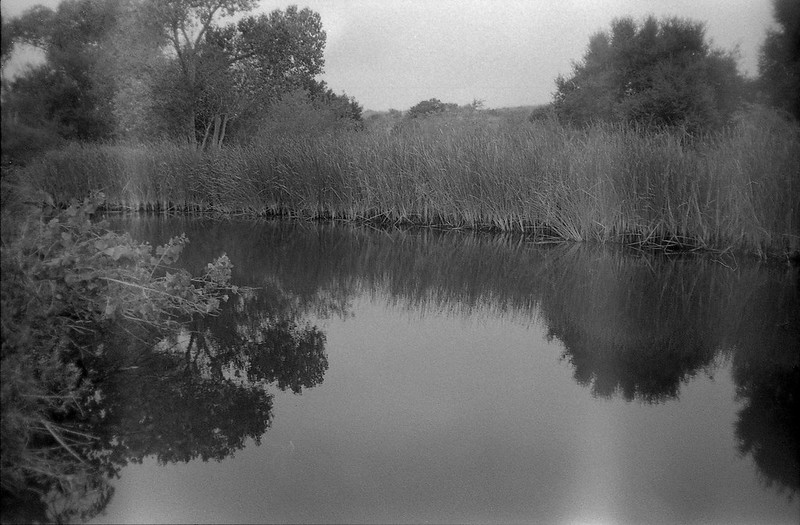
The next roll was some expired rebranded FP4 Plus that I shot at iso 50. I have shot this film at that iso before and it came out just fine, but this time the negs were very dark and hard to scan. My poor V600 could barely push enough light through some of them to get anything at all. So these look grainy, but that's really noise because the scanner had to crank the voltage on its sensor up to 11! This was a result of me switching developers and not really experimenting enough to get good results. I think the shutter speeds are all pretty accurate (enough for me anyway) and given a better film/dev/time combination, it will do just fine with slower films. The lens also performed adequately corner to corner with maybe a tiny bit of softness at wider apertures, which I also don't mind.

Raised Bed Veggies
Vendetta
Sycamore

Over all, I think this is a keeper and I might get some other robot cameras (e.g. Kinaflex) to keep it company.

Tuesday, December 13, 2016

Strange New Development

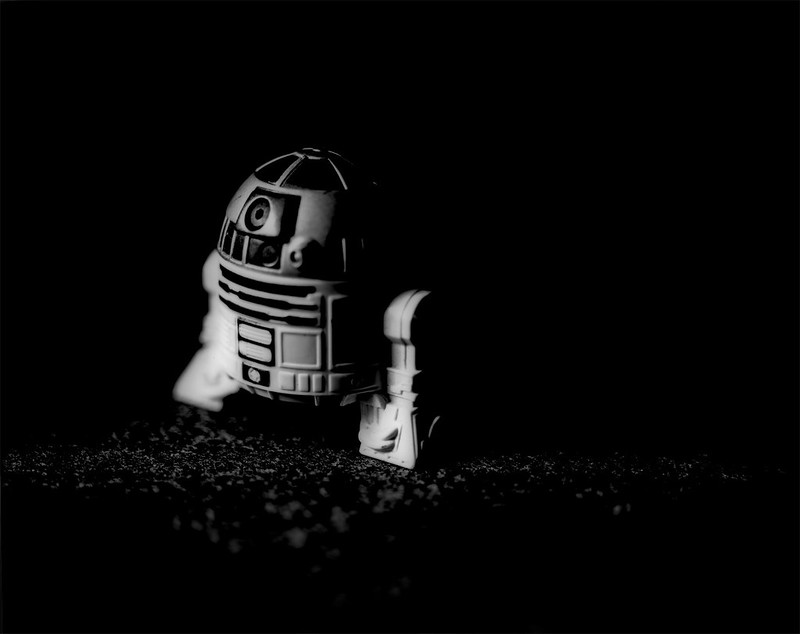
I am unafraid of getting chemicals on my hands (figuratively) and mixing up concoctions. I have spent my share of time in the lab and have even blown a couple of things up, so mixing up photochemistry is not a problem. Additionally, I am comfortable with a certain amount of uncertainty in my photographic outcomes. I don't shoot weddings anymore, so no world is going to end if I totally screw up what I am doing. So when I recently became aware that X-tol and Rodinal could be mixed and that the results might encapsulate the best of both of those developers, I was on it. I had some X-tol powder that I weigh into 1L portions and I had some Parodinal, so I figured I would shoot some 4x5 Kodak CSG and some Arista Ortho Litho and see what came out of it. Normally, I would develop CSG shot at iso 80 in parodinal diluted 1:100 for 4.5 minutes, so I used that as a starting point and at the last minute decided to cut it in half. I shot the Arista at iso 3, but I haven't worked much with this film, so I don't have a standard development for it. My standard dilution for X-tol is 1+3. So 250 mL of X-tol, 5 mL of parodinal and top off to 1L. Nothing exploded, so I figured I was good to go. I chose 5 minutes with 4 inversions every minute. The temp was probably around 68F. Stop was with tap water, changed 4 times. Fix was 2 minutes in Ilford Rapid Fix. Both of these films have extremely thin emulsion layers and actually fix in about 15 seconds.

The Ortho Litho turned out with VERY high contrast as might be expected. Here are a couple of the shots.

SpeedGraphic-AristaOL-pan01
SpeedGraphic-AristaOL-pan03

The CSG was much more tame and the negs looked 'normal' as far as exposure and density goes. I think the grain might be a bit smoother with this X-tol based developer. Hard to say without some sort of side by side with the same exposure of the same subject, but my gut says it is smoother. I know, not very scientific, but this is my hobby not my job. I don't have to be quantitative if I don't want to.

SpeedGraphic-KodakCSG-pan01 SpeedGraphic-KodakCSG-pan02

Tuesday, December 6, 2016

Like I Need Another Alt Process

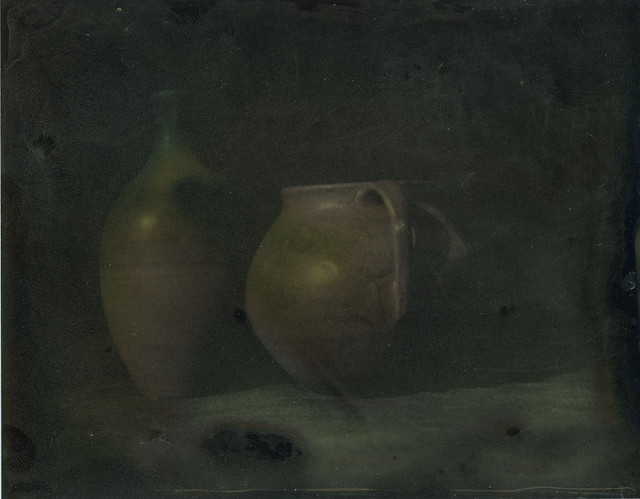
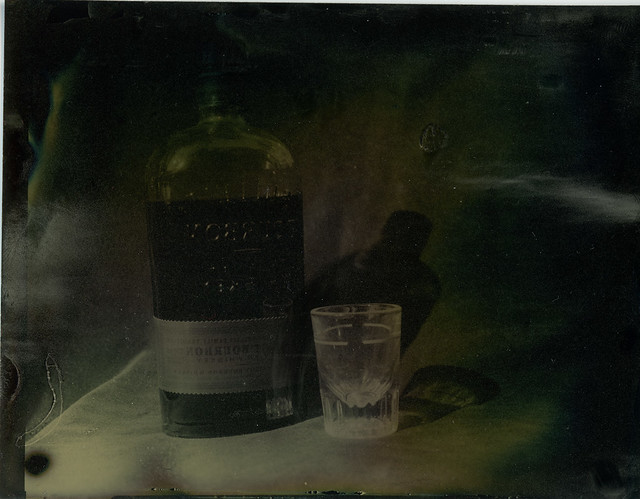
I have a project in mind. That usually means I will be spending more than I have of two different things... time and money. I have toyed with the idea for a while of getting into wet plate photography. It is all the rage apparently. I love the look. I love the 'one of a kind' aspect. I don't like the 'wetness'. Having to pour, sensitize, focus, compose, expose, develop and fix all within 10 minutes is too much of a push for my little brain. I need time. I need to think and rethink. I need to decide whether or not I even want to take that photo. These things become more difficult with the constraints of wet plate photography. So I will continue to enjoy the marvelous efforts of others working in that medium. So what do I do if I like the product but not the process? Well, I do what Richard L. Maddox did in 1871 and I use a similar process that uses DRY plates instead of wet. The dry plate process still uses plates of metal and glass coated with silver halides suspended in, let's call it 'goo' which is then allowed to dry in the dark and then exposed like regular film (sort of). This takes the rush of getting to the fixing step before the plate dries out of 'the picture'! (insert sad trombone sound here)

For my first foray into this process, I thought I would just start in the shallow end of the pool and get a dry plate tintype kit. These are sold by Rockland Colloid and come with 8 blackened aluminum plates (4x5), AG-Plus emulsion (light sensitive, open only in the dark), developer (top secret formula) and fixer (standard hardening fixer). Here are a few things I wish I had read before I wasted 4 plates.

  • The emulsion is solid, so you have to heat it in a hot water bath to liquify it. That is outlined in the instructions included with the kit. What they don't tell you is that it will instantly solidify when you pour it onto a room temperature plate. That seems intuitive, but it caught me and I ended up with a big mess. So my solution was to get a regular old heating pad, like you use for sore muscles. Take the cover off and put some paper towels or newspaper on it. Now put your plates on that and let them warm up while the emulsion warms up in the water bath.
  • Even warm, the emulsion is about the consistency of Elmer's Glue. It isn't going to flow nice and easy over your plate even if everything is warm. My first attempt, I tried spreading it around as evenly as I could with my finger. That didn't work well at all. Mostly, the emulsion was too thin and the image turned out to be too faint. Also, it was not at all evenly spread. I later settled on using a small rod to pull the emulsion across the plate. It was still imperfect, but much better and easier to control. I think with a little practice, this could work quite well.
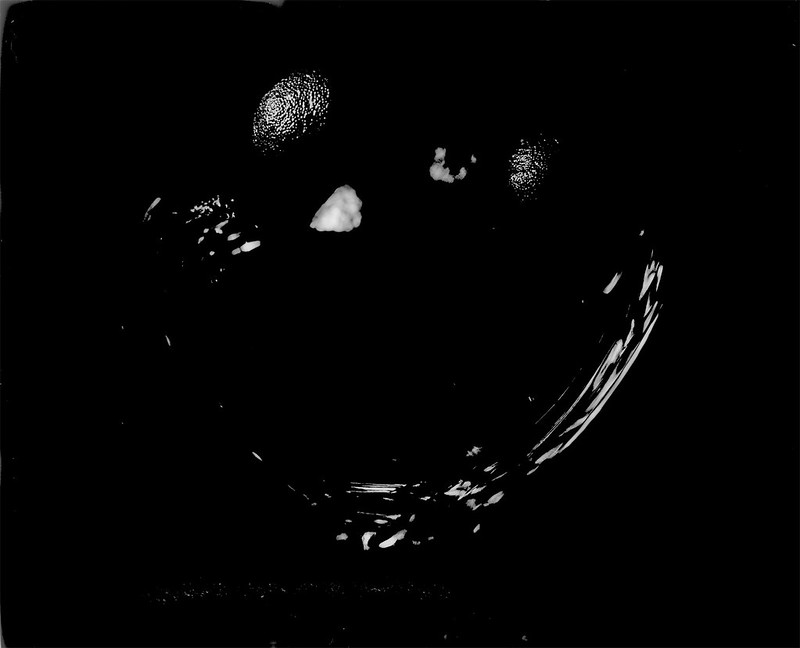
  • The spectral (light color) sensitivity of the emulsion does not lean toward blue. It IS blue (and uv). I tried exposing this under bright studio fluorescent lights and it just wasn't enough. Full sun or some other strong ultraviolet light source will be necessary. Under full sun, the iso comes in around 0.5. That means 1 second exposure at f/8. Now is a good time to mention that the developer starts to die when you open it. It takes about 2 weeks for it to really die, but your iso is going to suffer more and more as the developer ages. Development is done by inspection under red light, so you can extend it, but if development happens slowly, you will get greenish blue swirls (see my examples below).

Okay, enough blah blah. The bottom line(s) are:

  1. Coat mechanically with everything warmed up
  2. Expose in full sun.
  3. Use fresh chems.
Here are the two images I ended up with following the above advice. They aren't perfect, but they are a step in the right direction.

SpeedGraphic-Tintype-001
SpeedGraphic-Tintype-002

Sunday, October 9, 2016

Apples and Oranges... and a Sunflower

I have wanted to write a little comparison article about these two films I have for a while, but you know... life... I finally got around to developing some sheets I had exposed months ago and I was happy to see that I had taken the same photo with each of these films. So, let's get to it.
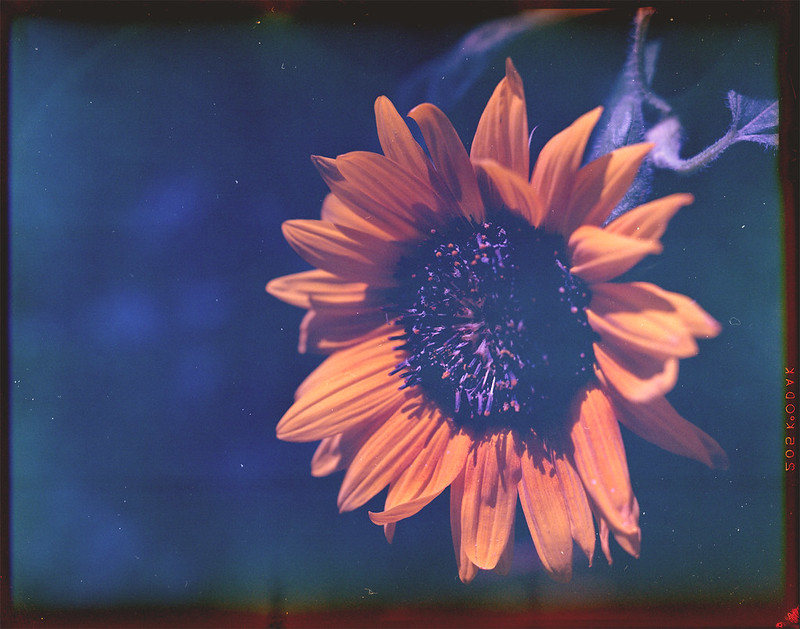
First, let's get the variables out of the way. Both are 4x5 sheets taken within minutes of each other with my trusty Graflex Speed Graphic with the nice Graflex Optar 135/4.7 lens mounted. This was in early summer in the full mid-day sun. Film #1 is Kodak Vericolor II expired in 1997. This film is tungsten balanced, so shooting it in sunlight gives a blue cast. This can be corrected either by putting an 85 color correction (warming) filter on the lens or applying it in post. I do the latter. The problem with this particular box of film is that I don't think it was stored well and the base is fogged. Also, the edges drop off suddenly. I think the original box speed was around 80, but I shoot it at iso 25 to try compensating for the base fog. However, with all of these flaws, it can make some interesting and dramatic photos. Please excuse the dust on this, I hadn't really planned to share this, so I didn't dust spot.
Graflex_Vericolor2_1
You can obviously see the blue shadows and the high contrast. I could let the shadows drop out, but then I would just have some orange flower petals floating in space. I would rather let the film's character shine through and appreciate the uniqueness.
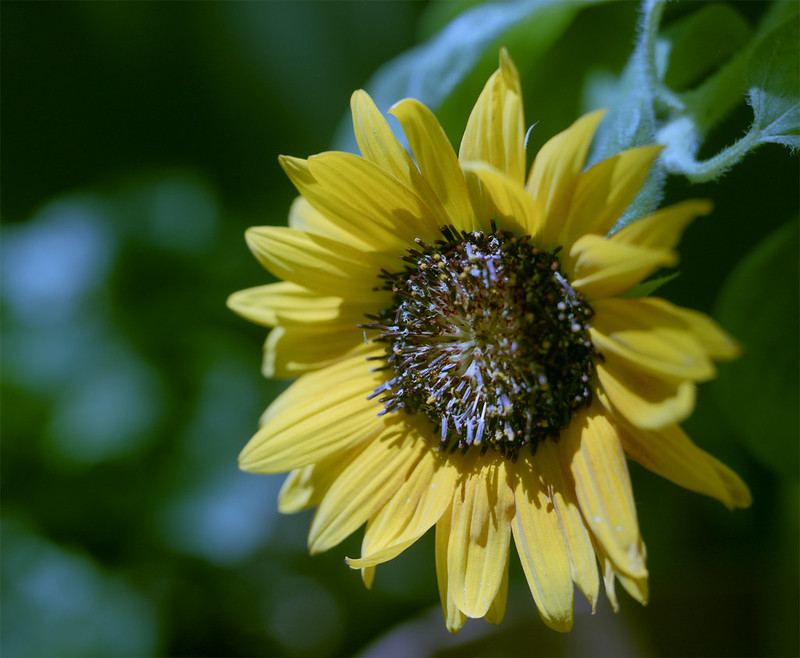
Next is Kodak Internegative Film. This was intended to make a positive duplicate from a negative which would then be used to make more negatives. Alternately, it could be used to make negatives from slides which would then be used to make prints. So it wasn't really intended to be a 'pictorial' film used in the camera. It was meant to be used in a commercial enlarger. With that in mind, I am shocked at the quality of this film. I don't think there was a set iso. The technician would have to test and adjust exposure depending on the original and any filtration they were using in the enlarger. I shot this at iso 5.
Graflex_Internegative_3
The colors are beautiful and the grain is nice and smooth. As I discovered when I scanned these and as I said in the title, these two films are not 'comparable'. So in that respect this little experiment failed. But that is not to say I didn't learn something. I found that the internegative film will produce nice smooth, accurate photos at iso 5. With a moderate scan resolution, this makes a 90 megapixel image that can be enlarged to any size you like. On the other hand, the Vericolor II makes a more unconventional/challenging image that brings a layer of abstraction to the subject. This definitely has its place in most film photographers' repertoire.
Here is another example of each film just for good measure. Enjoy.

Monday, February 8, 2016

For the Love of Bakelite!

Bakelite. It sounds like the heat source for one of these.


But it isn't. It's a modern miracle of materials science!! Alright, it isn't so modern, but just because it was invented in 1907 doesn't make it any less miraculous. It was the first synthetic plastic and was developed for its electrical insulation properties. So you could make a telephone casing with it and be pretty confident that when you answered, the person on the other end would hear “Hello?” and not “Gggggrraaaaaahhhhhhhhggg!!!!” It soon became popular to make lots of things with this durable moldable material. And make things they did. Everything from radios, to pipe stems, to automobile dashboards were made from Bakelite.

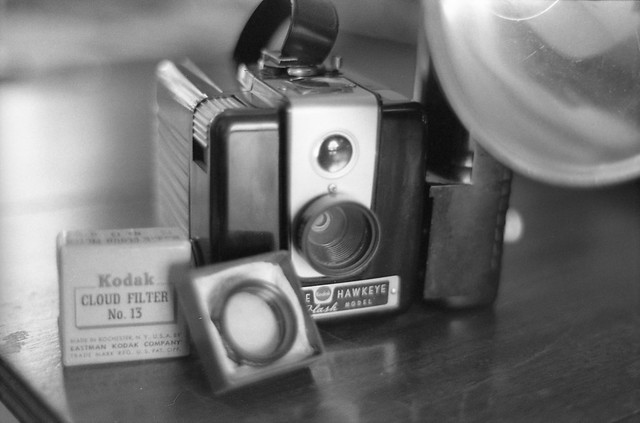
But you are on the Through a Glass, Darkly blog, not the “Through a Windshield Because They Haven't Invented Seatbelts Yet, Darkly” site, so best we stay on topic. Yes, they made cameras out of Bakelite. They made LOTS of them. Probably the most prolific Bakelite pusher in the photographic world was... yes, you guessed it, Kodak. They made Brownies of all types out of Bakelite and in the 1930's through the 1960's if your family didn't have one, the next door neighbors did. Early Bakelite Brownies took 127 roll film which is not as wide as modern 120 medium format film and usually produced 4x4 cm images. The Bakelite Brownies later evolved to shoot the more popular 6x6 cm format on 120 and 620 (120 film on a different spool) film.

That brings us to one of the most abundant of the Bakelite Brownies, the Brownie Hawkeye Flash Model.

FTn-Tmax400-011

Aside from maybe the Nikon F, this is probably the most thoroughly covered camera on the web. Partly because they last forever and there are still piles of them available in like new condition for practically the cost of shipping, and partly because they are so much fun to use. It took me a while to warm up to the idea of getting one of these little black boxes. I had read enough and seen enough pictures from them to know that they were capable little cameras, but the point and shoot nature sort of turned up my snob dial and I resisted the urge to drop $5 on such a common piece of equipment. One day however, I was perusing an auction site (not the one you are thinking of… yes, the other one) and there was one listed for $5 with local pick up available. Okay, a fiver and no tax or shipping... What's the worst that could happen? So I won the “auction”. Really there isn't much in the way of actual bidding on these, so that was just a waiting game. I went downtown and picked up my first BHF (that's short for Brownie Hawkeye Flash among BHF owners – yes that's a thing) and the first thing that happened was the clerk dropped it on the concrete floor. I fully expected to be picking up little bits of BHF but the thing bounced a little and there was one small chip that I didn't even notice until days later. I decided to do a thorough cleaning and prepared my tools and rags and pointy things for tiny crevices, but all I needed was a Philips head screwdriver. That's it. I didn't even have to consult the Googlz. It is so simple to take it down to a reasonable number of components and clean them. So there I was. I had a BHF that looked and worked like the day it rolled off the production line, which thanks to the CAMEROSITY code (YSRM), I know was in July of 1953.

Now what is it about this camera that would inspire so many to devote their time and creative juju to it? Well, I can't speak for others, but have I mentioned it's made of Bakelite? That puts it pretty firmly into the “cool junk” category and I've heard that chicks dig that. The simple meniscus lens keeps it sharp in the center from about 5 – 15 feet and just slightly softer around the corners.

BHF-Acros-009

Obviously, if you live and die on Mount Hassy, this may not be for you, but if you want to go even deeper into the soft corner abyss, you can simply take the lens out and flip it around. That gives a sharp center circle but the outer parts of the image quickly fly apart into a nightmarish spectacle that you will never want to wake up from.

hawkeye-004

This is a fixed focus, fixed aperture, fixed shutter speed camera, so "point and shoot" in every sense of the word except that you have to remember to wind the film. There is no protection against double, triple or tredecuple (it's a word, look it up) exposures, so wind first or wind last, but do it every time. There is a bulb setting for long exposures, but there is no tripod socket, so good luck with that (keep reading if you want to know what the "bulb" setting is really for). Not having control over aperture or shutter speed makes the choice of film important. These cameras were made before fast emulsions, so iso 100 is about right for daylight shooting or indoors with a flash. That's right, many of these have working flash units attached. They take regular #5 flash bulbs which can still be had if you look. They aren't cheap, but if you are going to oh, say your company Christmas party and want to impress that girl from the steno pool that you've been admiring from afar, load up on #5's and crack one off casually when she is reaching for the cheeseball. If the blinding flash doesn't get her attention, the smell of the bulb's plastic coating melting away will. The flash diffuser combined with the size of the bulb itself creates a more pleasant light than does the harsh point of an electronic flash. Plus, if your subjects are cold, it throws a blast of radiant heat that washes over them, warding off those winter chills. Obviously, if you are in a really dark place, you can use the "b" or "bulb" setting by pulling up on the button opposite the shutter release. This keeps the shutter open as long as you hold the shutter button down, but it also fires the flash. The most common type are M bulbs or Medium fast bulbs, offering time to peak of 18-20 ms and generally 8-12 ms flash duration. That is much faster than the regular shutter speed, but it has to be dark or you will get weird dim blurs around your sharp flash image.

BHF-Acros-002

Finally, I want to talk about maybe my favorite feature of this camera. The Bakelite is good, the lens is 'special', the flash does what it does in spectacular fashion, but I just love the sound of the shutter. It is the simplest of spring loaded rotary shutters. The speed on yours may vary from mine, but between 1/30th and 1/40th is a safe bet. It doesn't really matter though. You can't change it! But that sound… I wish I could make a really good recording of it and play it for you. It goes like this “ker-SNAP!...schokkk.” Well, it sounds better than it looks phonetically, trust me. I have it on a shelf just above the computer where I am writing this and I just keep stopping to push that button, and when I am actually taking pictures with it, it's even more satisfying.

The Brownie Hawkeye Flash Model camera is really more than the sum of its parts. The experience of using one isn't about maximizing your creative potential. You probably won't realize your dream photograph with it. The BHF is about pointing, shooting, having fun and looking cool (for very specific definitions of “cool”). Bakelite is a miraculous material because it has made the preservation of thousands of these neat little box cameras possible. Pick one up, they're everywhere. Load it with your favorite medium speed film and take a walk with some friends. I guarantee you will have some fun, make some memories and take some good pictures.

Saturday, November 21, 2015

There's Expired Film, and Then There's...

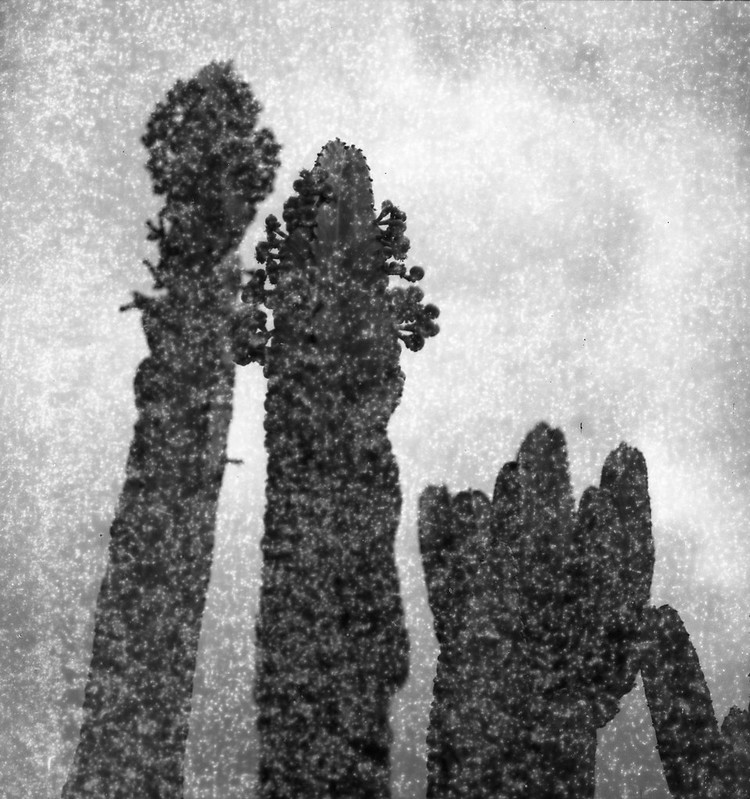
When I see a bargain on 'the bay', there is a fleeting moment when my brain says, "That's too good to be true, and if it were really a bargain someone else would have snatched it up before you." Often that is enough to discourage me from making impulsive purchases. However, when it comes to cheap film, I am a complete sucker. So when I came across a 10-pack of 120 film for around $3/roll shipped, my urges got the better of me. Now this film was a little odd, but not unheard of. It was the Russian brand Svema and it was the FN64 black and white negative emulsion. It had expired in 1996 which is less than 10 years ago, so I figured between the relative newness and the slow iso, it would be good to go, maybe even at box speed. So I ordered the 10 rolls and hoped for the best. When it came in the mail (from Ukraine) I thought the cold war style packaging was quaint. The rolls were individually boxed with Cyrillic letters on them. The rolls inside were wrapped in a foil-lined paper, not sealed in plastic like most other 120 films are. I unwrapped one to find a bright red backing paper that seemed a little bit thicker than most backing papers I have encountered, but you never know until you try, right? So I put the roll into my Bronica S2a and started shooting. My concern grew on about the fourth shot. I wound the film, the shutter cocked and then the film kept winding. It wasn't like a free spin as if the film had broken, but a sort of squishy wind that gradually got stiffer. I finished the roll with this sort of strange 'feel' to the winder. Normally when I reach 12 on the counter, I get the free wind as the film is all on the take-up spool and no longer turning the sprockets in the winding mechanism. This time that didn't happen. It just got harder and harder to wind. So I opened it up, figuring it had something to do with the thickness of the backing paper. Maybe I was going to have to respool all of this onto regular 'Western-style' backing papers. But no, when I opened the back, the film sort of sprung out at me like one of those trick snakes in a can novelties. It was not wound around the take up spool at all. Instead it was crammed all around it accordion style. What I discovered was that the tape that normally holds the film to the backing paper on the leading edge had lost all of its stickiness and so it did not lead the film onto the spool. One roll down. One lesson learned. The next roll I took into a darkened room and unrolled it until I could feel the leading edge of the film and the old tape. Out with the old and in with a new piece of nice sticky tape. I rolled it back up and put it in the camera. This time it wound like a charm. I shot the roll at iso 50 because that is what I read someone else did on the interwebz. Here is where we learn the lesson about film storage conditions and what effect they have on film over time. Here is an example from that roll.

Cactus

Sometimes you can overcome background/base fog simply by bumping the exposure a stop or two. So for the next roll, I decided to go for it and shoot it two stops slower than box speed at iso 16. This might have been a little better, but not significantly so.

S2a-Svema64-008

This film was obviously stored at 'room' temperature or worse. This caused oxidation of the emulsion which turns things all 'speckeled'. It's not the worst thing that could happen. If I know the photos are going to look like this, I can choose my subjects and lighting accordingly and set my expectations. So I'm not sure what exactly I will do with the remaining 7 rolls of this old film, but I'll bet one day I will find myself in the mood for something a little 'different' and I'll pull another one of these old Russian rolls out of the freezer.

Tuesday, June 2, 2015

Adventures in Positive Paper

I may have mis-titled this post since the adventure was not really anything to do with the medium. I will just make a couple of technical notes. The paper was exposed in my Graflex Speed Graphic with the Graflex Optar 135mm f/4.7 lens. It was exposed using an EI (exposure index = iso) of 3. The light was indirect sun from a window, so not very bright and somewhat diffuse. Exposure time was ~ 60s at f/4.7. Tray development was done in Rodinal 1:50 by inspection under red light. I think it was around 10 minutes with fixation in Ilford Rapid Fix (1:4). The 'tray' I used was narrower than the paper, so I had to curl it into a 'U' shape and that may have had an effect on development as agitation was uneven.

Okay, the main thing I wanted to talk about was this. I don't take many people pictures. Look around my Flickr feed and you will see lots of plants and random objects and some landscape. Street photography is pretty much absent from my repertoire, and portraits are uncommon if not rare. Let's just get this out of the way. I am an introvert. I don't naturally connect with people, especially people I don't know well. So going up to people and asking them if I can take their photo is an experience on a level with unanesthetized fingernail extraction. I tried to work this out by starting a "100 Strangers" project. I think I made it to #3. Even though the people I photographed were friendly and good-natured, the negative reinforcement outweighed the positive.

That's probably more than you care to know about my inner psychology, so what does all of that have to do with anything? Only this... My youngest son (not so young any more) is the model for a good portion of the portraits I take. He is always willing to sit down and have his photo taken. It might even qualify as "quality time" since he is just curious enough to ask a question or two about what I'm doing and I am willing to take the time out of what I'm doing to explain it. Maybe some day he will want to start taking photographs himself.

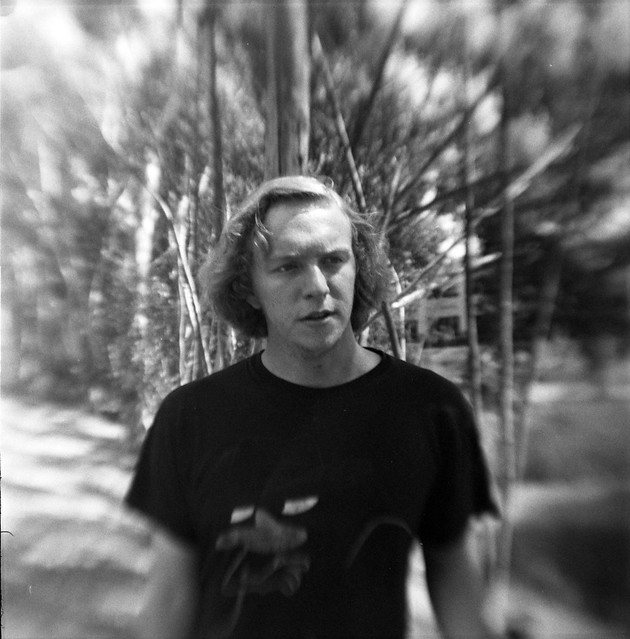
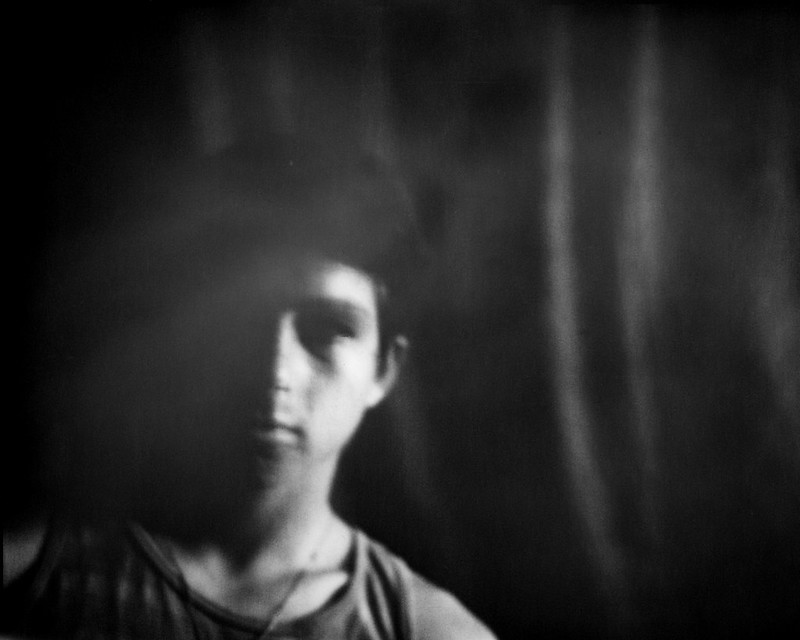
So what was I trying to do with these two photos? I wanted to try some 'non-conventional' portraits that were more implicit than explicit. I wanted to do something to add another layer of abstraction. A photo is inherently abstract since it reduces a 3D object to 2D. Using b/w media is another layer of abstraction since most of us see in color. Removing any accompanying environment or context is a type of abstraction. Then I figured that since I was using a long exposure and not in any way 'stabilizing' my subject, there would be some motion blur. I decided to enhance this by using the on-camera shutter release and then intentionally shaking the camera ever so slightly. The first shot was a close up of Artyom's face. This is even more abstract because it isn't immediately obvious what the subject is. Most of us certainly never see another person from quite this close of a perspective. I would characterize this as "expressionistic". It uses a very abstract representation of the subject to say something about them or maybe just to create a beautiful pattern. Artyom is a 'touchy-feely' kind of person. He likes to get up close to people he likes. This photo illustrates that characteristic without explicitly showing him hugging someone. It is an 'expression' of that trait the way I see and feel it in my heart and mind.

Artyom abstract

The next shot is a little farther back, so that the subject is more recognizable. The high contrast of the photo depicts him in a certain way, but it does depict him. Anyone who knows him would recognize him in this photo. Artyom is very athletic and strong. This photo is very structural. It shows a stark outline of his shoulder, neck and collar bone. His gaze penetrates out of the photo at the viewer. So this image is what I would call "impressionist". It is an image of Artyom overlaid with the impression of his strength. The purpose of the image is not to identify him, but to identify with him. Please take a moment to comment if you like anything about these photos. I appreciate your feedback.

Artyom

Sunday, April 26, 2015

Vericolor III Expired

If you read the post on DIY 120 Film, then this will be old news. Skip to the pictures.

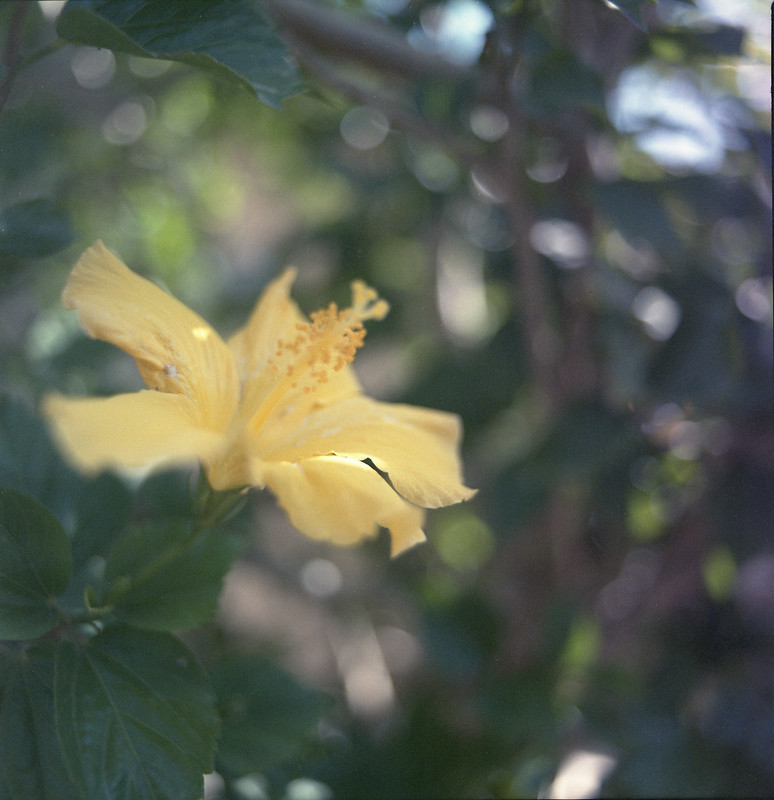
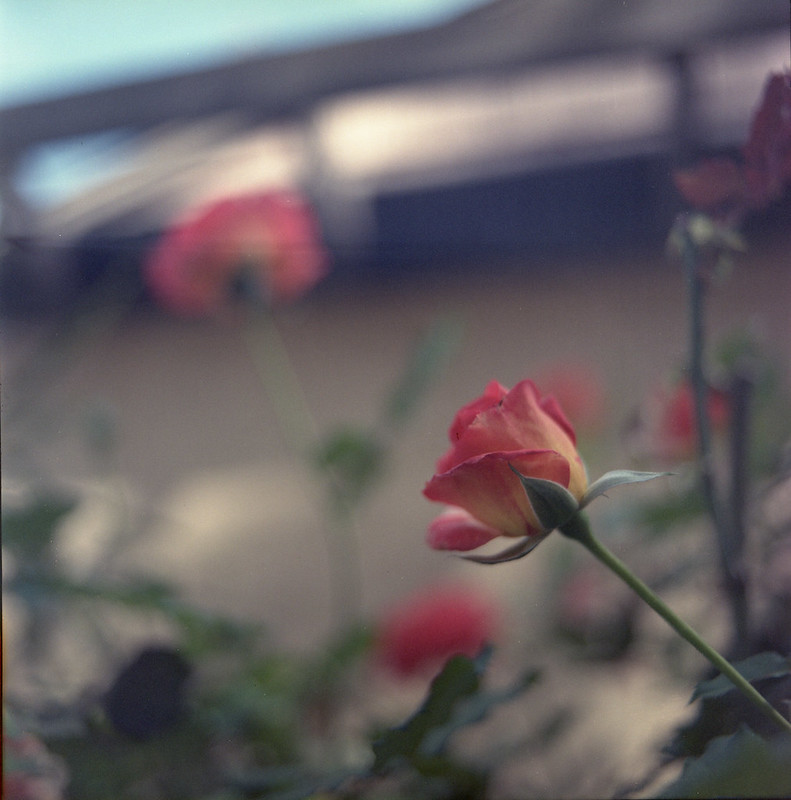
A couple of weeks ago, I found a deal on a 100ft roll of 70mm film. The film expired in 1989 and the seller didn't know how it had been stored, so was selling it at a deep discount. I bought it, knowing the risk. If it had been stored in a San Diego car trunk, chances were that it would be so badly fogged that it wouldn't be usable. However, if it had been stored refrigerated or in a freezer, it could very well make some nice images. As with most 'aged' film, the grain would be pronounced and the speed would decrease about one stop per decade. Vericolor III had a nominal speed of 160, so I decided to shoot it almost 2 stops slower at iso 50. I cut off 1 cm from the edge using the film slitter I made (see link above) and loaded it into my Bronica S2a. I shot the roll and developed it with an old-ish Unicolor C-41 kit at normal times and temps. The uncorrected scans have a bluish cast, but that is pretty easily corrected with the Epson Scan software. It actually does a pretty good job with the 'automatic' corrections it does. So here are a few shots off of that roll. It isn't high art, just some test shots to see how the color and grain fared over the last 26 years.

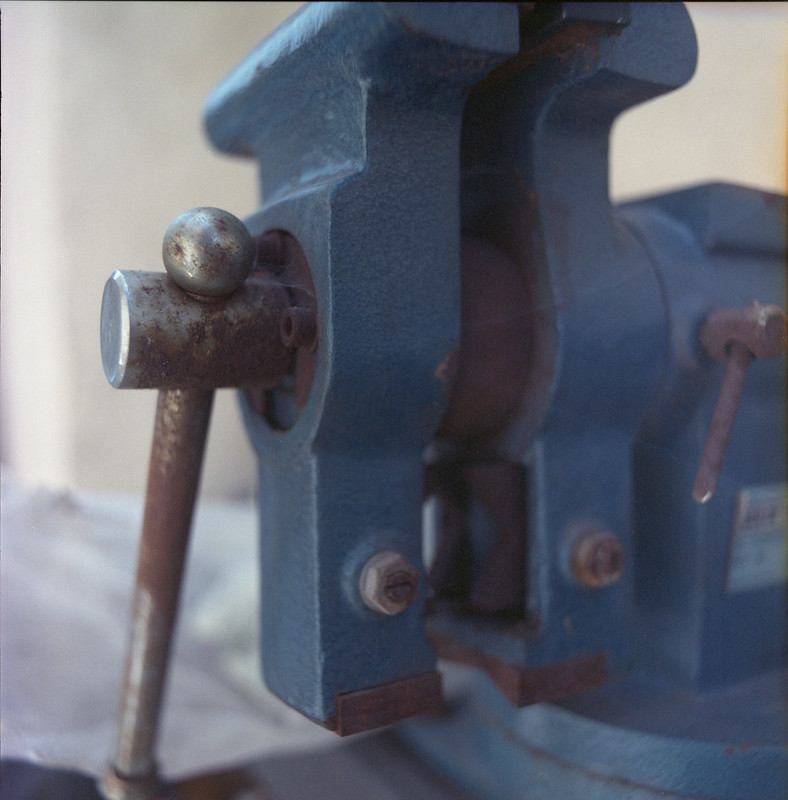
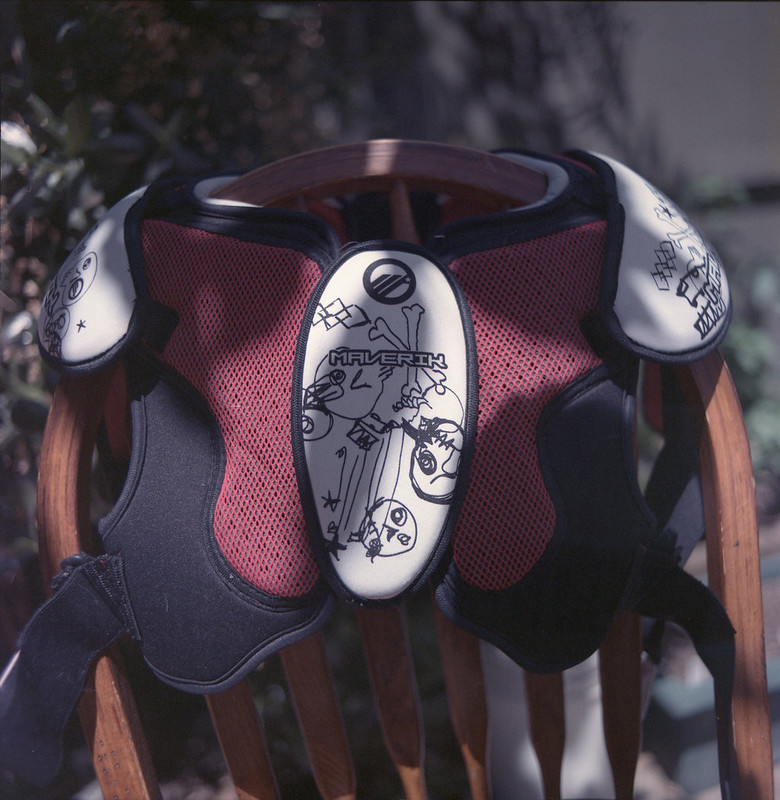
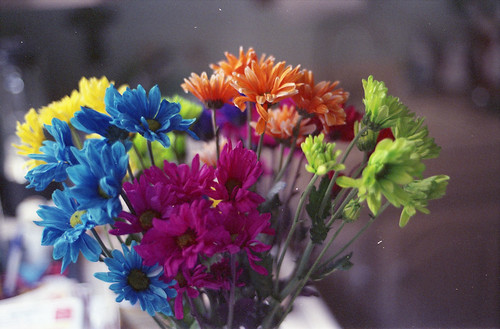
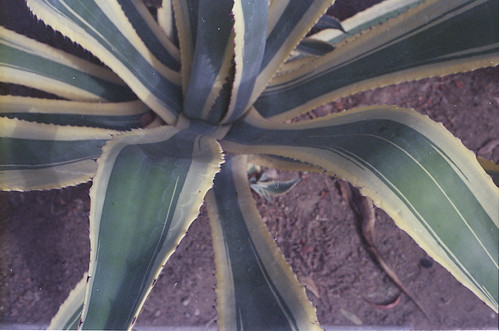
Hibiscus roses vise lacrosse pads

Monday, October 20, 2014

Motion Picture Film

Ever since Cinestill hit the market, shooting movie film in still cameras has become all the rage. Not being one to miss a passing bandwagon, I thought I would jump on and see where the ride went. However, being err... "thrifty", I did not want to pay $10/roll + s/h for 35mm film. Also, I seem to have a good thing going with expired film, so why fix what doesn't seem to be broken? With that philosophy in mind, I went searching for the cheapest movie film I could find on a reasonably sized (<400ft) roll. I want to try it, not shoot it exclusively for the next 10 years. I looked at a LOT of different sellers and emulsion numbers. I also started researching the "remjet" issue. I would have to get that layer of black gunk off the back of the film either before shooting it ("premoval") or after exposing, but before developing. The remjet layer is there for anti-halation as well as anti-static for when the film is whizzing through a motion picture camera. Anti-halation is nice and most still films have a layer of dye on the back of the film to keep light from reflecting off of the pressure plate inside the camera and making glowing "halo's" in the highlights on the film. Premoving the remjet will eliminate this benefit, but if you are going to send the film off for processing, it has to be done. The machines that process film will not remove it and when it comes off in the machine's chemistry and mechanics, the operator will be unhappy with you. Cinestill removes the remjet for you, so that is part of the price you pay (which is fair, but for me unnecessary since I dev my own C-41). So what did I do?? I did both premoval and nothing. Keep reading and I'll explain.

I rolled up one 12-exp roll just like I would for any other bulk film. This will be the "control" sample and I will not do anything special to it regarding the remjet. The other roll, I measured the length and spooled it onto a Paterson developing spool and put it in the tank for 15min with a solution of 2Tbs Borax in 500mL water. At the end of 15min, I agitated the tank vigorously for about a minute. I really shook it hard. Disappointingly, the liquid that came out was just sort of a weak greenish solution. Subsequent rinses were clear. There was no sign of black flakes, so either, my solution did nothing to remove the remjet, or the remjet was really thin. A third option is that there is no remjet on this film. I'm not sure what remjet looks like, so I can't say, but the film is Super F-Series which does appear to have a remjet backing according to the interwebz. So at this point, I just dried the film in a 'dark' place and rolled it up into a canister. Here is what the two treatments look like side by side. The premoval roll is on the left and the untreated roll is on the right. There is clearly a difference between them, but is it remjet or just anti-halation dye?

I shot both rolls at iso 400 in the same camera, mostly in cloudy daylight. For this test, I'm not so much interested in color rendition as much as just the processing workflow. I fully expected to see some black bits stuck to the film and/or floating in my developer. The developer came out clear as always, so I figured the remjet must still be stuck fast to the film and I would have to do a removal at the end. To my surprise though the film was clear. The two films were developed in the same tank at the same time and I couldn't tell which was which until I looked at the specific images. There was no sign of remjet anywhere. Here are a couple of images from the "control" roll that was not pre-treated. I scanned these on an Epson Perfection V600 using the auto color correction, but nothing else in post. The color is shifted/cast a little as you might expect with cross processing, but other than that, there is nothing notable. The grain is there and looks about how my other expired color films look, so that's that.

Fujifilm 8572 Fujifilm 8572

Here are a couple of shots from the premoval roll. It looks like the film got fogged during the drying process. I did my best to keep it absolutely dark, but probably failed to some degree. There also seems to be some damage to the film. This is either chemical from the borax or mechanical from the vigorous shaking. Hard to say without more testing. Having said that, I will probably not do any more tests since the untreated roll came out nice without any ill effects from the remjet. I will just shoot this like any other color negative film.

Fujifilm 8572 Premoval Fujifilm 8572 Premoval