Friday, June 30, 2017

Robot Camera - Kodak 35RF

I like "robot cameras". By that I mean cameras that have exposed machinery like gears and levers. There is something to be said for the sleek, plastic-shrouded black boxes like the Contax T2 or the Konica Hexar with their clean lines and mysterious lack of 'machinery'. They take fine photos to be sure, but (for me) they don't hit my "that's so cool!" button. That button is actuated by dials and levers that make ratcheting noises and knurled knobs and gears. So when a friend over on Filmwasters said he had a spare Kodak 35RF that he would trade, I jumped.

Kodak35RF

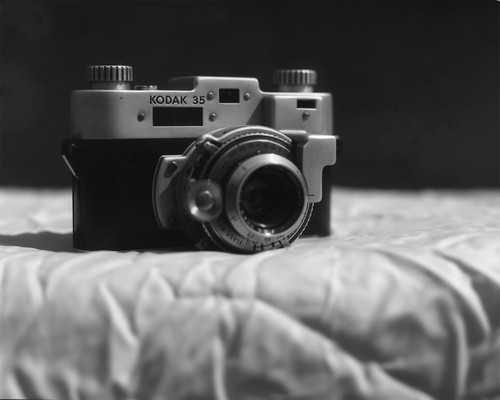
Where to even start? Well, maybe a brief description... The Kodak 35RF is a 35mm camera with a coupled range finder. It was made from 1940 to 1948. My example rolled off the assembly line in 1946 as indicated by the CAMEROSITY code of 'EO' on the lens. So what's so cool about this camera? I guess the first thing that catches my eye is that gear to the left of the lens. That's for focusing. You turn the little gear with your index finger and the magic happens inside the lens. This is done while looking into the tiny range finder window. That brings me to the next cool feature. There are three freakin' windows on the front of this thing. Each one is a different shape and size which gives it a touch of art deco or maybe cubism. Then there is "the shield". The shield is a piece of metal that covers what I imagine is the mechanism that couples the lens focusing ring to the viewfinder. The shield also extends over the top of the lens and provides a protective er... shield for the shutter release, so you don't accidentally hit it and get a picture of your shoe or the butt of the person walking in front of you. Speaking of the shutter release, it's out on the lens barrel, not on top of the camera like you would expect. There is a button right there on the top right side. It looks like a shutter release, but don't be fooled. It's not. Push it as many times as it takes to convince yourself that the shutter isn't responding to your command (it took me three slow presses and then about five 'spam clicks'). That button releases the film winding knob, so stop pressing it. You need to hold it down and start winding the knob clockwise. The winding process, besides taking a little coordination, takes a little hand strength as well. It is a firm quarter turn with a satisfying "CLACK!" at the end. If you are thinking of loading this up with a thin-base film like Plus-X Aerecon II, think again. The film sprocket holes engage a very tight sprocket and they will tear. In fact my first roll through (Fujicolor Super HR) tore some sprocket holes and that caused the frame counter (next to the winding knob) to do wacky things. My second roll (Ilford FP4 plus) worked just fine. The back comes off to load/unload the film just like most 35mm cameras of this era. The take-up spool is fixed and the slot that accepts the film is quite thin and a bit fiddly to get the film leader into. The rangefinder window, as I said, is very small but the split-screen rangefinder is pretty easy to use. The top and bottom images are both bright and well magnified. The viewfinder window is also bright and easy to use even for me with my required glasses. There are no framing lines or parallax correction that I could tell, but the minimum focusing distance of around 3.5 ft doesn't really require much correction and I didn't notice any badly framed shots. That's about all I have to say about the operation of the camera.

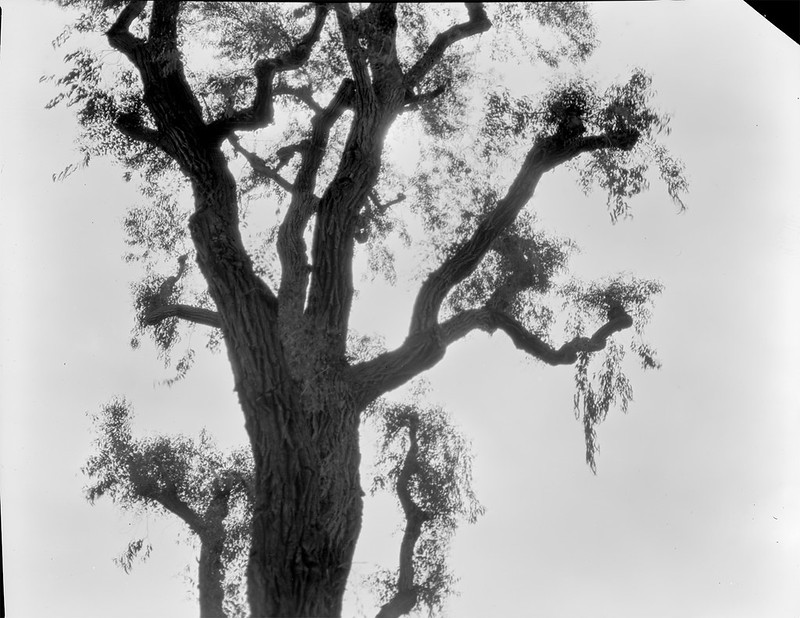
The results I got with this camera were pretty good. It's not in the upper echelons of cameraness like an M3 with a Summicron stuck to it, but for a cool looking robot camera, it takes good pictures. Let's look at a few shots. The first roll lie I said was Fujicolor Super HR. I shot this at iso 200, so here in sunny San Diego, that means the lens aperture was pretty much pegged at f/16 for the whole roll. That gave me a good idea of the sharpness and contrast it was capable of.

Barber Pole
Rigging
Pencils

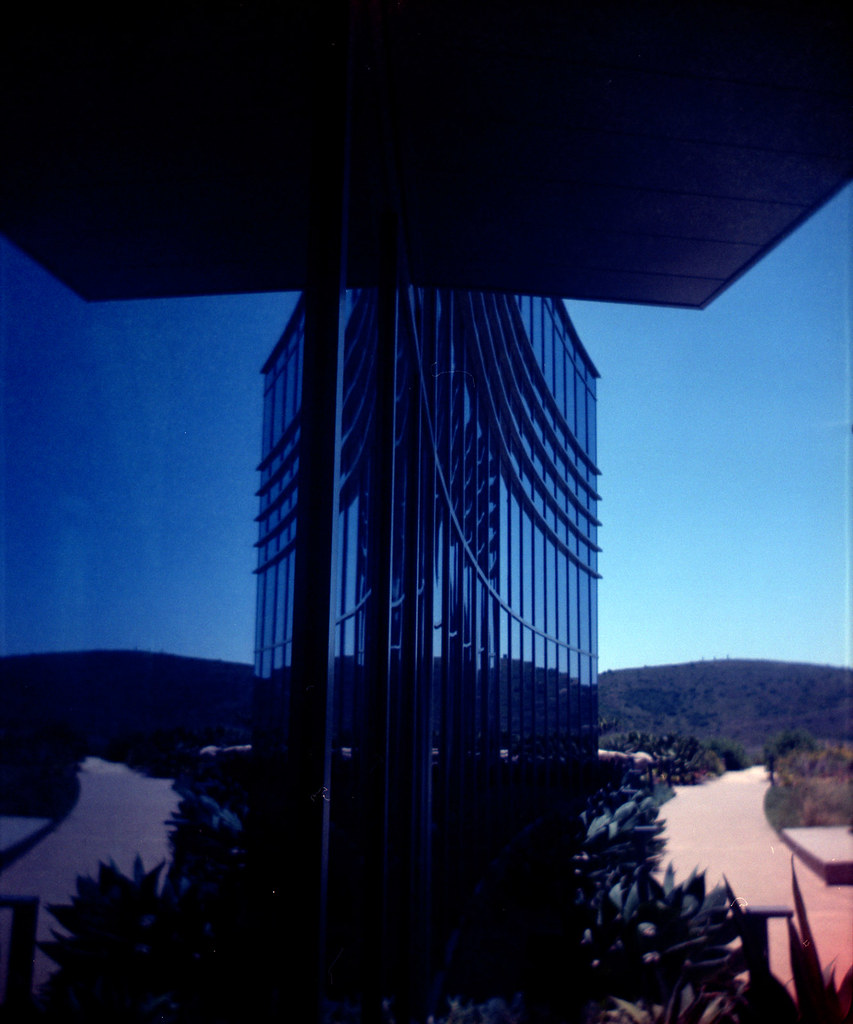
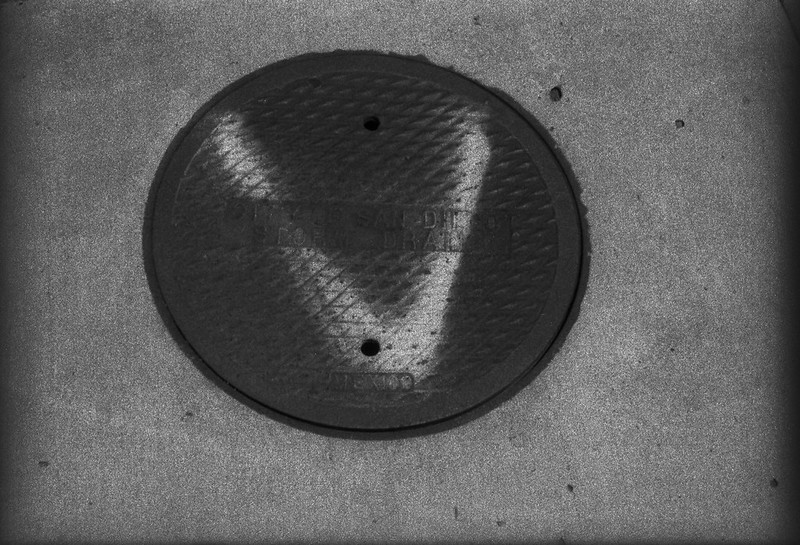
The next roll was some expired rebranded FP4 Plus that I shot at iso 50. I have shot this film at that iso before and it came out just fine, but this time the negs were very dark and hard to scan. My poor V600 could barely push enough light through some of them to get anything at all. So these look grainy, but that's really noise because the scanner had to crank the voltage on its sensor up to 11! This was a result of me switching developers and not really experimenting enough to get good results. I think the shutter speeds are all pretty accurate (enough for me anyway) and given a better film/dev/time combination, it will do just fine with slower films. The lens also performed adequately corner to corner with maybe a tiny bit of softness at wider apertures, which I also don't mind.

Raised Bed Veggies
Vendetta
Sycamore

Over all, I think this is a keeper and I might get some other robot cameras (e.g. Kinaflex) to keep it company.

Sunday, June 11, 2017

70 + 35

I finished off two rolls of color film. Nothing exciting there. One of them was 35mm. Still nothing. The other was 70mm (616 format). That's a little more interesting, since I don't have a developing tank with a spool that holds 70mm film. Standard Patterson spools will take 35mm, 127 (46mm) and 120 (60mm). So I improvise... I take apart a standard spool.

The bottom half is the 'outer' piece that has a bigger hole through the middle. That slides on the center post.

The upper part slips down on top and I use a rubber band around the column as a 'stop' that holds it at the right place for 70mm. Loading the film is a little fiddly to get started. Doing a good job estimating the height is important. It will be about a millimeter shorter than the backing paper, so use that as a guide. If you have to adjust it in the dark, it's not that hard. This has to be done with the two halves on the center post, of course.

Then I slide the 35mm spool on top of that (after loading the film). One liter of chemistry will cover these two films in this configuration. I didn't check that before I started, but noticed when doing the stabilizer step that they were covered (whew!)

The camera I used for the 616 film was an old Agfa PD16 Clipper. I love the simplicity of this point and shoot viewfinder. Fixed focus, fixed aperture, fixed shutter speed. Literally, point and shoot. The film is Vericolor III (expired 1989). In good sunny conditions, this pair works pretty well together.

Reflected

The camera I used for the 35mm roll was a Kodak 35RF I got in a trade.

Pencils

Sunday, June 4, 2017

Gone Microfiche-ing

Using expired film can be a bit of a challenge. There is usually some loss in speed, so the apparent iso (or the effective EI, if you like) is lower and it is up to you as the film adventurer to determine by how much. The rule of thumb says one stop for each decade past its expiration date. So assuming you know the expiration date and didn't just come across a random roll of film, you can use that as a starting point. Keep in mind though that 'fast' films (to me that means iso 100 and higher) will lose speed 'faster' than slow films. So if you have a roll of Ektar 25 that expired in 1997, that's 20 years (two stops lost), but since it was slow film to begin with, it probably didn't lose a full two stops. Maybe 1½ or 1 stop would be a better starting point. "So what's your point here Jimbo?", you may be asking. First, I don't really like "Jimbo", people called me "Jim" in college, but generally, it's just "James" and has been since Mr. Salyers' 4th grade class. Secondly, I'm getting there!

Periodically, I search for Kodak Dacomatic Recordak film to buy. I have some in the fridge and I really like it. So I just keep an eye out for a spool. I never find any. But then one day the search popped a result on the big auction site. It was "Recordak", but didn't say "Dacomatic". Additionally, it was 500 ft of 105 mm stock! Well, that seemed odd, so I did some more digging on the specific emulsion number (4462) and it turned out to be a completely different film (seems obvious now). This one was used for microfiche production. So it was copy film like the Dacomatic, but a different type. The price was right, so I went and bought it, hoping against hope that I could get pictures from it. It originally (expired 12/1979) was rated at iso 2.1! So, figuring that this stuff is really not very sensitive to light to begin with, I figured it probably hasn't lost that much speed even in almost 40 years, but I'll give it a stop anyway. That puts it right about iso 1. Okay, so I have an exposure starting point. How am I going to develop this stuff? It was designed with an automated proprietary development scheme in mind, so all I could find in the VERY sparse documentation was "Microfilm DEVELOPER and Replenisher". That's it. So I figured I would hit up the old stand by, Rodinal 1:100 and do a strip test to see if it would even change color. In fact it did! In about 15 seconds, it was fully developed!! So much for 60 minutes of stand development. Well, I cut a few sheets and took some of what I am certain were the best photos of my entire life and dunked them in what I had on hand, which was some homemade Parodinal 1:100 for 4 minutes. That is what I use for x-ray film and it works just fine. This microfilm however, was completely dark. Hmm... Maybe I over-exposed it? I tried again, taking more absolutely stunning photos at higher and higher speeds. Again, completely dark. So over-exposure was not the problem. It must be over-development. I cut the time in half. Still totally dark. I mean just a dark sheet of film... No image whatsoever. The strip test I did showed that the film cleared completely in the fixer, so it wasn't that the fixer was bad or the film was totally fogged.

I was just about to give up and call it a total loss, but I thought I would just try a different developer for grins. Rodinal variants have always developed anything I threw at them, including a roll of Ansco Plenachrome expired in 1949. But desperate times, you know. I had some X-tol powder laying about and that is a phenidone based developer, so I figured one last try. And this time, I would take a high contrast shot with lots of bright San Diego sky AND I would develop under red safelight by inspection. Did I mention that this film is orthochromatic? No? Well, now I have.

BAM!!!

Recordak-iso-1

I got an image! That was in X-tol 1:3 for 10 minutes. Now to see if I could get something with a few more grays in there. So I took a shot in the shade. I gave it a little more exposure because I had the bellows extended a bit, but I forgot about the reciprocity failure that was mentioned in the tech doc. The negative was very thin, but still there was a photo and it had much more scale to it. It is still quite fine grained and in 4x5 sheets that means some super fine detail can be had.

Retro Eveready Photo Cells

Now I've got about 490 feet left of this to see what I can do with this flavor of copy film. I'm looking forward to making some photos with this oddball microfilm.