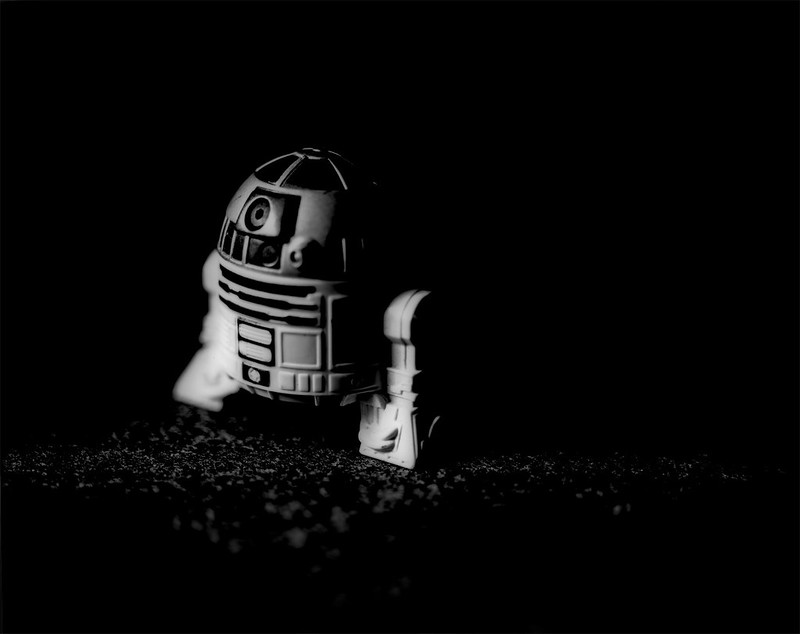
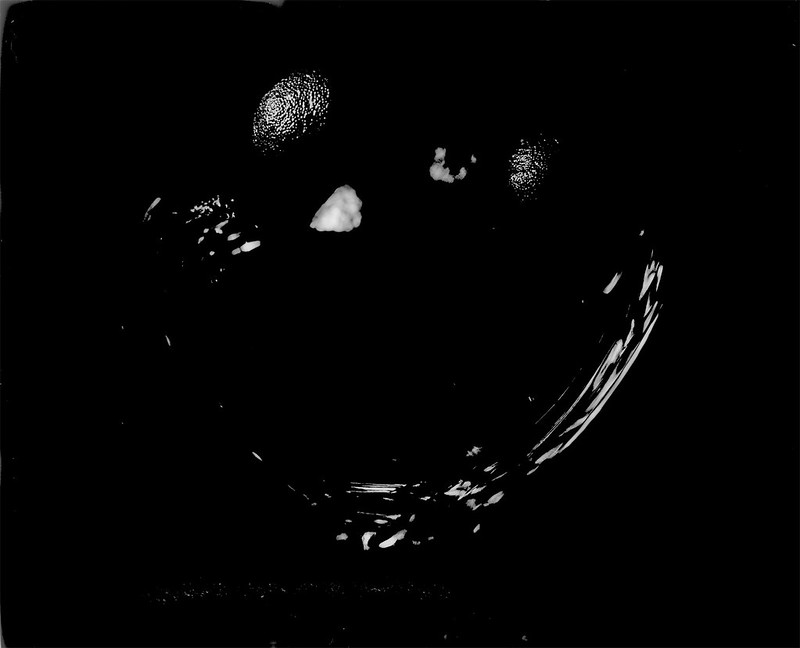
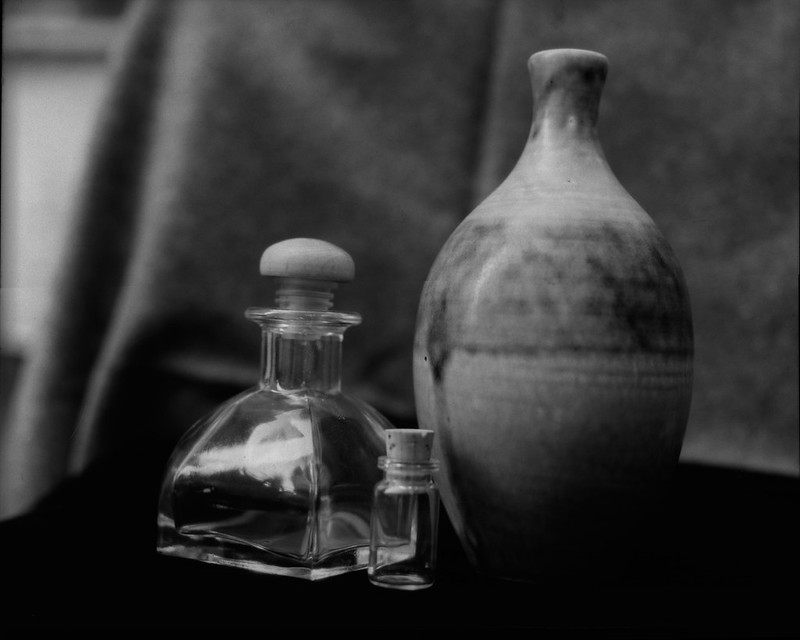
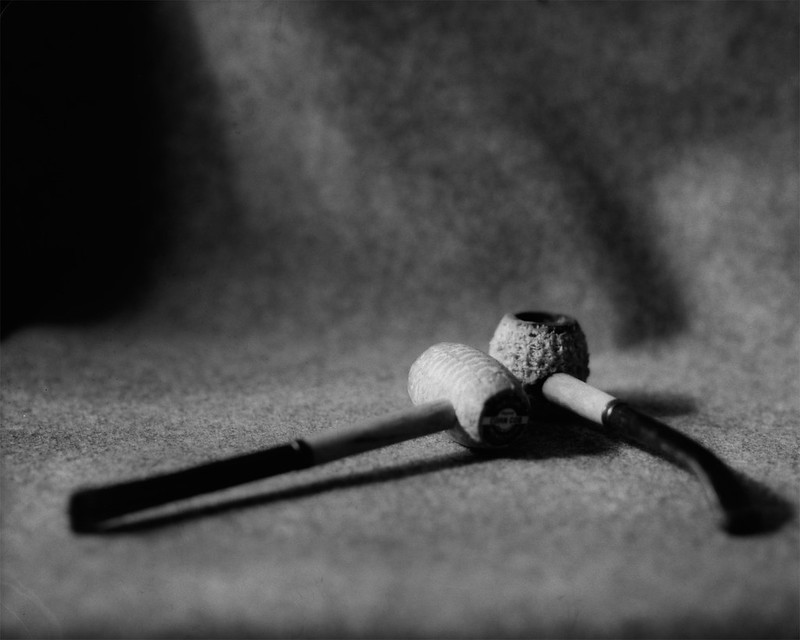
Showing posts with label x-ray film. Show all posts

Wednesday, December 23, 2020

Shoot Like Your Grandpa

This shotgun belonged to my great grandfather Roy Harr. It is a 2-round German Mauser bolt action Geha shotgun in 12ga. Now there's a lot to unpack there, but let me start by tying this back in to one of my previous "Like Your Grandpa" posts. In the first post in the series "Shave Like Your Grandpa" I talked about rituals and how we (mostly men) thrive on them. That was in the context of the shaving ritual, but shooting is not really different. In fact, I would argue that for shooting or handling any dangerous object, a ritual is critically important. Shooting is a rather long and involved ritual, especially with antique weapons like this. When you first lay your hands on a weapon, the first step in the ritual is to check to make sure that it is 'clear' (that is, not loaded). Then you might inspect it to make sure it is clean and in good working order. Once you are in a safe place to fire, you would load the weapon and at this point there are a number of safety "rituals" to follow (keep your finger off the trigger, don't point it at anything you don't want to destroy, etc.). Then there is the ritual of actually aiming, firing and in the case of bolt action firearms, ejecting the spent round and chambering the next. Attention to detail and doing things in the right order are important. So this is the appeal for me. I'm not a hunter. I'm a hobbyist. I shoot paper targets at the shooting range for fun. Part of that fun is getting the ritual right and seeing a good result.

Now about this shotgun... When Germany signed the Treaty of Versailles ending WWI in 1919, they agreed to not produce military arms. They could produce 'sporting arms' though. Now they had a large surplus of Mauser military rifles, so what to do with them? Melting them down seemed like a waste of a resource, so they decided to convert the rifles into shotguns. The shotguns were sold to farmers and hunters under a few different brands, Geha being one. My great grandpa Harr probably bought this new and used it on his farm in Washington state. When it was eventually handed to me by my uncle it hadn't been fired in many decades. I cleaned it and took it to a gunsmith to have it inspected. He said it was good to fire. There are many arguements in the shotgun community as to whether these are actually safe to fire. There are apocryphal and third hand stories of catastrophic failures, but I've yet to read anything that leads me to believe that they are dangerous in any systemic way. Remember these were built to withstand the high pressures of military rifle ammunition and so are "over-built" for the lower pressure of shotgun shells. The shotgun holds 2 rounds. I like to shoot a shell with bird shot followed by one with 00 buck shot. It's fun to feel the difference in the two rounds one right after the other. Of course the bird shot obliterates the paper target, so you can't really see the spread of the buck shot after that, but it's really just about the experience. No one shoots stationary paper targets at the range to improve their accuracy with a shotgun.

  • Camera: Standard Cameras 4x5 1.0
  • Film: Kodak Clinic Select Green x-ray film
  • Developer: DIY Parodinal 1:100 x 4 minutes
  • Fixer: Sodium Thiosufate/Sodium Sulfate basic non-hardening fixer

Tuesday, December 13, 2016

Strange New Development

I am unafraid of getting chemicals on my hands (figuratively) and mixing up concoctions. I have spent my share of time in the lab and have even blown a couple of things up, so mixing up photochemistry is not a problem. Additionally, I am comfortable with a certain amount of uncertainty in my photographic outcomes. I don't shoot weddings anymore, so no world is going to end if I totally screw up what I am doing. So when I recently became aware that X-tol and Rodinal could be mixed and that the results might encapsulate the best of both of those developers, I was on it. I had some X-tol powder that I weigh into 1L portions and I had some Parodinal, so I figured I would shoot some 4x5 Kodak CSG and some Arista Ortho Litho and see what came out of it. Normally, I would develop CSG shot at iso 80 in parodinal diluted 1:100 for 4.5 minutes, so I used that as a starting point and at the last minute decided to cut it in half. I shot the Arista at iso 3, but I haven't worked much with this film, so I don't have a standard development for it. My standard dilution for X-tol is 1+3. So 250 mL of X-tol, 5 mL of parodinal and top off to 1L. Nothing exploded, so I figured I was good to go. I chose 5 minutes with 4 inversions every minute. The temp was probably around 68F. Stop was with tap water, changed 4 times. Fix was 2 minutes in Ilford Rapid Fix. Both of these films have extremely thin emulsion layers and actually fix in about 15 seconds.

The Ortho Litho turned out with VERY high contrast as might be expected. Here are a couple of the shots.

SpeedGraphic-AristaOL-pan01
SpeedGraphic-AristaOL-pan03

The CSG was much more tame and the negs looked 'normal' as far as exposure and density goes. I think the grain might be a bit smoother with this X-tol based developer. Hard to say without some sort of side by side with the same exposure of the same subject, but my gut says it is smoother. I know, not very scientific, but this is my hobby not my job. I don't have to be quantitative if I don't want to.

SpeedGraphic-KodakCSG-pan01 SpeedGraphic-KodakCSG-pan02

Thursday, July 24, 2014

Pacific Southwest Railway Museum

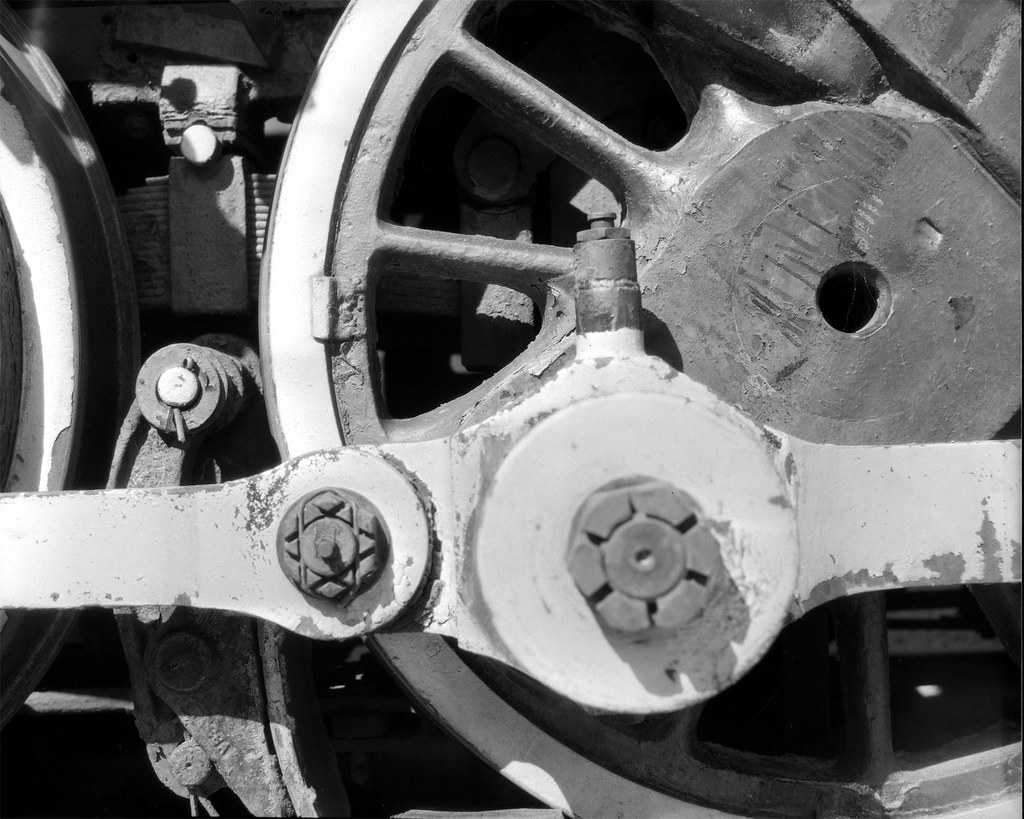
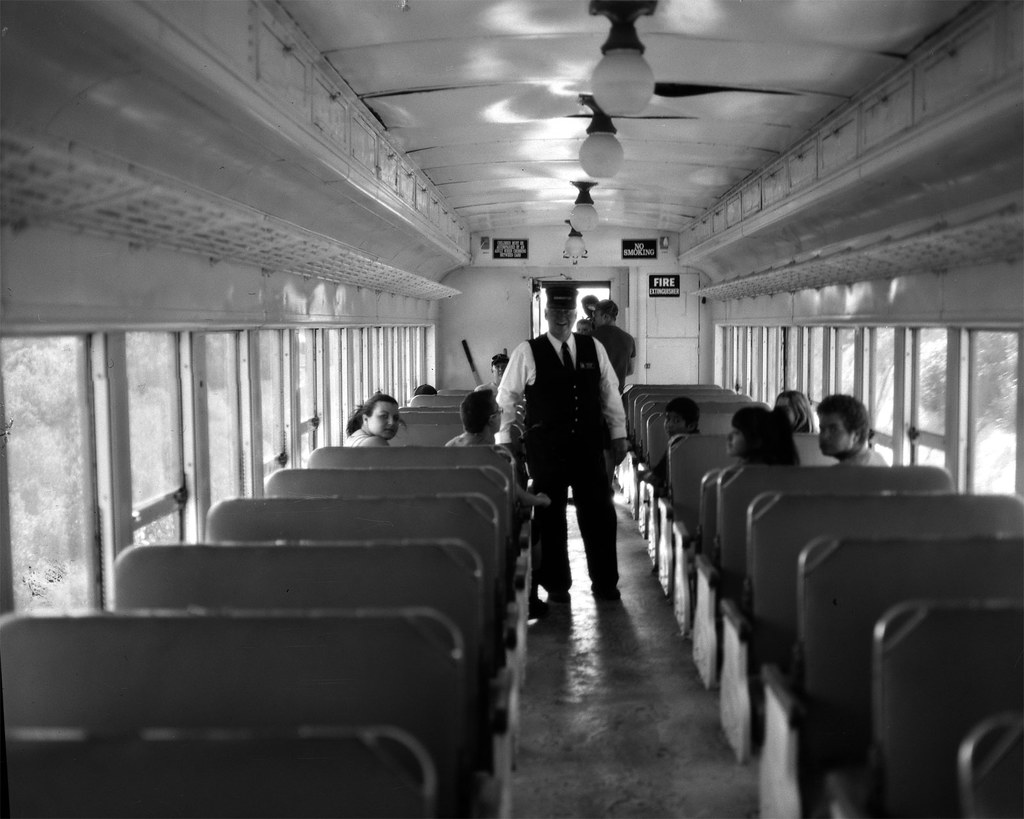
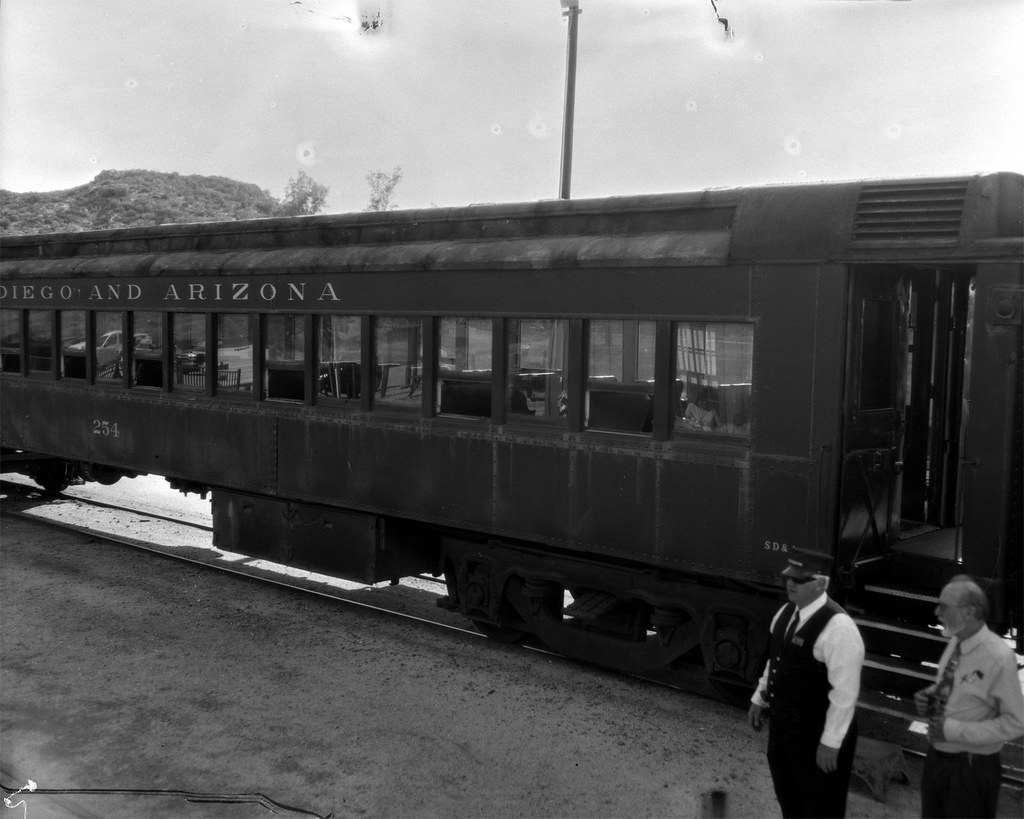
A couple of weekends ago, my family packed up for an outing. We live in San Diego which is pretty hot in the summer, but with two boys in school, we don't have a lot of options for getting out of town. The youngest wanted to go 'camping', but here in So. Cal. the camp sites have to be reserved and they get filled up about 6 months in advance. So there we were without a reservation, wondering where we could go. So with a little searching, we found a small lake down near the border and out east about an hour away. It was going to be hot there too, but at least we could get away from work and 'routine'. One of the up-sides of this location was that it was near Campo, CA and in Campo is the Pacific Southwest Railway Museum. I figured that there would be ample photo opportunities there, so I brought my large format (4x5) Speed Graphic and 6 sheets of Kodak CSG x-ray film. Taking only a limited number of sheets forces me to slow down and consider my shots more carefully. So here are the three best shots from that day.


I have to say that I was pleasantly surprised at the museum. I am not an 'old train guy'. I am an 'old camera guy', but the two are oddly akin. They are machines of a bygone era that hold a fascination for those who still use them. They are more mechanical than electronic, with gears and springs and levers doing the precision work of taking photos or moving people and cargo. The Pacific Southwest Railway is definitely worth a visit. The 12 mile train ride through the rugged California back country is wonderful for all ages. The display house has some great engines and restored cars that you can get right into and feel like you have stepped back in time.

I hope you take a trip down to Campo and see the Pacific Southwest Railway Museum. It is worth the drive and if you bring along your camera, you will be rewarded with lots of great photos.

Tuesday, April 22, 2014

Springtime in San Diego

Here in San Diego, California we have two seasons. There is Warm Summer and Hot Summer. Right now we are still in Warm Summer as it is late April and Hot Summer doesn't really get here until late July. But I know that Hot Summer is coming because the Coral Trees are in bloom.

I took this photo with my Graflex Speed Graphic using the Optar 135, F/4.7 lens. I shot it on Kodak Clinic Select Green x-ray film and developed in 1:100 Adonal for 4.5 min standing. I hope you are enjoying the change of seasons where you are.

Friday, December 6, 2013

New Life for a Polaroid Land

CamerasI was given a Polaroid Model 800 Land Camera recently (upper left). It is in very good shape for a camera that was manufactured c. 1957-62. The lens is clean and clear, the bellows are intact and all of the dials and buttons work just like they did 40+ years ago. The only thing that becomes an obstacle to using this camera is that the film is no longer manufactured for it. This particular camera used Polaroid Roll Film which consisted of a 'positive' roll and a 'negative' roll. The camera exposed the negative and then the positive was sandwiched to it and the developer was rolled out between them as they were pulled out of the camera. A minute later you could peel them apart and lacquer your print. Simple, right? Well, even if it was simple, it wasn't profitable for very long. Additionally, if you could find some of this film on say, an auction site, the developer would have long since dried out, rendering it useless for all but a dreary reminder of a wondrous time in photographic history when it only took a minute to get a print.

So what to do with this old beauty? I don't own any shelf queens. All of my cameras are functional and are used. This one should be no exception. I was fiddling around with it, looking at the rollers and how the whole system worked together. It originally made a 3x4 inch image and so that is the size of the mask the the pressure plate sits against. However, there is a larger detent around the mask that just happens to be very close to 4x5 inches! I quickly grabbed a spare sheet of 4x5 film and set it in the back of the camera. A nearly perfect fit!! This could become a nice single shot large format camera. It is smaller than the Speed Graphic (though still plenty big), but a single shot isn't really worth lugging it around town. It could be a nice portrait or still life camera. But first, I should give it a quick test just to see if the focus and shutter are even in the ballpark. I loaded up a sheet of 4x5 Kodak CSG x-ray film in the dark, closed up the back and hoped that the film wouldn't shift. The pressure plate seems a little weak, but it's hard to say what is happening inside once the back is closed. I took it out to the patio where there was a pumpkin sitting on the table with some other sundries. The camera shutter/aperture are linked. You set a dial to the correct EV and the exposure is taken care of by the camera. You don't get any real control over DOF. Focus is with a coupled range finder. Instead of 'snap' or 'click', the shutter goes 'poinnngggg', like you just over-wound your grandfather clock. I took the film out and put it into a 4x5 holder since I don't have any bags that I trust to be light tight, and stored it in the fridge until I had 5 more shots to use with my MOD54 developing rig. A couple of weeks later, I am ready and with fingers crossed, I develop per my usual process with this film:
Here is the final product. Not an exciting photo, but a successful test of the camera. I am excited to try this out in some different lighting situations. The 3x4 format is pleasing to my eye, so I will probably use it more than I think. I am trying to devise a way to get a few shots loaded with layers of film and opaque paper since there are essentially two compartments inside the camera. More on that later.PolaPumpkin

Saturday, November 16, 2013

100 Strangers 2&3/100

A couple of weekends ago I was at the big weekly swap meet, what my UK counterparts might call a 'car boot sale'. I took my Graflex Speed Graphic just in case there was something to photograph while there. I figured with that many bargain hunters walking around, there would be some good opportunities for my 100 Strangers Project. Most of my time was spent looking for bargain basement prices on cameras in good condition. Well, I didn't really find any of those, but carrying around a Speed Graphic did make for some easy introductions to strangers.

This is Denny. He was selling some very cool barware. Mostly he had martini shaker/glass sets that were printed with various themes. I don't like martinis, so I didn't pay much attention to his wares, but from watching him work you would have thought he was selling used cars. I mean this guy could talk you out of your shirt and sell it right back to you. So when I walked by, he immediately commented on the camera. He wanted to know all about it and I was happy to talk with him. At the end of the conversation, I asked if I could take his photo. He agreed, but while I was metering and focusing, another mark entered his line of sight and he was off to close another sale.

Denny This guy also asked about my camera, but was really just interested in what I paid for it. I got a few questions like that from various people. I assume that this was a piece of information they wanted to tuck away in case they ever came across one to buy or sell. Anyway, this guy was sitting in this big old wicker chair talking about the good ol' days in the clubs when you would sit in a chair like this and have the ladies come sit on your lap. The funny part came when he would try to convince some young (or not so young) lady to come sit on his lap. The looks they gave him were priceless. And I think he was truly surprised and disappointed that they would not come and sit with him. I had to get a photo of this guy. The other guy was I think just a passer-by who wanted in the photo.

King-of-Kobeys

Thursday, November 7, 2013

My Dad's Stuff

I was looking around the house for things to photograph. I had my still life platform all set, now I just needed something 'still' to put on it. I saw my dad's old Sovereign Harmony sitting in the corner, but that's too big. So I walked around a while and noticed his old "Beer" cup. That would do. But it was lonely just sitting there by itself, so I grabbed the guitar and leaned it up against the stage so at least the head could get in on the act. My dad told me once that he used to actually drink out of that cup until he figured out that it was painted with lead paint. Then he stopped and it became a pencil holder in the kitchen for as long as I can remember. The guitar was also a fixture and I can still hear him singing sad songs and strumming away. Dad's been gone almost 11 years now, so memories will have to do.

"Hear that lonesome whippoorwill,
He sounds too blue to fly.
The midnight train is whining low.
I'm so lonesome I could cry."


Dads stuff

Sunday, October 20, 2013

Diffraction

I generally stay away from the higher (smaller) apertures on most of my lenses. Why? Diffraction. This happens when the light has to pass through a small opening. It tends to scatter and your photos will be less sharp. It gets noticeable above say f/11 or so. Also , those small apertures cut the amount of light hitting your film, so unless you are shooting high speed film (or pushing your film higher than its 'box speed') the shutter speeds get long-ish. So when I walked out to the pool the other night I was planning on shooting my lens wide open even though my camera was mounted on a tripod. But when I got out there and saw the light and realized I was looking at a very high contrast scene that might be a little boring, I decided to close down the lens to f/32. I spot metered the water in the pool and came up with a 2 minute exposure time. I wasn't sure if the x-ray film I had loaded in the Speed Graphic would have the latitude to compensate for any reciprocity failure, but I decided just to shoot at the metered value and see what I got. The pool isn't going anywhere and I can re-shoot this scene any night of the week. What I was hoping for with that small aperture was to see some diffraction of the bright lights to give the composition a little 'umph'. Most lenses will also make stars out of points of light at small apertures because of the imperfection of the circle made by the aperture mechanism. I like how this photo came out. It looks pretty much the way I saw it in my head. It's not deeply meaningful or poignant, but kind of a cool night shot of something I see every day.

Night Pool

Monday, October 14, 2013

1/100 Strangers

So I decided to embark on the 100 Strangers Challenge. It is a pretty simple concept. Take a portrait of 100 strangers. That's it. Okay, it's a little more involved than that, but not much. The idea is to take portraits, not candids from 200ft away with a telephoto lens. It is designed to improve two things; your portrait photos and your ability to connect with your models. I am personally terrible at connecting with my subjects. I am on the far end of the introversion scale and striking up a conversation with a complete stranger has a very high threshold energy for me. Making a request is even harder. So I need to improve and that means practice.

I drive past a high school in my neighborhood almost every day. For the last month or more, I have noticed a school bus parked out on the street, presumably waiting for athletes or some other group that is at school late. Inside the bus, the driver is waiting, but not just waiting, practicing. He is playing a trumpet... every time I drive by. So I thought that this guy would be a good first subject. He was already inspiring me with his dedication to his art.

I pulled over and carried my Speed Graphic over to the open bus door and explained that I drove by each day and asked him what kind of music he was playing. We talked for a short time and I explained that I would like to take his photo. He agreed and said that he wanted to do it out on the grass. I thought it would be a great shot inside the bus, but he was clearly uncomfortable with that, so I didn't press it. Anyway, here it is. Unfortunately, I think I over-developed it, so it is quite grainy. I don't know, sometimes that grows on me. I will have to look at this one a few more times.

This is my first stranger.

100 Strangers 1/100 - Roberto

Sunday, October 6, 2013

Flawed Mod

If you were fortunate enough to read my scintillating previous post about the pinhole camera, you probably finished it scratching your head, thinking... "Why would he shorten the focal length to get more coverage on his film?" The truth is that I was doing the same thing. It didn't make sense intuitively. If the pinhole is closer to the film, that should just make the image smaller. How would that effect the area of coverage? The answer is this... it actually doesn't make the image smaller, but it does change the magnification. It is the same effect of changing from a 50mm lens on your 35mm SLR to a 28mm lens. Things get smaller but the image stays the same size (36x24mm). This is done through the magic of optics. The glass lens elements manipulate the light path so that you can change focal length and aperture and not change the size of the projected image circle. I don't have any glass lens elements on this camera though. So changing from 115mm focal length to 81mm focal length has the effect of reducing the magnification of the scene, and if the image circle of the pinhole is big enough to cover the size of film you are using, all is copacetic. However, in my case I also changed the size of the pinhole from 0.5mm to 0.4mm, a gigantic 20% decrease! Guess what. When you reduce the size of the pinhole, you reduce the size of your image circle! So now I have an 8x10 pinhole that has an image circle big enough to cover a 4x5 piece of film. Seriously, I kept thinking to myself, "you shouldn't cut that camera down... just make another back for it." and now that is what I will be doing. I will need to calculate the right distance to cover my curved 8x10 (~126°).

For your viewing pleasure, here is a crappy still life I took after cutting down the camera. Back to the drawing board.
Fruit

Sunday, September 29, 2013

Toned Cyanotype

I have been wanting to try this for a while and this weekend I finally had some time to read up and give it a go. I had bought some wine tannin a while back since tannin is the primary component in tea that is responsible for toning cyanotypes. With the powdered tannin I can skip the brewing step and be a little more quantitative/reproducible about the process. So what did I do?

The image I used was from a while back. It is a 4x5 negative on x-ray film. For details of that image, look here. The cyanotype sensitizer I used was the traditional formula (not the Ware formula) and I have to admit it has been sitting in my photo box for probably a year or more. That is a testimony to the longevity of those solutions and the archival quality of the prints. The paper is Arches 90# hot press watercolor paper (love that stuff). The exposure was 6 minutes (probably should have done 8) in the waning autumnal sun (5:00pm in San Diego). The first bath was about 1:4 white vinegar:tap water. That was intended to extend the tonal range and I think it worked pretty well. Look at the bellows on the camera and you can see quite a few grays in there. Also, the blacks are 'just black' and not too blocky. This might be lost on the computer monitor, but the print is quite nice. The highlights are blown because I under-exposed the print, but that can be remedied next time. Then I washed in lots of plain water until the highlights cleared and were the same color as the borders of the paper. I then did another quick bath in dilute hydrogen peroxide to fully develop the iron. This can be done by drying the print and just waiting a few days, but I am impatient. Another plain water wash and it was time to tone.

I mixed ½ tsp washing soda in 500mL of distilled water.
I mixed 1 tsp wine tannin in 500mL of distilled water.

Starting with the soda bath, I alternated soda... water... tannin... water... for about 30 sec each until it started looking the way and the color I thought I wanted. Here is what I ended up with.

Voigtlander toned cyanotype

Saturday, September 28, 2013

Blurry Self Portrait

I recently saw a post over on FilmWasters.com where the author/artist posted a whole roll of photos where he admittedly
... made quite a few mistakes with focusing and exposure.
I thought this was quite bold to post publicly some shots that are not one's very best. It makes you artistically vulnerable. Now, granted the FilmWasters community is warm and welcoming and humble; very unlikely to tear apart a fellow 'filmy'. But even at that, I thought it was a really good post. They were putting themselves out there in hopes that they could educate or inform someone. Now here is the 'weird' thing. I actually liked the photos! They were blurry, but still picturesque. They were taken on expired color film, so the color and contrast were shifted slightly which lent more to the painterly qualities.

So I am taking heart from this person and have decided to post a photo of mine that did not turn out the way I expected (or wanted). I was going to just bin it, but after thinking about it for a few days, I am posting it here.

Not Looking

I took this self portrait with my Speed Graphic. Of course there is no 'auto focus' so I had the task of figuring out how to focus on myself. The short answer is that without some elaborate setup with mirrors and magnifiers and perhaps some technology on load from the NSA, I can't. The best I could do was to focus on the back of the chair I was going to sit in and then turn the focus knob back just a bit. Then I stopped the lens down to f/8. This gave me a 1/5 sec exposure which is about as long as I thought I could reliably hold still. Then I loaded the film, attached a long cable release, sat down and tried to visualize where the plane of focus was. "CLICK" Now to the darkroom to see my masterpiece! WHAT!!?? Out of focus!! Well, I'll toss it and try again later. But not this time. I am going out on an artistic branch and posting this photo on Flickr and here. Let's see what the fates bring to this mistake.

Wednesday, September 25, 2013

Ornamental Shrubbery

Berries
I took this photo with my '51 Graflex Speed Graphic camera. I was walking around with it hand-held, which I don't do very much because it is heavy and my eyes aren't always good enough to use the range finder effectively. So usually, I tripod up and focus on the ground glass. This day though, was bright and the sun was just starting to get a little angular, so the shadows were good, but there was still enough light to see the overlapping images in the range finder. I shot this at f/8 x 1/200 sec on Kodak CSG x-ray film rated at iso 80. I developed the film in Adox Adonal (Rodinal) 1+100 for 4.5 min in a Patterson tank with a MOD 54 film holder. I scanned the negative at 2400 dpi with an Epson V600, taking two passes and stitching the two scans in Photoshop.

WHAT!!?? 2400 dpi?? Yes, I had the scanner set that way because I had been scanning some 6x6 photos from an engagement shoot I did earlier in the week. I didn't notice until I saw how long the first scan was taking and by then, I thought what the heck, just let it go at 2400. When you scan a 4x5 negative at 2400 dpi, you get about 115 megapixels. That is a huge image and really unnecessary unless you are doing billboard work. But I had it anyway and didn't feel like tossing it and re-scanning (note to self: next time toss it and re-scan it). The problem with such an enormous image comes when you go to load it up in Photoshop to do some dust spotting with the healing tool. At 2400 dpi every single microscopic spec of dust is visible (note my screen resolution is only 1366x768) and with a 15px brush, that takes a LOOOOOONG time to go over and click each speck and hair. Save yourself some trouble and scan at 800 or 1200 dpi for normal sized prints.

The very cool thing about these berries is that they are now just sort of yellowish green, but once "winter" comes to San Diego and things get really dry, they turn bright yellow and they pop open along the seams. Inside is sort of a shiny, creamy white with three bright red seeds inside. It is really beautiful. I will try to get some photos this year and post them here to follow this up.

Anyway, I hope you enjoy the photo. I think it came out well.

Saturday, September 7, 2013

Unsafe Light

I had had a couple of failures using Kodak CSG x-ray film in my pinhole camera. They came out WAY over-exposed. One was this photo of Jim's Beemer. I had a nagging suspicion in my head that the problem was with my safelight. I used a 3-LED headlamp. It is pretty bright, but I usually point it at the ceiling and not directly at the film. However when I was developing these, I had shone the light right down into the developing tray. So I needed to do some experiments. What if I cut, loaded and developed in complete darkness? That would give me information about the safelight variable. I was also curious about whether the film had somehow changed or maybe the pinhole had been damaged and I was over-exposing in the camera. So I took the same photo twice; once at my 'normal' calculated exposure (47 sec in this case), using iso 80 for the CSG. Then I took another photo one stop down (24 sec). This would tell me something about the accuracy of my exposure table. So here are the results.
x-ray-compare
I developed these together in the same tray of 1+100 Adonal for 4 minutes in complete darkness. Don't mind the scratches. I wasn't being particularly careful with this film, I just wanted to get an idea of the exposures. You can see that both exposures are passable. The one stop 'push' came out with a bit more contrast as you would expect, but both negatives are of normal density.
So I think I narrowed the problem down to the safelight. The LEDs must just be too bright. It could also be a wavelength thing. I am not sure what the spectrum looks like for these led lights. They might have an overlap with the sensitivity of the x-ray film even though it is classified as 'orthochromatic'. Anyway, there you have it. X-ray film will be developed in the dark from now on and I will continue to use my same old pinhole exposure chart with this film rated at iso 80 or 100.

Friday, September 6, 2013

The destruction of Jim's Beemer

Ok, the BMW wasn't destroyed, but the image nearly was. i was cutting down some 8x10 sheets of Kodak CSG x-ray film for the Speed Graphic and I noticed that I had some sort of oddly sized pieces of film in the bag with the 8x10's. So I decided to go grab my homemade pinhole camera and cut one of these down to fit in it. It only takes one 'sheet' at a time, so I don't load it very often, but this was just sort of asking to happen. So I load it up and set it in my 'take to work' pile with my sunglasses and keys.

About mid-day the following day, I was looking out my window and discovered that Jim's beemer was in the parking lot, which was unusual since he normally works in a different building. It was parked in front of a sort of dirt embankment that I decided would provide an adequate place to set the camera since the exposures are generally too long to hand-hold. I went out and made a little shelf in the dirt upon which to set the camera. Then I took an f/16 meter reading with my Sekonic L-508 at iso 80 and consulted my exposure table to find the f/217 exposure time. Three seconds! That sounds long, but my shutter is a piece of gaffer's tape stuck over the pinhole (did I mention this camera was homemade?) and I wasn't sure I could take it off and put it back on in 3 sec without shaking the camera a lot and making a blurry pic. So I took another reading holding the light meter vertically and sort of in the shade of the car. Another consult of the exposure table and I got 12sec! Perfect! That is enough time so that the jiggling of the camera won't cause significant blur.

I went home that evening and decided to do the development in Adox Adonal at a dilution of 1+100. I mixed the chemicals and got everything together in the bathroom. I had read that you can monitor development of this film under a safe light and since I wasn't exactly sure of the development time, I decided to keep my red LED headlight turned on. That was the first bad decision. I turned out the room lights and took the film out of the camera. Placing it in the chemicals, I started the timer. I had set my 'safe light' up on a shelf pointed toward the ceiling so as not to risk fogging the film. But then for some reason I started to worry because I could not see an image appearing. I took the light down and shone it right down into the tray where the film was. There was a bit of an image starting to emerge, so I put the light back, but the damage was done. About 20sec later the film was almost completely black. I took it out of the developer and after a quick rinse under the tap, I put it into the fixer. Six minutes in the rapid fix and I figured it was done, but it was still just black. I turned on the lights and started the final wash with little or no hope of getting anything out of my labors. I held it up to the light and could see the faint but distinctive BMW grill. It was really dark, but my scanner is pretty good at pulling out contrast where there seems to be none.

So here it is. Low contrast, extreme grain, but not completely offensive or even unartistic. I think the combination of the grain and the distortion of the curved-plane pinhole image makes a sort of interesting image. The really fun thing about this camera is that I don't really have any idea at all what kind of image is going to come out of it. That may drive the 'control your process' photographers crazy, but I like to have fun with it.

Jims Beemer

Monday, June 17, 2013

Ortho Still Life

Fruit & Nuts

Nothing super exciting in this photo. It was taken with my 1951 Speed Graphic press camera. I used the Optar 135mm lens set at f/5.6 (note the shallow depth of field). The interesting thing about this photo is that the red parts of the apple on the right are very dark. This is what you would normally see with a green filter, however in this case I just used Kodak CSG (Clinic Select Green) x-ray film (see X-Ray Vision). This film is orthochromatic which means that it is 'blind' to certain parts of the visual spectrum. In the case of 'Green' x-ray film, it is more sensitive to green light and less to red light. There is also 'Blue' x-ray film which is more sensitive to blue and less sensitive to red (yes, red gets shafted in both cases). These sensitivities have to do with the intended use of x-ray film, which is to take x-rays (surprise!). The film holders have a fluorescent screen in them which fluoresces a certain color (blue or green) when the x-rays hit it. That shortens the exposure time and thus lowers the dose of x-rays the patient gets.

I took some portraits recently with both x-ray and panchromatic film just to see the difference with skin tones. I'll put those up as soon as I get them developed. Until then, drop a comment about how you are using x-ray film or 4x5 cameras or anything interesting you are doing in your photography.

Cheers!

Monday, June 3, 2013

X-ray base layer

As I mentioned in my previous post, the base layer of the x-ray film I bought is blue. Here is a color 'transparency' scan of the Voigtlander photo.
  Voigtlander Negative

X-Ray Vision

Ok, that title is a little misleading. I haven't found a new way to see through clothes or walls. I'll leave that to the comic book writers and the pervs on the interwebz. This is about the latest 'thing' in the large format photography toolbox... x-ray film. Believe it or not, they still make this stuff and they make it cheap! I'm sure that budget is one of the drivers behind the popularity of this film. A 4x5 sheet of b/w film can go for between $1US and $4US while x-ray film is going for around 1/10th of that! Now the down-sides may change your mind about it being a bargain, but I enjoy DIY aspects of my hobbies, so I am all in! X-ray film is ortho-chromatic, which means that it doesn't respond to every color of light like pan-chromatic film does. I haven't been able to find the hard data on this, nor have I done any real testing to see where the sensitivity falls off, but it is pretty much agreed that these films are blue/green sensitive and red insensitive. Next, if you have an 8x10 camera, you are good to go. However, if you have a 4x5 camera, you are going to have to cut the large sheets down to size. This can be done with a regular paper cutter and a red darkroom safety light. I got an 11" paper cutter (the kind with a sliding blade) for about $11 at my local office supply store. I marked the 4 inch and 5 inch marks with a silver marker to make them more visible in the dim light as the cutter itself is made of black plastic. I tried a couple of other things with Xacto knives, but it was too difficult to manage in the dark. Save yourself some frustration and just get a paper cutter that will hold the film square and cut straight. I loaded up my holders and set up some test shots. I rated the film at iso 50 for some shots and at iso 100 for others. Then I did a semi-stand development in a 1+50 dilution of Adonal (Rodinal). Agitation was constant for 30 sec and then 10 sec at the 10min mark. I used the MOD54 and a Paterson tank to hold the film. Iso 50 gave better, more constant tones while iso 100 was quite contrasty but still very usable. Here is a shot of my Voigtländer Bessa taken at iso 50. I could probably even go down to 25 or lower and do a longer development cycle. Maybe next time.

Voigtlander Bessa

You can see a couple of marks/scratches at the top and bottom of the image. That is where the MOD54 holder contacts the film. The x-ray film has emulsion on both sides, unlike regular photographic film. It is also very thin. The base and the emulsion layers are quite delicate. I will say that the base of this film is the most beautiful sapphire blue. The negatives are quite stunning to look at. I am using Kodak ClinicSelect Green X-ray film purchased from Deep Discount X-Ray. I have 100 8x10 sheets, so I am sure I will be using this film a lot. I am quite pleased with this first image. Let me know your thoughts.