Showing posts with label c-41 process. Show all posts

Saturday, October 14, 2017

DIY Color Dev Comparison

If you have by chance read any of the other posts on this blog, you might have gotten the impression that I am into do-it-yourself (DIY) film developing and historic (aka 'alt') processes printing. That is really only half true. The other half of this blog is that I'm really cheap and am always looking for ways to economize with my photography hobby. The third half is that I just like taking pictures on film rather than with digital devices. So having said that, this post is about my first foray into making my own color developers. I started down this path when I somehow cross-contaminated my Unicolor developer with the blix, thereby killing all activity and pulling 3 completely clear rolls of film out of my developing tank. That sucked and it was completely my own fault for not doing a test strip. Always do a test strip in the developer! Anyway, I was faced with the choice of buying another kit (not a bad or really expensive option) or figuring out how to make my own (attractive to the chemist in me and probably cheaper). I googled up this post over on Flickr and it seemed like a reasonable place to start. I had most of the chemicals, so I just needed to get the developers for C-41 and ECN2. ECN2 is the process used for 35mm movie film (like Cinestill). Most people just cross process it in C-41 and it looks fine, but I thought there was enough overlap in the chemistry that I could just get the developer and give it a try.

I bought the developers from Artcraft and the other components either from Amazon or eBay. I did the calculations for both developers and bleaches and they came out pretty close. For a liter each of C41 developer and bleach it cost $5.47 and for a liter each of ECN2 developer and bleach it cost $4.57. I used my regular Ilford Rapid Fix diluted 1:4 and didn't include that in the cost, but it's cheap too. I know that (if I'm careful) I can get 25+ rolls through a Unicolor kit. So if I only get 5 through this DIY mix, that effects the price per roll. That will take longer to determine, so stay tuned.

These are the recipes I used for each developer and bleach:

C-41 DeveloperECN2 Developer
Sodium Carbonate - 24gSodium Sulfite - 2g
Sodium Sulfite - 3.6gPotassium Bromide - 1.4g
Potassium Bromide - 1.6gSodium Carbonate - 25.6g
Hydroxylamine Sulfate - 2gSodium Bicarbonate - 2.8g
CD4 - 5gCD3 - 4g
Distilled water to make 1LDistilled water to make 1L

C-41 BleachECN2 Bleach
Potassium Ferricyanide - 80gPotassium Ferricyanide - 40g
Potassium Bromide - 20gPotassium Bromide - 29g
Distilled water to make 1LDistilled water to make 1L

C-41 Times all 100FECN2 Times
Developer - 3:15Developer - 3:00 @ 106F
Stop - 00:45Stop - 1:00 @ 100F
Rinse - 00:30Rinse - 1:00 @ 100F
Bleach - 3:30Bleach - 6:00 @ 106F
Wash - 1:00Wash - 1:00 @ 100F
Fix - 5:00Fix - 5:00 @ 100F
Wash & fotoflow - 5:00Wash & fotoflow - 5:00 @ 100F

Here's what I did to test out the developers. I loaded up a roll of expired Eterna 500T into each of two comparable cameras (Pentax K1000 and Chinon CP5)with comparable lenses (50mm f/1.8-ish). I used the Chinon to meter at iso 250 (1 stop over exposed per decade past expiry) and then set the K1000 to the same exposure and took the same shot. I put both rolls into a dev tank and soaked them in remjet remover then shook and rinsed in tap water until it ran clear. Then I put one roll into a different developing tank. I repeated the shooting process with two rolls of regular C-41 film (Fujicolor 100 - expired, shot at iso 50). Each of those rolls went in with one of the Eterna rolls and I developed one tank with my DIY C-41 developer and one tank with my DIY ECN2 developer. So what I have now is two rolls with identical shots, one developed in 'native' chemistry and one cross-processed. I scanned each roll with color correction turned off, then I scanned it again with color correction turned on. I am using my Epson Perfection V600 flatbed scanner with the bundled EpsonScan software. So enough talk, let's see some pictures!

First up we have the Eterna.

Images on the left are developed in native ECN2 chemistry and images on the right are x-pro'd in C-41. First I did a straight scan with no color correction. These are obviously different. The C41 developer made denser negatives. They weren't so dense that the scanner had any trouble with them, but just good to know in case you are intentionally over-exposing, which is a common practice with color negative film. The color difference on the raw scan is not really reflective of any real difference in the color of the negatives as I look at them. Just the density seems to be different. Now let's see what the scanner does with color correction.

Now we're getting something interesting. Never mind the low contrast on the lower left shot, that's probably an issue with the scanner on that frame. I could have corrected it, but I really wanted to compare the color hue between the two processes. What I see is that the native process is reproducing a more 'true' color. That shouldn't surprise me, but I never really thought that C41 x-pro of cine film gave much of an "x-pro" look. I always thought it was just the tungsten balance cooling everything down. But now I can clearly see that the colors are shifted, and significantly.

Next let's look at the Fujicolor 100 film, designed for the C-41 process. For consistency, I will keep the ECN2 negatives on the left and the C-41 on the right. First the raw scans.

Pretty much the same story here. Not much to say, but the ECN2 negs are denser. But look at the color corrected scans.

The Fujicolor C-41 film is actually showing more dynamic range in the ECN2 developer. Now that's interesting. There is some color shifting going on as the orange umbrella on the right is the 'truer' color, but given this 'out of the box' corrected scan, I think I like the ECN2 developer results better!

So what did I learn with this little experiment? I think either film works adequately in either one of these DIY developers. Now it comes down to personal preference. Do I like the x-pros or the natives? I think I like the x-pros better in both cases. The C-41 developer gives the Eterna a bit more of that "cinematic" look that I want when I shoot that film. The ECN2 developer certainly provides a saturation and dynamic range bump to the C-41 film thought the blue-shift might need a little work in post. I am excited to try these developers on different color films in the future. Since they are so cheap to make, I suspect that they will become my regular CN developers going forward.

Please leave a comment if you have any further information, or experience with these homemade developers. I'd love to hear from you. Also, check out my Flickr album to see more photos from these rolls.

Sunday, June 11, 2017

70 + 35

I finished off two rolls of color film. Nothing exciting there. One of them was 35mm. Still nothing. The other was 70mm (616 format). That's a little more interesting, since I don't have a developing tank with a spool that holds 70mm film. Standard Patterson spools will take 35mm, 127 (46mm) and 120 (60mm). So I improvise... I take apart a standard spool.

The bottom half is the 'outer' piece that has a bigger hole through the middle. That slides on the center post.

The upper part slips down on top and I use a rubber band around the column as a 'stop' that holds it at the right place for 70mm. Loading the film is a little fiddly to get started. Doing a good job estimating the height is important. It will be about a millimeter shorter than the backing paper, so use that as a guide. If you have to adjust it in the dark, it's not that hard. This has to be done with the two halves on the center post, of course.

Then I slide the 35mm spool on top of that (after loading the film). One liter of chemistry will cover these two films in this configuration. I didn't check that before I started, but noticed when doing the stabilizer step that they were covered (whew!)

The camera I used for the 616 film was an old Agfa PD16 Clipper. I love the simplicity of this point and shoot viewfinder. Fixed focus, fixed aperture, fixed shutter speed. Literally, point and shoot. The film is Vericolor III (expired 1989). In good sunny conditions, this pair works pretty well together.

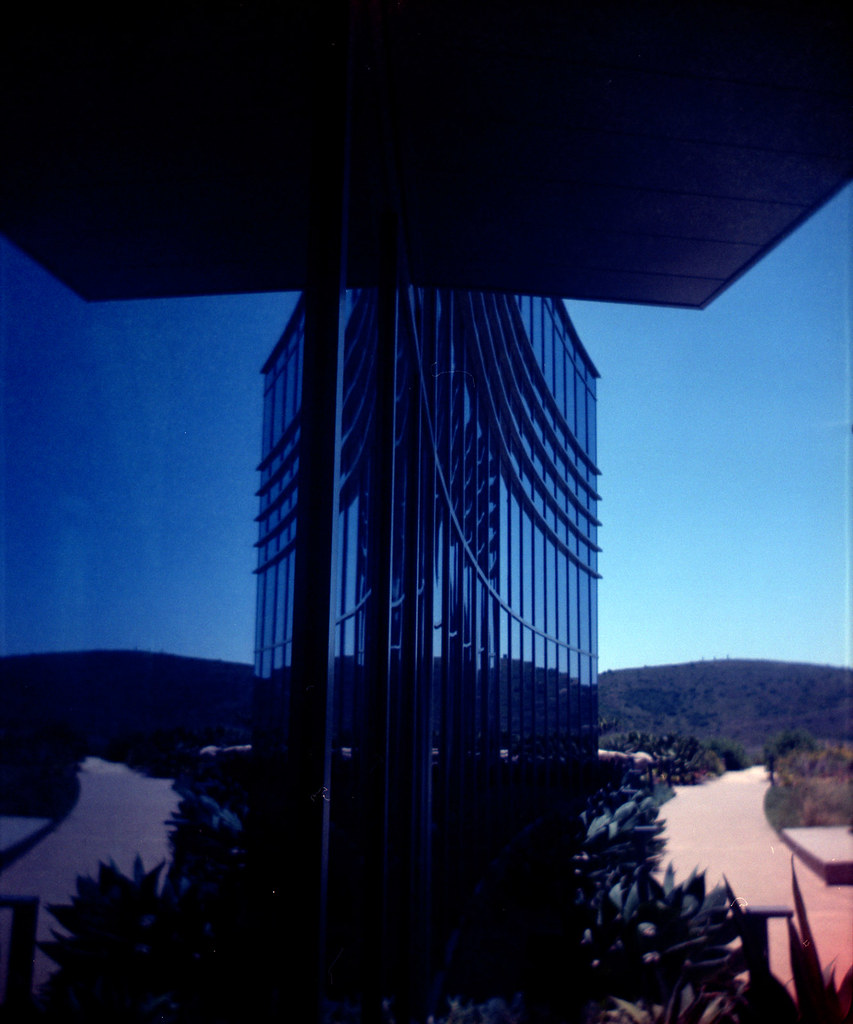
Reflected

The camera I used for the 35mm roll was a Kodak 35RF I got in a trade.

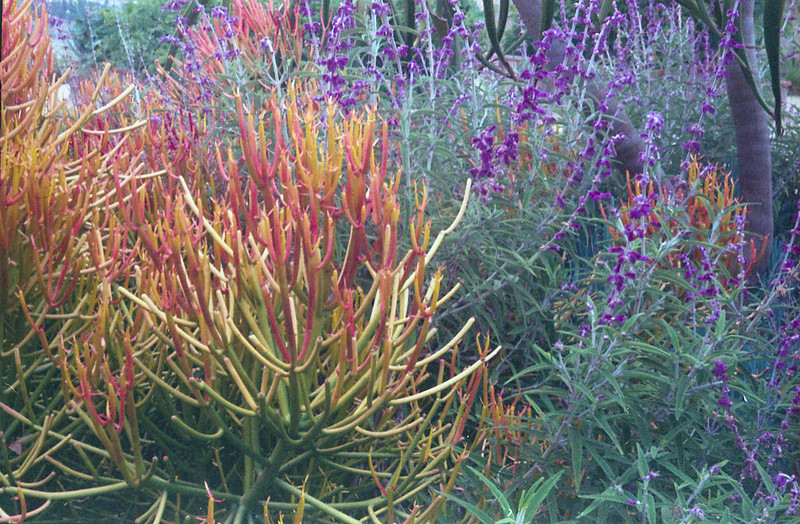
Pencils

Sunday, October 9, 2016

Apples and Oranges... and a Sunflower

I have wanted to write a little comparison article about these two films I have for a while, but you know... life... I finally got around to developing some sheets I had exposed months ago and I was happy to see that I had taken the same photo with each of these films. So, let's get to it.
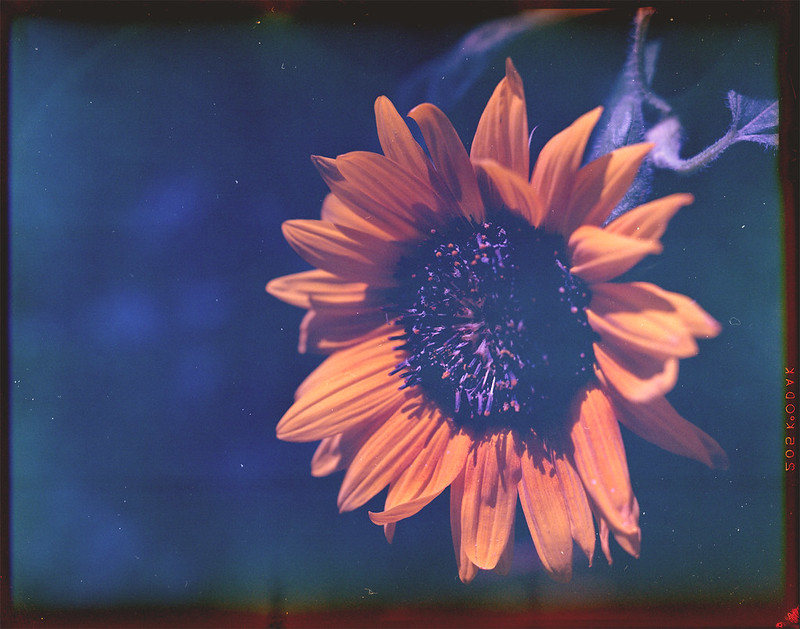
First, let's get the variables out of the way. Both are 4x5 sheets taken within minutes of each other with my trusty Graflex Speed Graphic with the nice Graflex Optar 135/4.7 lens mounted. This was in early summer in the full mid-day sun. Film #1 is Kodak Vericolor II expired in 1997. This film is tungsten balanced, so shooting it in sunlight gives a blue cast. This can be corrected either by putting an 85 color correction (warming) filter on the lens or applying it in post. I do the latter. The problem with this particular box of film is that I don't think it was stored well and the base is fogged. Also, the edges drop off suddenly. I think the original box speed was around 80, but I shoot it at iso 25 to try compensating for the base fog. However, with all of these flaws, it can make some interesting and dramatic photos. Please excuse the dust on this, I hadn't really planned to share this, so I didn't dust spot.
Graflex_Vericolor2_1
You can obviously see the blue shadows and the high contrast. I could let the shadows drop out, but then I would just have some orange flower petals floating in space. I would rather let the film's character shine through and appreciate the uniqueness.
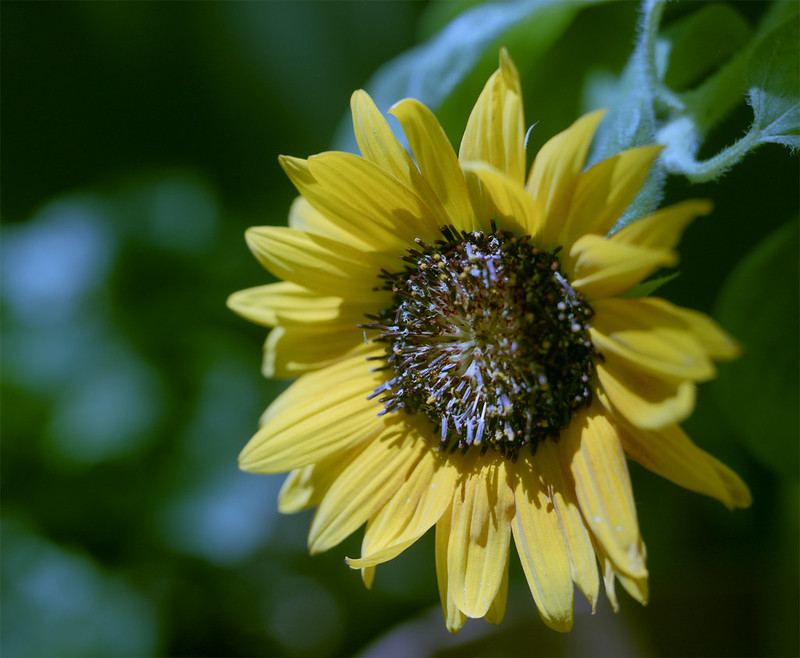
Next is Kodak Internegative Film. This was intended to make a positive duplicate from a negative which would then be used to make more negatives. Alternately, it could be used to make negatives from slides which would then be used to make prints. So it wasn't really intended to be a 'pictorial' film used in the camera. It was meant to be used in a commercial enlarger. With that in mind, I am shocked at the quality of this film. I don't think there was a set iso. The technician would have to test and adjust exposure depending on the original and any filtration they were using in the enlarger. I shot this at iso 5.
Graflex_Internegative_3
The colors are beautiful and the grain is nice and smooth. As I discovered when I scanned these and as I said in the title, these two films are not 'comparable'. So in that respect this little experiment failed. But that is not to say I didn't learn something. I found that the internegative film will produce nice smooth, accurate photos at iso 5. With a moderate scan resolution, this makes a 90 megapixel image that can be enlarged to any size you like. On the other hand, the Vericolor II makes a more unconventional/challenging image that brings a layer of abstraction to the subject. This definitely has its place in most film photographers' repertoire.
Here is another example of each film just for good measure. Enjoy.

Sunday, April 17, 2016

127 - The Other Square Format

When you talk to a film photographer about square format, the first thing that probably comes to their mind is medium format 6x6 cameras that take 120 film. That is the format that most square shooters are using today (Impossible instant film notwithstanding). However, there are still a small handful of photographers using another square format. The film is 46mm wide and takes nominally 4x4 images. Back in the day, the family photographer would use slide film and they would be processed and mounted in the same size slide as the regular 35mm slides, but the opening accommodated the larger 4x4 image. It was a "super slide" and it filled the living room screens of families across the globe like never before. Since slide film is rather unforgiving as far as exposure, you needed a good camera with a full set of aperture and shutter speed controls. Kodak and other manufacturers made a whole slew of cheap plastic cameras with cheap meniscus lenses that took 127 format film. These were primarily used for print (negative) film which could manage the overs and unders of fixed aperture, fixed shutter speed cameras. There were other manufacturers that produced full-featured cameras for the 127 format. Among the most popular were Rollei in Germany and Yashica in Japan. This film used to be cheaply and abundantly available in many different flavors. These days there are about 4 fresh stocks available. You can find them at Frugal Photographer in two color and two b/w emulsions. These range from $11.45 to $14.95 for a single roll, so it's a little rich for my blood. However, recently I was given a 100' roll of 46mm film in some sort of expired, rebranded emulsion. It says "Konica 160" on the box with an expiration of 3/2006. This is right up my alley. I had an original 127 backing paper that probably came in one of the Brownies, so I used that as a template to cut some new backing papers out of old 120 rolls (I knew saving those would pay off some day). I cut the film off of the spool to the right length (I have a string the right length, so I can measure it in the dark) and taped it to the backing paper and rolled it up on the little metal spools. I wrapped these in aluminum foil just in case the backing paper isn't quite perfect and I don't want any light leaking around the edges. I have a couple of Kodak Brownies that use 127 film. These are fun to use little point and shoot cameras. For a quick outing where you don't need the precision of a higher-end camera, they are perfect. No fuss, no muss, just easy. And considering the primitive optics, they take pretty good pictures. Here are a few from my Brownie Starflash.
Starflash-Konica-010
Starflash-Konica-009
Starflash-Konica-011
Now on the other end of the spectrum are the "baby" TLRs (twin lens reflex). These were made by a few companies that were already making full size (120) TLRs. The big players were Rollei and Yashica. Rollei made the Baby Rolleiflex which was the top o' the line and is still seen as a desirable camera. Next though was the more affordable yet still high quality Yashica 44. Since I now have a spool of film and don't really want to run 40+ rolls through the Brownie, I thought I should get one or the other of these nice little TLRs. I'm usually looking for "value" when I go camera hunting. I am not a collector, so I don't need the pristine 'new in box' Rolleiflex with the ultra rare lens in the color that had a run of <100, etc. I just want a camera that works enough when I get it so that I can clean it up if needed and start making pictures with it. So I went looking for a Yashica 44. I found a reasonably priced Yashica 44LM which has a different look than the other Yashica 44s which were fairly close copies of the Rolleiflex. It also has an uncoupled selenium light meter, but mine isn't working (those meters don't really age well). But I liked the looks and it looked clean. The glass was clear, etc. Anyway, it works well enough to take pictures with (the shutter needs a CLA, especially on the slow speeds). Here are a few examples.

Y44-Konica-007
Y44-Konica-004
Y44-Konica-002

Sunday, April 26, 2015

Vericolor III Expired

If you read the post on DIY 120 Film, then this will be old news. Skip to the pictures.

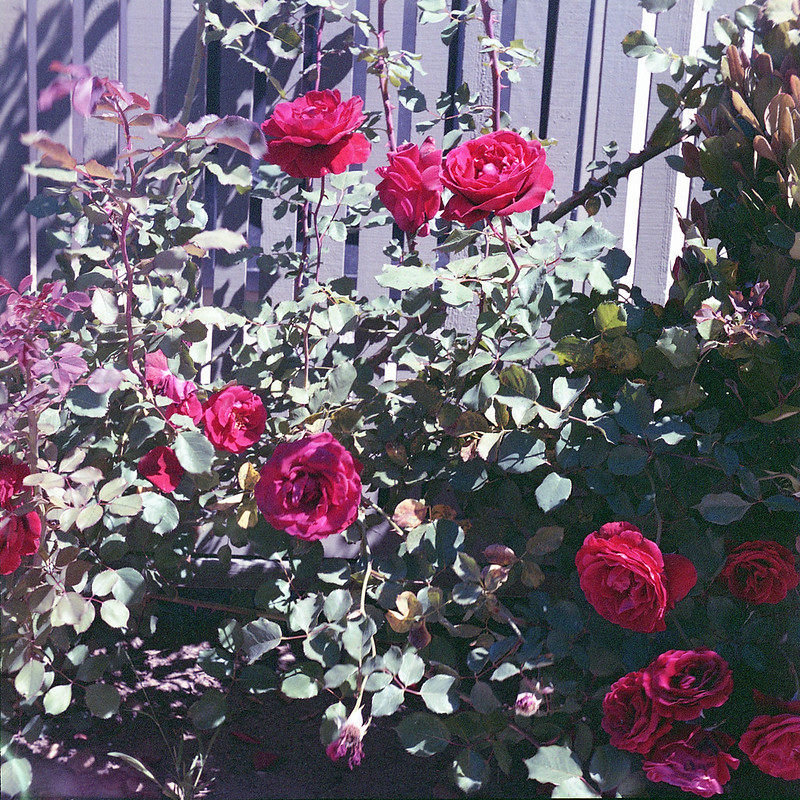
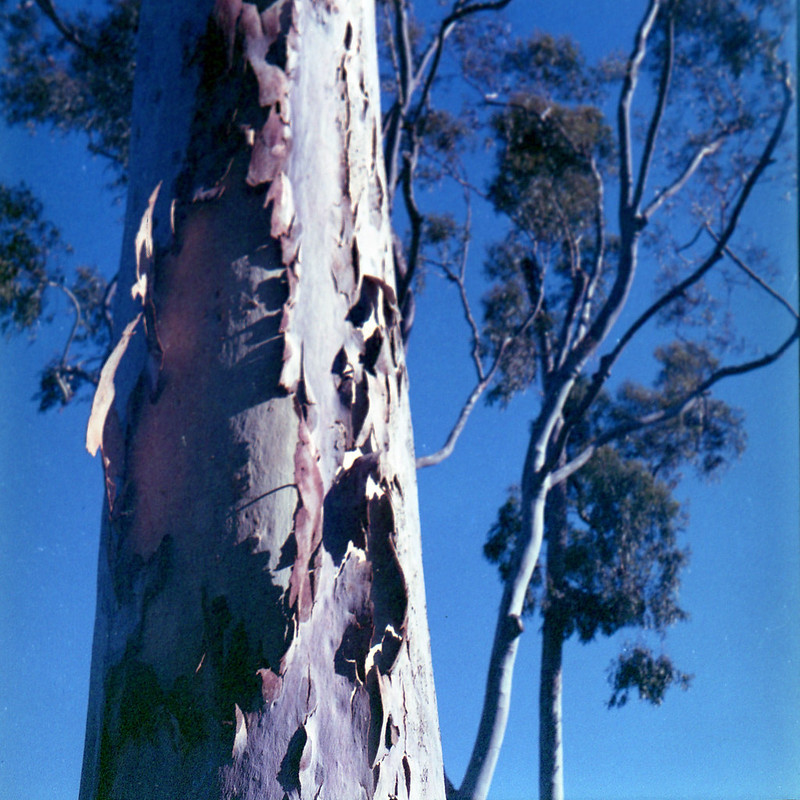
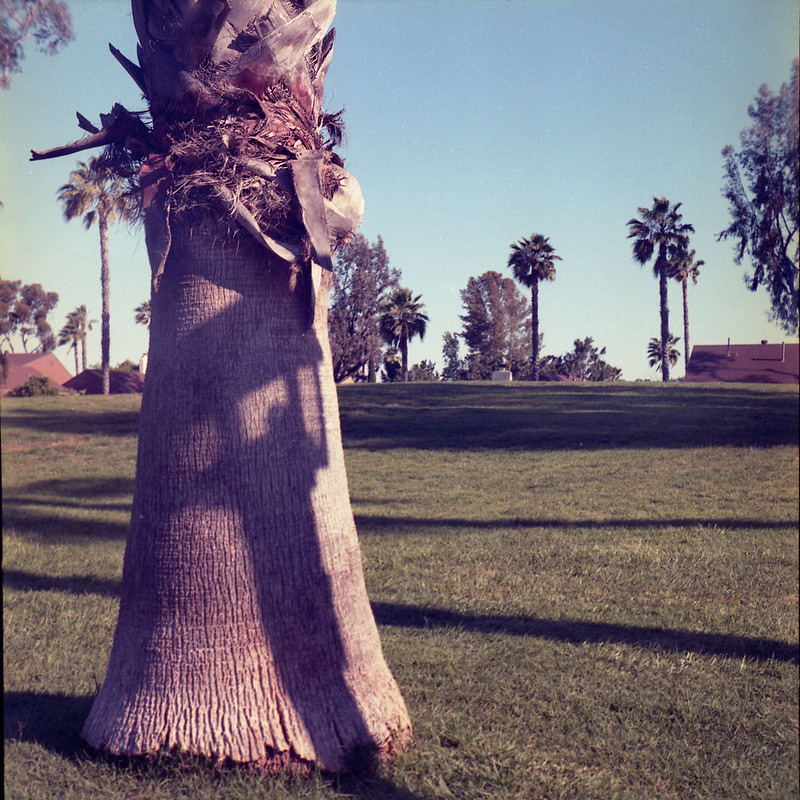
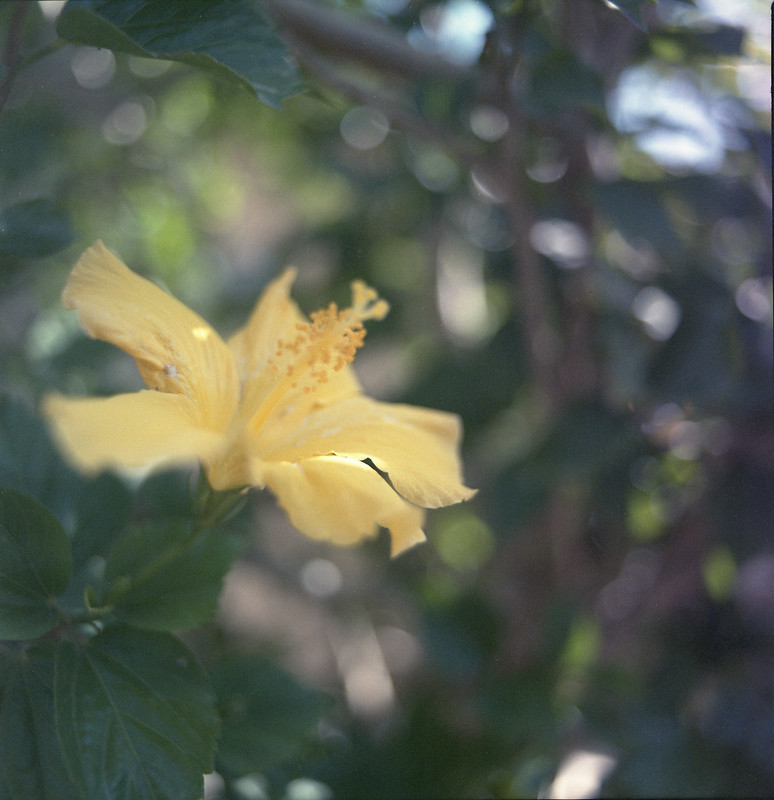
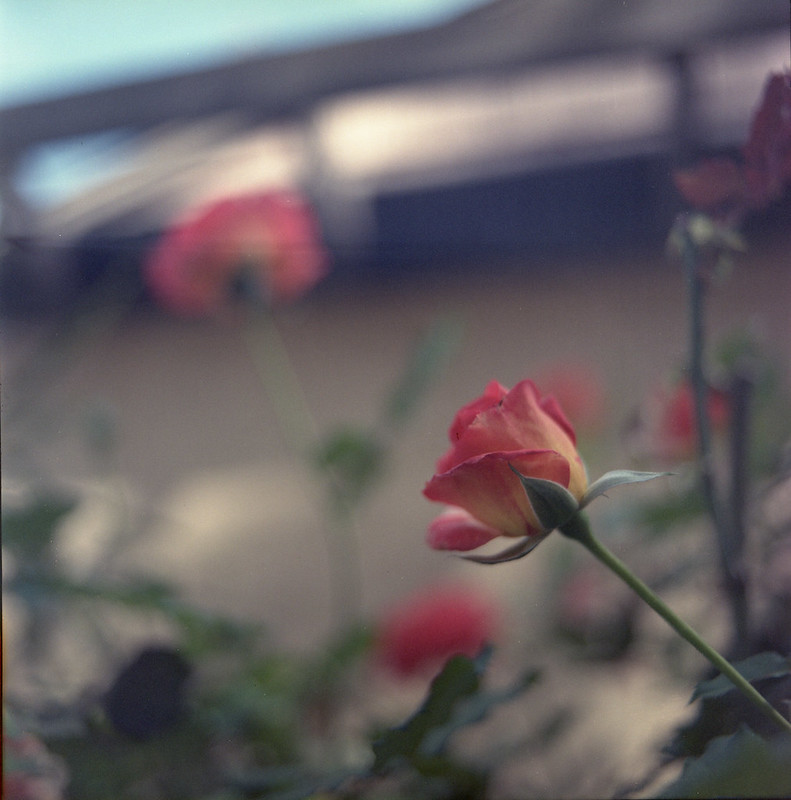
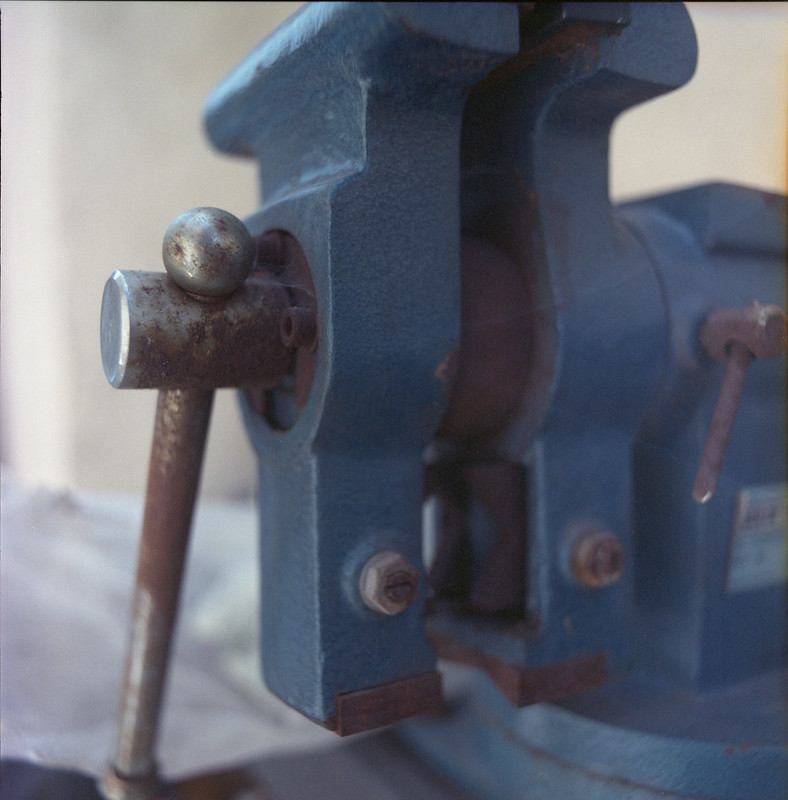
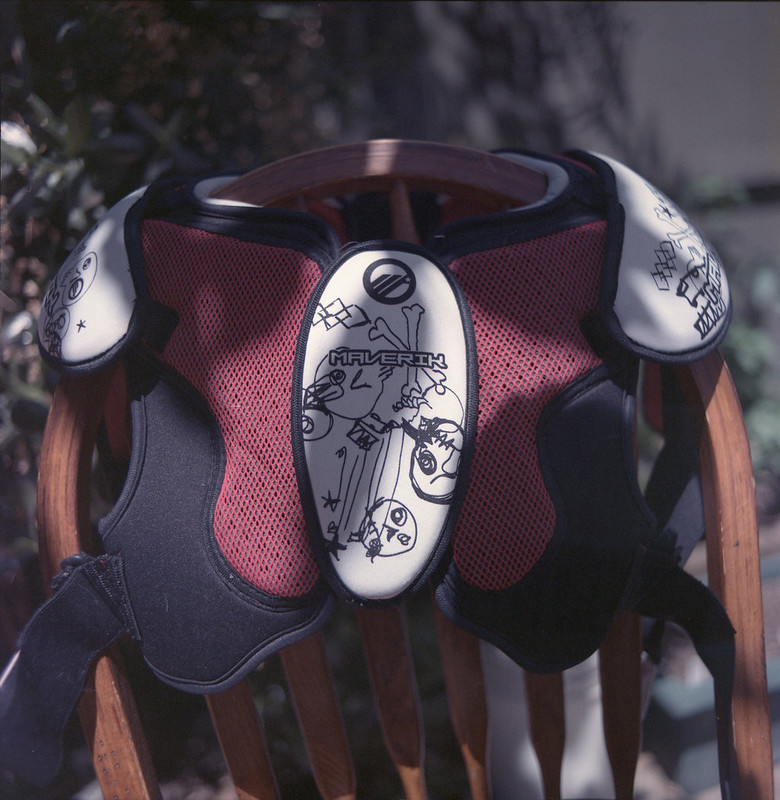
A couple of weeks ago, I found a deal on a 100ft roll of 70mm film. The film expired in 1989 and the seller didn't know how it had been stored, so was selling it at a deep discount. I bought it, knowing the risk. If it had been stored in a San Diego car trunk, chances were that it would be so badly fogged that it wouldn't be usable. However, if it had been stored refrigerated or in a freezer, it could very well make some nice images. As with most 'aged' film, the grain would be pronounced and the speed would decrease about one stop per decade. Vericolor III had a nominal speed of 160, so I decided to shoot it almost 2 stops slower at iso 50. I cut off 1 cm from the edge using the film slitter I made (see link above) and loaded it into my Bronica S2a. I shot the roll and developed it with an old-ish Unicolor C-41 kit at normal times and temps. The uncorrected scans have a bluish cast, but that is pretty easily corrected with the Epson Scan software. It actually does a pretty good job with the 'automatic' corrections it does. So here are a few shots off of that roll. It isn't high art, just some test shots to see how the color and grain fared over the last 26 years.

Hibiscus roses vise lacrosse pads

Monday, October 20, 2014

Motion Picture Film

Ever since Cinestill hit the market, shooting movie film in still cameras has become all the rage. Not being one to miss a passing bandwagon, I thought I would jump on and see where the ride went. However, being err... "thrifty", I did not want to pay $10/roll + s/h for 35mm film. Also, I seem to have a good thing going with expired film, so why fix what doesn't seem to be broken? With that philosophy in mind, I went searching for the cheapest movie film I could find on a reasonably sized (<400ft) roll. I want to try it, not shoot it exclusively for the next 10 years. I looked at a LOT of different sellers and emulsion numbers. I also started researching the "remjet" issue. I would have to get that layer of black gunk off the back of the film either before shooting it ("premoval") or after exposing, but before developing. The remjet layer is there for anti-halation as well as anti-static for when the film is whizzing through a motion picture camera. Anti-halation is nice and most still films have a layer of dye on the back of the film to keep light from reflecting off of the pressure plate inside the camera and making glowing "halo's" in the highlights on the film. Premoving the remjet will eliminate this benefit, but if you are going to send the film off for processing, it has to be done. The machines that process film will not remove it and when it comes off in the machine's chemistry and mechanics, the operator will be unhappy with you. Cinestill removes the remjet for you, so that is part of the price you pay (which is fair, but for me unnecessary since I dev my own C-41). So what did I do?? I did both premoval and nothing. Keep reading and I'll explain.

I rolled up one 12-exp roll just like I would for any other bulk film. This will be the "control" sample and I will not do anything special to it regarding the remjet. The other roll, I measured the length and spooled it onto a Paterson developing spool and put it in the tank for 15min with a solution of 2Tbs Borax in 500mL water. At the end of 15min, I agitated the tank vigorously for about a minute. I really shook it hard. Disappointingly, the liquid that came out was just sort of a weak greenish solution. Subsequent rinses were clear. There was no sign of black flakes, so either, my solution did nothing to remove the remjet, or the remjet was really thin. A third option is that there is no remjet on this film. I'm not sure what remjet looks like, so I can't say, but the film is Super F-Series which does appear to have a remjet backing according to the interwebz. So at this point, I just dried the film in a 'dark' place and rolled it up into a canister. Here is what the two treatments look like side by side. The premoval roll is on the left and the untreated roll is on the right. There is clearly a difference between them, but is it remjet or just anti-halation dye?

I shot both rolls at iso 400 in the same camera, mostly in cloudy daylight. For this test, I'm not so much interested in color rendition as much as just the processing workflow. I fully expected to see some black bits stuck to the film and/or floating in my developer. The developer came out clear as always, so I figured the remjet must still be stuck fast to the film and I would have to do a removal at the end. To my surprise though the film was clear. The two films were developed in the same tank at the same time and I couldn't tell which was which until I looked at the specific images. There was no sign of remjet anywhere. Here are a couple of images from the "control" roll that was not pre-treated. I scanned these on an Epson Perfection V600 using the auto color correction, but nothing else in post. The color is shifted/cast a little as you might expect with cross processing, but other than that, there is nothing notable. The grain is there and looks about how my other expired color films look, so that's that.

Fujifilm 8572 Fujifilm 8572

Here are a couple of shots from the premoval roll. It looks like the film got fogged during the drying process. I did my best to keep it absolutely dark, but probably failed to some degree. There also seems to be some damage to the film. This is either chemical from the borax or mechanical from the vigorous shaking. Hard to say without more testing. Having said that, I will probably not do any more tests since the untreated roll came out nice without any ill effects from the remjet. I will just shoot this like any other color negative film.

Fujifilm 8572 Premoval Fujifilm 8572 Premoval

Saturday, August 23, 2014

That's Just Crazy

I traded some film with another Filmwaster. I sent him some expired FP4 and he sent me some expired Ektachrome 64 Daylight. He had exposed a roll and cross-processed it and didn't like the results, but I thought it was kind if cool. It had this blue/green color cast that was unique. I instantly thought that a little red would 'balance' things and add some contrast. Redscale would certainly do that. What's redscale? That's when the film is in the camera the 'wrong' way so that the emulsion side is facing the back and the light is passing through the base material first and the emulsion layers in the reverse of the intended order. It generally makes things look like you have shot them through a red filter, but with some color balancing magic, you can get some really cool effects. So I went into the darkened bathroom at my house and pulled the film out of its canister. I then clipped it off at the end, flipped it over and taped it back on the stub hanging out of the canister. Then I wound it back into the canister and trimmed the leader so that it would fit into the takeup spool of my '65 Nikkormat FTn. These shots were all taken with the Nikkor 50mm f/1.4 lens. The first part of the roll (about 20 exposures) I metered at iso 25. The next 8 shots were at iso 16 and the final 8 were at iso 8. I figured with that scheme, I would at least find out the best speed for this film when 'redscaled'. I developed in a Unicolor C-41 kit that is probably nearing the end of its life (but still good).

Here are a couple of shots from the roll. Head over to my Flicker album to see more.

redscale-029
redscale-016
redscale-013

Friday, July 4, 2014

Pushing Through XIII

Here is another in my series where I am capturing plants that are defying man's attempts to control them. You can see the rest of the series HERE.

This shot was taken in the waning light of late twilight. You can see the sodium lamps in the distance. The sky looks brighter than it was because I made a 5sec exposure on Portra 160 film. It was even too dark to get the focus right. You can see that it is about a foot or so in front of the particular bushy plant that I was 'aiming' at. This plant is growing up between the ties of an abandoned railroad track. The trees overhead are dropping debris on the rails as well. If this keeps up for another 10 or 20 years, the tracks will be lost to the mini urban jungle that is growing up around them.

Sunday, April 20, 2014

Landscape Details

Here are a few photos I took just around my workplace. The camera was my Yashica Electro 35 loaded with some expired Kodak Ektachrome Slide Duplicating Film. For these I used an EI of 100. These are pretty much straight off of the scanner with a little bit of dust spotting. Enjoy.

Friday, January 10, 2014

B-W Color Film

What is that supposed to mean? Film is either b/w or it is color, right? Well, yes and no. We normally think of film this way, but there are cases where color film is developed in such a way that renders greyscale negatives and there are cases where film is "color" emulsion, but the only color used is black. Let me explain a little. All films use silver to make blacks and greys. This is how we normally think of b/w film. You expose it to light, the silver salts are reduced to varying degrees according to how many photons hit the crystals, the developer then converts those reduced salts to elemental silver which looks black. Ba-da-bing an image is seen in negative. Color film does the very same thing, only it adds layers of color dyes that are developed in similar ways. However, if you don't use the right chemicals to develop the dyes... if you use say Rodinal, you just get a plain old b/w photo. The silver is still developed as normal, but the dyes all wash away, undeveloped. This is the unfortunate fate of anyone still holding on to rolls of Kodachrome. That process is dead and no one is bringing it back. The chemicals and machinery that developed that very special film are gone. So if you have any, it is going to have to be developed as b/w. Sorry Paul Simon.

The other case I mentioned is with what is called "chromogenic" films. These are films that came out in the 80's to take advantage of the explosion in popularity of color negative films. Small labs found it more economical to harmonize on one process and develop everything with it. That is why in the 80's and 90's it got hard to find a lab that would develop straight b/w film in-house. Most small labs would mail it off to Kodak or Ilford or one of the big vendors that was still offering the process. Chromogenic films use black dyes to create the image. The process is just like developing color negative film, just without the colors at the end. I recently acquired some Ilford XP2 Super 400 film that expired in 2007. I exposed it in my Yashica Mat 124G at iso 250 and developed it in Unicolor C-41. Here are a few of the shots I took around the building I work in. Enjoy.

Winter Greenery

Baby barrel

Cactus blossoms

Monday, December 9, 2013

Slide Duplicating Film

"KODAK PROFESSIONAL EKTACHROME Duplicating Film EDUPE is a low-contrast color reversal duplicating film designed for making high-quality duplicates from originals on KODAK EKTACHROME or KODACHROME Films. It features excellent color reproduction, extremely fine grain, and very high sharpness."

Or... you can do what I did and buy 100' of the stuff that expired in Feb. of 1981 and load it up on some 35mm spools and throw it in a camera. Then, since you are in the mood to break the rules anyway, process it in your kitchen in C-41 chemistry instead of the 'required' E6 transparency chemistry (cross-process). Go ahead. Don't be afraid. You have a hundred freakin' feet of this stuff! ok, you don't have to do all of that rebellious stuff, but I did. Unfortunately, I didn't quite get the exposures right. I shot the film at iso 50. Everything was quite over exposed in the Nikkormat FTn and because of a malfunctioning aperture, everything was under exposed in the Olympus Pen EES-2. So next time I will shoot it at iso 100 and see what happens. But I still got a few frames that were salvagable. The film base is a deep orange, so mucho color correction had to be done. In the end, I ended up with contrasty, saturated photos, pretty much what you expect when toying with x-pro. You can see the pronounced grain which I think is because of the age of the film even though the person I bought it from said it had always been in cold storage. But let's face it, 32 years is pretty old when you are a roll of film.

Here is the shot from the Nikkormat FTn. I have a Nikkor 50mm 1:1.4 lens that has good contrast to begin with, so with the 'push' and the x-pro, contrast is, well, high.

Open Seed Pods

I made a diptych with a couple of the half frames from the Pen. These images show even more grain and I think some additional noise from the scanner.Lamp Dyptich

Still, for all of the strikes these images had against them to begin with (expired, wrong equipment, wrong chemistry), I think they are not horrible. I think I will roll up some more and keep on going with it.

Friday, November 29, 2013

New Found Respect

I photographed a wedding recently. I was torn over which camera(s) to bring with me. Of course the Nikon D7000 with a variety of lenses and flash were the base that most of the photos would be taken with. It is just foolish to not bring digital to a wedding these days. I will tell you though that the inevitable happened and I only kept about 30% of the images I took. It is the digital demon that causes people to just snap away without enough thought that inhabited me. I am not ashamed because I ended up with a few hundred shots that I am proud to give the happy couple whereas if I had been shooting only film, they would have had a fraction of that. I took two film cameras to the wedding. First was my '39 Voigtländer Bessa 6x9. The other was my Graflex Speed Graphic with the Graflex Optar 135mm f/4,7 lens and six sheets each of Portra 400 and Kodak CSG x-ray film. This is commonly called a "press camera" because back in the day, it was a camera used by many newspaper photographers. These guys would carry these cameras around with the flash unit attached and pockets full of film holders and flashbulbs. The flashbulbs are somewhat prone to igniting from a little static discharge, so caution must be taken when carrying them in the pocket of wool pants, especially in the winter. Many photographers suffered burns on their thighs from accidental ignitions. I didn't put any bulbs in my pockets, but I did attach the flash unit and brought along some clear GE #5 and blue #5B flashbulbs. The camera weighs in at about 6.6lb with the flash adding another 2.4lb. Add a film holder and you are getting close to 10 pounds. That is not bad to lift up and take one or two shots, but those old timers lugged that rig around for hours maybe, depending on the event they were covering. So respect to those guys who were beat reporters in the 30's, 40's and 50's. It may not have been high art, but it was hard work and low pay.

Here is one of the shots I took with the Speed Graphic using Portra 400 and a #5B blue flashbulb. The color balance came out perfect, which I didn't really expect. The scanner may have contributed, but it looks just like Portra should look. I might have missed the focus just a little, but since they are dancing, a little blur is non-fatal to the photo. I like the way the flashbulb and accompanying 7-inch reflector light the scene. It is definitely 'hotter' in the center and less so at the edges, causing a sort of natural vignetting.

I am happy that I could bring the old technology into service again. I am also happy that Kodak and others are still making film with the newest emulsions (yes, I miss some of the old ones). The photos we are able to create with this pairing are 'classic' in their own rights and have a look to them that is unmistakably film. Drop me some feedback if you like shooting film in old cameras.Wedding Dancing

Friday, September 27, 2013

Pushing Through X

I found this photo on a roll that had been sitting in the refrigerator for a few weeks. I took it with my 1939 Voigtländer Bessa. I had the accessory mask inserted so instead of taking eight 6x9 photos, I got sixteen 6x4.5 photos. It is interesting to have these two options with this camera. Not only do you double the number of exposures on a 120 roll (at the expense of image size), but you get a different aspect ratio. The 6x9 aspect ratio is 2:3 and the 6x4.5 (commonly "645") ratio is 3:4. Of course the closer the ratio gets to 1, the more 'square-ish' the image. So something like 6x12 or 6x17 are really panoramic images while large format 4x5 (8x10) look quite square in comparison. Of course the standard 120 format is 6x6 which is a perfect square, but the 6x7 cameras are very popular too.
But I digress...
pushing through X
This plant isn't so much "Pushing Through" as much as "Taking Over". If you have ever tried to clear ivy, you will know that it can penetrate masonry and concrete easily with its little rootlets. This makes it quite invasive and difficult to control. One might even think of it as a pest, but not me. I find it beautiful in both appearance as well as principle. It does not 'care' what barriers man erects. Even the most permanent of monuments are merely a stairway to brighter sunlight for this survivor. Next time you walk by a building with ivy growing up the sides, stop and take a moment to appreciate the ingenuity of this plant which uses the barriers raised against it to mount up to the heavens and thrive all the more. I think there is a lesson in there for all of us.