Showing posts with label medium format. Show all posts

Saturday, November 5, 2016

Where'd the Numbers Go!?

I just loaded a roll of Kodak Ektar 120 into my 1939 Voigtländer Bessa 6x9. I started winding, looking for the 1 to appear in the ruby window. I wound and wound, but the 1 never appeared, neither did the 2! I was certain that I had wound far enough, but no numbers! I must have done something wrong with the loading or the turning of that little winder thing. It seems simple and I've done it many times before, but hey I wouldn't put it past myself to screw it up somehow. So I went into the dark bathroom and wound the film back onto the supply spool and tried again. Guess what. The same thing happened. I know it is the definition of insanity to keep doing the same thing and expect different results, so I didn't try it a third time. I went where every puzzled photographer goes... the Googlez! It seems that some others have had their Ektar 6x9 numbers go missing as well. Kodak must have recently changed the position of these numbers, because I know that I have shot this film in this very camera in the last few years and not had this problem. Anyway, I pulled out an empty Ektar backing paper and compared the position of the numbers to the position of the window and sure enough, they don't line up. The numbers are too close to the edge of the paper.

Now that I had the problem clearly identified I needed a solution. Moving the window to accommodate the numbers wasn't really an option, so I had to move the numbers. One option for moving the numbers was to just spool the film onto a different backing paper that has numbers in the right place, like Acros. I decided that was sub-optimal since I might get confused later and develop it in the wrong chemicals. So I took that old Ektar paper and wrote on a new set of numbers in the correct position. Then I rolled the film onto the new paper. Voilà!! There are my numbers in the ruby window!

I hope someone finds this useful. I know I did. :P

Saturday, November 21, 2015

There's Expired Film, and Then There's...

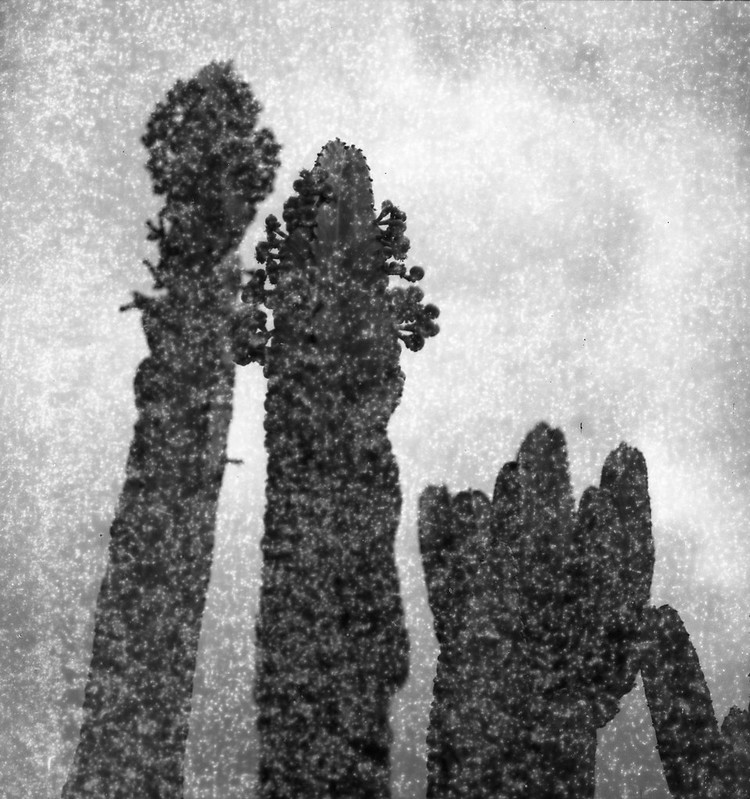
When I see a bargain on 'the bay', there is a fleeting moment when my brain says, "That's too good to be true, and if it were really a bargain someone else would have snatched it up before you." Often that is enough to discourage me from making impulsive purchases. However, when it comes to cheap film, I am a complete sucker. So when I came across a 10-pack of 120 film for around $3/roll shipped, my urges got the better of me. Now this film was a little odd, but not unheard of. It was the Russian brand Svema and it was the FN64 black and white negative emulsion. It had expired in 1996 which is less than 10 years ago, so I figured between the relative newness and the slow iso, it would be good to go, maybe even at box speed. So I ordered the 10 rolls and hoped for the best. When it came in the mail (from Ukraine) I thought the cold war style packaging was quaint. The rolls were individually boxed with Cyrillic letters on them. The rolls inside were wrapped in a foil-lined paper, not sealed in plastic like most other 120 films are. I unwrapped one to find a bright red backing paper that seemed a little bit thicker than most backing papers I have encountered, but you never know until you try, right? So I put the roll into my Bronica S2a and started shooting. My concern grew on about the fourth shot. I wound the film, the shutter cocked and then the film kept winding. It wasn't like a free spin as if the film had broken, but a sort of squishy wind that gradually got stiffer. I finished the roll with this sort of strange 'feel' to the winder. Normally when I reach 12 on the counter, I get the free wind as the film is all on the take-up spool and no longer turning the sprockets in the winding mechanism. This time that didn't happen. It just got harder and harder to wind. So I opened it up, figuring it had something to do with the thickness of the backing paper. Maybe I was going to have to respool all of this onto regular 'Western-style' backing papers. But no, when I opened the back, the film sort of sprung out at me like one of those trick snakes in a can novelties. It was not wound around the take up spool at all. Instead it was crammed all around it accordion style. What I discovered was that the tape that normally holds the film to the backing paper on the leading edge had lost all of its stickiness and so it did not lead the film onto the spool. One roll down. One lesson learned. The next roll I took into a darkened room and unrolled it until I could feel the leading edge of the film and the old tape. Out with the old and in with a new piece of nice sticky tape. I rolled it back up and put it in the camera. This time it wound like a charm. I shot the roll at iso 50 because that is what I read someone else did on the interwebz. Here is where we learn the lesson about film storage conditions and what effect they have on film over time. Here is an example from that roll.

Cactus

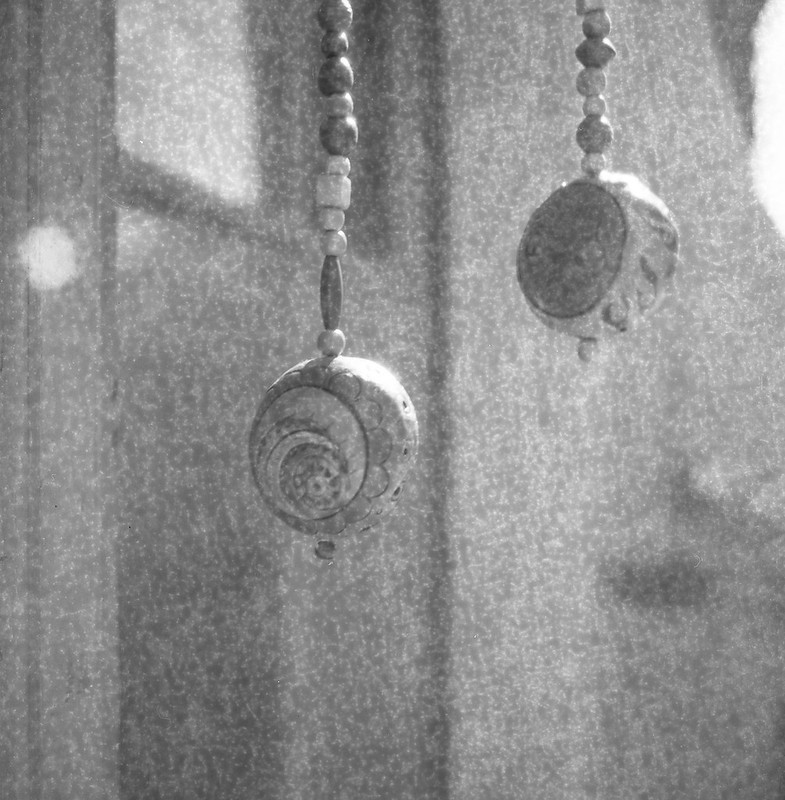
Sometimes you can overcome background/base fog simply by bumping the exposure a stop or two. So for the next roll, I decided to go for it and shoot it two stops slower than box speed at iso 16. This might have been a little better, but not significantly so.

S2a-Svema64-008

This film was obviously stored at 'room' temperature or worse. This caused oxidation of the emulsion which turns things all 'speckeled'. It's not the worst thing that could happen. If I know the photos are going to look like this, I can choose my subjects and lighting accordingly and set my expectations. So I'm not sure what exactly I will do with the remaining 7 rolls of this old film, but I'll bet one day I will find myself in the mood for something a little 'different' and I'll pull another one of these old Russian rolls out of the freezer.

Sunday, April 26, 2015

Vericolor III Expired

If you read the post on DIY 120 Film, then this will be old news. Skip to the pictures.

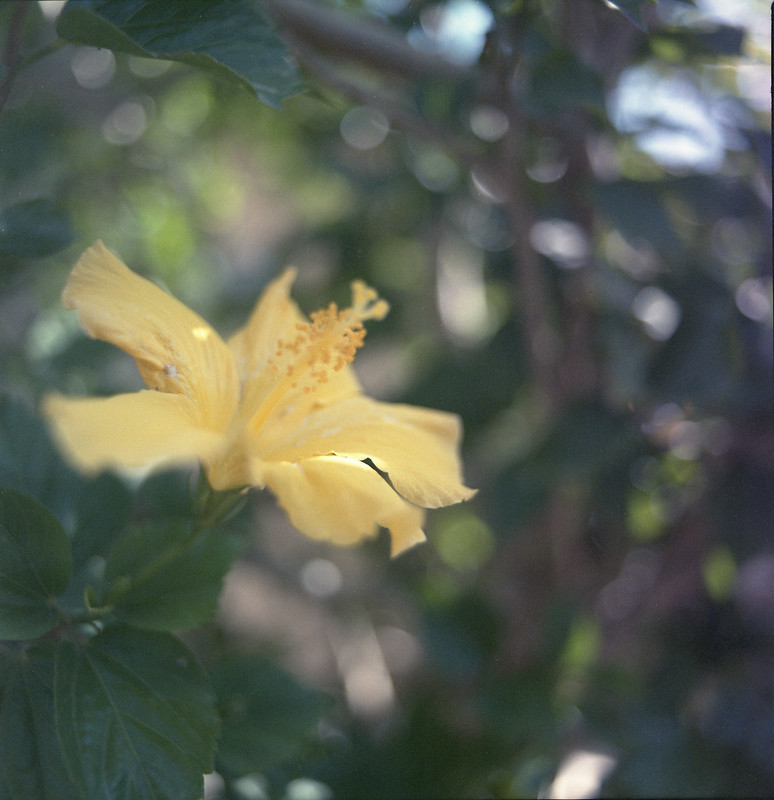
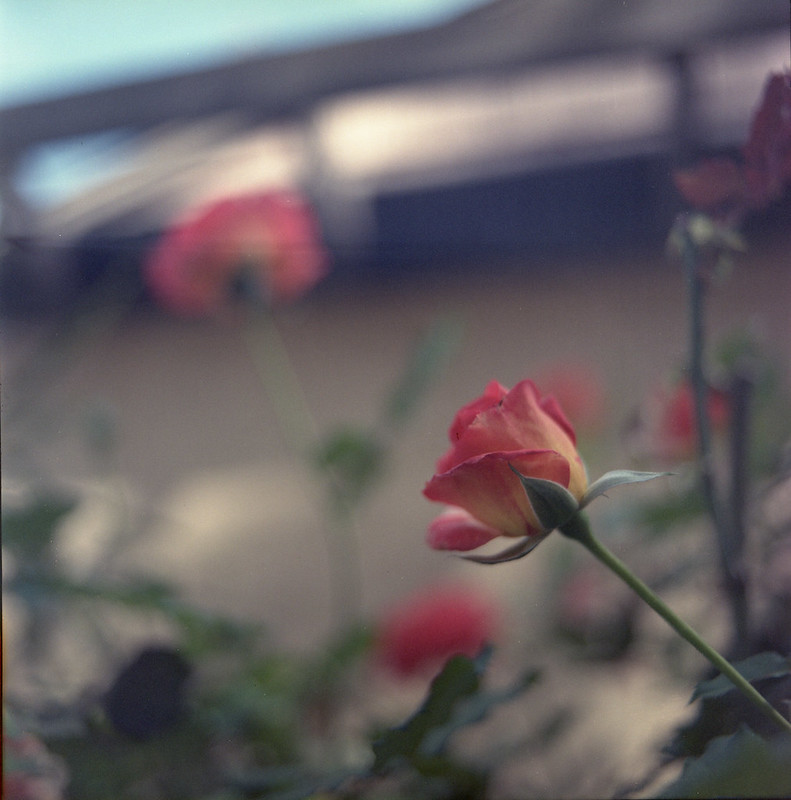
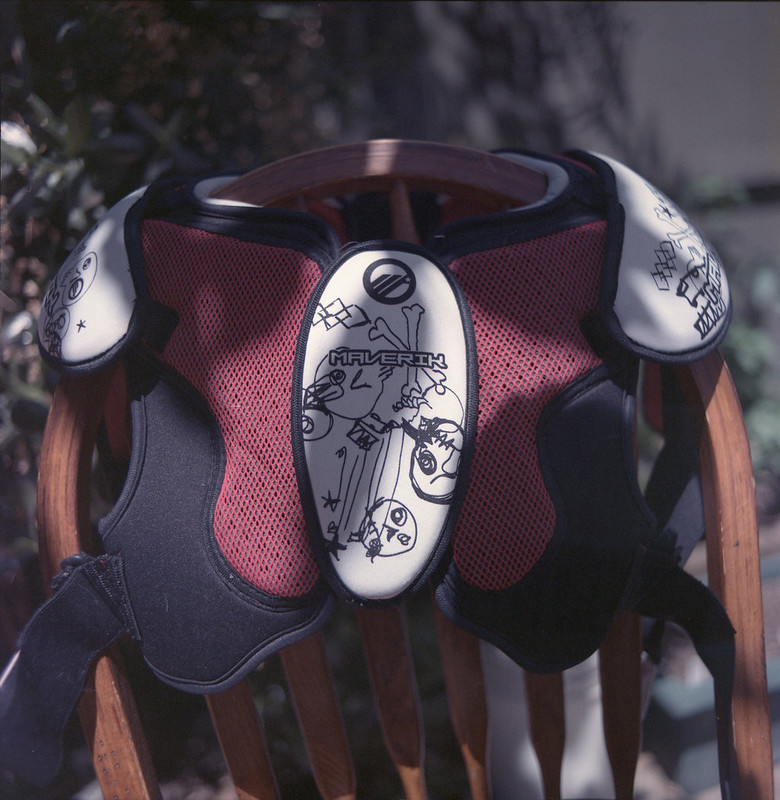
A couple of weeks ago, I found a deal on a 100ft roll of 70mm film. The film expired in 1989 and the seller didn't know how it had been stored, so was selling it at a deep discount. I bought it, knowing the risk. If it had been stored in a San Diego car trunk, chances were that it would be so badly fogged that it wouldn't be usable. However, if it had been stored refrigerated or in a freezer, it could very well make some nice images. As with most 'aged' film, the grain would be pronounced and the speed would decrease about one stop per decade. Vericolor III had a nominal speed of 160, so I decided to shoot it almost 2 stops slower at iso 50. I cut off 1 cm from the edge using the film slitter I made (see link above) and loaded it into my Bronica S2a. I shot the roll and developed it with an old-ish Unicolor C-41 kit at normal times and temps. The uncorrected scans have a bluish cast, but that is pretty easily corrected with the Epson Scan software. It actually does a pretty good job with the 'automatic' corrections it does. So here are a few shots off of that roll. It isn't high art, just some test shots to see how the color and grain fared over the last 26 years.

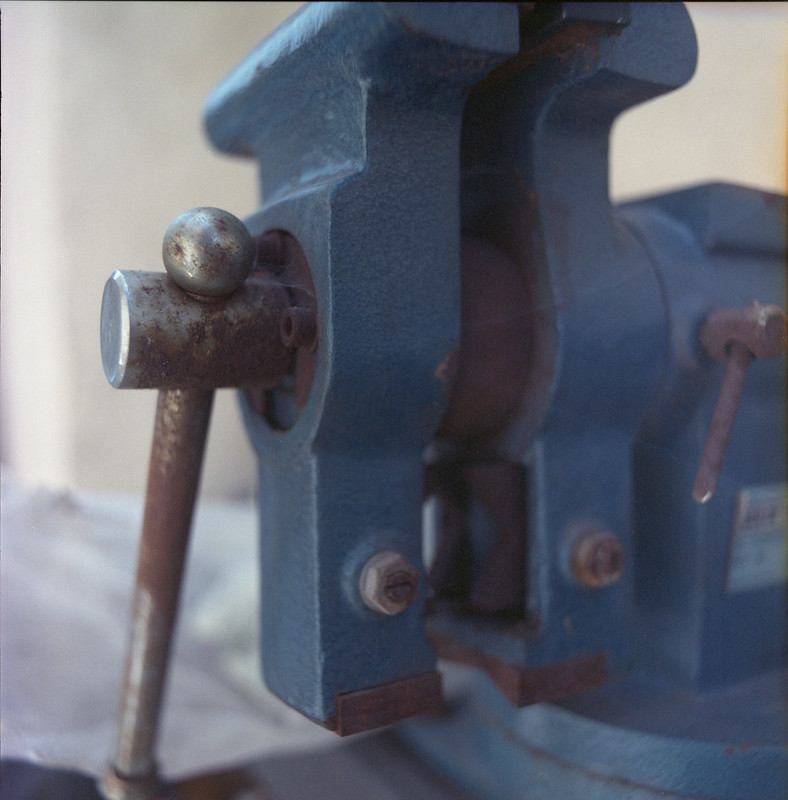
Hibiscus roses vise lacrosse pads

Wednesday, April 22, 2015

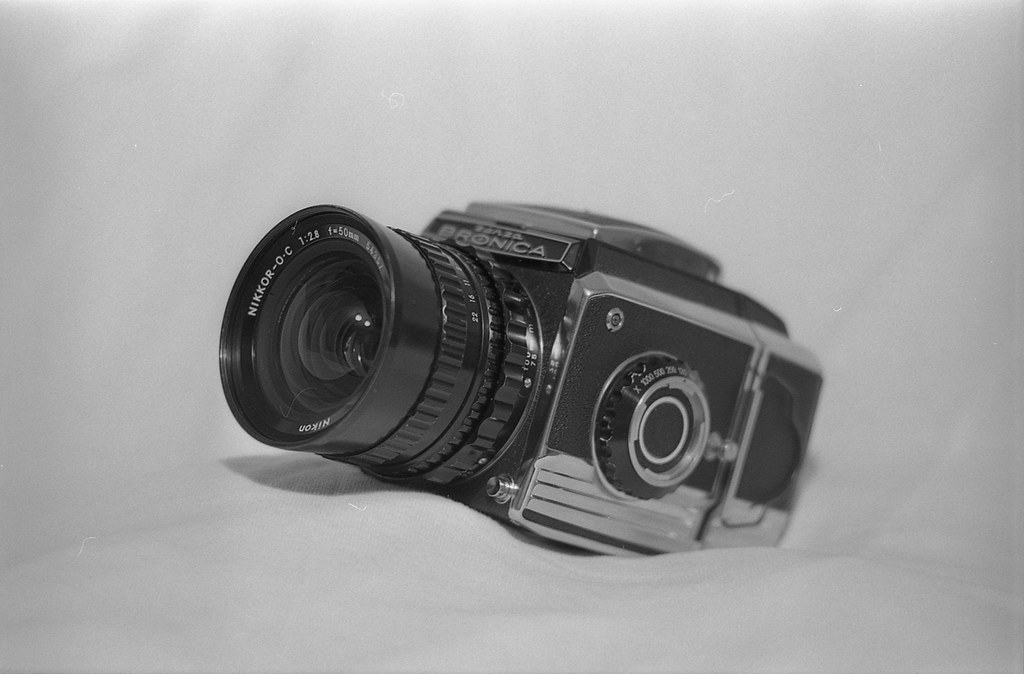
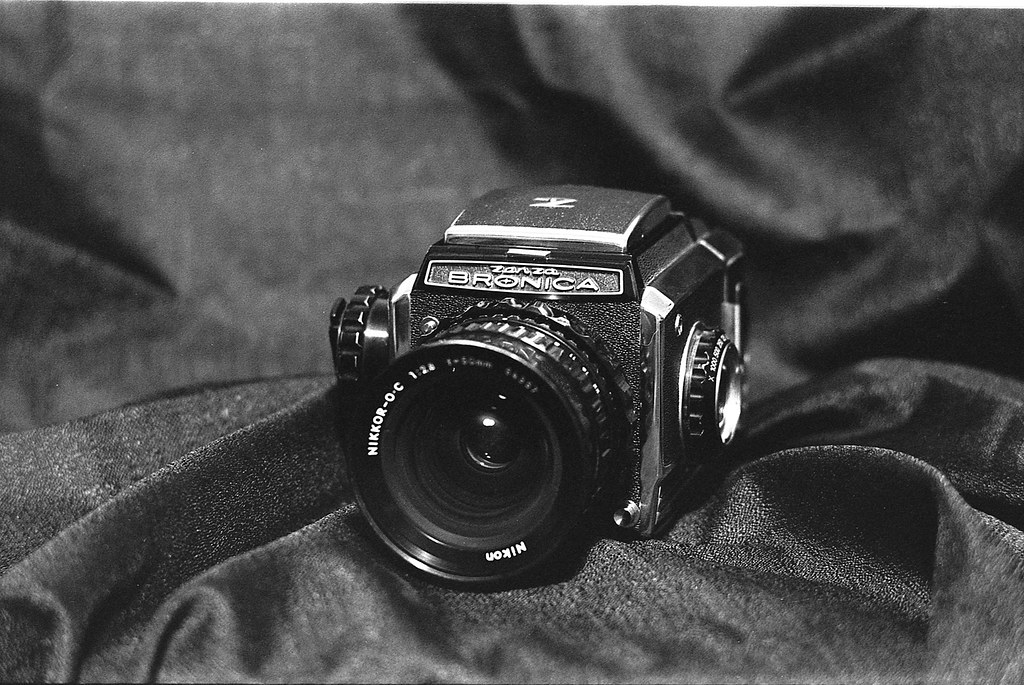
Zenza Bronica S2a

There isn't a lot (or maybe anything) worth saying about this camera that hasn't already been said. You can Google-up it's history, versions, lenses, accessories, user manuals, etc. So why does the internet need one more article about the Zenza Bronica S2a? Well, there are a couple of reasons. Firstly, I (as do most people who blog or write for any media) like to hear myself talk (or type as the case may be). Seriously, I look at my stats and realize that only a handful of people worldwide will every stop and read this. So I write for my own amusement. Secondly, when I am researching something like which medium format camera to buy, I search and read voraciously and I really appreciate people sharing their thoughts and experiences regarding the item I am looking at. Pictures of the item are nice, but I want to hear about how you love the glass or how you hate the WLF. These are the things that drive my decisions... people's passions about the item in question.

With that in mind, I will tell my story...

I got my tax refund. I wonder how many camera purchase stories start that way. I'll be a LOT! I have a Yashica Mat 124 G that I really loved, but it fell off of a shelf onto a concrete floor and now leaks. I try to plug the leaks with gaffer's tape, but between the aesthetic of a taped up camera and having to constantly check to make sure the leaks are still plugged, I just don't use it much anymore. Shame really. I could have bought another 124G, but I started thinking about the SLR family of medium format cameras. A Hassleblad was well out of my budget, so I started looking at the 'upright' types like the Pentax 67 and the Pentacon Six. One of the appeals of this type of camera is that it has a familiar feel for 35mm SLR shooters. You hold it up to your eye and actuate the shutter with your right forefinger. So I looked at those for a while, considering what kinds of lenses I could afford for each and stay on budget. I am not wealthy by American standards, so my camera budget is modest. While looking around studying these two and the Kiev offerings, I came across a review that I had read before, but not really considered, and had actually forgotten. Even if you are not interested in this camera, the review and photos are worth reading. Zenza Bronica MADNESS! over on moominstuff. There is also a very good thread over on Filmwasters. These two reads are largely what sent me down the WLF/Hassy Clone path. I found the looks of the S2a to be very charming. The chrome accents were straight out of a 1950's cafe or soda fountain.

delta100-ftn-017

The descriptions of the sound of the shutter on this camera are a bit hyperbolic, but based in fact. It is loud, like a Japanese shinai coming down on your bogu men. It will turn heads, so if stealth and discretion is the name of your photographic game, save up and get the Hassleblad, or something else with a leaf shutter. I like it, personally. the great "THA-WHACK" of the shutter lets people around you know that you are shooting vintage. About 1 in 2 dozen or so people will comment positively and maybe half of the time they want to talk more about it. I like talking about old cameras, especially with young people (I'm 47, so sort of in the middle presently). They often have a curiosity, but also often don't quite "get it". I was at the Japanese Garden in Los Angeles recently and a mom and her ~ 12 yr old daughter wanted to look at the big camera around my neck. I gave them a brief tour of the features and took the film back off to show them the size of the negative. The girl's eyes lit up when I wound it and fired the shutter. Big smiles all around. Love that.

delta100-ftn-019

The camera itself is a bit of an engineering marvel. The idea behind it was to improve upon the Hassleblad. In some ways they succeeded. Partnering with Nikon to make the lenses and do the QC on the cameras was a stroke of genius. The camera itself will surprise you with some of the features. The fact that the focusing helicoid is separate from the lens and the body is very cool and kept the price of the lenses down. The body "knows" whether the shutter is cocked and also knows whether the film is wound. That means you can wind the film and cock the shutter, then change the back to one that hasn't been wound and the camera won't fire until you wind the film. Awesome! Inversely, if you have not wound the film or cocked the shutter and then switch to a back on which the film has been wound, you can turn the crank to cock the shutter without winding the film and losing a frame. Spectacular! The shutter won't fire with the dark slide in and the back won't come off without the dark slide in. The dark slide won't come out of the back when it is not mounted on the camera. Like I said, a marvel.

acros-s2a-011

I would recommend a good strap for this camera. It is not light by any stretch of the imagination and a thin leather one will make you want to swing it around and pitch it like those olympic hammer thrower guys. I highly recommend the Op-Tech Pro line. They make them with the correct attachments for the Bronica lugs. There are two versions so make some careful measurements and order the right one.

I should say in conclusion, that I really like this camera. The weight helps me to hold it steady when using the WLF (waist level finder). The ergonomics are good for my hand size and the size and sound help me meet other people who are interested in old cameras. On the down side, the view finder could use some help. It is not very easy to focus with, even with the nifty pop up magnifier. There are brighter fresnel lenses that will fit, so I may get one of those and see if it helps. There is also a well-known problem with degradation of the foam under the ground glass. This is easily fixed, so it is only worth mentioning for those who want to buy a 50 year old camera in perfect working order and never have it serviced. Over all, the benefits outweigh the liabilities by a mile. I am going to really enjoy shooting with this camera for a long time. Let me know if you have experiences good or bad. I like to talk to others about old cameras. ;)

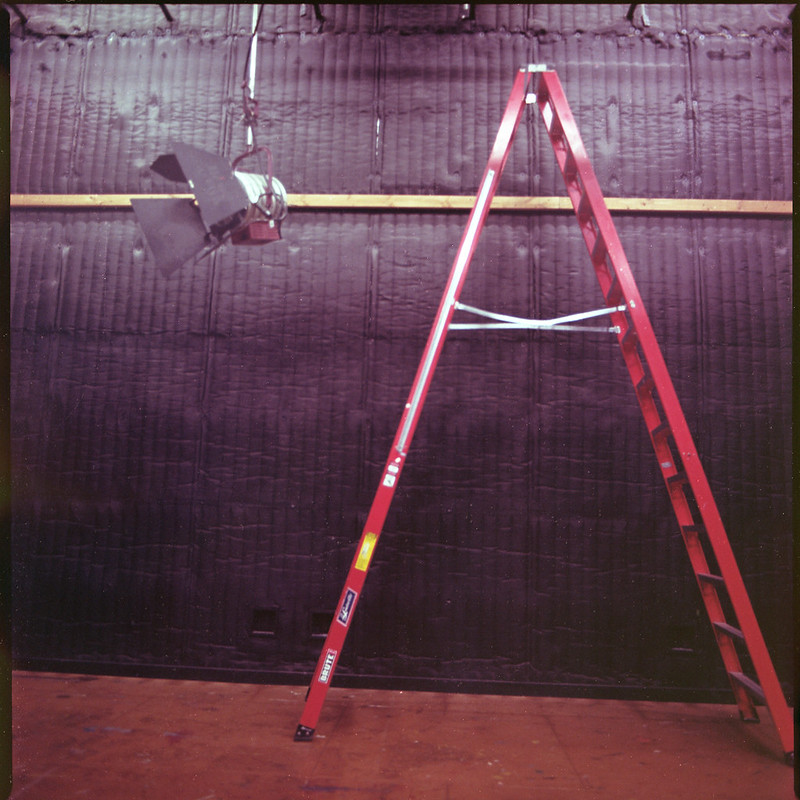
Sound Stage portra-s2a-023

Monday, April 20, 2015

DIY 120 Film

I am in the habit of saving the spools and backing papers from the 120 film I use. I keep thinking, "At some point these will be useful somehow." You know, typical pack rat mentality. I have long wanted to reuse them for their intended purpose and reload 120 film from bulk rolls. Sadly, it seems that I might be the only one. The film manufacturers just don't make bulk rolls of 6 cm film stock. So recently, while poking around the analog photography corners of the big auction sites, I found a bulk roll of 70 mm Vericolor III. It was cheap because the current owner didn't know how it had been stored. It was unopened IOB and marked expired in 5/89. Twenty-five years is not too old for film kept refrigerated, but kept in a So. Cal. closet, 25 years can be pretty damaging. Ah well, it was cheap (about 35¢/ft = <$1/roll). So I am set for rolling 616/116 rolls (though I need to get my hands on some backing papers), but I'm ~1cm too wide for 120. What I need is commonly called a film slitter. These are common among the sub-mini shooters who need to cut 35mm film lengthwise to fit their tiny format cameras. However, they are not so common for the medium formats. Being me, I figured "How hard can it be?" and drew a couple of little sketches to see what I thought might be feasible. For me though, the design work really starts happening when I sit down with a cutting mat, some foam core and an exacto knife.

Here is a list of the materials I ended up using:

  • Black Foam Core
  • Self-adhesive Flocking Material
  • Single-edged Razor Blade
  • Steel Ruler
  • School Glue
  • Thick Tape (Gorilla Tape)

The following is just my experience. I am not suggesting that you do this. Razors are sharp and you can get cut if you are not careful. Please don't sue me if you cut yourself or ruin a bunch of film. I am not liable for anything bad that happens as a result of anyone following these steps.

First, I made the film channel. I did this by cutting and gluing a foam core 'sandwich' with two narrow pieces on either end to create the gap and a 70mm wide channel through the middle. If I made another, I might make this with thinner material in the middle, but as it is, the thickness makes a good amount of material to hold the razor blade. I lined the channel with the camera flocking material. In my mind, it seems like this will help prevent scratches as the film passes through. In practice, it might just hold dust and stuff that will make the scratches worse. We'll see.

Next, I measured off 61mm and cut a slit in which to insert the razor. I could make other slits for different formats like 127, but maybe on the next one. I figured inserting it at an angle would increase the cutting efficiency and give more surface area for the razor to 'grip'. I don't want to glue this in as I would like to be able to change the razor if it gets dull. There was still a good amount of the razor exposed, so I used the Gorilla Tape to cover the sharp edge. Obviously, having an exposed razor in the dark is a bad idea.

Finally, I figured it would be good to have another channel to feed the backing paper through since it needs to line up with the film while I roll it onto the spool. I cut another piece of foam core to the width of the slitter and instead of using foam core pieces to make the channel, I just rolled up some Gorilla Tape and used that. This makes a narrower chamber and the paper slide through nice and straight. Here is a shot of it ready to go into the dark room. The film will be feeding through the top channel, emulsion side up. I put a crease in the backing paper where the film should start. In the dark, I just line up the end of the film with that crease and start rolling. There is another crease at the other end where the film gets taped down.

In the dark, I got the film out of the can and put the spool back into the cardboard box it came in so that the emulsion was up as I pulled the film out. I then started feeding the film into the top channel of the slitter. It wouldn't start cutting. After a few false starts, I decided I had to cut some off and try in the light. So I cut about 10" and put the spool back in the can, and put the can back in the box. In the light, I had no better luck. I thought the razor would just cut through that film like a hot knife through Justin Bieber's face, but it would not start. So I cut a little notch 1cm from the edge and tried again. Success!! It pulled through trimming a perfect 1cm strip from the edge of the film. So that's the trick. I have to start a cut 1cm from the edge in the dark. I cut a little strip of thin cardboard from a cereal box 1cm x ~6cm. This would be my guide. In the dark, I held the guide even with the long edge of the film and made a cut with a pair of scissors. Then I fed the film into the slitter and pulled the edge through so that it was even with the crease in the paper. Then I would pull a few inches through and roll it up, pull, roll, pull roll. All the time I was feeling for the final crease. That is where I would cut the film. I figured if I want to do another 120, then I would cut the film on the near side of the slitter, leaving the 'start' for next time. If I want to do a 116 next, I would cut the film on the far side, leaving the full 70mm width with no starting cut.

I loaded this 120 roll up into my Bronica S2a (article on that camera to come) and went out to test it and see if it at least fed through the camera normally. Twelve shots came off without a hitch. I suppose I could roll 220, but I would have to devise a way to measure the length in the dark. Not impossible, but probably not worth it since I don't really like 220. I will post some of the pictures if the film turns out to be any good. Feel free to post any questions or comments about this slitter or one that you have made. I am eager to improve the design.

Tuesday, December 17, 2013

Clipper

I had a few cameras given to me recently. One of them was a 1939 Agfa PD16 Clipper. This was made after Agfa (Germany) and Ansco (U.S.A.) merged and this was the first camera design produced by the new company Agfa - Ansco. You can find identical Clippers with both Agfa and Ansco badges on them. It has a simple Cooke Triplet lens, so the images are nice, but a bit soft. It is fixed focus from ~5 - 12ft. It has an aperture of around f/6.5 and a shutter speed of about 1/30th - 1/40th sec. So with modern films (especially b/w) with good exposure latitude, you can shoot anything from iso 50 in bright daylight to iso 400 (box speed) or greater indoors or in dim light. The camera has a little tab that pulls out to allow "bulb" exposures so that the shutter stays open as long as you hold down the shutter release button. There is no tripod socket, so it's probably best to find a sturdy surface on which to set the camera. The front 'standard' has a little foot to keep it level. This camera was designed for the 616 rollfilm format. This film was 70mm wide compared to 60mm of the 'modern' 120 format. So with a little fanangling, you can use 120 film. By 'fanangling' I mean 'get something to extend the 120 spools enough to fit the camera and turn with the film advance knob'. I have an associate with a 3-D printer, so he did me a favor and printed up a set of spool extenders that are designed for just this purpose. You will get images from edge to edge on the 120 film and the film may not be perfectly flat in the camera, so you might want to engineer a new 6x6 mask if these imperfections bug you. I'm fine with what I get, so no need for further 'improvements'. The images are about 5x6cm, which is a 'near square' format, but not as near as 6x7, so it makes it interesting.

Here is a poor photo of the spool extenders.

Clipper-Roll-Extenders

Here is an example of a photo I took with my Clipper. I used Kodak Tri-X expired in 1981 and stand developed in Caffenol-C-L.

At the Q-Bowl

I love using these old point & shoot cameras. It is super low-tech, so there's not a lot to think about aside from composition.

Monday, September 23, 2013

Pushing Through IX

This is a little bit of a departure from the theme of the first 8 in this series, but I think that it is well within the overall theme of plants defying man's attempts to control them. In this case, the landscapers have pruned back a branch on a tree. The tree's response? Re-grow that branch of course (sprouting from the lower left of the scar). After all it was there for a reason.
I took this photo with my '39 Voigtländer Bessa 6x9. I had it loaded with one of my favorite films, Fuji Neopan Acros 100. I also was holding a deep yellow filter in front of the lens (there is no way to mount a filter on the front of this lens). I think the filter helped with contrast and with distinguishing the sky and clouds in the background.
See the rest of this series HERE. Pushing Through IX

Tuesday, August 6, 2013

Moving Water

There are two kinds of water in photography. There is still water and there is moving water. Both can be interesting and both can be very effective elements of composition.
Woody Reflection
Still water reflects. It adds a dimension to a photo. If it is not reflecting, then it is a dark mass that adds visual weight which can help to balance elements of composition. Still water can add a sense of serenity and peace to a photo. Think of an alpine lake reflecting a distant mountain. You can feel the stillness of the scene. The blue sky, the pine-filled air, the glassy surface of the water, but especially the water. It has a psychological effect on us. We have a feeling that if the water is still and the sun is shining on it, then it is safe and we are safe in its presence. Photographing still water takes patience. The light needs to be right and the more mirror-like the surface is, the better.
Fountain

Moving water is different. It brings action to the photo and a feeling of dynamism and energy. With moving water you have choices. In the photo of the fountain, I froze the water. It is still obvious that the water is moving, but with fast shutter speeds, the water is silenced. You get that same feeling as with a sports photo where the player is in mid air with some crazy look on his face. The action is there, but it is a moment frozen and taken out of time. It is unnatural. It creates tension because it is outside of our experience. We look at it and wait for the column to fall, the droplets to continue their arc downward.

In the photo of the McKenzie river below, I slowed down the shutter by closing the aperture a couple of stops and resting the camera on a rock to avoid any blur from shaky hands. This creates motion blur in the water while the trees and scenery on the shore are still in good focus. This tells our eyes that the water is moving, even though it is a still photo. That information relieves the tension in the photo and all is well with the world. We can view this photo as a 'normal' riverscape with the water rushing by us just like we have always experienced. You can almost hear the rush of the water over the rocks and feel the spray.


McKenzie River
Go out and find some water to shoot. Use it either as a main subject or as a compositional element. Just have fun and make some photos you like!

Thursday, August 1, 2013

Black Butte Ranch

Mt. Jefferson
We had a family reunion of sorts up in Oregon at a place called Black Butte Ranch. It is sort of a typical Northwest resort. It is up in the Cascade range and so there is plenty of mountain air and hiking and glacial run-off. This photo was taken with my '39 Voigtländer Bessa 6x9 folding camera. I thought the corral made a nice compositional element to frame the mountain. One principal of composition I try to keep in mind is framing and frames within frames. This one might have been better composed if I had taken a step to the right and filled the frame with the 'corral frame' a little more. I do like the photo though and the b/w film gives it a classic look.


Woody Reflection
This resort also happens to have a golf course. I don't golf, but this one offered some nice landscape photo ops, so I took advantage since I had my Speed Graphic with me. I splurged a little and used a sheet of my Portra 160 for this. I was pressing my luck a little with the chemicals I had. It was getting along in development cycles and there was some uneven development in some of the images, but this one came out pretty good. There isn't really anything exciting or earth-shattering in the composition, but it is a 'nice' pastoral kind of scene. It conveys the tranquility of the time we spent there (or at least the tranquility I wish we had experienced). Getting four families together under one roof for 'vacation' is a recipe for chaos, but there are still some quiet times and nice memories to be had and this photo hints at those.

Sunday, April 7, 2013

Desert "Shooting"

Rifles

I went out to the desert near Anza Borego with a couple of friends with the purpose of shooting our rifles. They both have modern sporting rifles of the AR variety, while I have a trusty 1925 Mosin Nagant 91/30. I find that the AR platform is 'fun' to shoot, but not much of a challenge at 100yds. The Mosin on the other hand is hard enough just to hold, let alone hit something 100yds away. But that's not what I wanted to write about. I also brought a camera (as I am want to do).

I brought the 1939 Voigtländer Bessa 6x9. I really like that camera. It is light, it is rugged (though not weather-proof) and it looks good. On top of that, it takes very nice photos. They are not tack sharp like a digital or modern film camera with high-tech coated optics, but they are 6x9 cm which is a very large medium format image. They also have a character to them that appeals to my aesthetic. This is a digital photo of it (forgive me, I didn't have a film image of it at hand). Everything is manual, so the process goes something like this... Meter the light with a hand-held meter (I usually use my Sekonic Digilite F, but on this trip I left it home and used the 'sunny 16' rule), set the aperture and the shutter speed dials on the front of the shutter, cock the shutter lever (sets the tension on the shutter spring) and estimate the distance to the subject (no range finder on this one), set the focus ring to the appropriate distance, compose the shot through the view finder and actuate the shutter. Don't forget to wind the film with the winder key on the bottom of the camera, watching the red window on the back for the next frame number to come along. It is a process to be sure, but it forces me to slow down and think about the image. Ansel Adams was a big proponent of working backwards. FIRST you envision what the print will look like. Then you go about making that photo. I am not quite there yet, but these older cameras make me think harder about each frame. Part of it is the cost. Obviously, neglecting the initial cost of equipment (I paid less than $100 for this camera), compared to digital images (which are practically free) these are quite dear. 120 roll film is around $5-$7 per roll and I get 8 shots per roll with this camera (that's ¢63 - ¢88 per shot). Then if I send it away to be processed, that is another $10-$12 per roll (that's another $1.25 - $1.50 per shot), so at $1.88 - $2.38 per image, I think before I push the button (usually). Whereas with my digital equipment, I happily snap away (as does everyone), secure in the knowledge that I can trash 99% of the photos and still be ahead.

So why do it? Why not just take the digital images, add some grain, desaturate and call it good? I have certainly done that in the past, so what I say next is from experience. I am not just emoting here. IT IS NOT THE SAME!! Film photography has an experience to it. It is visceral. It costs you something, not just monetarily  but it requires an investment from your soul that I never felt with digital. Digital is about the technology. Not to say that there are not fine artists making amazing images, but for me it feels like I tend to snap away more with less thought, and I see others do it too.

Back to the desert... Between shooting targets (the Mosin packs a punch and my shoulder needs to rest) I would walk around and see what there was to photograph. There wasn't much really. It was a pretty barren place, but I tried switching over to my right brain and 'seeing' what I could see. The ocotillo was blooming. I only had Tmax 100 in the camera, so the colors were not going to be a focus even though the orange blossoms on the strange looking green stalks would have made a nice image. I decided to take a couple of photos anyway since the textures were just as interesting as the colors.
Ocotillo bloom

I enjoyed my time in the desert (sort of). I'm not a huge fan of heat and dessicating winds and sun exposure, but I got a chance to make some photos that I enjoy. I hope you enjoy them too.