Showing posts with label 120. Show all posts

Sunday, October 14, 2018

Worthy of Redundancy

Ultrafine Xtreme! It seems a little silly to brand something with "Ultra" and "Extreme" in the title. In Latin, the prefix 'ultra' means 'extremely' or 'beyond'. So they are trying to send a message here. They want us to know that this film is fine grained. Now if you've shot enough film, you know that these claims are largely created by the marketing department of the film company and don't always hold true in real life. Especially with black and white film, grain is affected by so many variables from EI (exposure index or apparent iso) to the plethora of developers, dilutions, temperatures, agitation schemes... The list goes on. So I'll be forgiven if I approach "Ultrafine Xtreme" film with a touch of skepticism. This is compounded by the very (not Xtremely) reasonable price, which in Western culture means lower quality. I bought 10 rolls of 120 Ultrafine Xtreme 100 for around $5 per roll. For comparison, Ilford Delta 100 and Kodak T-Max 100 are both over the $6 mark (what? no more Acros 100?? BOOOOO! to Fuji!!!). So let's see what my $1 per roll savings is going to cost me.

I loaded my roll up in my 'chrome-tastic' Bronica S2a (read more about that camera here) with the always pleasant and reliable Nikkor-O-C 50mm f/2.8 lens. This is the sharpest medium format option I have and a great camera to use, so why not? I shot the film at iso 100 because that's what the box says on it. Can I push it? Can I pull it? What are it's reciprocity characteristics? None of these questions mattered. I just wanted to shoot it straight and see what the baseline is. And that's what I did.

Before I get to the shots, I'll describe my development scheme briefly for the home developers out there that nerd out on this kind of stuff. I used two DIY developers mixed together. First was My-tol (Kodak X-tol look-alike). I mixed that up at 2:1. Then I added some Parodinal at 1:100. I developed the film for 11 minutes at around 70F using the usual agitation scheme (constant for the first minute and then 4 inversions every 30 seconds). Fixer was Ilford Rapid Fix 1:4. There, how's that for brief?

One of the tough subjects when it comes to fine grain and sharp lenses is animal fur. I scanned this shot at 1200 dpi and I think I am running out of pixels before I run into grain.
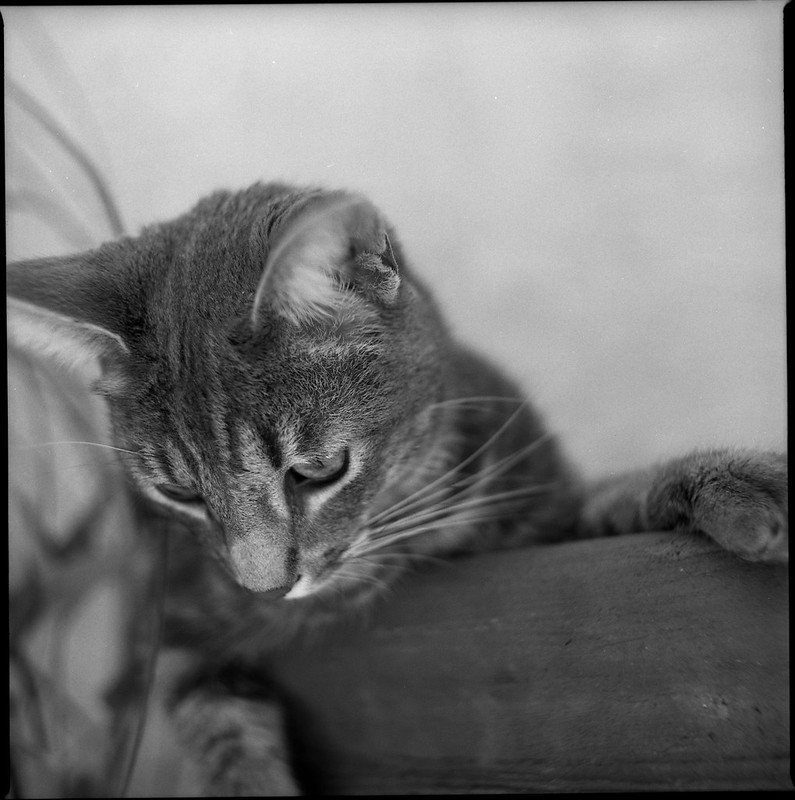
Scratchy McBiterton

Here is a 100% crop of that shot.

I have to say I was impressed. At least with this developurr combination (sorry), this film does indeed show very very fine grain. Is it "Ultrafine"? Well, we are dealing with sort of subjective, qualitative terminology here, so I'm going to say YES! It is Ultrafine! Put this film behind your sharpest lens, develop it with a high accutance developer, and be confident that you are going to get some Xtremely good results. "But James", you say. "Doesn't high accutance and sharpness mean that the low contrast areas are going to look grainy?" Let's see. Here is a 100% crop of the blank out of focus wall behind the subject.

The answer is "yes, there is some visible grain." Is it distracting? Is it "golf ball grain"? No. It is what I would characterize as "filmy" grain. It's the grain that lets you know that you are shooting film. I personally like grainy film (usually). The exception to that rule was Fuji Acros in Caffenol-CL. That was so smooth and creamy and lovely. I could just stare at the blurry backgrounds. But usually I like to have some grain in the image just as a creative device, sort of like the way I left the S2a film mask in this image as a border. It's a layer of abstraction that adds interest.

Now we come to the 'caveat emptor'. Here we see what saving $1 cost me. There were two shots on the roll of 12 that had artifacts. These looked like perfectly round clear spots on the film. I don't think that they were air bubbles that didn't get developed since that is not ever a problem with my agitation and there were only two of them on the whole roll. I think these are actually flaws in the emulsion. Take a look near the bottom of the gate. I'll keep an eye out for more of these in future rolls. I hope this is a Xtremely rare slip up by the QA department. If it is truly a "feature" of this film, I'll probably spend the extra $1 per roll and use T-max. But if not, if it turns out that Ultrafine Xtreme 100 is a good reliable fine grained film, then I will certainly buy more.

Saturday, November 5, 2016

Where'd the Numbers Go!?

I just loaded a roll of Kodak Ektar 120 into my 1939 Voigtländer Bessa 6x9. I started winding, looking for the 1 to appear in the ruby window. I wound and wound, but the 1 never appeared, neither did the 2! I was certain that I had wound far enough, but no numbers! I must have done something wrong with the loading or the turning of that little winder thing. It seems simple and I've done it many times before, but hey I wouldn't put it past myself to screw it up somehow. So I went into the dark bathroom and wound the film back onto the supply spool and tried again. Guess what. The same thing happened. I know it is the definition of insanity to keep doing the same thing and expect different results, so I didn't try it a third time. I went where every puzzled photographer goes... the Googlez! It seems that some others have had their Ektar 6x9 numbers go missing as well. Kodak must have recently changed the position of these numbers, because I know that I have shot this film in this very camera in the last few years and not had this problem. Anyway, I pulled out an empty Ektar backing paper and compared the position of the numbers to the position of the window and sure enough, they don't line up. The numbers are too close to the edge of the paper.

Now that I had the problem clearly identified I needed a solution. Moving the window to accommodate the numbers wasn't really an option, so I had to move the numbers. One option for moving the numbers was to just spool the film onto a different backing paper that has numbers in the right place, like Acros. I decided that was sub-optimal since I might get confused later and develop it in the wrong chemicals. So I took that old Ektar paper and wrote on a new set of numbers in the correct position. Then I rolled the film onto the new paper. Voilà!! There are my numbers in the ruby window!

I hope someone finds this useful. I know I did. :P

Saturday, November 21, 2015

There's Expired Film, and Then There's...

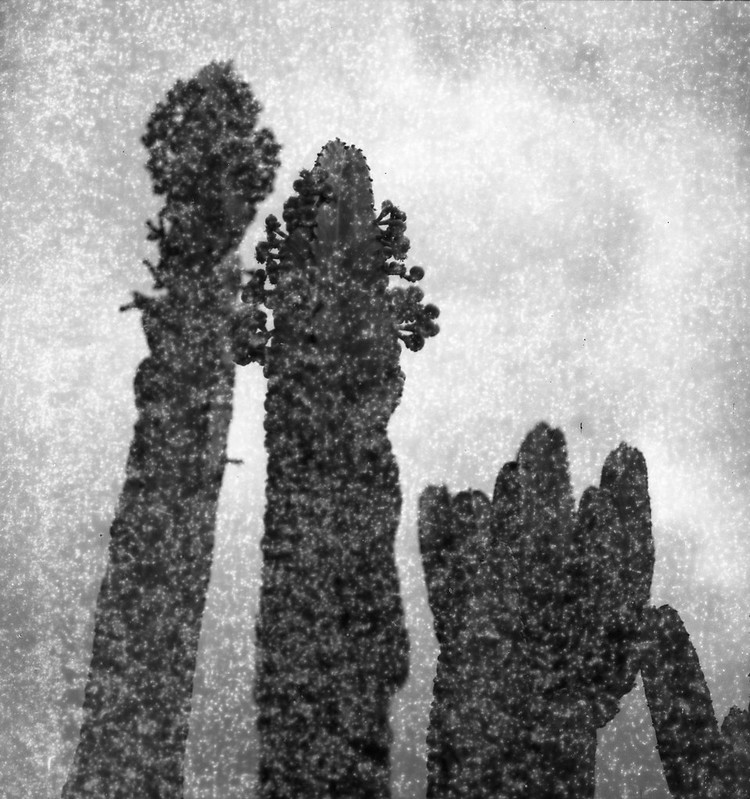
When I see a bargain on 'the bay', there is a fleeting moment when my brain says, "That's too good to be true, and if it were really a bargain someone else would have snatched it up before you." Often that is enough to discourage me from making impulsive purchases. However, when it comes to cheap film, I am a complete sucker. So when I came across a 10-pack of 120 film for around $3/roll shipped, my urges got the better of me. Now this film was a little odd, but not unheard of. It was the Russian brand Svema and it was the FN64 black and white negative emulsion. It had expired in 1996 which is less than 10 years ago, so I figured between the relative newness and the slow iso, it would be good to go, maybe even at box speed. So I ordered the 10 rolls and hoped for the best. When it came in the mail (from Ukraine) I thought the cold war style packaging was quaint. The rolls were individually boxed with Cyrillic letters on them. The rolls inside were wrapped in a foil-lined paper, not sealed in plastic like most other 120 films are. I unwrapped one to find a bright red backing paper that seemed a little bit thicker than most backing papers I have encountered, but you never know until you try, right? So I put the roll into my Bronica S2a and started shooting. My concern grew on about the fourth shot. I wound the film, the shutter cocked and then the film kept winding. It wasn't like a free spin as if the film had broken, but a sort of squishy wind that gradually got stiffer. I finished the roll with this sort of strange 'feel' to the winder. Normally when I reach 12 on the counter, I get the free wind as the film is all on the take-up spool and no longer turning the sprockets in the winding mechanism. This time that didn't happen. It just got harder and harder to wind. So I opened it up, figuring it had something to do with the thickness of the backing paper. Maybe I was going to have to respool all of this onto regular 'Western-style' backing papers. But no, when I opened the back, the film sort of sprung out at me like one of those trick snakes in a can novelties. It was not wound around the take up spool at all. Instead it was crammed all around it accordion style. What I discovered was that the tape that normally holds the film to the backing paper on the leading edge had lost all of its stickiness and so it did not lead the film onto the spool. One roll down. One lesson learned. The next roll I took into a darkened room and unrolled it until I could feel the leading edge of the film and the old tape. Out with the old and in with a new piece of nice sticky tape. I rolled it back up and put it in the camera. This time it wound like a charm. I shot the roll at iso 50 because that is what I read someone else did on the interwebz. Here is where we learn the lesson about film storage conditions and what effect they have on film over time. Here is an example from that roll.

Cactus

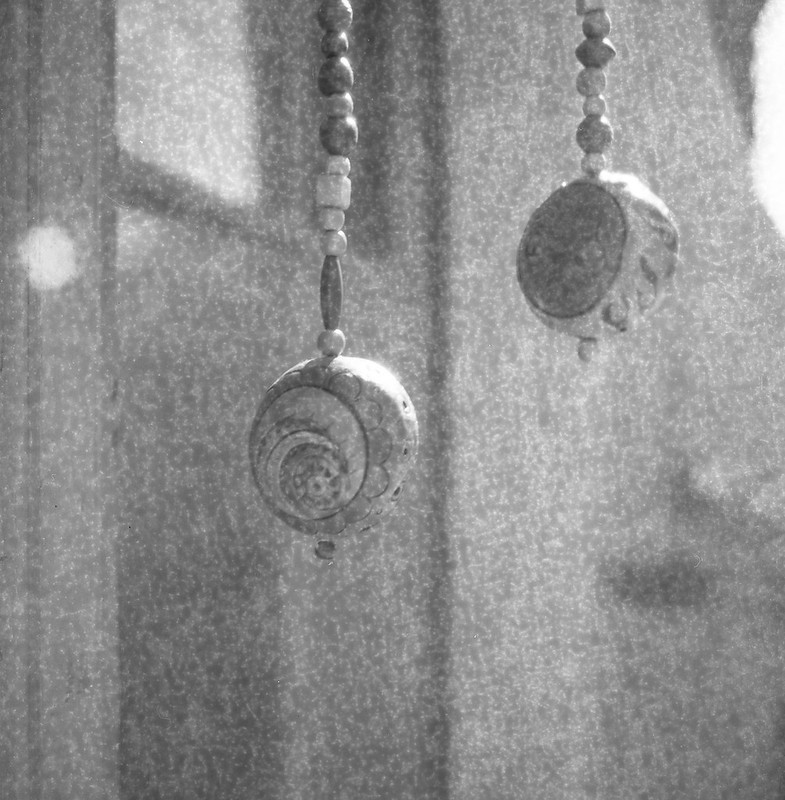
Sometimes you can overcome background/base fog simply by bumping the exposure a stop or two. So for the next roll, I decided to go for it and shoot it two stops slower than box speed at iso 16. This might have been a little better, but not significantly so.

S2a-Svema64-008

This film was obviously stored at 'room' temperature or worse. This caused oxidation of the emulsion which turns things all 'speckeled'. It's not the worst thing that could happen. If I know the photos are going to look like this, I can choose my subjects and lighting accordingly and set my expectations. So I'm not sure what exactly I will do with the remaining 7 rolls of this old film, but I'll bet one day I will find myself in the mood for something a little 'different' and I'll pull another one of these old Russian rolls out of the freezer.

Sunday, April 26, 2015

Vericolor III Expired

If you read the post on DIY 120 Film, then this will be old news. Skip to the pictures.

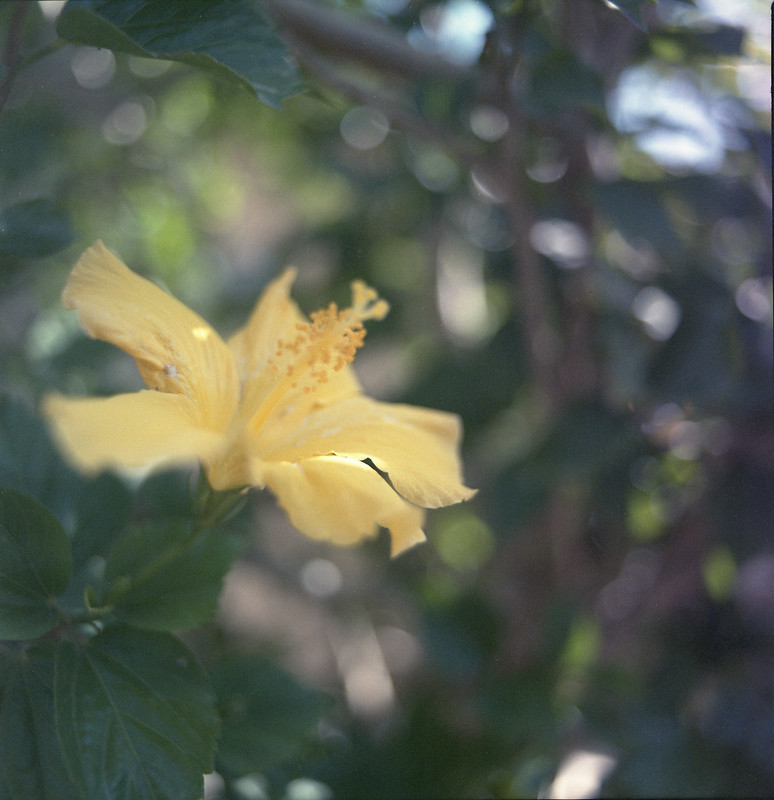
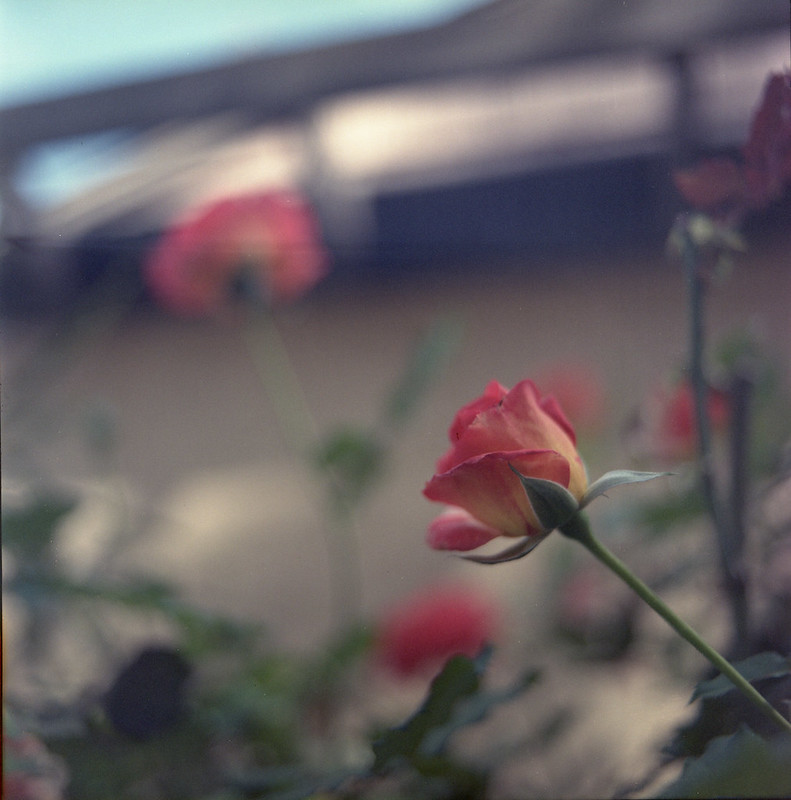
A couple of weeks ago, I found a deal on a 100ft roll of 70mm film. The film expired in 1989 and the seller didn't know how it had been stored, so was selling it at a deep discount. I bought it, knowing the risk. If it had been stored in a San Diego car trunk, chances were that it would be so badly fogged that it wouldn't be usable. However, if it had been stored refrigerated or in a freezer, it could very well make some nice images. As with most 'aged' film, the grain would be pronounced and the speed would decrease about one stop per decade. Vericolor III had a nominal speed of 160, so I decided to shoot it almost 2 stops slower at iso 50. I cut off 1 cm from the edge using the film slitter I made (see link above) and loaded it into my Bronica S2a. I shot the roll and developed it with an old-ish Unicolor C-41 kit at normal times and temps. The uncorrected scans have a bluish cast, but that is pretty easily corrected with the Epson Scan software. It actually does a pretty good job with the 'automatic' corrections it does. So here are a few shots off of that roll. It isn't high art, just some test shots to see how the color and grain fared over the last 26 years.

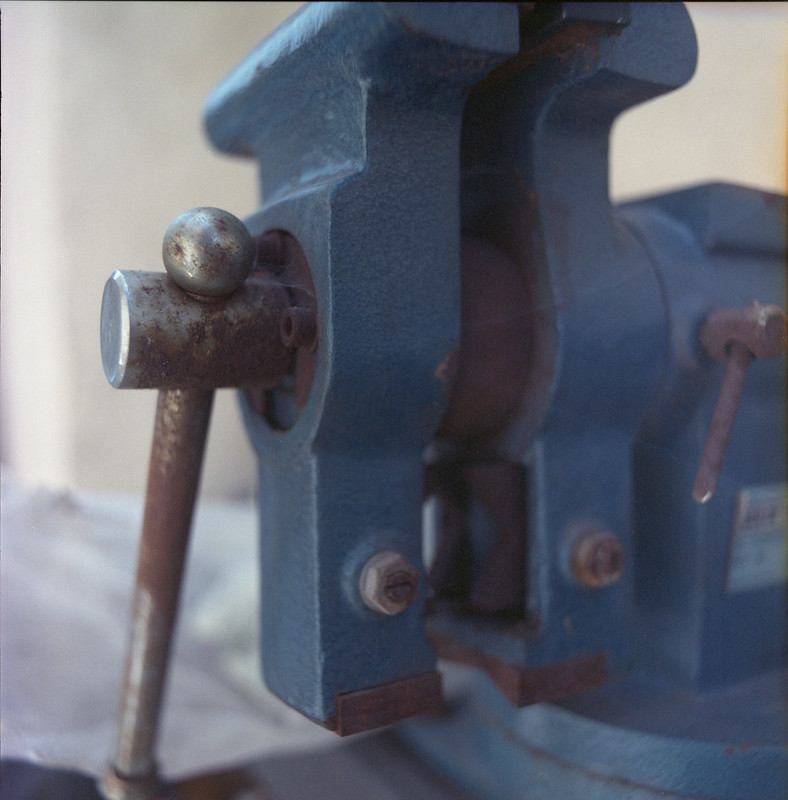
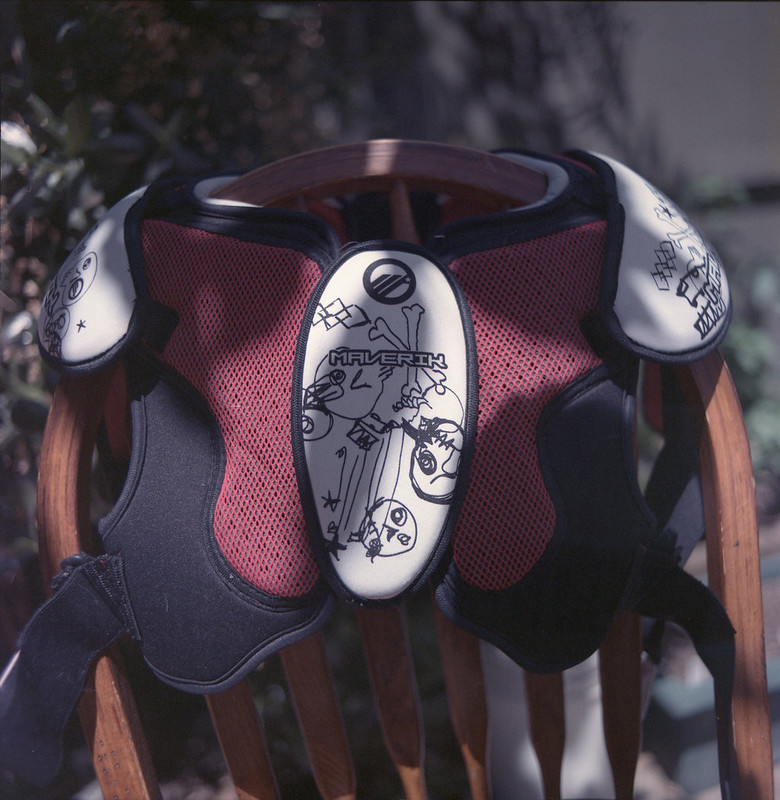
Hibiscus roses vise lacrosse pads

Monday, April 20, 2015

DIY 120 Film

I am in the habit of saving the spools and backing papers from the 120 film I use. I keep thinking, "At some point these will be useful somehow." You know, typical pack rat mentality. I have long wanted to reuse them for their intended purpose and reload 120 film from bulk rolls. Sadly, it seems that I might be the only one. The film manufacturers just don't make bulk rolls of 6 cm film stock. So recently, while poking around the analog photography corners of the big auction sites, I found a bulk roll of 70 mm Vericolor III. It was cheap because the current owner didn't know how it had been stored. It was unopened IOB and marked expired in 5/89. Twenty-five years is not too old for film kept refrigerated, but kept in a So. Cal. closet, 25 years can be pretty damaging. Ah well, it was cheap (about 35¢/ft = <$1/roll). So I am set for rolling 616/116 rolls (though I need to get my hands on some backing papers), but I'm ~1cm too wide for 120. What I need is commonly called a film slitter. These are common among the sub-mini shooters who need to cut 35mm film lengthwise to fit their tiny format cameras. However, they are not so common for the medium formats. Being me, I figured "How hard can it be?" and drew a couple of little sketches to see what I thought might be feasible. For me though, the design work really starts happening when I sit down with a cutting mat, some foam core and an exacto knife.

Here is a list of the materials I ended up using:

  • Black Foam Core
  • Self-adhesive Flocking Material
  • Single-edged Razor Blade
  • Steel Ruler
  • School Glue
  • Thick Tape (Gorilla Tape)

The following is just my experience. I am not suggesting that you do this. Razors are sharp and you can get cut if you are not careful. Please don't sue me if you cut yourself or ruin a bunch of film. I am not liable for anything bad that happens as a result of anyone following these steps.

First, I made the film channel. I did this by cutting and gluing a foam core 'sandwich' with two narrow pieces on either end to create the gap and a 70mm wide channel through the middle. If I made another, I might make this with thinner material in the middle, but as it is, the thickness makes a good amount of material to hold the razor blade. I lined the channel with the camera flocking material. In my mind, it seems like this will help prevent scratches as the film passes through. In practice, it might just hold dust and stuff that will make the scratches worse. We'll see.

Next, I measured off 61mm and cut a slit in which to insert the razor. I could make other slits for different formats like 127, but maybe on the next one. I figured inserting it at an angle would increase the cutting efficiency and give more surface area for the razor to 'grip'. I don't want to glue this in as I would like to be able to change the razor if it gets dull. There was still a good amount of the razor exposed, so I used the Gorilla Tape to cover the sharp edge. Obviously, having an exposed razor in the dark is a bad idea.

Finally, I figured it would be good to have another channel to feed the backing paper through since it needs to line up with the film while I roll it onto the spool. I cut another piece of foam core to the width of the slitter and instead of using foam core pieces to make the channel, I just rolled up some Gorilla Tape and used that. This makes a narrower chamber and the paper slide through nice and straight. Here is a shot of it ready to go into the dark room. The film will be feeding through the top channel, emulsion side up. I put a crease in the backing paper where the film should start. In the dark, I just line up the end of the film with that crease and start rolling. There is another crease at the other end where the film gets taped down.

In the dark, I got the film out of the can and put the spool back into the cardboard box it came in so that the emulsion was up as I pulled the film out. I then started feeding the film into the top channel of the slitter. It wouldn't start cutting. After a few false starts, I decided I had to cut some off and try in the light. So I cut about 10" and put the spool back in the can, and put the can back in the box. In the light, I had no better luck. I thought the razor would just cut through that film like a hot knife through Justin Bieber's face, but it would not start. So I cut a little notch 1cm from the edge and tried again. Success!! It pulled through trimming a perfect 1cm strip from the edge of the film. So that's the trick. I have to start a cut 1cm from the edge in the dark. I cut a little strip of thin cardboard from a cereal box 1cm x ~6cm. This would be my guide. In the dark, I held the guide even with the long edge of the film and made a cut with a pair of scissors. Then I fed the film into the slitter and pulled the edge through so that it was even with the crease in the paper. Then I would pull a few inches through and roll it up, pull, roll, pull roll. All the time I was feeling for the final crease. That is where I would cut the film. I figured if I want to do another 120, then I would cut the film on the near side of the slitter, leaving the 'start' for next time. If I want to do a 116 next, I would cut the film on the far side, leaving the full 70mm width with no starting cut.

I loaded this 120 roll up into my Bronica S2a (article on that camera to come) and went out to test it and see if it at least fed through the camera normally. Twelve shots came off without a hitch. I suppose I could roll 220, but I would have to devise a way to measure the length in the dark. Not impossible, but probably not worth it since I don't really like 220. I will post some of the pictures if the film turns out to be any good. Feel free to post any questions or comments about this slitter or one that you have made. I am eager to improve the design.

Friday, January 10, 2014

B-W Color Film

What is that supposed to mean? Film is either b/w or it is color, right? Well, yes and no. We normally think of film this way, but there are cases where color film is developed in such a way that renders greyscale negatives and there are cases where film is "color" emulsion, but the only color used is black. Let me explain a little. All films use silver to make blacks and greys. This is how we normally think of b/w film. You expose it to light, the silver salts are reduced to varying degrees according to how many photons hit the crystals, the developer then converts those reduced salts to elemental silver which looks black. Ba-da-bing an image is seen in negative. Color film does the very same thing, only it adds layers of color dyes that are developed in similar ways. However, if you don't use the right chemicals to develop the dyes... if you use say Rodinal, you just get a plain old b/w photo. The silver is still developed as normal, but the dyes all wash away, undeveloped. This is the unfortunate fate of anyone still holding on to rolls of Kodachrome. That process is dead and no one is bringing it back. The chemicals and machinery that developed that very special film are gone. So if you have any, it is going to have to be developed as b/w. Sorry Paul Simon.

The other case I mentioned is with what is called "chromogenic" films. These are films that came out in the 80's to take advantage of the explosion in popularity of color negative films. Small labs found it more economical to harmonize on one process and develop everything with it. That is why in the 80's and 90's it got hard to find a lab that would develop straight b/w film in-house. Most small labs would mail it off to Kodak or Ilford or one of the big vendors that was still offering the process. Chromogenic films use black dyes to create the image. The process is just like developing color negative film, just without the colors at the end. I recently acquired some Ilford XP2 Super 400 film that expired in 2007. I exposed it in my Yashica Mat 124G at iso 250 and developed it in Unicolor C-41. Here are a few of the shots I took around the building I work in. Enjoy.

Winter Greenery

Baby barrel

Cactus blossoms