Showing posts with label b/w film. Show all posts

Sunday, October 14, 2018

Worthy of Redundancy

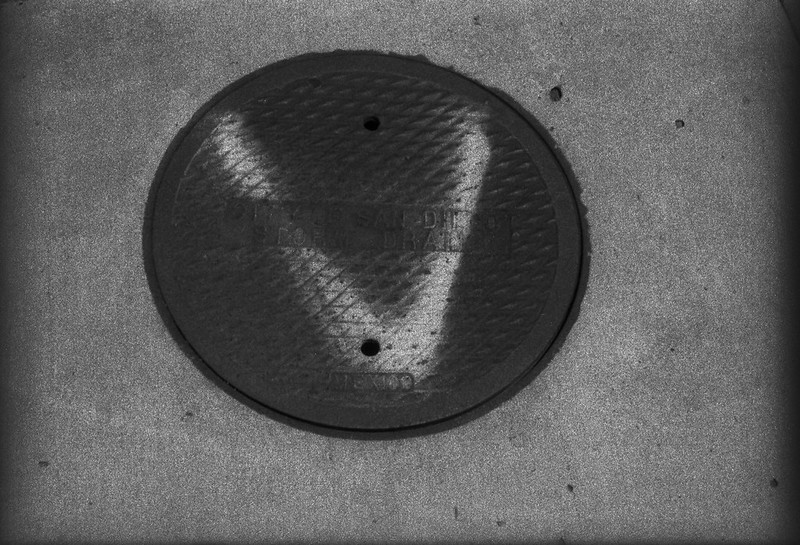
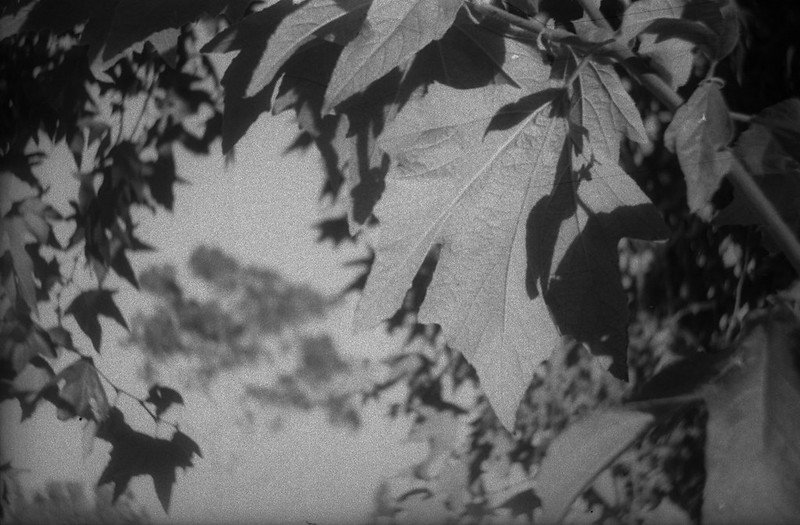
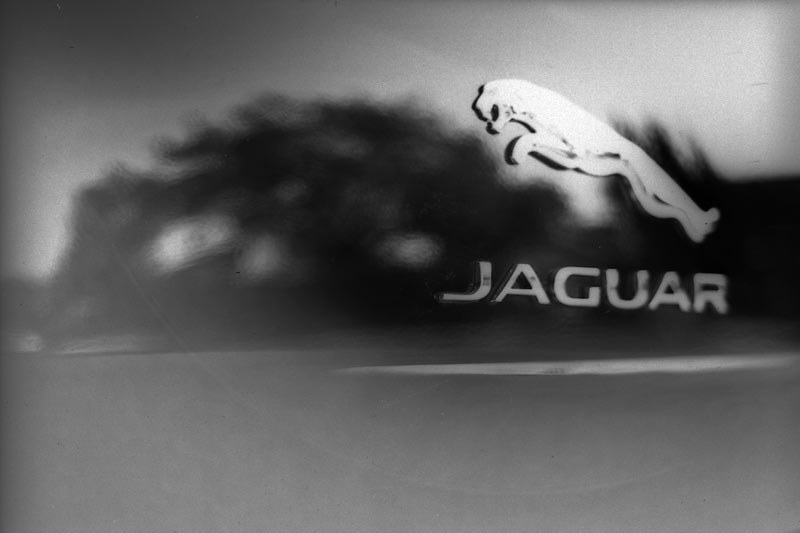
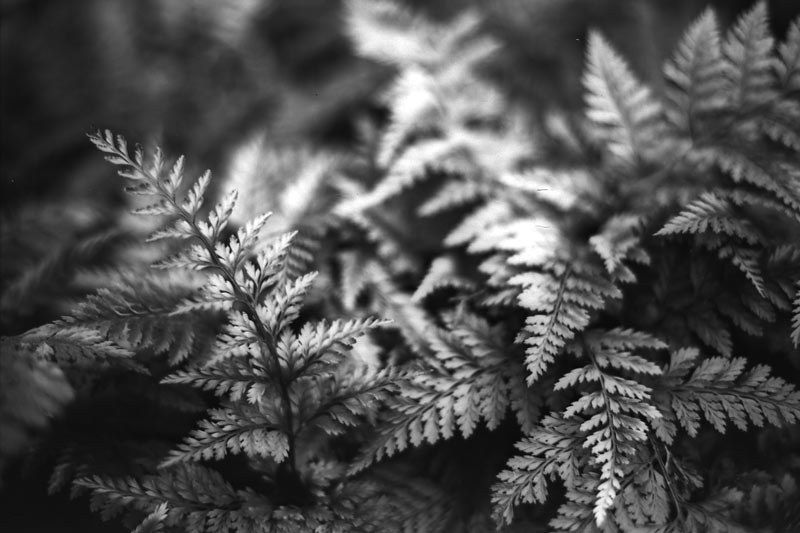
Ultrafine Xtreme! It seems a little silly to brand something with "Ultra" and "Extreme" in the title. In Latin, the prefix 'ultra' means 'extremely' or 'beyond'. So they are trying to send a message here. They want us to know that this film is fine grained. Now if you've shot enough film, you know that these claims are largely created by the marketing department of the film company and don't always hold true in real life. Especially with black and white film, grain is affected by so many variables from EI (exposure index or apparent iso) to the plethora of developers, dilutions, temperatures, agitation schemes... The list goes on. So I'll be forgiven if I approach "Ultrafine Xtreme" film with a touch of skepticism. This is compounded by the very (not Xtremely) reasonable price, which in Western culture means lower quality. I bought 10 rolls of 120 Ultrafine Xtreme 100 for around $5 per roll. For comparison, Ilford Delta 100 and Kodak T-Max 100 are both over the $6 mark (what? no more Acros 100?? BOOOOO! to Fuji!!!). So let's see what my $1 per roll savings is going to cost me.

I loaded my roll up in my 'chrome-tastic' Bronica S2a (read more about that camera here) with the always pleasant and reliable Nikkor-O-C 50mm f/2.8 lens. This is the sharpest medium format option I have and a great camera to use, so why not? I shot the film at iso 100 because that's what the box says on it. Can I push it? Can I pull it? What are it's reciprocity characteristics? None of these questions mattered. I just wanted to shoot it straight and see what the baseline is. And that's what I did.

Before I get to the shots, I'll describe my development scheme briefly for the home developers out there that nerd out on this kind of stuff. I used two DIY developers mixed together. First was My-tol (Kodak X-tol look-alike). I mixed that up at 2:1. Then I added some Parodinal at 1:100. I developed the film for 11 minutes at around 70F using the usual agitation scheme (constant for the first minute and then 4 inversions every 30 seconds). Fixer was Ilford Rapid Fix 1:4. There, how's that for brief?

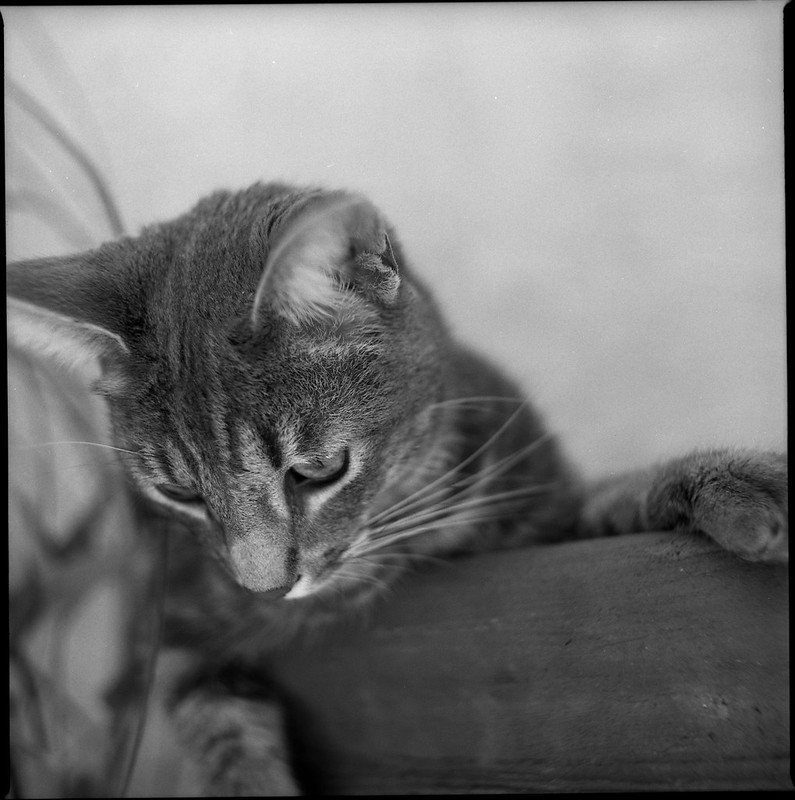
One of the tough subjects when it comes to fine grain and sharp lenses is animal fur. I scanned this shot at 1200 dpi and I think I am running out of pixels before I run into grain.
Scratchy McBiterton

Here is a 100% crop of that shot.

I have to say I was impressed. At least with this developurr combination (sorry), this film does indeed show very very fine grain. Is it "Ultrafine"? Well, we are dealing with sort of subjective, qualitative terminology here, so I'm going to say YES! It is Ultrafine! Put this film behind your sharpest lens, develop it with a high accutance developer, and be confident that you are going to get some Xtremely good results. "But James", you say. "Doesn't high accutance and sharpness mean that the low contrast areas are going to look grainy?" Let's see. Here is a 100% crop of the blank out of focus wall behind the subject.

The answer is "yes, there is some visible grain." Is it distracting? Is it "golf ball grain"? No. It is what I would characterize as "filmy" grain. It's the grain that lets you know that you are shooting film. I personally like grainy film (usually). The exception to that rule was Fuji Acros in Caffenol-CL. That was so smooth and creamy and lovely. I could just stare at the blurry backgrounds. But usually I like to have some grain in the image just as a creative device, sort of like the way I left the S2a film mask in this image as a border. It's a layer of abstraction that adds interest.

Now we come to the 'caveat emptor'. Here we see what saving $1 cost me. There were two shots on the roll of 12 that had artifacts. These looked like perfectly round clear spots on the film. I don't think that they were air bubbles that didn't get developed since that is not ever a problem with my agitation and there were only two of them on the whole roll. I think these are actually flaws in the emulsion. Take a look near the bottom of the gate. I'll keep an eye out for more of these in future rolls. I hope this is a Xtremely rare slip up by the QA department. If it is truly a "feature" of this film, I'll probably spend the extra $1 per roll and use T-max. But if not, if it turns out that Ultrafine Xtreme 100 is a good reliable fine grained film, then I will certainly buy more.

Friday, June 30, 2017

Robot Camera - Kodak 35RF

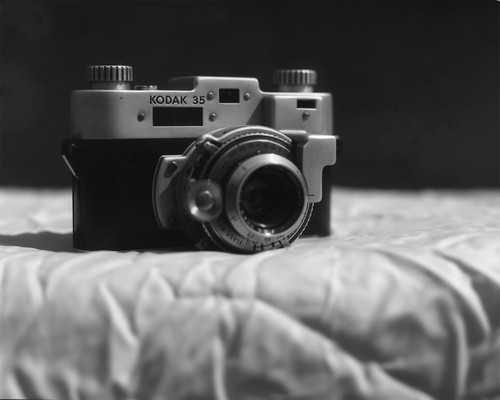
I like "robot cameras". By that I mean cameras that have exposed machinery like gears and levers. There is something to be said for the sleek, plastic-shrouded black boxes like the Contax T2 or the Konica Hexar with their clean lines and mysterious lack of 'machinery'. They take fine photos to be sure, but (for me) they don't hit my "that's so cool!" button. That button is actuated by dials and levers that make ratcheting noises and knurled knobs and gears. So when a friend over on Filmwasters said he had a spare Kodak 35RF that he would trade, I jumped.

Kodak35RF

Where to even start? Well, maybe a brief description... The Kodak 35RF is a 35mm camera with a coupled range finder. It was made from 1940 to 1948. My example rolled off the assembly line in 1946 as indicated by the CAMEROSITY code of 'EO' on the lens. So what's so cool about this camera? I guess the first thing that catches my eye is that gear to the left of the lens. That's for focusing. You turn the little gear with your index finger and the magic happens inside the lens. This is done while looking into the tiny range finder window. That brings me to the next cool feature. There are three freakin' windows on the front of this thing. Each one is a different shape and size which gives it a touch of art deco or maybe cubism. Then there is "the shield". The shield is a piece of metal that covers what I imagine is the mechanism that couples the lens focusing ring to the viewfinder. The shield also extends over the top of the lens and provides a protective er... shield for the shutter release, so you don't accidentally hit it and get a picture of your shoe or the butt of the person walking in front of you. Speaking of the shutter release, it's out on the lens barrel, not on top of the camera like you would expect. There is a button right there on the top right side. It looks like a shutter release, but don't be fooled. It's not. Push it as many times as it takes to convince yourself that the shutter isn't responding to your command (it took me three slow presses and then about five 'spam clicks'). That button releases the film winding knob, so stop pressing it. You need to hold it down and start winding the knob clockwise. The winding process, besides taking a little coordination, takes a little hand strength as well. It is a firm quarter turn with a satisfying "CLACK!" at the end. If you are thinking of loading this up with a thin-base film like Plus-X Aerecon II, think again. The film sprocket holes engage a very tight sprocket and they will tear. In fact my first roll through (Fujicolor Super HR) tore some sprocket holes and that caused the frame counter (next to the winding knob) to do wacky things. My second roll (Ilford FP4 plus) worked just fine. The back comes off to load/unload the film just like most 35mm cameras of this era. The take-up spool is fixed and the slot that accepts the film is quite thin and a bit fiddly to get the film leader into. The rangefinder window, as I said, is very small but the split-screen rangefinder is pretty easy to use. The top and bottom images are both bright and well magnified. The viewfinder window is also bright and easy to use even for me with my required glasses. There are no framing lines or parallax correction that I could tell, but the minimum focusing distance of around 3.5 ft doesn't really require much correction and I didn't notice any badly framed shots. That's about all I have to say about the operation of the camera.

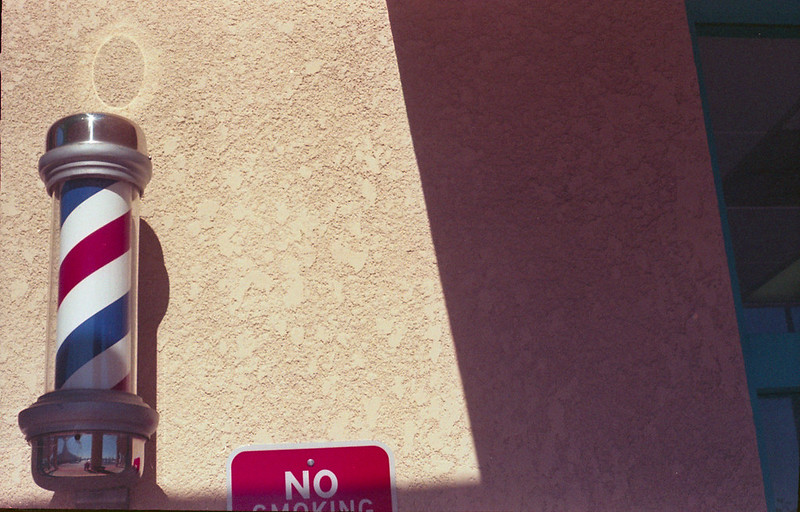
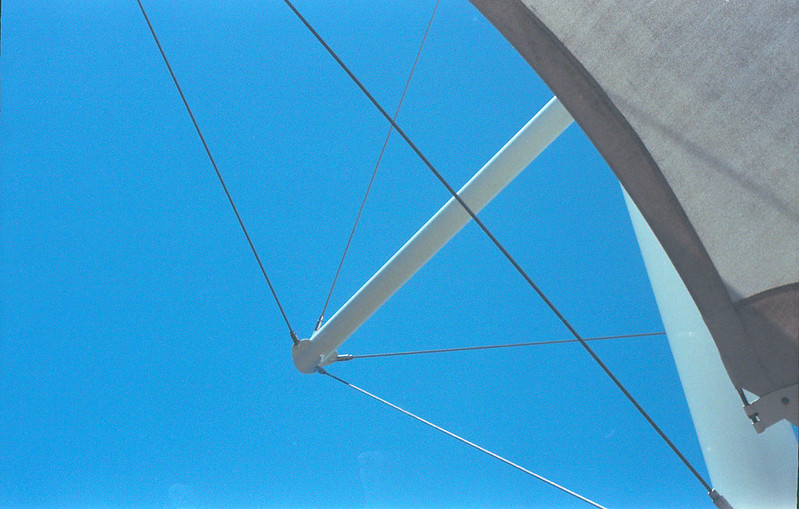
The results I got with this camera were pretty good. It's not in the upper echelons of cameraness like an M3 with a Summicron stuck to it, but for a cool looking robot camera, it takes good pictures. Let's look at a few shots. The first roll lie I said was Fujicolor Super HR. I shot this at iso 200, so here in sunny San Diego, that means the lens aperture was pretty much pegged at f/16 for the whole roll. That gave me a good idea of the sharpness and contrast it was capable of.

Barber Pole
Rigging
Pencils

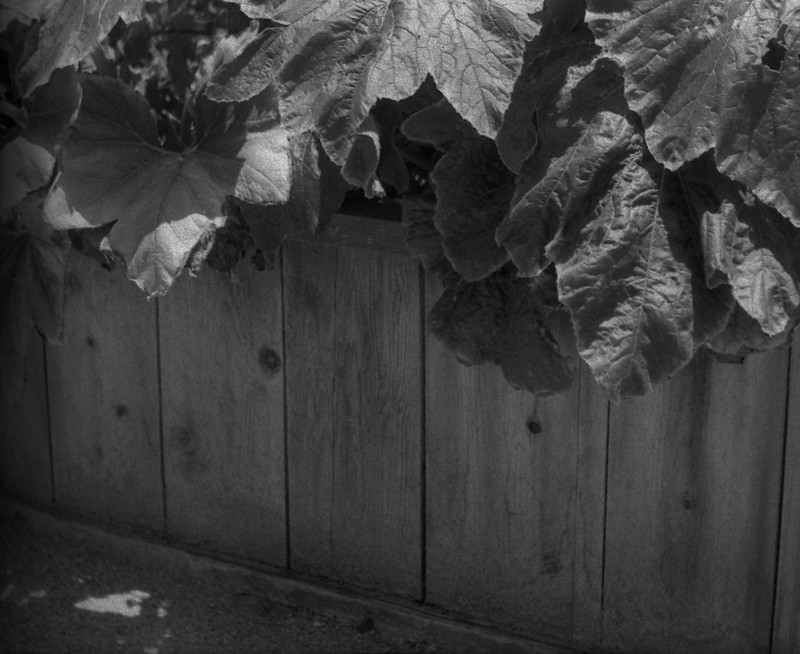
The next roll was some expired rebranded FP4 Plus that I shot at iso 50. I have shot this film at that iso before and it came out just fine, but this time the negs were very dark and hard to scan. My poor V600 could barely push enough light through some of them to get anything at all. So these look grainy, but that's really noise because the scanner had to crank the voltage on its sensor up to 11! This was a result of me switching developers and not really experimenting enough to get good results. I think the shutter speeds are all pretty accurate (enough for me anyway) and given a better film/dev/time combination, it will do just fine with slower films. The lens also performed adequately corner to corner with maybe a tiny bit of softness at wider apertures, which I also don't mind.

Raised Bed Veggies
Vendetta
Sycamore

Over all, I think this is a keeper and I might get some other robot cameras (e.g. Kinaflex) to keep it company.

Sunday, March 20, 2016

The Resilience of Film

I decided to visit a thrift store down in a part of town that I don't really get to very often. I had seen on CraigsList that they had some "darkroom equipment", so I thought I would go check it out. When I got there, the selection was sort of meager, but the prices were better than the 'bay', so I decided to have a closer look. There were a couple of Watson daylight film loaders and I can always use another one of those, so I picked one up. It had a typed (like on a typewriter) label on it that said "KODALITH ORTHO type 3 / 6556 film". I had a thought that there may still be film in it, so I did what any kid rummaging around under the Christmas tree would do... I shook it. It rattled a bit. It wasn't heavy like it had a full roll, so maybe there was just an empty spool in there. I decided to take a peek. What's the worst that could happen? If it was empty, no harm. If there was film in it, it wasn't very much and it was old iso 6 ortho film that had been sitting on a shelf for who knows how long and was probably fogged anyway. But I didn't just tear the lid off, I carefully cracked it a little and looked in. There was indeed film in there. Was it labeled correctly? Had someone else opened it and exposed the whole thing? How old was it? These were all unanswerable questions that really didn't matter. I needed the loader, so I bought it. The only question that mattered about the film was "Is it still any good for taking pictures?" and the only way to answer that was to stick it in a camera and shoot it. So that's what I did.

I loaded one roll of about 24 exposures and put that aside. I figured if my peek had fogged anything it would be most evident on the 'outer' parts of the roll. So I loaded another roll of about 20 exposures and put it in my trusty Pentax K1000. This was just a test roll, but I still tried to make a little effort to get something I would like to look at. I have never shot a picture of a test chart and I'm not going to start now.

I had some Kodak X-Tol developer mixed up already, so I decided just to use that at 1:1 with dH2O. I cut the leader off and did a quick test to make sure the developer was still good and to check the fixing time. I dunked the leader in developer for 5 minutes and it looked pretty opaque. Then I fixed for 4 minutes and the undeveloped area cleared in about 2 minutes, but the developed area got a bit less dense too. So I decided on a 10 minute dev time and a 5 minute fix. I don't have enough of this film to worry about figuring out 'the right' times and concentration. I probably only have enough in the loader to make 2 more 24exp rolls, so this is just for fun and for the information of anyone who might find themselves in a situation where they have to decide whether to keep some old unknown film or toss it.

So without further ado, here are some of the results... The highlights (and some of the mid-lights) are blown in all of them, and there is indeed some fogging (probably from my peek) on some frames. In fact in some (not shown here) there are only blown highlights! I think I may have over-exposed using iso 10. Next roll I will try iso 20 and see what happens. It is high contrast film by design, so a full range of tones is not to be expected. But the mere fact that I got recognizable images from this poor tormented film is really a credit to the medium. This film went out of production in 2002. Digital formats that old are already obsolete! So I'm going to enjoy my last few feet of this good found film and treat it with the respect it deserves. Thank you Kodak for making products to last decades, indeed centuries!!


K1000-6556-004
K1000-6556-006
K1000-6556-016
K1000-6556-017
K1000-6556-018

Saturday, November 21, 2015

There's Expired Film, and Then There's...

When I see a bargain on 'the bay', there is a fleeting moment when my brain says, "That's too good to be true, and if it were really a bargain someone else would have snatched it up before you." Often that is enough to discourage me from making impulsive purchases. However, when it comes to cheap film, I am a complete sucker. So when I came across a 10-pack of 120 film for around $3/roll shipped, my urges got the better of me. Now this film was a little odd, but not unheard of. It was the Russian brand Svema and it was the FN64 black and white negative emulsion. It had expired in 1996 which is less than 10 years ago, so I figured between the relative newness and the slow iso, it would be good to go, maybe even at box speed. So I ordered the 10 rolls and hoped for the best. When it came in the mail (from Ukraine) I thought the cold war style packaging was quaint. The rolls were individually boxed with Cyrillic letters on them. The rolls inside were wrapped in a foil-lined paper, not sealed in plastic like most other 120 films are. I unwrapped one to find a bright red backing paper that seemed a little bit thicker than most backing papers I have encountered, but you never know until you try, right? So I put the roll into my Bronica S2a and started shooting. My concern grew on about the fourth shot. I wound the film, the shutter cocked and then the film kept winding. It wasn't like a free spin as if the film had broken, but a sort of squishy wind that gradually got stiffer. I finished the roll with this sort of strange 'feel' to the winder. Normally when I reach 12 on the counter, I get the free wind as the film is all on the take-up spool and no longer turning the sprockets in the winding mechanism. This time that didn't happen. It just got harder and harder to wind. So I opened it up, figuring it had something to do with the thickness of the backing paper. Maybe I was going to have to respool all of this onto regular 'Western-style' backing papers. But no, when I opened the back, the film sort of sprung out at me like one of those trick snakes in a can novelties. It was not wound around the take up spool at all. Instead it was crammed all around it accordion style. What I discovered was that the tape that normally holds the film to the backing paper on the leading edge had lost all of its stickiness and so it did not lead the film onto the spool. One roll down. One lesson learned. The next roll I took into a darkened room and unrolled it until I could feel the leading edge of the film and the old tape. Out with the old and in with a new piece of nice sticky tape. I rolled it back up and put it in the camera. This time it wound like a charm. I shot the roll at iso 50 because that is what I read someone else did on the interwebz. Here is where we learn the lesson about film storage conditions and what effect they have on film over time. Here is an example from that roll.

Cactus

Sometimes you can overcome background/base fog simply by bumping the exposure a stop or two. So for the next roll, I decided to go for it and shoot it two stops slower than box speed at iso 16. This might have been a little better, but not significantly so.

S2a-Svema64-008

This film was obviously stored at 'room' temperature or worse. This caused oxidation of the emulsion which turns things all 'speckeled'. It's not the worst thing that could happen. If I know the photos are going to look like this, I can choose my subjects and lighting accordingly and set my expectations. So I'm not sure what exactly I will do with the remaining 7 rolls of this old film, but I'll bet one day I will find myself in the mood for something a little 'different' and I'll pull another one of these old Russian rolls out of the freezer.

Tuesday, August 18, 2015

Eucalyptol

One or both of my readers (hi mom) may be familiar with the b/w film developer Caffenol. This is made with instant coffee, washing soda and vitamin C powder. It is environmentally friendly, cheap, high quality, easy and cheap. Alright, I am cheap and Rodinal might be a little cheaper than Caffenol, but there is just something very cool about mixing household ingredients and getting film developer out of it. So I occasionally mix up a batch when I have time. There are examples around here.

Recently, there was a discussion of the active ingredient. It turns out NOT to be caffeine, but caffeic acid. So that begs the question (for me): What else has caffeic acid in it that might be readily available? The answer: The bark of Eucalyptus globulus (according to Wikipedia). This is an Australian native tree that happens to be a common invasive species in So. Cal. where I live. In fact, there are big ones just outside my front door. So it is very simple for me to step outside and collect some bark off the ground, and that's just what I did. I didn't weigh it or anything, this was more of a 'proof of concept' experiment than an optimization. So the best I could say about the quantity used would be 'a couple of handfuls'. I took it inside and broke it into little pieces, then I put those into my coffee grinder. Legal Disclaimer: Do not use anything you plan to later use for food prep when preparing photographic chemistry. I ground it up pretty fine and put it into a pint mason jar. Then I poured boiling water in and let it steep for about 30 minutes. I then poured the liquid through a coffee filter and discarded the used bark. I have absolutely no idea how much caffeic acid is in this tea (if any). I subsequently did some Google Scholar research and found a paper where the researchers could not detect caffeic acid in the bark of Eucalyptus globulus. That was discouraging, but I had come this far, so I decided to at least do a drop test on a piece of film.

To do a drop test, just get an old piece of film, expose it to the light and put a drop of your developer on it. If it turns black, your developer is active, if not, then it isn't. I had a little over 500mL of eucalyptus tea, so I followed the recipe for Caffenol C-L, adding 16g of Washing Soda and 10g of Vit. C. I didn't add any KBr. Then I topped off to 1L with distilled H2O. The film that needed to be developed was Kadak Recordak Dacomatic. This is copy film with a very thin emulsion layer and no anti-halation layer, so probably would be my best bet if the developer ended up being weak. So I cut the leader from one of my rolls and put a drop of the developer (heretofore known as Eucalyptol) on the emulsion. One minute later... nothing. Give it a little shake. Then it happened. The emulsion started to turn. First just a faint brown, then darker and darker. It was working! I swirled the drop of developer onto a different area of the film and there it sat. Maybe there was a little development, but not much. So there it was. A one-shot developer.

Now to decide on a developing time. I figured I would do a stand development, but I didn't want the bromide drag that comes with it on 35mm film. So I decided 1 hour semi-stand with inversions at 20, and 40 minutes. That way, if the dev was weak, at least I might get thin but scanable negs.

Here are some of the results:

N2020-Dacomatic-004 N2020-Dacomatic-003 N2020-Dacomatic-021 N2020-Dacomatic-018 N2020-Dacomatic-014

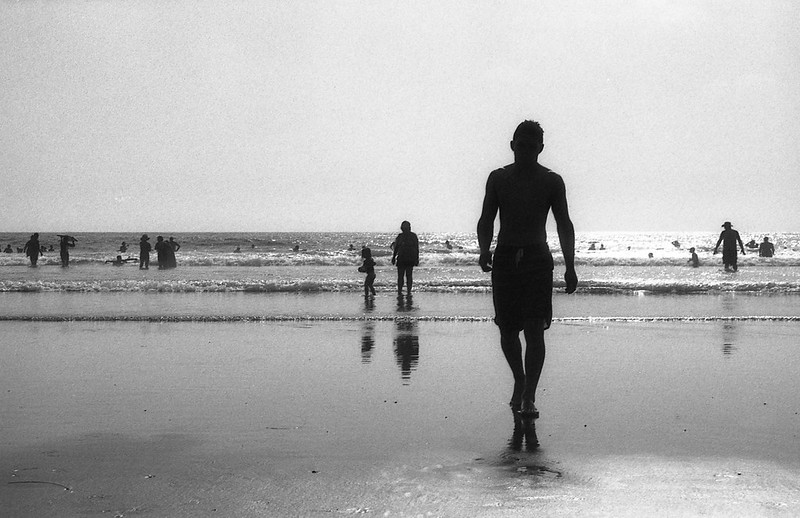
Okay, HCB I am not, but you get the idea. The tonal scale is compressed (more contrast), though part of that is attributable to the fact that I was shooting mostly in full sun, mid-day at the freakin' beach. You won't find many more contrasty scenes than that. Also the film itself is intended for copying documents, so contrast is sort of its thing. Normally, I develop this film in Adonal (Rodinal) 1:100 for 70min with inversion initially and at 30 min. That gives a pronounced grain that I find appealing. It's not for everyone, especially those who enjoy the digital aesthetic, but I like the grain. With this developer, I am going to call the grain "chunky style", but still not so obtrusive as to be distracting. Additionally, while I was doing some light dust spotting in Photoshop, I did notice some very very small pinholes in the emulsion. These appear as tiny black dots on the scan. My intuition tells me that there could be something in the eucalyptus extract that is being hard on the thin emulsion layer of this film. I am doubtful that I would see it with a regular pictorial photographic film (stay tuned).

Over all, I think this is a good alternative to caffenol for those of us who want to see just how far down we can drive the cost of developing a roll of film in a home-made developer. Here's the math. I used about $0.10 worth of washing soda, about $0.76 worth of vit. C powder, and maybe a nickel's worth of distilled water. So that's around $0.90 in ingredients, not counting the film which was practically free (I think I paid about $0.03/ft). To compare, the same amount of Adonal 1:100 would cost about $0.14. So this isn't really a money saving proposition, especially if you consider the time spent collecting, grinding, steeping and weighing. It is more about the adventure of making something that works. It is closely related to the "maker" movement you see in places like the Maker Faire and Make magazine. It lets us explore our creativity while still engaging our left-brained nature.