Showing posts with label collimating lens. Show all posts

Tuesday, February 2, 2016

Isolette III Overhaul part 6

If you have read parts 1-5 in this series, you might have been left wondering "What happened?? Where are the pictures???" Well, I'll tell you. The bellows I made (seen in part 5) were not light tight in the end and there were light leaks apparent in the photos. I am not strictly opposed to light leaks (EXHIBIT A), but in this case, I was hoping to realize the full potential of this camera in the sharpness and contrast categories. So I was unhappy with my results and I took the bellows off and put the camera parts back into the box of disassembled cameras. Sad really. When Christmas rolled around however, I decided to put a custom-made bellows on my list. I knew just where to get it and gave all the details to Santa's little helper. For the benefit of my readership (hi, mom) I'll let you know that the craftsman is Sandeha Lynch and his site is found at http://www.sandehalynch.com/camerawork/bellows.html. It is a beautifully made bellows and fit perfectly without any trimming or fussing.

The one struggle I had was getting the retaining ring on the back of the lens plate, but eventually that went on and I loaded a roll of Fuji Acros 100 and started shooting. Here are a few shots from that roll, developed in Rodinal 1:100 x 60min.
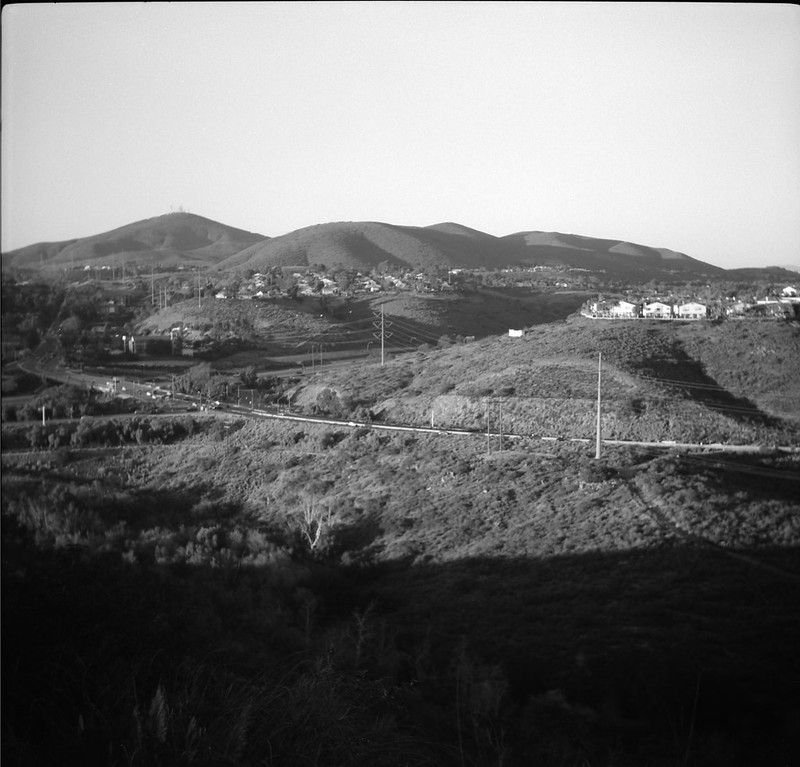
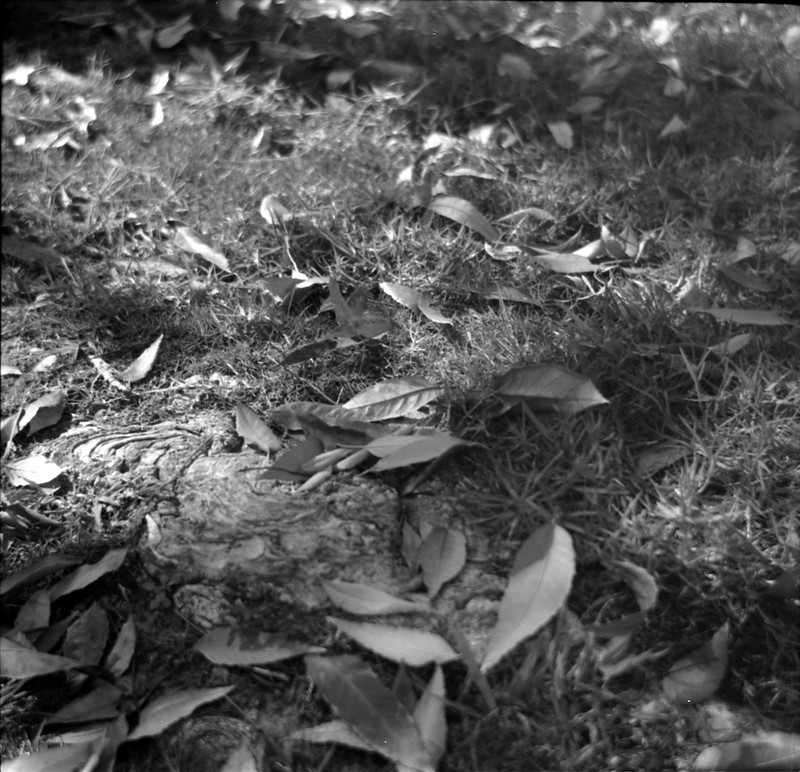
Isolette-Acros100-005
Isolette-Acros100-003
Isolette-Acros100-006

Now I'm happy. This camera is fun to use and the results are quite good (technically). The range finder needs a little vertical adjustment, but I think that the lens collimation was successful and especially when stopped down, the Apotar lens produces good sharpness and contrast. This was a good experience overall. I think it is good to get out the tiny screwdrivers once in a while and get a feel for the ingenuity of these little machines. It certainly increased my appreciation for this camera and its manufacture. If you get a chance, pick up an Isolette and see how it works for you.

Tuesday, May 20, 2014

Isolette III Overhaul part 5

Ok, two posts in one day must be some kind of a record (for me). Actually, I should have just waited and added this last part to part 4, but I didn't so here it goes.

The (almost) last step is to re-attach the focusing ring to the outer (front) lens element so that when you turn the ring, the front element turns as well. The trick is to make sure that what the ring reads is actually the distance at which the lens is focused. That process is called collimating the lens. First, you need two cameras; the one you are reassembling (camera A) and another with an accurate infinity focus (camera B). First though, we need something on the film plane of camera A on which to focus camera B. I used a couple of pieces of cello tape and drew an 'X' at (or near) the center. Like this:

Screw the front lens element of camera A all the way in (to the right), but not too tight. Now open the shutter on camera A either with a 'T' setting or with a remote shutter release cable and a 'B' setting. My Isolette doesn't have a 'T' setting, so I am using option 'B'. :) Once the shutter is open, point the cameras at each other. I read online that it doesn't matter how far apart they are from each other, but after a few frustrating minutes, I found that camera B must be farther away than the minimum focusing distance of its lens (duh!). I set camera A on the mantle with a light shining behind it (to light up the 'X'), and put camera B on a tripod at the same height.

Line things up so that you can see the 'X' on the tape through the viewfinder of camera B. Now focus camera B at infinity. The 'X' will probably now be out of focus. Start turning the front lens element of camera A counter-clockwise about a quarter turn at a time. You should see the 'X' getting clearer (in my case I couldn't see the whole 'X', but part of it was good enough to focus on). Keep going until the 'X' is in sharp focus.

That's it!! Now I just put the focusing ring on so that the infinity (sidways 8) lined up with the focusing mark and tightened the three set screws. The front element doesn't turn real easy, but I was extra careful not to nudge it and lose my focus point. Now I have a fully functioning Isolette III! I immediately loaded up a roll of expired Tri-X and started shooting. I read somewhere that the springs on these cameras are so powerful that they can suck the film away from the pressure plate and ruin the focus of a shot. So the workflow for this camera goes:

  1. Unfold
  2. Wind on
  3. Focus with the rangefinder
  4. Transfer the number from the rangefinder to the focusing ring
  5. Cock the shutter
  6. Compose and shoot
  7. Fold

Stay tuned to see some photos from this camera. So far, just using it while I walked my dog this evening, I am really impressed with the ease of focusing and the quietness of the shutter. I think this will be one of my regulars from now on.