Showing posts with label experimental. Show all posts

Sunday, June 4, 2017

Gone Microfiche-ing

Using expired film can be a bit of a challenge. There is usually some loss in speed, so the apparent iso (or the effective EI, if you like) is lower and it is up to you as the film adventurer to determine by how much. The rule of thumb says one stop for each decade past its expiration date. So assuming you know the expiration date and didn't just come across a random roll of film, you can use that as a starting point. Keep in mind though that 'fast' films (to me that means iso 100 and higher) will lose speed 'faster' than slow films. So if you have a roll of Ektar 25 that expired in 1997, that's 20 years (two stops lost), but since it was slow film to begin with, it probably didn't lose a full two stops. Maybe 1½ or 1 stop would be a better starting point. "So what's your point here Jimbo?", you may be asking. First, I don't really like "Jimbo", people called me "Jim" in college, but generally, it's just "James" and has been since Mr. Salyers' 4th grade class. Secondly, I'm getting there!

Periodically, I search for Kodak Dacomatic Recordak film to buy. I have some in the fridge and I really like it. So I just keep an eye out for a spool. I never find any. But then one day the search popped a result on the big auction site. It was "Recordak", but didn't say "Dacomatic". Additionally, it was 500 ft of 105 mm stock! Well, that seemed odd, so I did some more digging on the specific emulsion number (4462) and it turned out to be a completely different film (seems obvious now). This one was used for microfiche production. So it was copy film like the Dacomatic, but a different type. The price was right, so I went and bought it, hoping against hope that I could get pictures from it. It originally (expired 12/1979) was rated at iso 2.1! So, figuring that this stuff is really not very sensitive to light to begin with, I figured it probably hasn't lost that much speed even in almost 40 years, but I'll give it a stop anyway. That puts it right about iso 1. Okay, so I have an exposure starting point. How am I going to develop this stuff? It was designed with an automated proprietary development scheme in mind, so all I could find in the VERY sparse documentation was "Microfilm DEVELOPER and Replenisher". That's it. So I figured I would hit up the old stand by, Rodinal 1:100 and do a strip test to see if it would even change color. In fact it did! In about 15 seconds, it was fully developed!! So much for 60 minutes of stand development. Well, I cut a few sheets and took some of what I am certain were the best photos of my entire life and dunked them in what I had on hand, which was some homemade Parodinal 1:100 for 4 minutes. That is what I use for x-ray film and it works just fine. This microfilm however, was completely dark. Hmm... Maybe I over-exposed it? I tried again, taking more absolutely stunning photos at higher and higher speeds. Again, completely dark. So over-exposure was not the problem. It must be over-development. I cut the time in half. Still totally dark. I mean just a dark sheet of film... No image whatsoever. The strip test I did showed that the film cleared completely in the fixer, so it wasn't that the fixer was bad or the film was totally fogged.

I was just about to give up and call it a total loss, but I thought I would just try a different developer for grins. Rodinal variants have always developed anything I threw at them, including a roll of Ansco Plenachrome expired in 1949. But desperate times, you know. I had some X-tol powder laying about and that is a phenidone based developer, so I figured one last try. And this time, I would take a high contrast shot with lots of bright San Diego sky AND I would develop under red safelight by inspection. Did I mention that this film is orthochromatic? No? Well, now I have.

BAM!!!
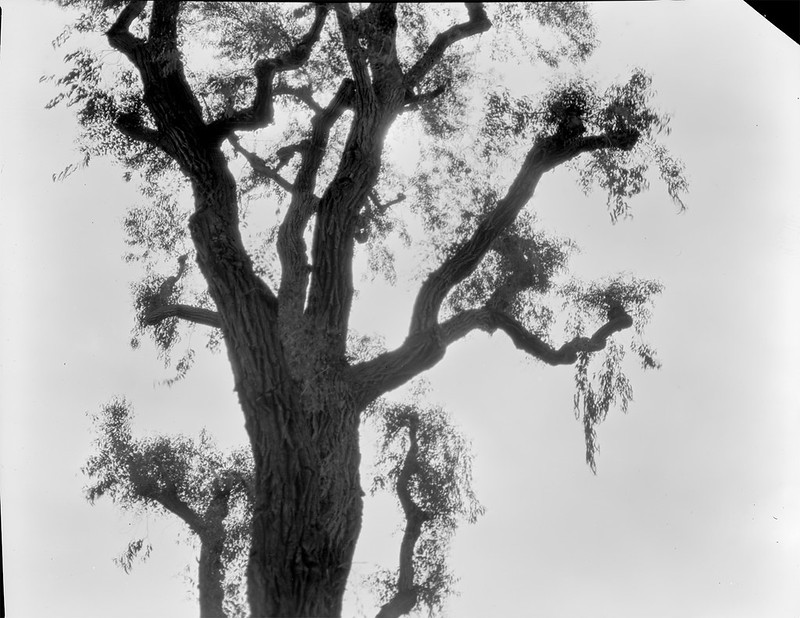
Recordak-iso-1

I got an image! That was in X-tol 1:3 for 10 minutes. Now to see if I could get something with a few more grays in there. So I took a shot in the shade. I gave it a little more exposure because I had the bellows extended a bit, but I forgot about the reciprocity failure that was mentioned in the tech doc. The negative was very thin, but still there was a photo and it had much more scale to it. It is still quite fine grained and in 4x5 sheets that means some super fine detail can be had.
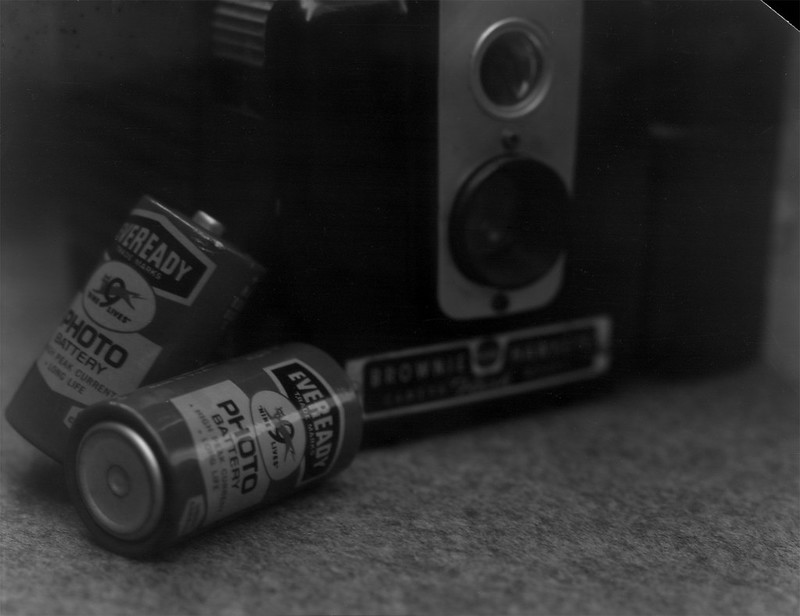
Retro Eveready Photo Cells

Now I've got about 490 feet left of this to see what I can do with this flavor of copy film. I'm looking forward to making some photos with this oddball microfilm.

Monday, October 20, 2014

Motion Picture Film

Ever since Cinestill hit the market, shooting movie film in still cameras has become all the rage. Not being one to miss a passing bandwagon, I thought I would jump on and see where the ride went. However, being err... "thrifty", I did not want to pay $10/roll + s/h for 35mm film. Also, I seem to have a good thing going with expired film, so why fix what doesn't seem to be broken? With that philosophy in mind, I went searching for the cheapest movie film I could find on a reasonably sized (<400ft) roll. I want to try it, not shoot it exclusively for the next 10 years. I looked at a LOT of different sellers and emulsion numbers. I also started researching the "remjet" issue. I would have to get that layer of black gunk off the back of the film either before shooting it ("premoval") or after exposing, but before developing. The remjet layer is there for anti-halation as well as anti-static for when the film is whizzing through a motion picture camera. Anti-halation is nice and most still films have a layer of dye on the back of the film to keep light from reflecting off of the pressure plate inside the camera and making glowing "halo's" in the highlights on the film. Premoving the remjet will eliminate this benefit, but if you are going to send the film off for processing, it has to be done. The machines that process film will not remove it and when it comes off in the machine's chemistry and mechanics, the operator will be unhappy with you. Cinestill removes the remjet for you, so that is part of the price you pay (which is fair, but for me unnecessary since I dev my own C-41). So what did I do?? I did both premoval and nothing. Keep reading and I'll explain.

I rolled up one 12-exp roll just like I would for any other bulk film. This will be the "control" sample and I will not do anything special to it regarding the remjet. The other roll, I measured the length and spooled it onto a Paterson developing spool and put it in the tank for 15min with a solution of 2Tbs Borax in 500mL water. At the end of 15min, I agitated the tank vigorously for about a minute. I really shook it hard. Disappointingly, the liquid that came out was just sort of a weak greenish solution. Subsequent rinses were clear. There was no sign of black flakes, so either, my solution did nothing to remove the remjet, or the remjet was really thin. A third option is that there is no remjet on this film. I'm not sure what remjet looks like, so I can't say, but the film is Super F-Series which does appear to have a remjet backing according to the interwebz. So at this point, I just dried the film in a 'dark' place and rolled it up into a canister. Here is what the two treatments look like side by side. The premoval roll is on the left and the untreated roll is on the right. There is clearly a difference between them, but is it remjet or just anti-halation dye?

I shot both rolls at iso 400 in the same camera, mostly in cloudy daylight. For this test, I'm not so much interested in color rendition as much as just the processing workflow. I fully expected to see some black bits stuck to the film and/or floating in my developer. The developer came out clear as always, so I figured the remjet must still be stuck fast to the film and I would have to do a removal at the end. To my surprise though the film was clear. The two films were developed in the same tank at the same time and I couldn't tell which was which until I looked at the specific images. There was no sign of remjet anywhere. Here are a couple of images from the "control" roll that was not pre-treated. I scanned these on an Epson Perfection V600 using the auto color correction, but nothing else in post. The color is shifted/cast a little as you might expect with cross processing, but other than that, there is nothing notable. The grain is there and looks about how my other expired color films look, so that's that.

Fujifilm 8572 Fujifilm 8572

Here are a couple of shots from the premoval roll. It looks like the film got fogged during the drying process. I did my best to keep it absolutely dark, but probably failed to some degree. There also seems to be some damage to the film. This is either chemical from the borax or mechanical from the vigorous shaking. Hard to say without more testing. Having said that, I will probably not do any more tests since the untreated roll came out nice without any ill effects from the remjet. I will just shoot this like any other color negative film.

Fujifilm 8572 Premoval Fujifilm 8572 Premoval

Saturday, August 23, 2014

That's Just Crazy

I traded some film with another Filmwaster. I sent him some expired FP4 and he sent me some expired Ektachrome 64 Daylight. He had exposed a roll and cross-processed it and didn't like the results, but I thought it was kind if cool. It had this blue/green color cast that was unique. I instantly thought that a little red would 'balance' things and add some contrast. Redscale would certainly do that. What's redscale? That's when the film is in the camera the 'wrong' way so that the emulsion side is facing the back and the light is passing through the base material first and the emulsion layers in the reverse of the intended order. It generally makes things look like you have shot them through a red filter, but with some color balancing magic, you can get some really cool effects. So I went into the darkened bathroom at my house and pulled the film out of its canister. I then clipped it off at the end, flipped it over and taped it back on the stub hanging out of the canister. Then I wound it back into the canister and trimmed the leader so that it would fit into the takeup spool of my '65 Nikkormat FTn. These shots were all taken with the Nikkor 50mm f/1.4 lens. The first part of the roll (about 20 exposures) I metered at iso 25. The next 8 shots were at iso 16 and the final 8 were at iso 8. I figured with that scheme, I would at least find out the best speed for this film when 'redscaled'. I developed in a Unicolor C-41 kit that is probably nearing the end of its life (but still good).

Here are a couple of shots from the roll. Head over to my Flicker album to see more.

redscale-029
redscale-016
redscale-013

Thursday, July 31, 2014

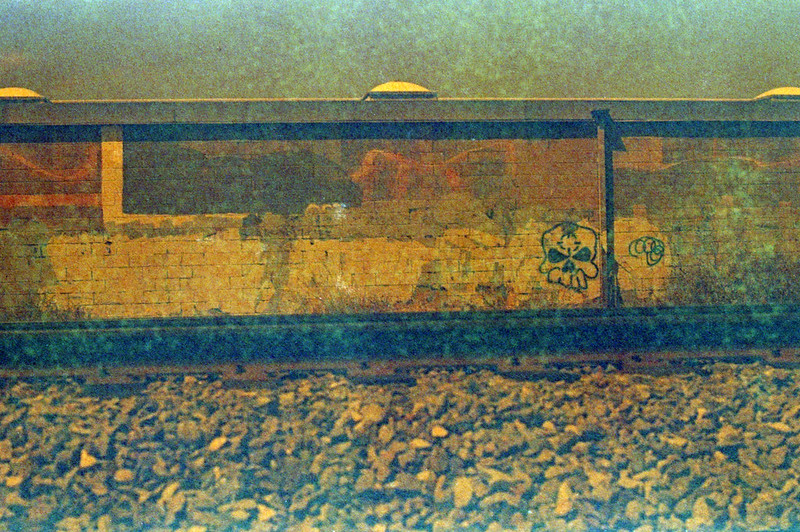
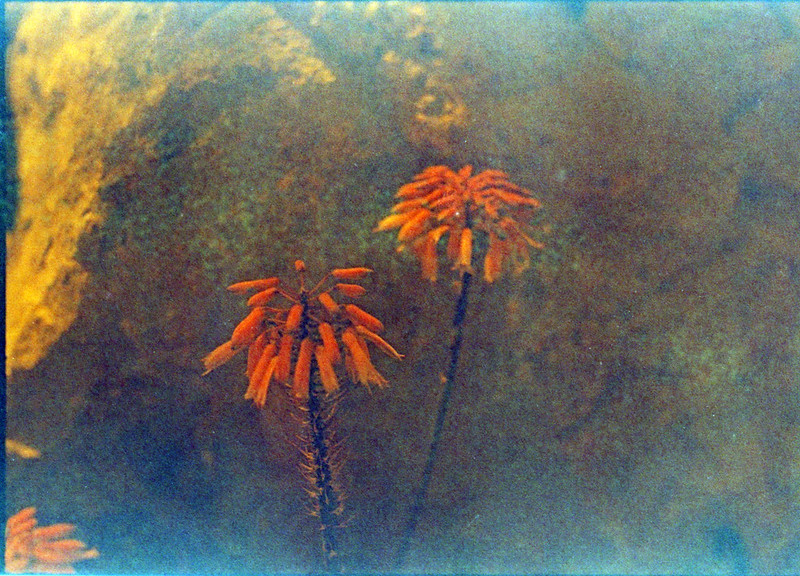
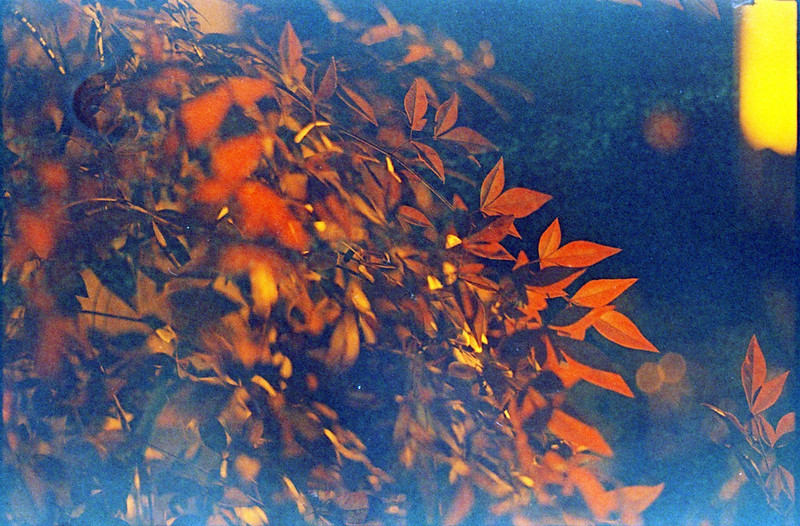
Underexposed Kodalith

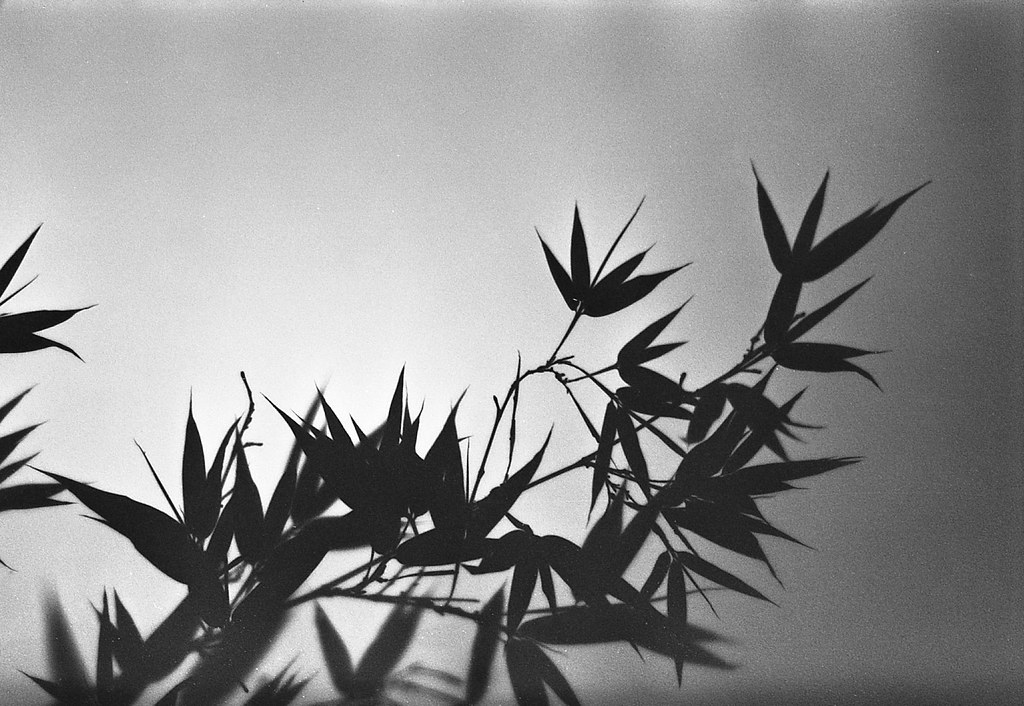
I got a couple of rolls of expired (2004?) Kodalith in 35mm from Hungry Mike over on Filmwasters. I threw one into my Nikon N2020 and set the iso to 100. I couldn't remember what iso was recommended to shoot this film and I was too lazy to go look it up. I figured 100 would be in the ballpark and the film probably had enough latitude to compensate if I was under-exposing. Now the other thing I forgot was that Kodalith is a VERY contrasty film to begin with. So if you under-expose/over-develop (push process) you are going to get even MORE contrast. I didn't consider any of these things when I was shooting this film and I guess that I part of my 'experimentation' process. I tend to forget details and then when I get the photos out of the tank/scanner I think to myself, "Well, that's not quite what I had in mind." But then I come back to the photos a week or two later and decide that there is some artistic merit there and even if it wasn't what I had envisioned when I pressed the shutter, I can still appreciate it. So I was doing a 2-3 stop push on this film and many of the shots were just too dark to really make out what the subject is. These two photos however, were composed with enough light/highlights that the image is clear. The increased grain and contrast work in these cases and I have come to like these images. So the lesson here is that 'experimentation' will probably yield something you like and it will definitely teach you something about your art or your process. I'm not one to really hope for "happy accidents". I would rather know what I did, so that I can do it again if I like the results, or not do it again if I don't like them.

Bamboo

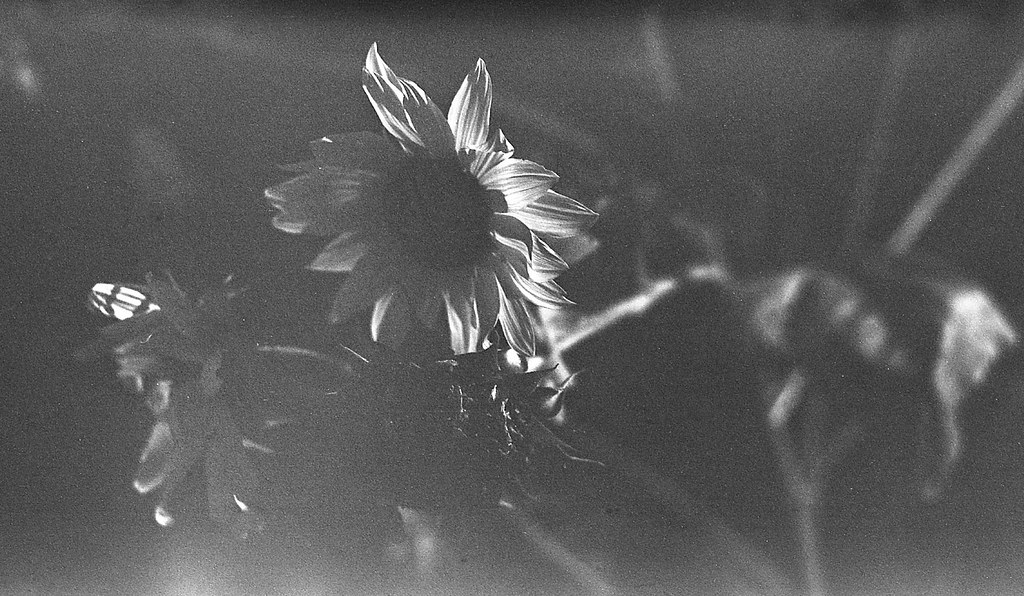
Sunflower

Saturday, September 7, 2013

Unsafe Light

I had had a couple of failures using Kodak CSG x-ray film in my pinhole camera. They came out WAY over-exposed. One was this photo of Jim's Beemer. I had a nagging suspicion in my head that the problem was with my safelight. I used a 3-LED headlamp. It is pretty bright, but I usually point it at the ceiling and not directly at the film. However when I was developing these, I had shone the light right down into the developing tray. So I needed to do some experiments. What if I cut, loaded and developed in complete darkness? That would give me information about the safelight variable. I was also curious about whether the film had somehow changed or maybe the pinhole had been damaged and I was over-exposing in the camera. So I took the same photo twice; once at my 'normal' calculated exposure (47 sec in this case), using iso 80 for the CSG. Then I took another photo one stop down (24 sec). This would tell me something about the accuracy of my exposure table. So here are the results.
x-ray-compare
I developed these together in the same tray of 1+100 Adonal for 4 minutes in complete darkness. Don't mind the scratches. I wasn't being particularly careful with this film, I just wanted to get an idea of the exposures. You can see that both exposures are passable. The one stop 'push' came out with a bit more contrast as you would expect, but both negatives are of normal density.
So I think I narrowed the problem down to the safelight. The LEDs must just be too bright. It could also be a wavelength thing. I am not sure what the spectrum looks like for these led lights. They might have an overlap with the sensitivity of the x-ray film even though it is classified as 'orthochromatic'. Anyway, there you have it. X-ray film will be developed in the dark from now on and I will continue to use my same old pinhole exposure chart with this film rated at iso 80 or 100.