Showing posts with label grain. Show all posts

Sunday, October 14, 2018

Worthy of Redundancy

Ultrafine Xtreme! It seems a little silly to brand something with "Ultra" and "Extreme" in the title. In Latin, the prefix 'ultra' means 'extremely' or 'beyond'. So they are trying to send a message here. They want us to know that this film is fine grained. Now if you've shot enough film, you know that these claims are largely created by the marketing department of the film company and don't always hold true in real life. Especially with black and white film, grain is affected by so many variables from EI (exposure index or apparent iso) to the plethora of developers, dilutions, temperatures, agitation schemes... The list goes on. So I'll be forgiven if I approach "Ultrafine Xtreme" film with a touch of skepticism. This is compounded by the very (not Xtremely) reasonable price, which in Western culture means lower quality. I bought 10 rolls of 120 Ultrafine Xtreme 100 for around $5 per roll. For comparison, Ilford Delta 100 and Kodak T-Max 100 are both over the $6 mark (what? no more Acros 100?? BOOOOO! to Fuji!!!). So let's see what my $1 per roll savings is going to cost me.

I loaded my roll up in my 'chrome-tastic' Bronica S2a (read more about that camera here) with the always pleasant and reliable Nikkor-O-C 50mm f/2.8 lens. This is the sharpest medium format option I have and a great camera to use, so why not? I shot the film at iso 100 because that's what the box says on it. Can I push it? Can I pull it? What are it's reciprocity characteristics? None of these questions mattered. I just wanted to shoot it straight and see what the baseline is. And that's what I did.

Before I get to the shots, I'll describe my development scheme briefly for the home developers out there that nerd out on this kind of stuff. I used two DIY developers mixed together. First was My-tol (Kodak X-tol look-alike). I mixed that up at 2:1. Then I added some Parodinal at 1:100. I developed the film for 11 minutes at around 70F using the usual agitation scheme (constant for the first minute and then 4 inversions every 30 seconds). Fixer was Ilford Rapid Fix 1:4. There, how's that for brief?

One of the tough subjects when it comes to fine grain and sharp lenses is animal fur. I scanned this shot at 1200 dpi and I think I am running out of pixels before I run into grain.
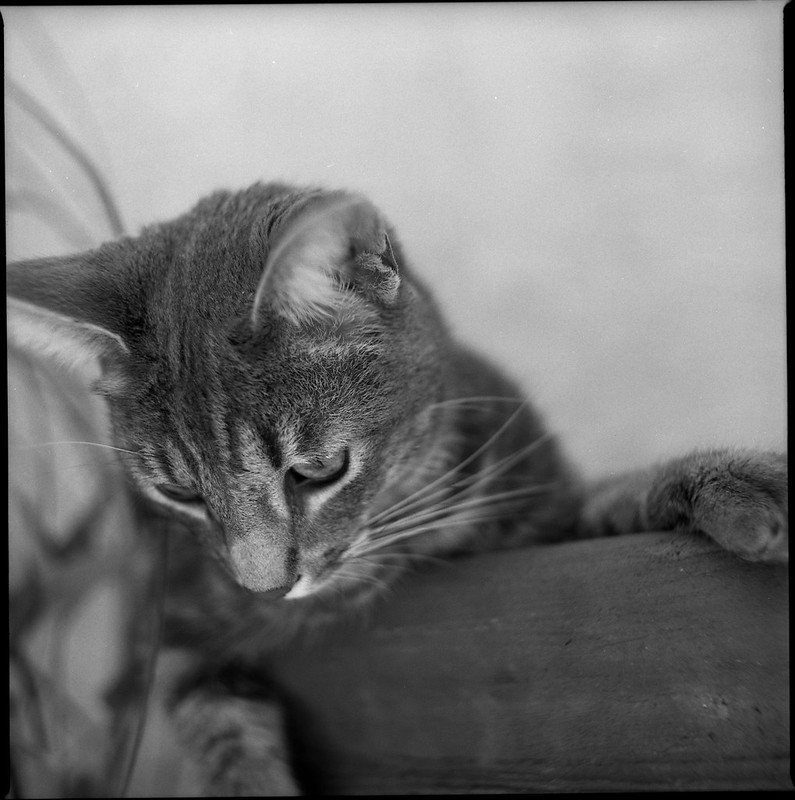
Scratchy McBiterton

Here is a 100% crop of that shot.

I have to say I was impressed. At least with this developurr combination (sorry), this film does indeed show very very fine grain. Is it "Ultrafine"? Well, we are dealing with sort of subjective, qualitative terminology here, so I'm going to say YES! It is Ultrafine! Put this film behind your sharpest lens, develop it with a high accutance developer, and be confident that you are going to get some Xtremely good results. "But James", you say. "Doesn't high accutance and sharpness mean that the low contrast areas are going to look grainy?" Let's see. Here is a 100% crop of the blank out of focus wall behind the subject.

The answer is "yes, there is some visible grain." Is it distracting? Is it "golf ball grain"? No. It is what I would characterize as "filmy" grain. It's the grain that lets you know that you are shooting film. I personally like grainy film (usually). The exception to that rule was Fuji Acros in Caffenol-CL. That was so smooth and creamy and lovely. I could just stare at the blurry backgrounds. But usually I like to have some grain in the image just as a creative device, sort of like the way I left the S2a film mask in this image as a border. It's a layer of abstraction that adds interest.

Now we come to the 'caveat emptor'. Here we see what saving $1 cost me. There were two shots on the roll of 12 that had artifacts. These looked like perfectly round clear spots on the film. I don't think that they were air bubbles that didn't get developed since that is not ever a problem with my agitation and there were only two of them on the whole roll. I think these are actually flaws in the emulsion. Take a look near the bottom of the gate. I'll keep an eye out for more of these in future rolls. I hope this is a Xtremely rare slip up by the QA department. If it is truly a "feature" of this film, I'll probably spend the extra $1 per roll and use T-max. But if not, if it turns out that Ultrafine Xtreme 100 is a good reliable fine grained film, then I will certainly buy more.

Sunday, January 29, 2017

Russian Fog

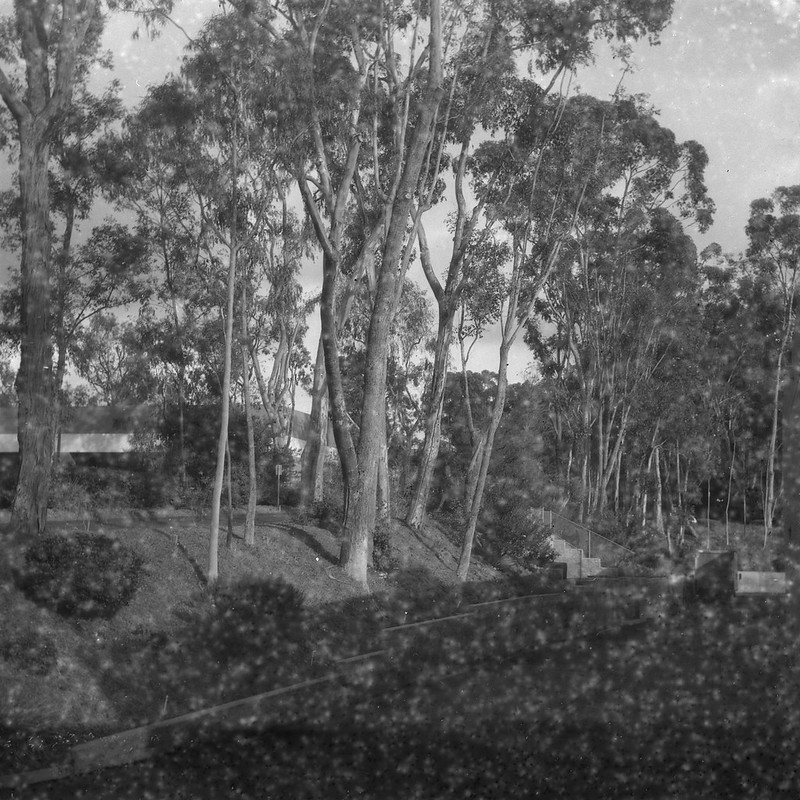
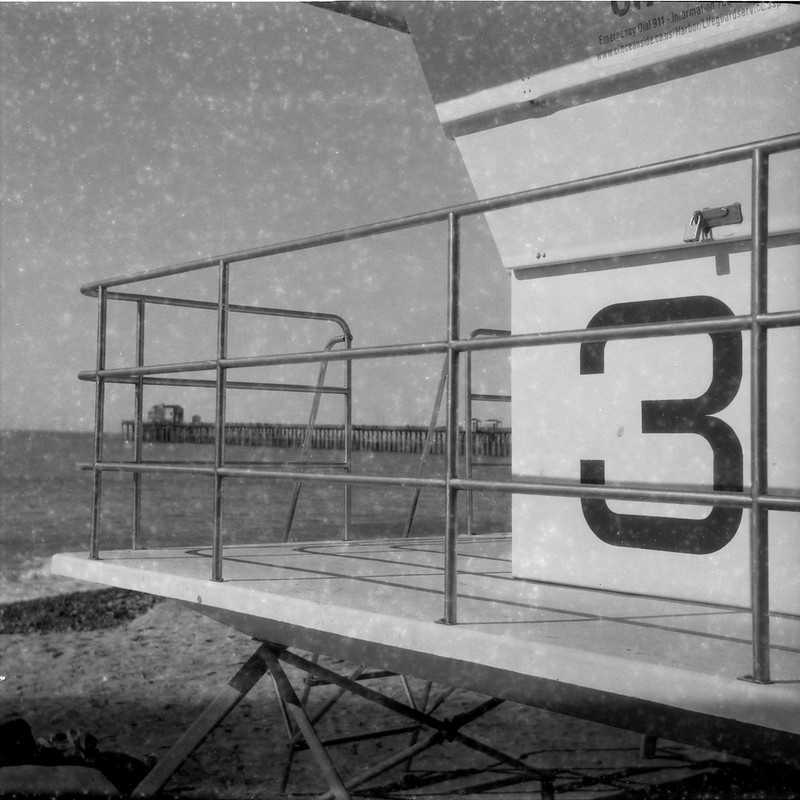
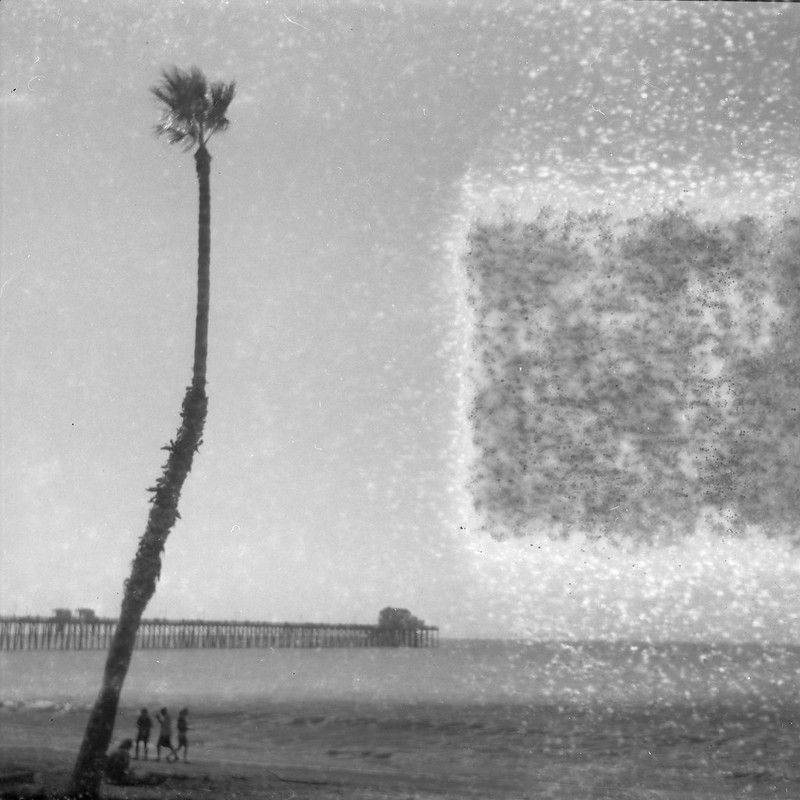
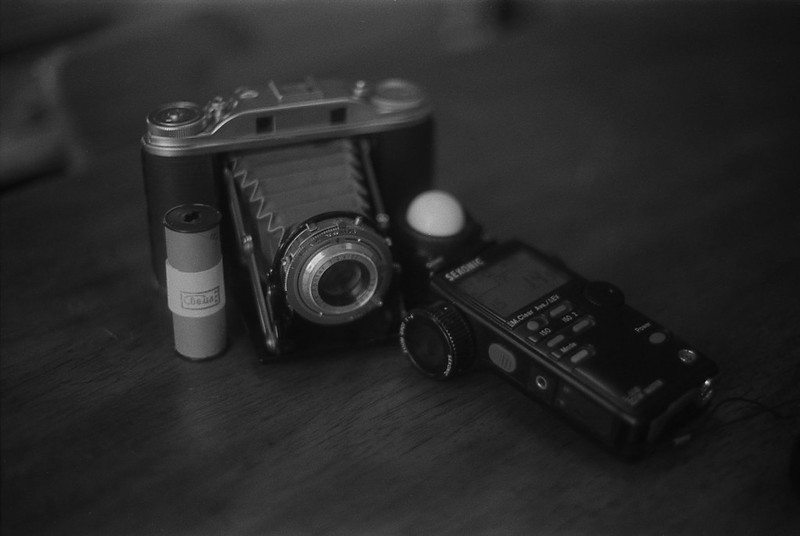
I took a drive up to Oceanside, CA this morning. With me I had my Speed Graphic and my Isolette III. I haven't shot the Isolette in a while which is tragic because I really like the camera. However, I had loaded it with my least favorite film ever, Svema FN64. I shouldn't say that it is my least favorite film because there are films I have shot that gave no image whatsoever and those top the list for sure. Also, there are examples of FN64 that have produced perfectly acceptable results. I had bought a batch of 10 rolls on the auction site and for whatever reason, these rolls are fogged badly, in a weird way. I think I mostly wanted to just get it out of the freezer, but I feel bad about trashing film, even if it doesn't make images I like. Well, I guess I could sell it to the next unsuspecting bargain hunter, but I don't like foisting (that's right, I said "foisting") my problems on other people. So every once in a while I pull a roll out and shoot it, just in case something good might happen. I had shot that film before at iso 16 and there was one or two shots that were worth scanning and sharing, so I figured I'd try that same iso again. Once I get below 16, handheld gets harder to do and this was going to be my carry around camera for a week, so I didn't want to have to have a tripod everywhere. Maybe next time, I'll try 5 or 3.

Anyway, here are some results.

Isolette-FN64-010 Isolette-FN64-001

Note that you lose the last frame to the old tape. Seriously.

Isolette-FN64-003

The gear and film.

NikkormatFtN-AereconII-008

Sunday, April 20, 2014

Landscape Details

Here are a few photos I took just around my workplace. The camera was my Yashica Electro 35 loaded with some expired Kodak Ektachrome Slide Duplicating Film. For these I used an EI of 100. These are pretty much straight off of the scanner with a little bit of dust spotting. Enjoy.

Wednesday, April 16, 2014

Dacomatic Recordak Film

I have been playing around with expired film recently. This is for a couple of reasons. First, it is economical and I am cheap. ;) Second, and more importantly, I like the look of grainy film. I wouldn't say that I am in the "more grain is better ad infinitum" camp, but I like photos with pronounced grain. In fact, back when I was shooting digital, I would often use grain 'filters' or plug-ins for my photos that needed that extra something. Looking back now, I am surprised that it took me so long to return to film photography, when that is what I wanted my photos to look like all along. As film ages, the ionic silver undergoes subtle chemical changes. The crystals merge and aggregate, cosmic rays and other radiation can 'expose' some crystals, etc. So the net effect is that the film speed (iso rating) gets lower, the grain gets bigger and the base fog becomes more noticeable. Some of this can be overcome when you develop your film if you are trying to get a 'cleaner' look from your expired film. I use one of two developers (Rodinal or Caffenol-CL), neither of which is very good at compensating for these side effects of elderly film. So I shoot the film and live with what I get, which is usually pretty close if not exactly the look I am going for.

Recently, I acquired a 400 foot roll of some well-expired 35mm film. It is Kodak Dacomatic A film, expired in Dec. 1973. I was only 6 years old when this expired!! I bought it on the big auction site and then started trying to figure out what iso it should be shot at and how in the world to develop it. Guess what, there's not much information out there on this film. From what I can gather it was made for use in the Kodak Recordak machine which was used for copying documents. Okay, so it's copy film. That will mean that it is probably high contrast, or at least it was in 1973. I did find one guy on Flickr that had used it and shot it at iso 6. Over on the FilmWasters forum (highly recommended) one of the guys wrote a desktop application that will calculate a reasonably accurate EI for expired film. You can download it HERE. Download those three files and run setup.exe. This application predicts an iso of 6 for film that was originally iso 100. Was that the original speed?? Who knows? Never being one for following rules, or even guidelines, I set my meter to iso 12 just to allow a little more reasonable shutter speeds. I should note that subsequently, another Filmwaster has exposed this same film at iso 80 and got very good results using Blufire HR developer from the Frugal Photographer. Anyway, I rolled some up in a reusable film canister. I had to do this in the dark since my daylight film loader will not hold a 400' roll. So I measured a piece of string as long as a 12-exposure roll of film and taped it to the counter in my darkroom (bathroom). Then I turned out the lights and measured out a piece of film as long as the string. I then taped that to the film spool and rolled it up. I threw this into my trusty old Nikkormat FTn and went out in the sun to find something to shoot. I found myself at The Scripps UCSD Medical Center where they have sculptures and fountains and buildings that might be photogenic.


Here are a couple of shots I took of a marble sculpture of a pair of robed figures looking at each other.

I developed in Caffenol-CL for 60min with no agitation after the first 30sec. You can see that the grain is 'pronounced', but not what I would call 'extreme' or distracting. This is the look I like and why I like to use expired film. Different films age in different ways and storage conditions play a big part in whether they are usable or not. If you are buying very old film (more than 5yrs past expiration) you probably want to verify with the seller that it was in cold storage. You may get an image out of film stored in a closet, but it will be pretty faint. Just experiment and have fun with these old stocks!

Friday, September 6, 2013

The destruction of Jim's Beemer

Ok, the BMW wasn't destroyed, but the image nearly was. i was cutting down some 8x10 sheets of Kodak CSG x-ray film for the Speed Graphic and I noticed that I had some sort of oddly sized pieces of film in the bag with the 8x10's. So I decided to go grab my homemade pinhole camera and cut one of these down to fit in it. It only takes one 'sheet' at a time, so I don't load it very often, but this was just sort of asking to happen. So I load it up and set it in my 'take to work' pile with my sunglasses and keys.

About mid-day the following day, I was looking out my window and discovered that Jim's beemer was in the parking lot, which was unusual since he normally works in a different building. It was parked in front of a sort of dirt embankment that I decided would provide an adequate place to set the camera since the exposures are generally too long to hand-hold. I went out and made a little shelf in the dirt upon which to set the camera. Then I took an f/16 meter reading with my Sekonic L-508 at iso 80 and consulted my exposure table to find the f/217 exposure time. Three seconds! That sounds long, but my shutter is a piece of gaffer's tape stuck over the pinhole (did I mention this camera was homemade?) and I wasn't sure I could take it off and put it back on in 3 sec without shaking the camera a lot and making a blurry pic. So I took another reading holding the light meter vertically and sort of in the shade of the car. Another consult of the exposure table and I got 12sec! Perfect! That is enough time so that the jiggling of the camera won't cause significant blur.

I went home that evening and decided to do the development in Adox Adonal at a dilution of 1+100. I mixed the chemicals and got everything together in the bathroom. I had read that you can monitor development of this film under a safe light and since I wasn't exactly sure of the development time, I decided to keep my red LED headlight turned on. That was the first bad decision. I turned out the room lights and took the film out of the camera. Placing it in the chemicals, I started the timer. I had set my 'safe light' up on a shelf pointed toward the ceiling so as not to risk fogging the film. But then for some reason I started to worry because I could not see an image appearing. I took the light down and shone it right down into the tray where the film was. There was a bit of an image starting to emerge, so I put the light back, but the damage was done. About 20sec later the film was almost completely black. I took it out of the developer and after a quick rinse under the tap, I put it into the fixer. Six minutes in the rapid fix and I figured it was done, but it was still just black. I turned on the lights and started the final wash with little or no hope of getting anything out of my labors. I held it up to the light and could see the faint but distinctive BMW grill. It was really dark, but my scanner is pretty good at pulling out contrast where there seems to be none.

So here it is. Low contrast, extreme grain, but not completely offensive or even unartistic. I think the combination of the grain and the distortion of the curved-plane pinhole image makes a sort of interesting image. The really fun thing about this camera is that I don't really have any idea at all what kind of image is going to come out of it. That may drive the 'control your process' photographers crazy, but I like to have fun with it.

Jims Beemer