Showing posts with label orthochromatic. Show all posts

Sunday, March 20, 2016

The Resilience of Film

I decided to visit a thrift store down in a part of town that I don't really get to very often. I had seen on CraigsList that they had some "darkroom equipment", so I thought I would go check it out. When I got there, the selection was sort of meager, but the prices were better than the 'bay', so I decided to have a closer look. There were a couple of Watson daylight film loaders and I can always use another one of those, so I picked one up. It had a typed (like on a typewriter) label on it that said "KODALITH ORTHO type 3 / 6556 film". I had a thought that there may still be film in it, so I did what any kid rummaging around under the Christmas tree would do... I shook it. It rattled a bit. It wasn't heavy like it had a full roll, so maybe there was just an empty spool in there. I decided to take a peek. What's the worst that could happen? If it was empty, no harm. If there was film in it, it wasn't very much and it was old iso 6 ortho film that had been sitting on a shelf for who knows how long and was probably fogged anyway. But I didn't just tear the lid off, I carefully cracked it a little and looked in. There was indeed film in there. Was it labeled correctly? Had someone else opened it and exposed the whole thing? How old was it? These were all unanswerable questions that really didn't matter. I needed the loader, so I bought it. The only question that mattered about the film was "Is it still any good for taking pictures?" and the only way to answer that was to stick it in a camera and shoot it. So that's what I did.

I loaded one roll of about 24 exposures and put that aside. I figured if my peek had fogged anything it would be most evident on the 'outer' parts of the roll. So I loaded another roll of about 20 exposures and put it in my trusty Pentax K1000. This was just a test roll, but I still tried to make a little effort to get something I would like to look at. I have never shot a picture of a test chart and I'm not going to start now.

I had some Kodak X-Tol developer mixed up already, so I decided just to use that at 1:1 with dH2O. I cut the leader off and did a quick test to make sure the developer was still good and to check the fixing time. I dunked the leader in developer for 5 minutes and it looked pretty opaque. Then I fixed for 4 minutes and the undeveloped area cleared in about 2 minutes, but the developed area got a bit less dense too. So I decided on a 10 minute dev time and a 5 minute fix. I don't have enough of this film to worry about figuring out 'the right' times and concentration. I probably only have enough in the loader to make 2 more 24exp rolls, so this is just for fun and for the information of anyone who might find themselves in a situation where they have to decide whether to keep some old unknown film or toss it.

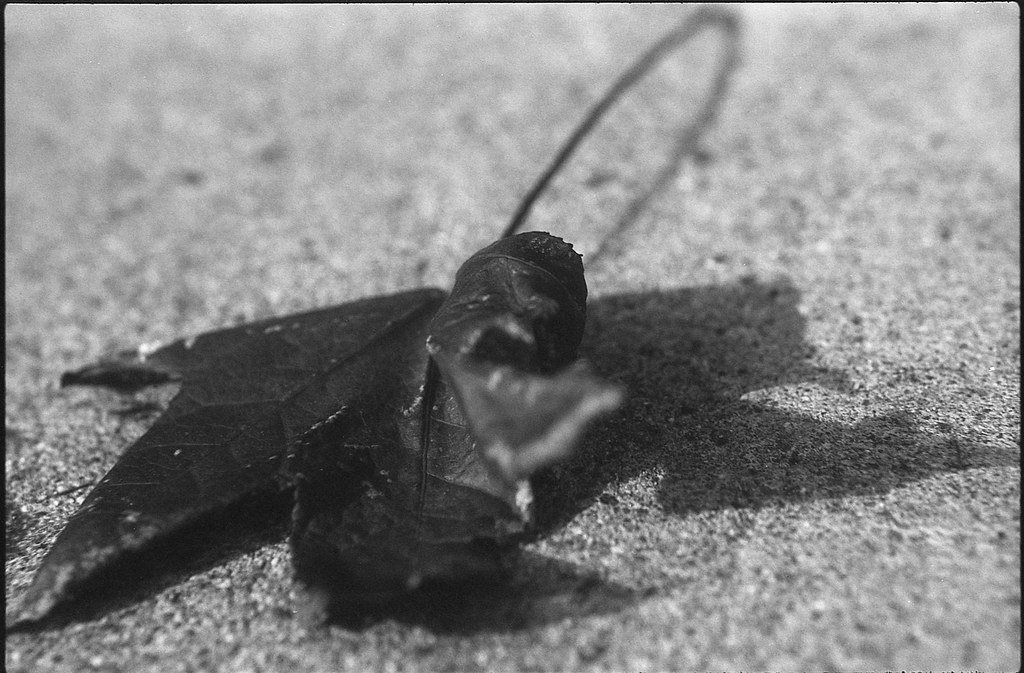
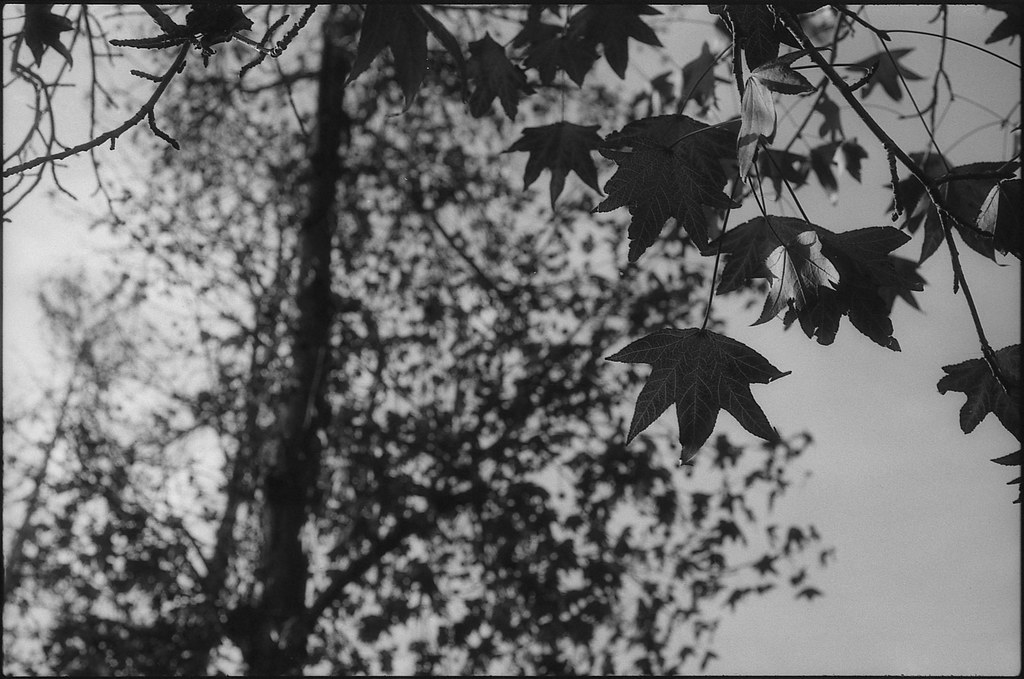
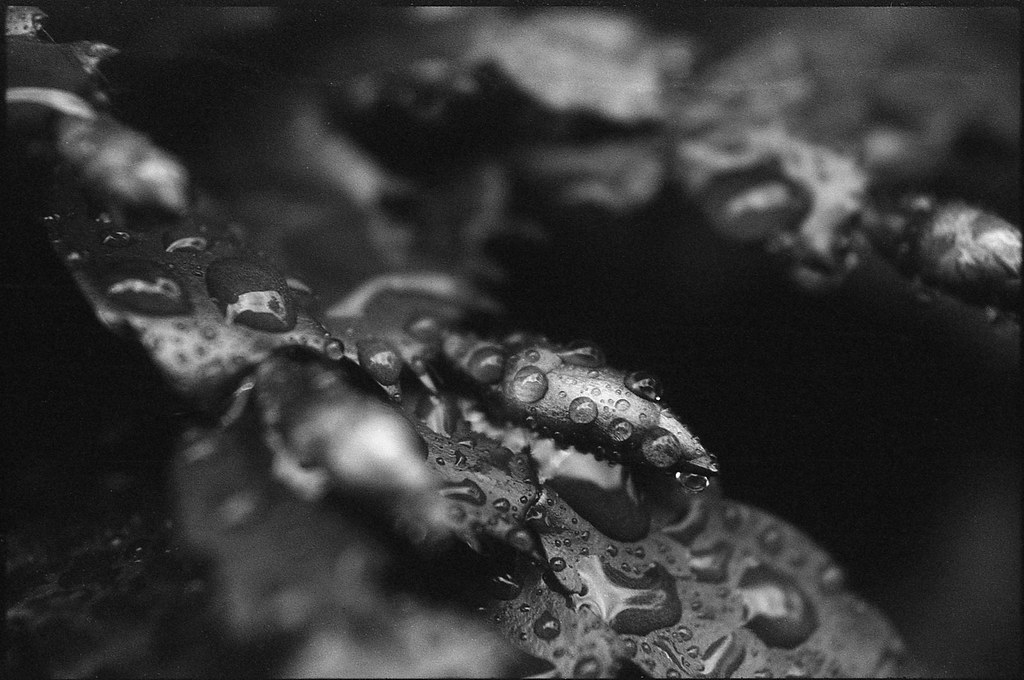
So without further ado, here are some of the results... The highlights (and some of the mid-lights) are blown in all of them, and there is indeed some fogging (probably from my peek) on some frames. In fact in some (not shown here) there are only blown highlights! I think I may have over-exposed using iso 10. Next roll I will try iso 20 and see what happens. It is high contrast film by design, so a full range of tones is not to be expected. But the mere fact that I got recognizable images from this poor tormented film is really a credit to the medium. This film went out of production in 2002. Digital formats that old are already obsolete! So I'm going to enjoy my last few feet of this good found film and treat it with the respect it deserves. Thank you Kodak for making products to last decades, indeed centuries!!


K1000-6556-004
K1000-6556-006
K1000-6556-016
K1000-6556-017
K1000-6556-018

Saturday, December 26, 2015

Fall Color

Okay, that title is a little misleading since I am only going to show black and white photos in this post. But I was out around the neighborhood shooting some colorful leaves the other day and the film I had loaded in my Pentax K1000 was my trusty Kodak Recordak Dacomatic. This film was intended for use in the Recordak Microfilmer.


I am old enough to have used microfilm and microfiche in college. It was just for copying text and half-tone images, so really it was just a high contrast medium, not intended for pictorial use at all. There was no need for it to be even panchromatic (sensitive to all visible wavelengths of light), so it was orthochromatic (sensitive to the blue/uv end of the spectrum). That means that red things tend to be dark, even black when photographed with this film. So I had this in mind when I went out for my walk. There aren't many colorful trees here in San Diego, but one that does turn a nice color is the liquidambar tree. The leaves turn a deep red color from November throughout the winter. If there isn't much wind or rain, many leaves stay on the tree. So I decided to try a few shots of these red leaves using my orthochromatic (red insensitive) film. I got pretty much what I thought I would... some very dark colored leaves with good detail. I developed the film in X-tol diluted around 1+3 for 11 minutes with agitation every 30 sec. The film was exposed at EI 100 which is a little fast for this, especially with red subjects, but I still got some decent images.


K1000-Dacomatic-004
K1000-Dacomatic-002

This last one is of a red Christmas Cactus with some water drops. The red subject with this film becomes pretty abstract, which I often like.


K1000-Dacomatic-020

I hope you enjoyed this little trip down 'Orthochromatic Lane'. Expired microfilm is a fun change of pace for people who like black and white images, but are a little bored with the usual offerings of Tri-X and FP5. Give it a shot and let me know how it goes!

Tuesday, April 22, 2014

Springtime in San Diego

Here in San Diego, California we have two seasons. There is Warm Summer and Hot Summer. Right now we are still in Warm Summer as it is late April and Hot Summer doesn't really get here until late July. But I know that Hot Summer is coming because the Coral Trees are in bloom.

I took this photo with my Graflex Speed Graphic using the Optar 135, F/4.7 lens. I shot it on Kodak Clinic Select Green x-ray film and developed in 1:100 Adonal for 4.5 min standing. I hope you are enjoying the change of seasons where you are.

Friday, September 6, 2013

The destruction of Jim's Beemer

Ok, the BMW wasn't destroyed, but the image nearly was. i was cutting down some 8x10 sheets of Kodak CSG x-ray film for the Speed Graphic and I noticed that I had some sort of oddly sized pieces of film in the bag with the 8x10's. So I decided to go grab my homemade pinhole camera and cut one of these down to fit in it. It only takes one 'sheet' at a time, so I don't load it very often, but this was just sort of asking to happen. So I load it up and set it in my 'take to work' pile with my sunglasses and keys.

About mid-day the following day, I was looking out my window and discovered that Jim's beemer was in the parking lot, which was unusual since he normally works in a different building. It was parked in front of a sort of dirt embankment that I decided would provide an adequate place to set the camera since the exposures are generally too long to hand-hold. I went out and made a little shelf in the dirt upon which to set the camera. Then I took an f/16 meter reading with my Sekonic L-508 at iso 80 and consulted my exposure table to find the f/217 exposure time. Three seconds! That sounds long, but my shutter is a piece of gaffer's tape stuck over the pinhole (did I mention this camera was homemade?) and I wasn't sure I could take it off and put it back on in 3 sec without shaking the camera a lot and making a blurry pic. So I took another reading holding the light meter vertically and sort of in the shade of the car. Another consult of the exposure table and I got 12sec! Perfect! That is enough time so that the jiggling of the camera won't cause significant blur.

I went home that evening and decided to do the development in Adox Adonal at a dilution of 1+100. I mixed the chemicals and got everything together in the bathroom. I had read that you can monitor development of this film under a safe light and since I wasn't exactly sure of the development time, I decided to keep my red LED headlight turned on. That was the first bad decision. I turned out the room lights and took the film out of the camera. Placing it in the chemicals, I started the timer. I had set my 'safe light' up on a shelf pointed toward the ceiling so as not to risk fogging the film. But then for some reason I started to worry because I could not see an image appearing. I took the light down and shone it right down into the tray where the film was. There was a bit of an image starting to emerge, so I put the light back, but the damage was done. About 20sec later the film was almost completely black. I took it out of the developer and after a quick rinse under the tap, I put it into the fixer. Six minutes in the rapid fix and I figured it was done, but it was still just black. I turned on the lights and started the final wash with little or no hope of getting anything out of my labors. I held it up to the light and could see the faint but distinctive BMW grill. It was really dark, but my scanner is pretty good at pulling out contrast where there seems to be none.

So here it is. Low contrast, extreme grain, but not completely offensive or even unartistic. I think the combination of the grain and the distortion of the curved-plane pinhole image makes a sort of interesting image. The really fun thing about this camera is that I don't really have any idea at all what kind of image is going to come out of it. That may drive the 'control your process' photographers crazy, but I like to have fun with it.

Jims Beemer

Monday, June 17, 2013

Ortho Still Life

Fruit & Nuts

Nothing super exciting in this photo. It was taken with my 1951 Speed Graphic press camera. I used the Optar 135mm lens set at f/5.6 (note the shallow depth of field). The interesting thing about this photo is that the red parts of the apple on the right are very dark. This is what you would normally see with a green filter, however in this case I just used Kodak CSG (Clinic Select Green) x-ray film (see X-Ray Vision). This film is orthochromatic which means that it is 'blind' to certain parts of the visual spectrum. In the case of 'Green' x-ray film, it is more sensitive to green light and less to red light. There is also 'Blue' x-ray film which is more sensitive to blue and less sensitive to red (yes, red gets shafted in both cases). These sensitivities have to do with the intended use of x-ray film, which is to take x-rays (surprise!). The film holders have a fluorescent screen in them which fluoresces a certain color (blue or green) when the x-rays hit it. That shortens the exposure time and thus lowers the dose of x-rays the patient gets.

I took some portraits recently with both x-ray and panchromatic film just to see the difference with skin tones. I'll put those up as soon as I get them developed. Until then, drop a comment about how you are using x-ray film or 4x5 cameras or anything interesting you are doing in your photography.

Cheers!