Showing posts with label 35mm. Show all posts

Saturday, October 14, 2017

DIY Color Dev Comparison

If you have by chance read any of the other posts on this blog, you might have gotten the impression that I am into do-it-yourself (DIY) film developing and historic (aka 'alt') processes printing. That is really only half true. The other half of this blog is that I'm really cheap and am always looking for ways to economize with my photography hobby. The third half is that I just like taking pictures on film rather than with digital devices. So having said that, this post is about my first foray into making my own color developers. I started down this path when I somehow cross-contaminated my Unicolor developer with the blix, thereby killing all activity and pulling 3 completely clear rolls of film out of my developing tank. That sucked and it was completely my own fault for not doing a test strip. Always do a test strip in the developer! Anyway, I was faced with the choice of buying another kit (not a bad or really expensive option) or figuring out how to make my own (attractive to the chemist in me and probably cheaper). I googled up this post over on Flickr and it seemed like a reasonable place to start. I had most of the chemicals, so I just needed to get the developers for C-41 and ECN2. ECN2 is the process used for 35mm movie film (like Cinestill). Most people just cross process it in C-41 and it looks fine, but I thought there was enough overlap in the chemistry that I could just get the developer and give it a try.

I bought the developers from Artcraft and the other components either from Amazon or eBay. I did the calculations for both developers and bleaches and they came out pretty close. For a liter each of C41 developer and bleach it cost $5.47 and for a liter each of ECN2 developer and bleach it cost $4.57. I used my regular Ilford Rapid Fix diluted 1:4 and didn't include that in the cost, but it's cheap too. I know that (if I'm careful) I can get 25+ rolls through a Unicolor kit. So if I only get 5 through this DIY mix, that effects the price per roll. That will take longer to determine, so stay tuned.

These are the recipes I used for each developer and bleach:

C-41 DeveloperECN2 Developer
Sodium Carbonate - 24gSodium Sulfite - 2g
Sodium Sulfite - 3.6gPotassium Bromide - 1.4g
Potassium Bromide - 1.6gSodium Carbonate - 25.6g
Hydroxylamine Sulfate - 2gSodium Bicarbonate - 2.8g
CD4 - 5gCD3 - 4g
Distilled water to make 1LDistilled water to make 1L

C-41 BleachECN2 Bleach
Potassium Ferricyanide - 80gPotassium Ferricyanide - 40g
Potassium Bromide - 20gPotassium Bromide - 29g
Distilled water to make 1LDistilled water to make 1L

C-41 Times all 100FECN2 Times
Developer - 3:15Developer - 3:00 @ 106F
Stop - 00:45Stop - 1:00 @ 100F
Rinse - 00:30Rinse - 1:00 @ 100F
Bleach - 3:30Bleach - 6:00 @ 106F
Wash - 1:00Wash - 1:00 @ 100F
Fix - 5:00Fix - 5:00 @ 100F
Wash & fotoflow - 5:00Wash & fotoflow - 5:00 @ 100F

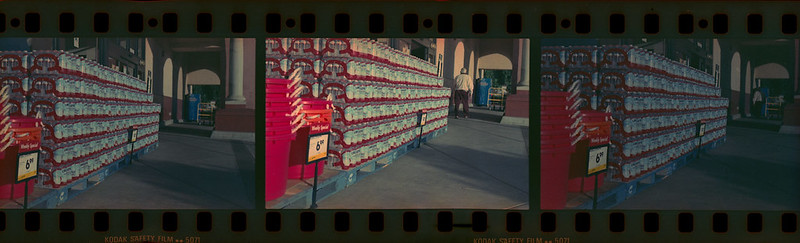
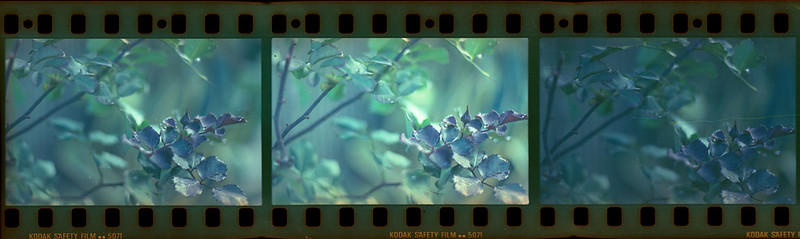
Here's what I did to test out the developers. I loaded up a roll of expired Eterna 500T into each of two comparable cameras (Pentax K1000 and Chinon CP5)with comparable lenses (50mm f/1.8-ish). I used the Chinon to meter at iso 250 (1 stop over exposed per decade past expiry) and then set the K1000 to the same exposure and took the same shot. I put both rolls into a dev tank and soaked them in remjet remover then shook and rinsed in tap water until it ran clear. Then I put one roll into a different developing tank. I repeated the shooting process with two rolls of regular C-41 film (Fujicolor 100 - expired, shot at iso 50). Each of those rolls went in with one of the Eterna rolls and I developed one tank with my DIY C-41 developer and one tank with my DIY ECN2 developer. So what I have now is two rolls with identical shots, one developed in 'native' chemistry and one cross-processed. I scanned each roll with color correction turned off, then I scanned it again with color correction turned on. I am using my Epson Perfection V600 flatbed scanner with the bundled EpsonScan software. So enough talk, let's see some pictures!

First up we have the Eterna.

Images on the left are developed in native ECN2 chemistry and images on the right are x-pro'd in C-41. First I did a straight scan with no color correction. These are obviously different. The C41 developer made denser negatives. They weren't so dense that the scanner had any trouble with them, but just good to know in case you are intentionally over-exposing, which is a common practice with color negative film. The color difference on the raw scan is not really reflective of any real difference in the color of the negatives as I look at them. Just the density seems to be different. Now let's see what the scanner does with color correction.

Now we're getting something interesting. Never mind the low contrast on the lower left shot, that's probably an issue with the scanner on that frame. I could have corrected it, but I really wanted to compare the color hue between the two processes. What I see is that the native process is reproducing a more 'true' color. That shouldn't surprise me, but I never really thought that C41 x-pro of cine film gave much of an "x-pro" look. I always thought it was just the tungsten balance cooling everything down. But now I can clearly see that the colors are shifted, and significantly.

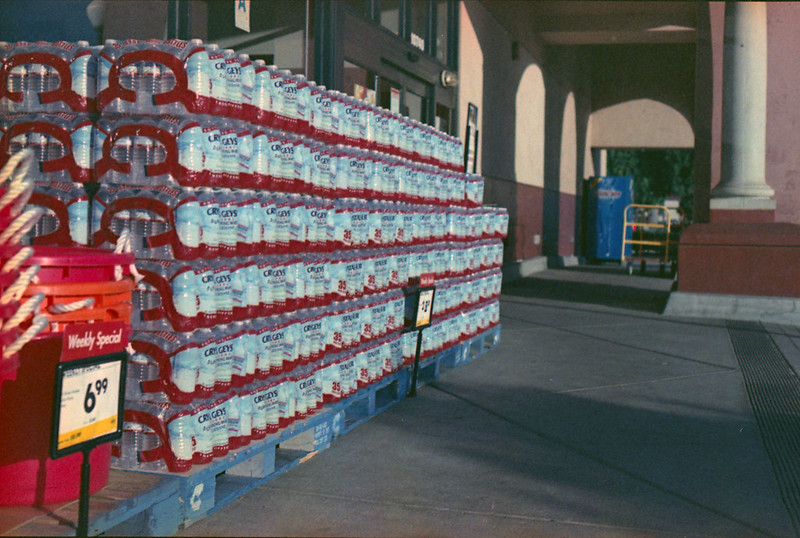
Next let's look at the Fujicolor 100 film, designed for the C-41 process. For consistency, I will keep the ECN2 negatives on the left and the C-41 on the right. First the raw scans.

Pretty much the same story here. Not much to say, but the ECN2 negs are denser. But look at the color corrected scans.

The Fujicolor C-41 film is actually showing more dynamic range in the ECN2 developer. Now that's interesting. There is some color shifting going on as the orange umbrella on the right is the 'truer' color, but given this 'out of the box' corrected scan, I think I like the ECN2 developer results better!

So what did I learn with this little experiment? I think either film works adequately in either one of these DIY developers. Now it comes down to personal preference. Do I like the x-pros or the natives? I think I like the x-pros better in both cases. The C-41 developer gives the Eterna a bit more of that "cinematic" look that I want when I shoot that film. The ECN2 developer certainly provides a saturation and dynamic range bump to the C-41 film thought the blue-shift might need a little work in post. I am excited to try these developers on different color films in the future. Since they are so cheap to make, I suspect that they will become my regular CN developers going forward.

Please leave a comment if you have any further information, or experience with these homemade developers. I'd love to hear from you. Also, check out my Flickr album to see more photos from these rolls.

Wednesday, September 13, 2017

An Unexpected Leak

That's like a chapter title from a bad spy novel (or maybe a bad plumber's manual). Anyway, I just thought I would make a brief post to show the dangers of using thin base films. Generally we think of film as just emulsion layered onto a sheet of flexible thin plastic that is then cut, perforated (optionally) and rolled. I realized when I started developing my own film that the 'base' support is quite different for different films. Certainly color films are different than black and white. The support material on most color films is some shade of orange, while on black and white films it is either clear or a neutral grey. But what I hadn't really thought about was that the support material is different thickness depending on the film and it's intended purpose. Movie film needs to be thick and strong enough to stand up to the forces that are pulling it through a movie camera. Still camera film can be thinner so that more exposures can fit into a standard roll. Then you have specialty films like Kodak Plus-X Aerecon II. I have written about this film before, but I don't think I have mentioned much about the consequences of rolling it into standard 35mm cartridges. Standard cartridges have a little fuzzy piece of fabric around the inside of the opening where the film leader comes out. That serves dual purposes. First, it keeps the metal edges of the canister from scratching the film. Second, it acts as a light seal so that light does not enter the canister through the slit and fog the film. Well that's all fine if your film has a thick base support layer and it takes up all of the space between the two light seals on either side of the slit. However, Aerecon II was intended for aerial reconnaissance photography. When flying long distances, it is important to economize on weight so that your fuel will last for the entire mission. So the film was made with a very thin base so that a big roll of a few hundred or a thousand feet would weigh significantly less than it's consumer counterparts. This means that the film does not fill up the space between the light seals in a standard 35mm cartridge and if you are not careful, the light will come in and make nice stripes on your beautiful pictures. So let this be a warning to all of you shooting thin base films. Load and unload in the DARK! Not the shade, and not 'subdued light'... the DARK. Cautionary photos to follow.


K1000-AereconII-001
K1000-AereconII-002
K1000-AereconII-003

Friday, June 30, 2017

Robot Camera - Kodak 35RF

I like "robot cameras". By that I mean cameras that have exposed machinery like gears and levers. There is something to be said for the sleek, plastic-shrouded black boxes like the Contax T2 or the Konica Hexar with their clean lines and mysterious lack of 'machinery'. They take fine photos to be sure, but (for me) they don't hit my "that's so cool!" button. That button is actuated by dials and levers that make ratcheting noises and knurled knobs and gears. So when a friend over on Filmwasters said he had a spare Kodak 35RF that he would trade, I jumped.

Kodak35RF

Where to even start? Well, maybe a brief description... The Kodak 35RF is a 35mm camera with a coupled range finder. It was made from 1940 to 1948. My example rolled off the assembly line in 1946 as indicated by the CAMEROSITY code of 'EO' on the lens. So what's so cool about this camera? I guess the first thing that catches my eye is that gear to the left of the lens. That's for focusing. You turn the little gear with your index finger and the magic happens inside the lens. This is done while looking into the tiny range finder window. That brings me to the next cool feature. There are three freakin' windows on the front of this thing. Each one is a different shape and size which gives it a touch of art deco or maybe cubism. Then there is "the shield". The shield is a piece of metal that covers what I imagine is the mechanism that couples the lens focusing ring to the viewfinder. The shield also extends over the top of the lens and provides a protective er... shield for the shutter release, so you don't accidentally hit it and get a picture of your shoe or the butt of the person walking in front of you. Speaking of the shutter release, it's out on the lens barrel, not on top of the camera like you would expect. There is a button right there on the top right side. It looks like a shutter release, but don't be fooled. It's not. Push it as many times as it takes to convince yourself that the shutter isn't responding to your command (it took me three slow presses and then about five 'spam clicks'). That button releases the film winding knob, so stop pressing it. You need to hold it down and start winding the knob clockwise. The winding process, besides taking a little coordination, takes a little hand strength as well. It is a firm quarter turn with a satisfying "CLACK!" at the end. If you are thinking of loading this up with a thin-base film like Plus-X Aerecon II, think again. The film sprocket holes engage a very tight sprocket and they will tear. In fact my first roll through (Fujicolor Super HR) tore some sprocket holes and that caused the frame counter (next to the winding knob) to do wacky things. My second roll (Ilford FP4 plus) worked just fine. The back comes off to load/unload the film just like most 35mm cameras of this era. The take-up spool is fixed and the slot that accepts the film is quite thin and a bit fiddly to get the film leader into. The rangefinder window, as I said, is very small but the split-screen rangefinder is pretty easy to use. The top and bottom images are both bright and well magnified. The viewfinder window is also bright and easy to use even for me with my required glasses. There are no framing lines or parallax correction that I could tell, but the minimum focusing distance of around 3.5 ft doesn't really require much correction and I didn't notice any badly framed shots. That's about all I have to say about the operation of the camera.

The results I got with this camera were pretty good. It's not in the upper echelons of cameraness like an M3 with a Summicron stuck to it, but for a cool looking robot camera, it takes good pictures. Let's look at a few shots. The first roll lie I said was Fujicolor Super HR. I shot this at iso 200, so here in sunny San Diego, that means the lens aperture was pretty much pegged at f/16 for the whole roll. That gave me a good idea of the sharpness and contrast it was capable of.

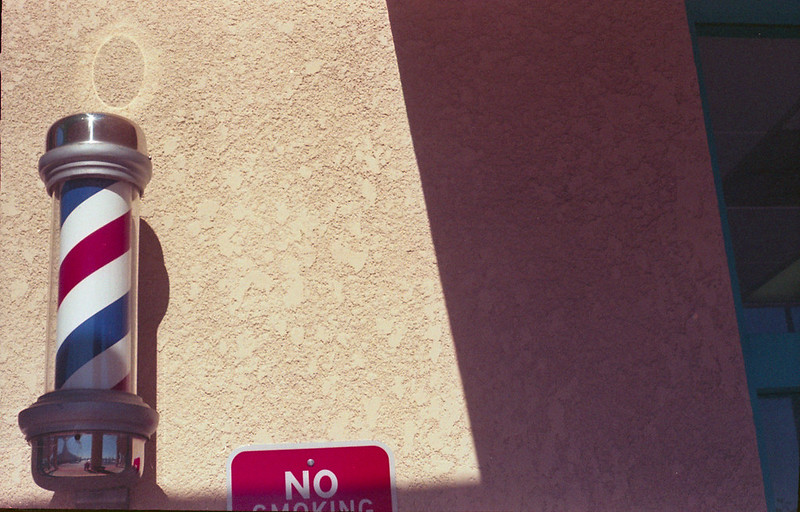
Barber Pole
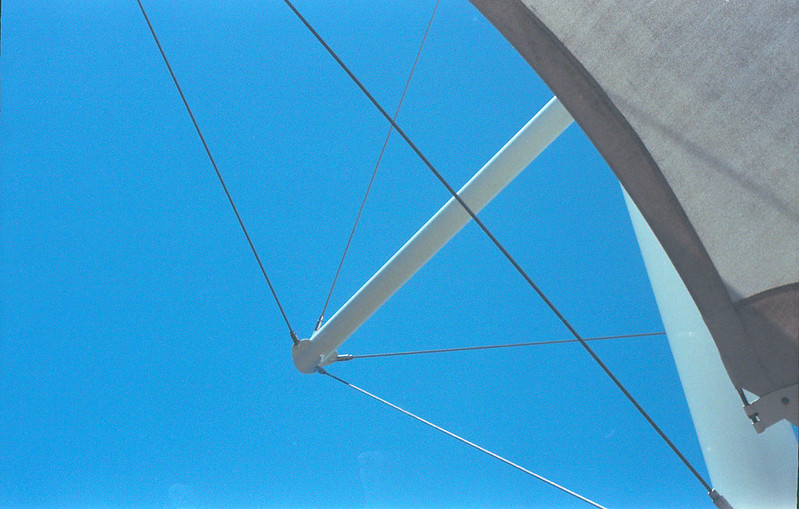
Rigging
Pencils

The next roll was some expired rebranded FP4 Plus that I shot at iso 50. I have shot this film at that iso before and it came out just fine, but this time the negs were very dark and hard to scan. My poor V600 could barely push enough light through some of them to get anything at all. So these look grainy, but that's really noise because the scanner had to crank the voltage on its sensor up to 11! This was a result of me switching developers and not really experimenting enough to get good results. I think the shutter speeds are all pretty accurate (enough for me anyway) and given a better film/dev/time combination, it will do just fine with slower films. The lens also performed adequately corner to corner with maybe a tiny bit of softness at wider apertures, which I also don't mind.

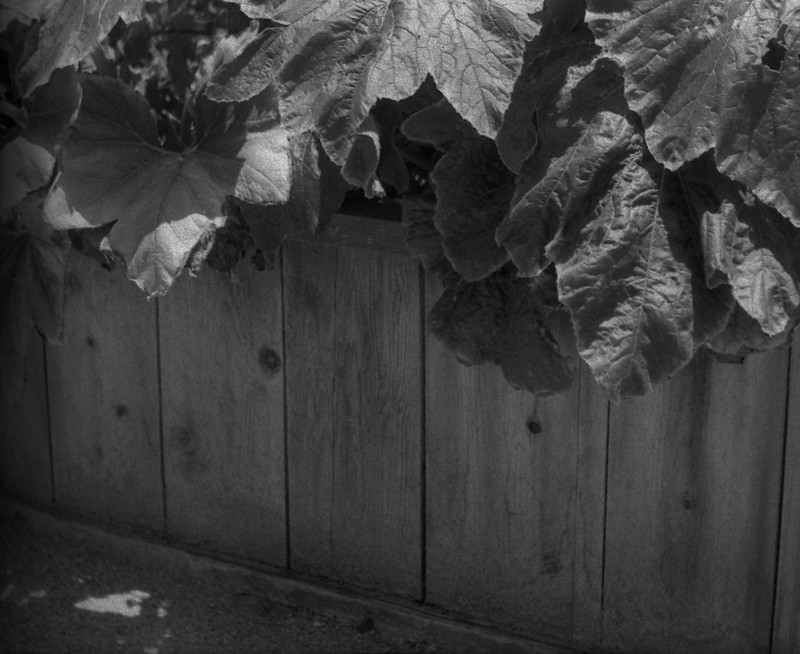
Raised Bed Veggies
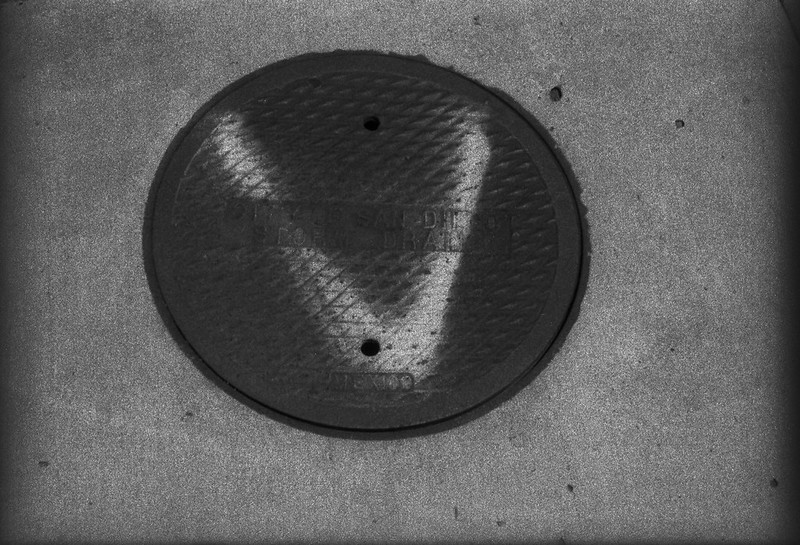
Vendetta
Sycamore

Over all, I think this is a keeper and I might get some other robot cameras (e.g. Kinaflex) to keep it company.

Sunday, February 5, 2017

The Return of the Slide Dupe

Almost a year ago, I posted "The Last of the Dupe" as I shot, developed and scanned the last roll of my beloved Ektachrome Slide Duplicating Film. What is so lovable? I suppose it is really subjective, but I just like the way the grain and colors combine. Note: I always cross-process this film in Unicolor C-41 and scan. I do the normal things for scanning film like make sure my stupid scanner (Epson V600) isn't cutting off half of the histogram. But I don't do anything really in the "color correction" realm. So recently, I was looking around the interwebz for some more. I do this periodically, but not usually with any success. Either it is just a single roll, or it is so over-priced, I won't buy it, or both. So when I came across two 100' rolls of Ektachrome, I stopped for a closer look. The were unopened, expired in '80 and '81. One roll was regular Ektachrome 64D and the other was SLIDE DUPE!! I got very excited until I saw the price. $120 plus s/h put this expired film at ~$0.66/foot. That is about 3x what I usually set my limit at for expired film especially with no guarantee, returns, etc. So I put a watch on it to see if it would sell, just out of curiosity and I also wanted to keep track of it if it didn't sell. The film didn't sell and was subsequently relisted as an auction starting at $0.99. Now that's a starting point I can get on board with! I would usually wait until the end and try to snipe the auction, but I really didn't think this was going to stay reasonably priced. So I threw a bid on it for $30 ($0.15/foot). Who knows how, but I won the auction with a winning bid of $10.50! Including s/h the film came out to be $0.12/foot!! If the film was any good, I got a really great bargain. If the film was trashed, I was out $23, which I could live with.

So here are the results of the first few shots. Taken with my trusty Pentax K1000 equipped with the SMC 50/1.7 lens. I set the meter at iso 32 and then I took one shot on center, the next shot was one stop slower (iso 16) and the next shot was one stop faster (iso 64). The roll was developed at regular temps and times for Unicolor C-41.

K1000-SlideDupe-001
K1000-SlideDupe-002
K1000-SlideDupe-003

I did not adjust any levels or anything to make one shot look better than the others. I just set the histogram limits for black and white. At first glance, the iso 16 shots look best. But if you look at the last shot of the rose bud, you will see that the highlights blew. That is the only one taken in full sun, midday. So maybe 16 would be a good number if you are shooting this in diffuse or dim light (golden hour), but I think the iso 32 and 64 shots are more usable as far as the highlights and shadows go.

Here are the 32 and 64 shots from the middle set. I have adjusted these individually in order to compare on level ground.

K1000-SlideDupe-002-32
K1000-SlideDupe-002-64

It is easy to see that the shot at iso 64 has more grain and is a little cooler in tone. That is good to keep in mind in case that is a look I want. I might try another short roll like this and shoot at 64 and 125 and then push the development one stop. That might bring the warmth back to the colors and help with the grain a bit. If I decide to do that, I'll link it here. Until then I am just going to enjoy shooting my favorite film again.

Thursday, March 24, 2016

Fuji Super HR Microfilm

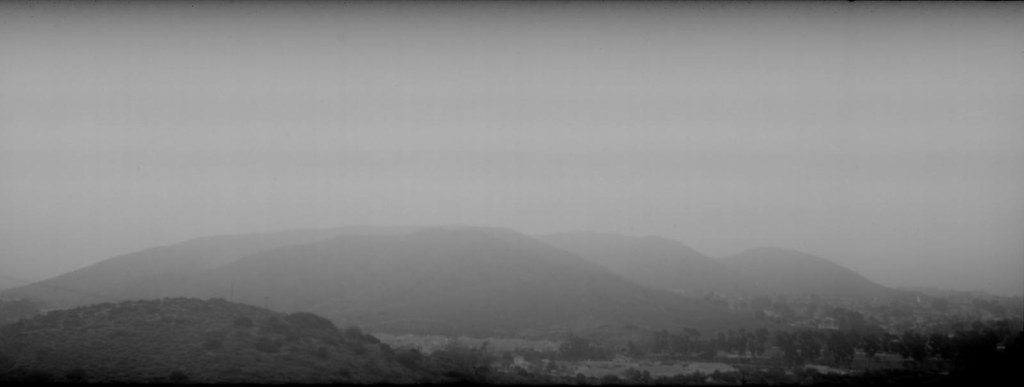
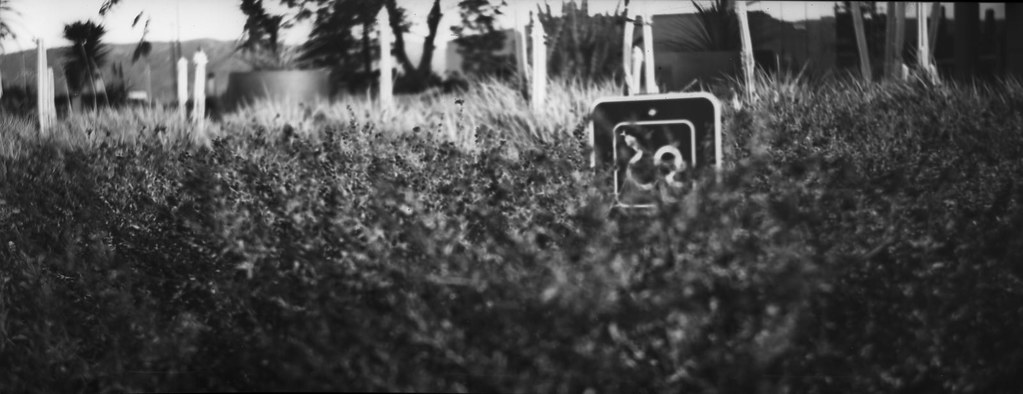
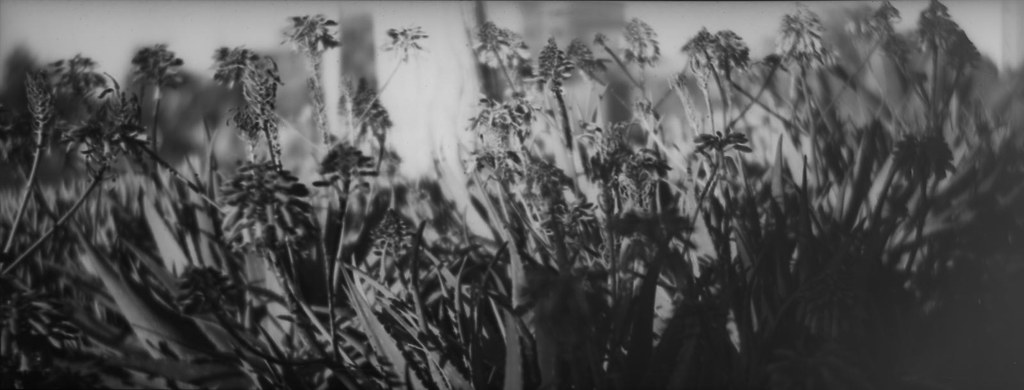
If you have accidentally stumbled across my blog and found yourself with nothing better to do than read it, you might know that I like to shoot expired film, and in addition I like to shoot expired non pictorial film. Non pictorial film is that film that was intended for other uses like radiography and copying documents. Recently, while perusing a large auction site, I came across some microfilm made by Fujifilm. This was truly microfilm in that it was 35mm film, but it has no sprocket holes. Most 35mm cameras need sprocket holes in the film for the winding mechanism and/or the frame spacing/counting mechanism to work. So needless to say, demand is pretty low for film without them. When I saw this film it reminded me of a 100'roll of sprocketless Konica 160 I have in the freezer that I have used in my Kodak Instamatic 500. Granted, I did have to add some spacing holes in it for the camera to work properly, but that's not too difficult. So my intention was to use this Fuji film in the instamatic. But I digress. What I want to talk about is what I actually did with this film when I got it. It is not unheard of to put 35mm film into medium format cameras and expose it edge to edge over the sprocket holes. Lots of people do that, so I thought I would do that with this film and not be bothered by the pesky hipster holes. So that's what I did. I taped it down to a 120 film backing paper. Getting it centered and straight in the dark was a challenge, but after a few tries rolling it up and unrolling it, straightening it out and re-rolling it, I finally got it all rolled up. I found it easiest to tape down the leading end, roll it onto a 120 spool and then re-roll it from the untaped end onto another 120 spool. That makes it so that you don't end up having to untape and retape the leading end because the film slid past the paper as you were rolling. I thought later of making some sort of a jig that would hold the paper flat and let me use both hands to align the 35mm film. That might be worth thinking about later. But today, I just need to show some pictures. These are full width 35mm taken in a 6x9 camera (Voigtländer Bessa) so 90mm wide. That is a fully manual camera with a viewfinder and range estimation focusing. On top of that, I had to sort of envision where the 'film' was in the viewfinder. So I was picturing a skinny mask running across the middle of the viewfinder in order to compose my shots. I got 8 shots on a roll which is good for me since I don't have a lot of patience. 36 exposures is torture. The film didn't have an iso rating marked, so I went to the googlz and found the spec sheet. From there, I found that the film's manufacturer recommends an iso of "medium". So, I figured "eh... 100??", but it expired in 2001, so I thought "ummm... 25??" So that's what I shot it at. I developed it in Adox Adonal (Rodinal) 1:100 for 60 minutes with 30 sec. initial agitation and 10 sec. agitation at 30 minutes. When I pulled the negatives out of the fixer, I thought, "Woah, that's a lot of contrast.", and it is, but not as bad as I initially thought. Most of the photos were shot in bright midday sun, so contrast is what you get. The first shot is fogged because I was taking too long to get it rolled up, but it turned out okay since it was a shot of a foggy landscape. :)

Bessa-HR20-007

This is a snake in the grass.

Bessa-HR20-006

Here are some more without the bad jokes.

Bessa-HR20-005
Bessa-HR20-001
Bessa-HR20-002

I hope you enjoy these photos. I sure had fun making them and am looking forward to having more panoramic fun with this sprocketless film.

Wednesday, March 16, 2016

The Last of the Dupe

So it happened. I shot the last roll of one of my favorite "no longer in production" films. It is Kodak's Ektachrome Slide Dupe (Duplicating) film emulsion #5071. It is a color reversal (slide) film that was designed to make exact duplicates of existing slides. It was intended to be processed with E-6 chemistry, but I only ever processed it at home with C-41 chemistry (cross processed) to make negatives. It is probably the height of vanity to quote one's self in one's own blog, but since I have now referred to myself as "one" two times in this sentence, why not just go for it? From my first post using this film..."I knew that the film I had loaded in my 1967 Nikkormat FTn was expired 30 years ago, so there would be grain. I also knew that I was going to cross-process the film so there would be color and contrast shifts. I also knew that the film was tungsten balanced, so shooting in daylight would throw the color balance toward the 'cool' spectrum." And those characteristics pretty much drove my love for this film right down to the last frame. I have been looking for another 100' bulk roll of this, but it is getting scarce. I guess I will have to direct my x-pro love somewhere else, so this could be the very last post of slide dupe film images on this blog. I hope you have enjoyed it as much as I have.

K1000-SlideDupe-003
K1000-SlideDupe-002 K1000-SlideDupe-013
K1000-SlideDupe-011
K1000-SlideDupe-006
K1000-SlideDupe-005
K1000-SlideDupe-004

Friday, August 28, 2015

Expired Ektachrome Delight

I like using expired film. It is cheap and slow and grainy and contrasty and just suits my style of photography well. I use fresh film too sometimes. Really it just depends on what is on hand. I don't keep a second refrigerator dedicated to large stockpiles of film. I have enough to give me a selection to choose from. Most of what I have right now is expired 35mm film. I do have a 100 ft roll of expired 70mm Vericolor III that I use in my Brownie 2a. But back to the actual topic. A while back, I traded some film over on the Filmwasters Forum and I received 10 rolls of 36exp Ektachrome 64D that had expired in the 80's. The person who bought it tried it and didn't like the greenish background fog. Apparently, the film had not been stored properly and was showing signs of age. I decided to take some of it off of his hands with the intention of doing experimental redscale and pinhole kinds of things with it (which I have done).

After a few rolls like that, I thought "Why not just shoot a roll of this straight and cross process in C41?" Okay, so what iso do I shoot expired fogged film? The rule of thumb is to add a stop for every decade past expiration. That gives me 3 stops for the expiration and puts the film at iso 8. That's a little slow even for me, so I decided to try iso 12 and see what happened.

The first roll I loaded into my Chinon CP5 with a nice prime 50/1.9 lens. I was going to a football scrimmage to see my son play, so I thought I would take it along. The event was at a local junior college which I knew would be mostly abandoned, giving good opportunities for architecture or landscape types of shots. I shot the roll and developed it in Unicolor C41, my usual for CN film. I was really surprised at how well the colors turned out. It is definitely cross-processed and the added contrast and color shifts give it that sort of 'lomo' look. Here are a couple from that day.

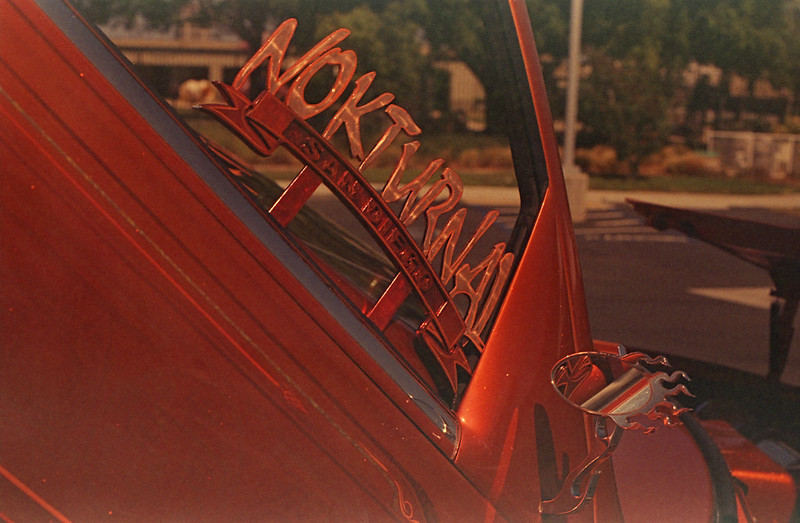
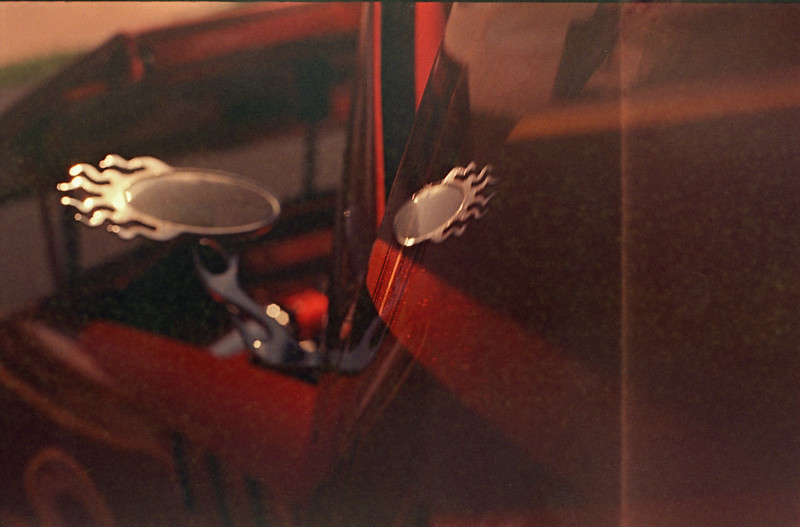
This film does well in the bright San Diego sun, so when the football team announced that they were having a car show as a fundraiser, I thought it would be another great opportunity to see what this film could do, this time with brightly colored subjects. Again, the film did great, this time in my Nikkormat FTn with the venerable Nikkor 50/1.4. It seems that these shots had less base fog, but that could be attributed to a few different things, so I'll probably just call it 'anomalous' and move on. Here are a few from the car show. FTn-Ektachrome64T-031 FTn-Ektachrome64T-005 FTn-Ektachrome64T-025 FTn-Ektachrome64T-018 FTn-Ektachrome64T-001 That last one with the fog and the light leak is my favorite. I like the visceral quality of this old film, and I like making up stories about its tortured past.

So go find some old expired Ektachrome and see if it doesn't do a little magic in your camera.

Monday, October 20, 2014

Motion Picture Film

Ever since Cinestill hit the market, shooting movie film in still cameras has become all the rage. Not being one to miss a passing bandwagon, I thought I would jump on and see where the ride went. However, being err... "thrifty", I did not want to pay $10/roll + s/h for 35mm film. Also, I seem to have a good thing going with expired film, so why fix what doesn't seem to be broken? With that philosophy in mind, I went searching for the cheapest movie film I could find on a reasonably sized (<400ft) roll. I want to try it, not shoot it exclusively for the next 10 years. I looked at a LOT of different sellers and emulsion numbers. I also started researching the "remjet" issue. I would have to get that layer of black gunk off the back of the film either before shooting it ("premoval") or after exposing, but before developing. The remjet layer is there for anti-halation as well as anti-static for when the film is whizzing through a motion picture camera. Anti-halation is nice and most still films have a layer of dye on the back of the film to keep light from reflecting off of the pressure plate inside the camera and making glowing "halo's" in the highlights on the film. Premoving the remjet will eliminate this benefit, but if you are going to send the film off for processing, it has to be done. The machines that process film will not remove it and when it comes off in the machine's chemistry and mechanics, the operator will be unhappy with you. Cinestill removes the remjet for you, so that is part of the price you pay (which is fair, but for me unnecessary since I dev my own C-41). So what did I do?? I did both premoval and nothing. Keep reading and I'll explain.

I rolled up one 12-exp roll just like I would for any other bulk film. This will be the "control" sample and I will not do anything special to it regarding the remjet. The other roll, I measured the length and spooled it onto a Paterson developing spool and put it in the tank for 15min with a solution of 2Tbs Borax in 500mL water. At the end of 15min, I agitated the tank vigorously for about a minute. I really shook it hard. Disappointingly, the liquid that came out was just sort of a weak greenish solution. Subsequent rinses were clear. There was no sign of black flakes, so either, my solution did nothing to remove the remjet, or the remjet was really thin. A third option is that there is no remjet on this film. I'm not sure what remjet looks like, so I can't say, but the film is Super F-Series which does appear to have a remjet backing according to the interwebz. So at this point, I just dried the film in a 'dark' place and rolled it up into a canister. Here is what the two treatments look like side by side. The premoval roll is on the left and the untreated roll is on the right. There is clearly a difference between them, but is it remjet or just anti-halation dye?

I shot both rolls at iso 400 in the same camera, mostly in cloudy daylight. For this test, I'm not so much interested in color rendition as much as just the processing workflow. I fully expected to see some black bits stuck to the film and/or floating in my developer. The developer came out clear as always, so I figured the remjet must still be stuck fast to the film and I would have to do a removal at the end. To my surprise though the film was clear. The two films were developed in the same tank at the same time and I couldn't tell which was which until I looked at the specific images. There was no sign of remjet anywhere. Here are a couple of images from the "control" roll that was not pre-treated. I scanned these on an Epson Perfection V600 using the auto color correction, but nothing else in post. The color is shifted/cast a little as you might expect with cross processing, but other than that, there is nothing notable. The grain is there and looks about how my other expired color films look, so that's that.

Fujifilm 8572 Fujifilm 8572

Here are a couple of shots from the premoval roll. It looks like the film got fogged during the drying process. I did my best to keep it absolutely dark, but probably failed to some degree. There also seems to be some damage to the film. This is either chemical from the borax or mechanical from the vigorous shaking. Hard to say without more testing. Having said that, I will probably not do any more tests since the untreated roll came out nice without any ill effects from the remjet. I will just shoot this like any other color negative film.

Fujifilm 8572 Premoval Fujifilm 8572 Premoval

Sunday, September 7, 2014

Rookie Mistake

I developed some film this weekend. Two rolls of 35mm film went into my Patterson tank along with 500 mL of 1:100 Adonal. Did you catch that? I didn't until I took the developed film out of the spool to hang dry. And there it was... a strip of undeveloped (clear) film along the entire length of the film. I knew immediately what had happened because I had done this before. There had not been enough developer in the tank to cover the top of the reel! What!? I was sure that 500 mL was enough to cover 2x35mm rolls. So I looked at the bottom of the developing tank where there is embossed the volumes for different film types. I was certain I would see 1x35mm - 250 mL, but I didn't. It was 290 mL for each roll. So there you have it. Just a short entry this time to share this cautionary tale. Always read the instructions. Take nothing for granted.