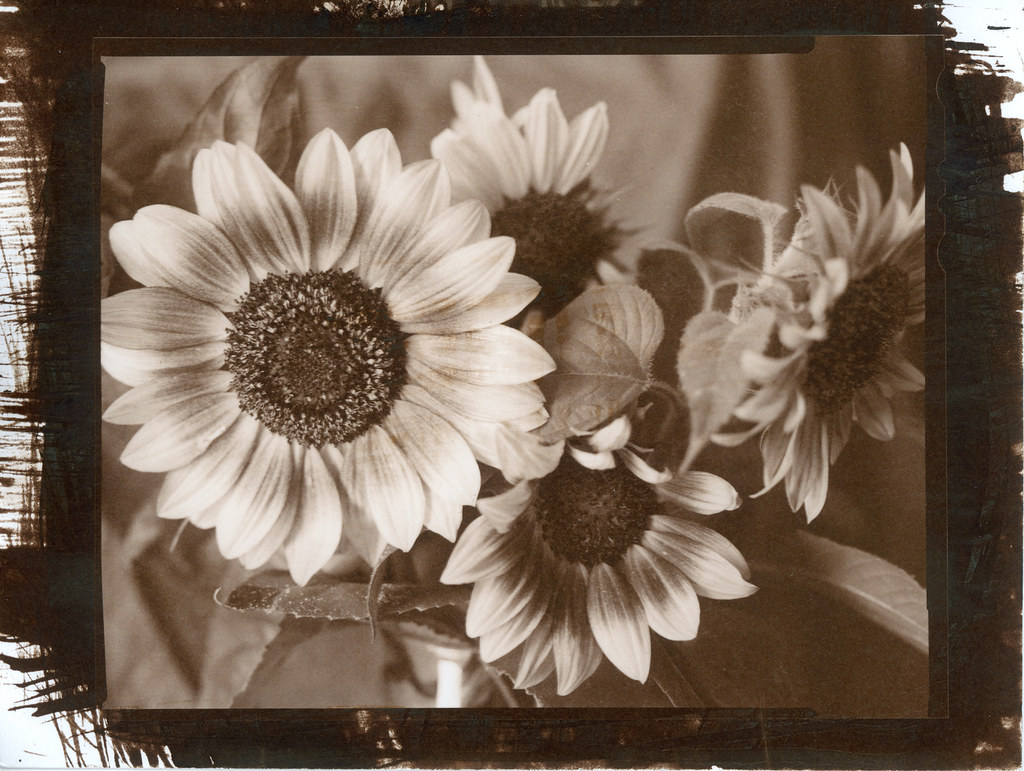
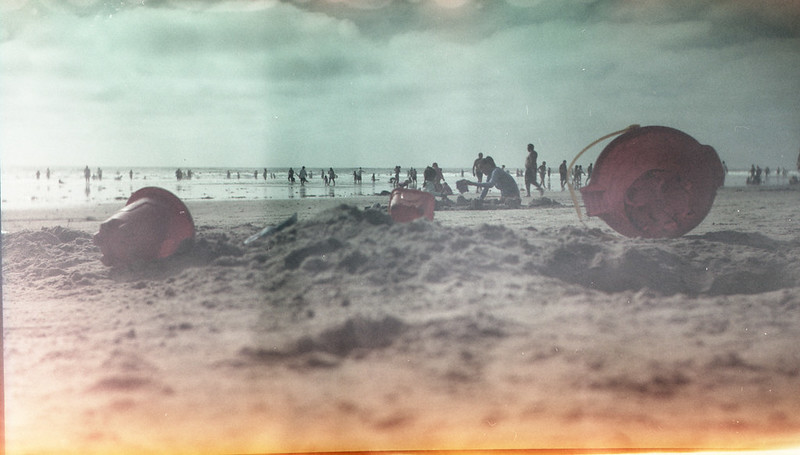
I like making prints. Having something to hold in my hand at the end of the day is just more satisfying than looking at the inverted image of my scanned negative. The image on the screen is enough to keep me going with the whole photography thing, don't get me wrong, but there is something special about holding that paper with the image I created on it. Alas, I don't have a darkroom or an enlarger. I don't currently have the space to set it up, so it just isn't an option. Enter "contact printing"! Taaa Daaaaa! Contact printing is where you put your negative (or in some cases positive) in contact with a piece of paper that has been coated with light sensitive chemicals. This creates an inverted image on the paper... a print. This is very different than making an 'enlargement' from a negative. That involves projecting light through the negative onto photographic paper. The paper is then developed, washed, fixed and washed again. With most contact printing processes, there is no development step. It is called POP or Print Out Paper, which means that the image emerges during exposure. There is a literal ton of information on these interwebz about how to do this, so I won't rehash the history or list all of the different variations and recipes. I will just go briefly over the process I used for this, my first foray into silver-based printing.
The salt solution is:
- 20g sea salt
- 20g sodium citrate
- enough purified water to make 1L
I brushed this solution onto Strathmore Bostick 100 lb hot press watercolor paper and let it dry. I chose this paper because it was lightweight (recommended) and smooth, so it wouldn't require an additional step of sizing to keep the chemicals on the surface. You don't want thick spongy paper that will absorb the chemicals or your prints will look 'soft', or not quite as sharp as the negative image you are using.
Next, I made this solution:
- 12g Silver Nitrate
- enough purified water to make 50mL
And this solution:
- 6g citric acid
- enough purified water to make 50mL
I made these two in amber dropper bottles with clear labeling. Silver nitrate is not to be trifled with. It will cause blindness if you get it in your eye, so absolutely wear eye protection when handling powder or solutions!! It will stain anything it gets on so cover counters and wear an apron and some sort of latex or nitrile gloves if you don't want black dots on your skin and clothes.
When you are ready to make a print, go to a dimly lit room (I use a room with a window, but keep the curtains drawn) and combine 1:1 the silver and citric acid solutions. I just eyeball it with the glass droppers. There isn't going to be any noticeable difference if you are 10% off one way or the other. I then use a brush to apply a thin coating of the solution to the dry salted paper. At this point a replacement reaction occurs and NaCl combines with AgNO3 to make the inert product NaNO3 and the light sensitive product AgCl. Let the paper dry, or use a cool hair dryer to get it nice and dry. I had good luck adding another coat when using a brush. The first print I did only had a single coat and there were visible brush marks in the image area.

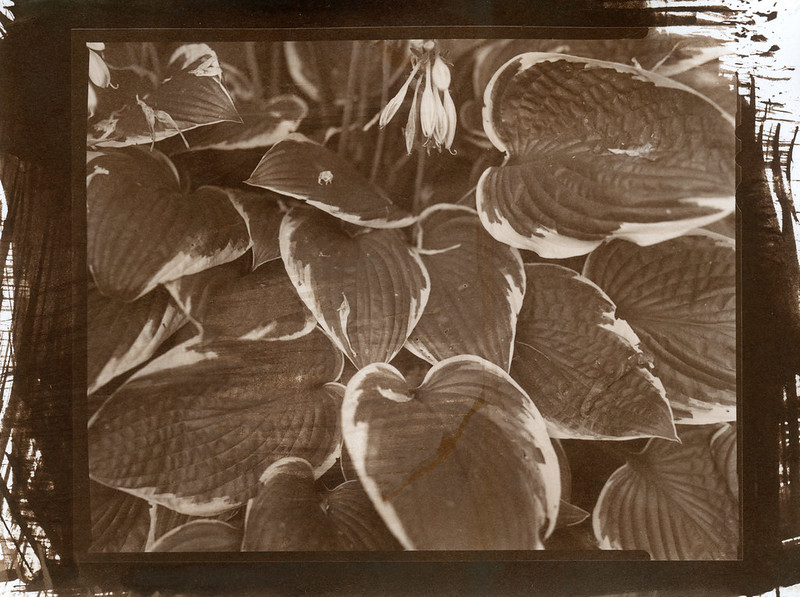
But I'm getting ahead of myself. I happen to have a nice printing frame that my lovely, beautiful, kind, generous and supportive wife (are you reading this darling?) gave me as a gift. If you don't have one (the printing frame, not the amazing wife), a piece of glass or two will do. As long as you can sandwich the negative between the glass and the sensitized paper, you will be fine. I made sure that the silver emulsion on the negative was pressed against the silver coating on the paper. That will give you the sharpest possible image. Then I set the whole thing out in the blazing San Diego sun for about 6.5 minutes. My printing frame has a split back that allows me to check the progress as I go, so there really isn't much guessing and I got a well exposed print on my first try. That's the one of the hostas just above this paragraph.
The print looks sort of orange/brown right out of the frame. Take a quick look in that dim room, but don't dilly dally. Start rinsing the print either under gently running water or in a water bath, agitating and changing the water frequently. "What do you mean by 'frequently'", you ask. Well, it gets a bit fuzzy here. People who live where there is more water than you know what to do with, can just let the water run and run for 10 to 20 minutes. But I live in drought-ridden So. California where the water police are watching and just waiting to double your water charges if your usage increases over last year. So I am probably under-washing my prints and they will only last 50 years instead of the 400 years that the museum archivists like. Since my prints will never darken the walls of a museum, I don't care. So I rinse under running water for a minute or two and then let the print sit in an appropriately sized tub with a couple of inches of water in it for 5 minutes and change the water 3 or 4 times. I figure that has got to provide at least a 1:1000 dilution of the unexposed AgCl left on the paper. If that isn't enough, then I apologize to the future generations of people with bad taste who might have appreciated my prints, but can't because they are too dark.
Next I fixed the print using this solution:
- 100g Sodium Thiosulfate
- enough purified water to make 1L
I just pour enough in the washing tub to cover the print, maybe 1/2 inch deep and let it soak with some gentle agitation for about 5-6 minutes. Then rinse again with the same scheme as before. When that is done, hang it to dry and bingo... salt print deliciousness!


