Tuesday, June 2, 2015

Adventures in Positive Paper

I may have mis-titled this post since the adventure was not really anything to do with the medium. I will just make a couple of technical notes. The paper was exposed in my Graflex Speed Graphic with the Graflex Optar 135mm f/4.7 lens. It was exposed using an EI (exposure index = iso) of 3. The light was indirect sun from a window, so not very bright and somewhat diffuse. Exposure time was ~ 60s at f/4.7. Tray development was done in Rodinal 1:50 by inspection under red light. I think it was around 10 minutes with fixation in Ilford Rapid Fix (1:4). The 'tray' I used was narrower than the paper, so I had to curl it into a 'U' shape and that may have had an effect on development as agitation was uneven.

Okay, the main thing I wanted to talk about was this. I don't take many people pictures. Look around my Flickr feed and you will see lots of plants and random objects and some landscape. Street photography is pretty much absent from my repertoire, and portraits are uncommon if not rare. Let's just get this out of the way. I am an introvert. I don't naturally connect with people, especially people I don't know well. So going up to people and asking them if I can take their photo is an experience on a level with unanesthetized fingernail extraction. I tried to work this out by starting a "100 Strangers" project. I think I made it to #3. Even though the people I photographed were friendly and good-natured, the negative reinforcement outweighed the positive.

That's probably more than you care to know about my inner psychology, so what does all of that have to do with anything? Only this... My youngest son (not so young any more) is the model for a good portion of the portraits I take. He is always willing to sit down and have his photo taken. It might even qualify as "quality time" since he is just curious enough to ask a question or two about what I'm doing and I am willing to take the time out of what I'm doing to explain it. Maybe some day he will want to start taking photographs himself.

So what was I trying to do with these two photos? I wanted to try some 'non-conventional' portraits that were more implicit than explicit. I wanted to do something to add another layer of abstraction. A photo is inherently abstract since it reduces a 3D object to 2D. Using b/w media is another layer of abstraction since most of us see in color. Removing any accompanying environment or context is a type of abstraction. Then I figured that since I was using a long exposure and not in any way 'stabilizing' my subject, there would be some motion blur. I decided to enhance this by using the on-camera shutter release and then intentionally shaking the camera ever so slightly. The first shot was a close up of Artyom's face. This is even more abstract because it isn't immediately obvious what the subject is. Most of us certainly never see another person from quite this close of a perspective. I would characterize this as "expressionistic". It uses a very abstract representation of the subject to say something about them or maybe just to create a beautiful pattern. Artyom is a 'touchy-feely' kind of person. He likes to get up close to people he likes. This photo illustrates that characteristic without explicitly showing him hugging someone. It is an 'expression' of that trait the way I see and feel it in my heart and mind.
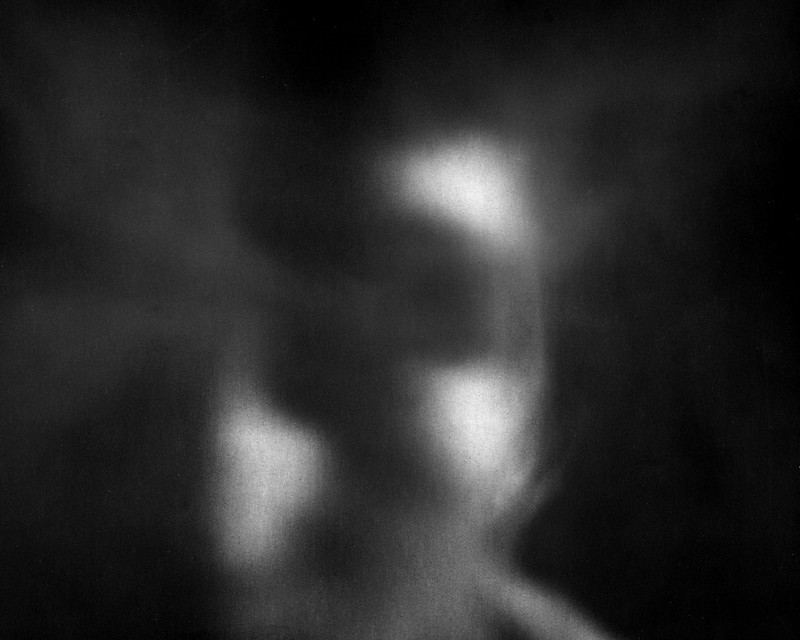
Artyom abstract

The next shot is a little farther back, so that the subject is more recognizable. The high contrast of the photo depicts him in a certain way, but it does depict him. Anyone who knows him would recognize him in this photo. Artyom is very athletic and strong. This photo is very structural. It shows a stark outline of his shoulder, neck and collar bone. His gaze penetrates out of the photo at the viewer. So this image is what I would call "impressionist". It is an image of Artyom overlaid with the impression of his strength. The purpose of the image is not to identify him, but to identify with him. Please take a moment to comment if you like anything about these photos. I appreciate your feedback.
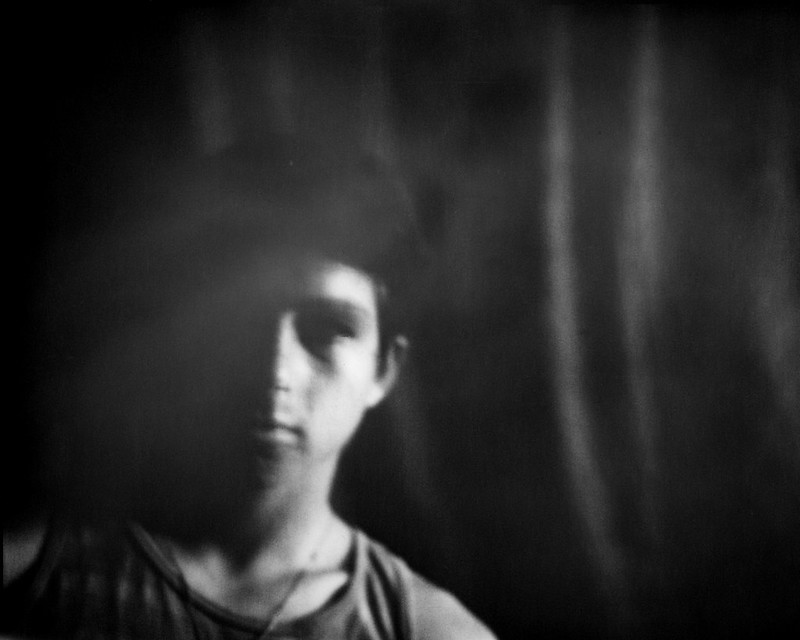
Artyom

Sunday, April 26, 2015

Vericolor III Expired

If you read the post on DIY 120 Film, then this will be old news. Skip to the pictures.

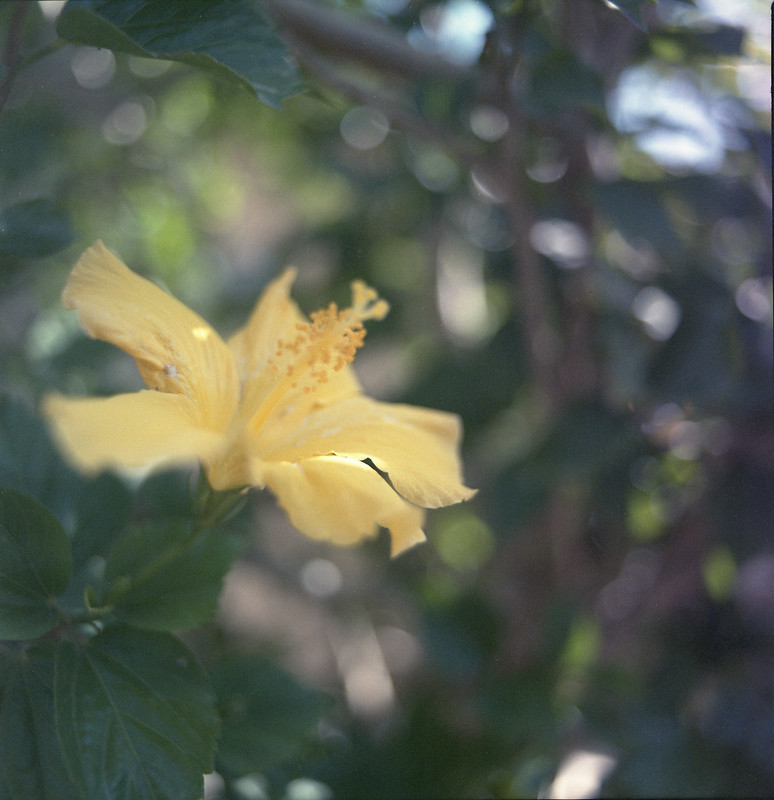
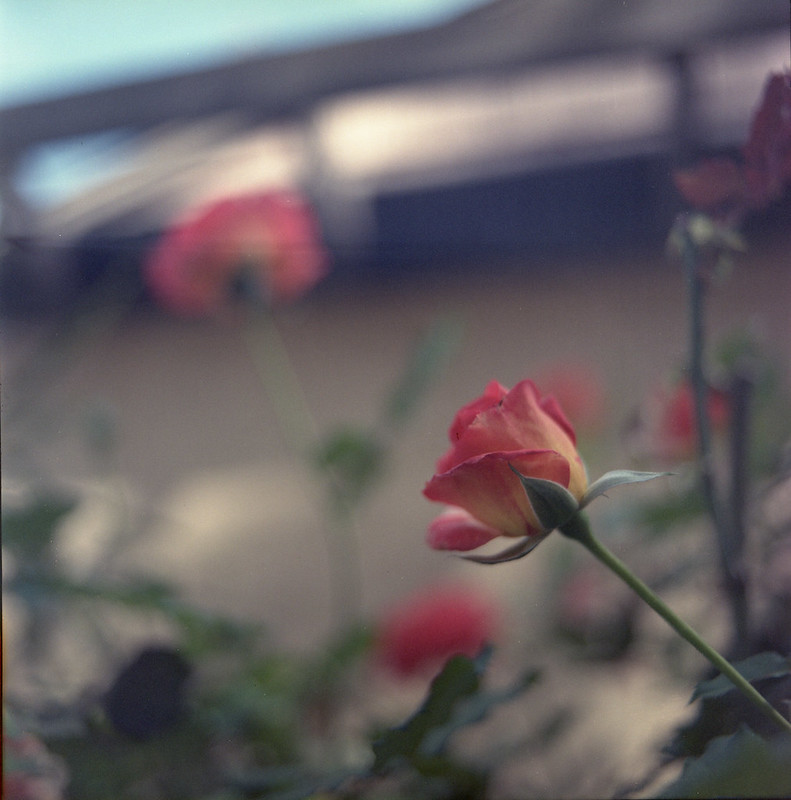
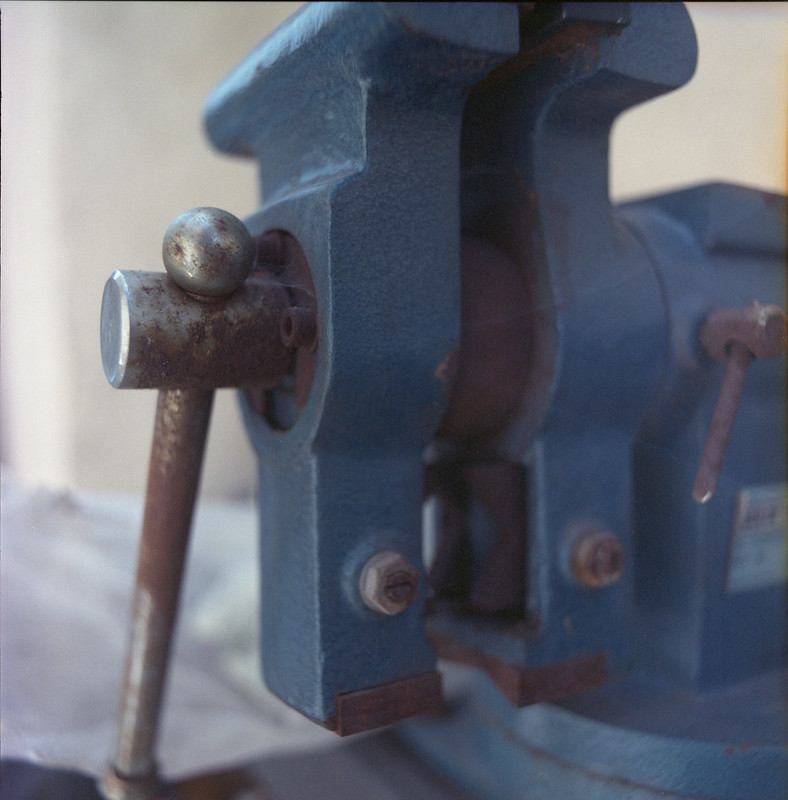
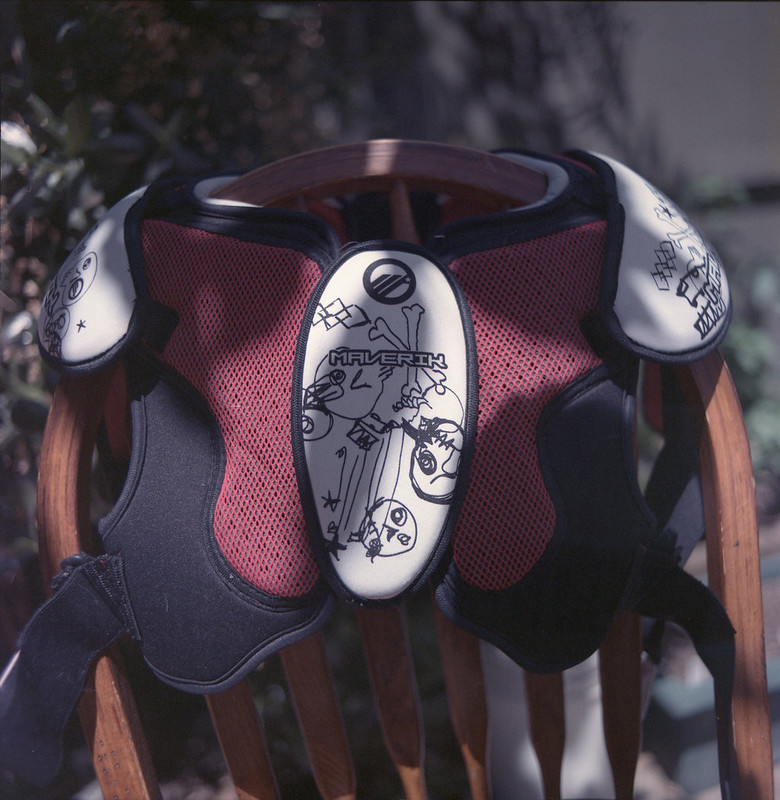
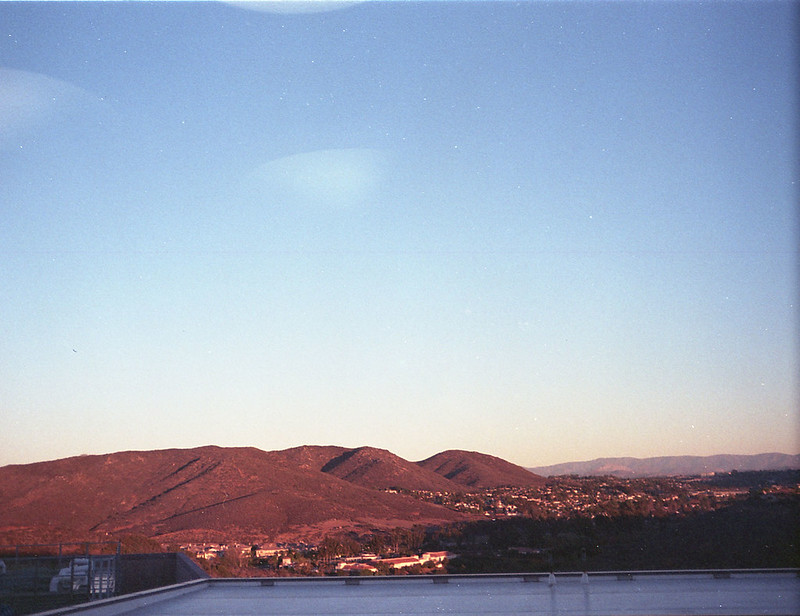
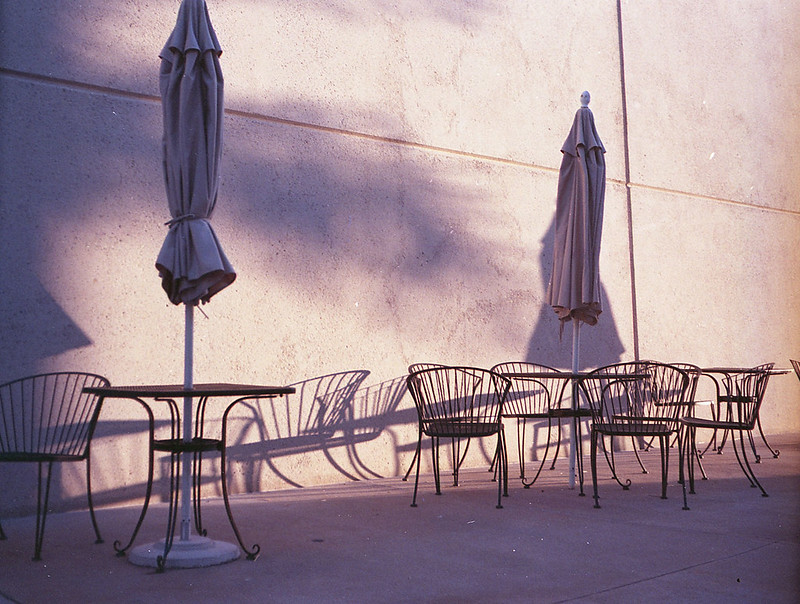
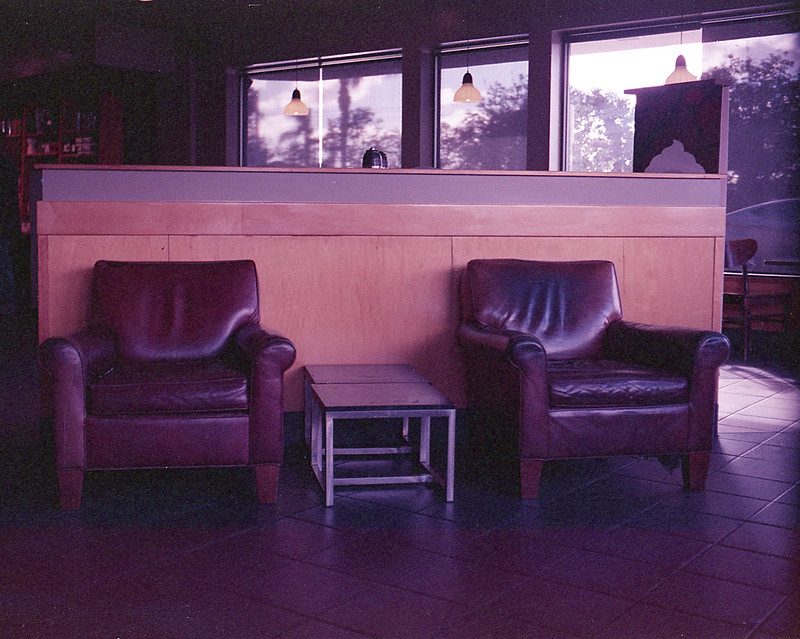
A couple of weeks ago, I found a deal on a 100ft roll of 70mm film. The film expired in 1989 and the seller didn't know how it had been stored, so was selling it at a deep discount. I bought it, knowing the risk. If it had been stored in a San Diego car trunk, chances were that it would be so badly fogged that it wouldn't be usable. However, if it had been stored refrigerated or in a freezer, it could very well make some nice images. As with most 'aged' film, the grain would be pronounced and the speed would decrease about one stop per decade. Vericolor III had a nominal speed of 160, so I decided to shoot it almost 2 stops slower at iso 50. I cut off 1 cm from the edge using the film slitter I made (see link above) and loaded it into my Bronica S2a. I shot the roll and developed it with an old-ish Unicolor C-41 kit at normal times and temps. The uncorrected scans have a bluish cast, but that is pretty easily corrected with the Epson Scan software. It actually does a pretty good job with the 'automatic' corrections it does. So here are a few shots off of that roll. It isn't high art, just some test shots to see how the color and grain fared over the last 26 years.

Hibiscus roses vise lacrosse pads

Wednesday, April 22, 2015

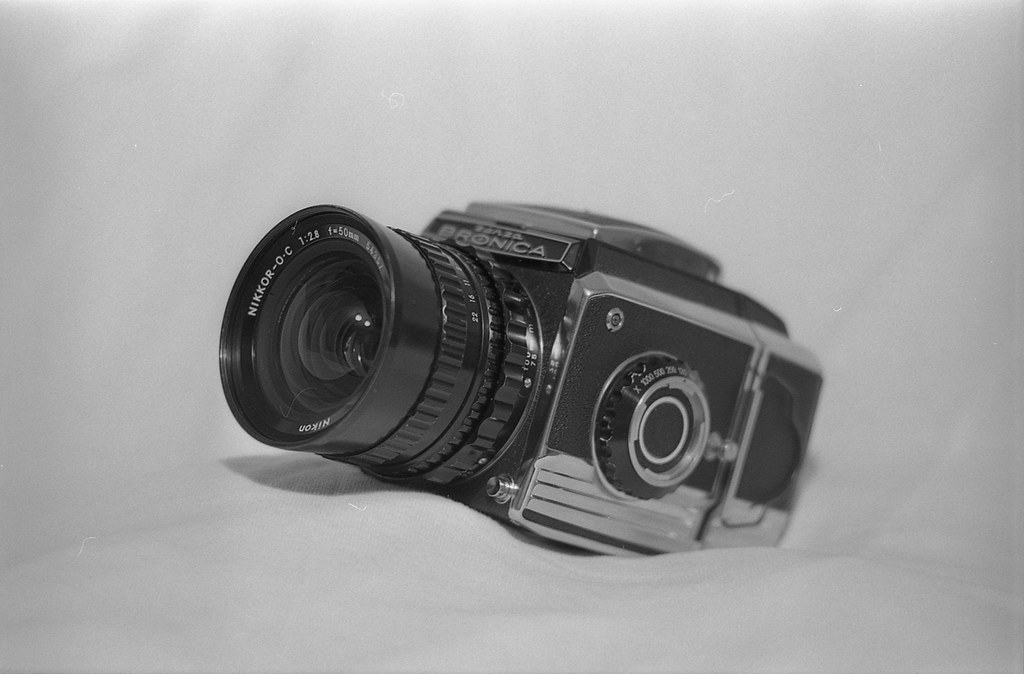
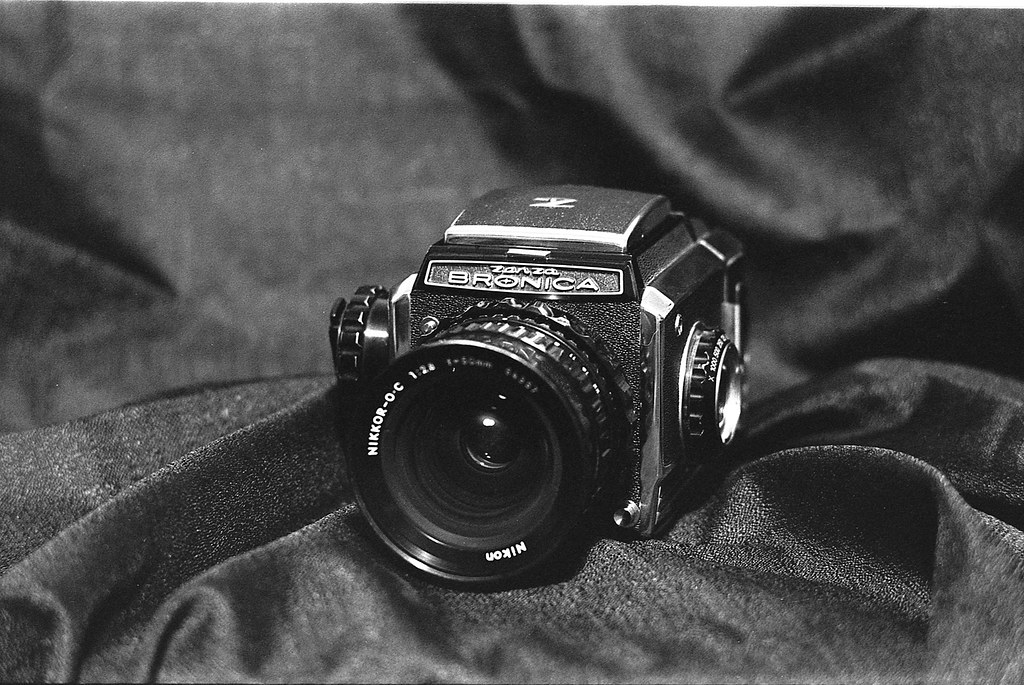
Zenza Bronica S2a

There isn't a lot (or maybe anything) worth saying about this camera that hasn't already been said. You can Google-up it's history, versions, lenses, accessories, user manuals, etc. So why does the internet need one more article about the Zenza Bronica S2a? Well, there are a couple of reasons. Firstly, I (as do most people who blog or write for any media) like to hear myself talk (or type as the case may be). Seriously, I look at my stats and realize that only a handful of people worldwide will every stop and read this. So I write for my own amusement. Secondly, when I am researching something like which medium format camera to buy, I search and read voraciously and I really appreciate people sharing their thoughts and experiences regarding the item I am looking at. Pictures of the item are nice, but I want to hear about how you love the glass or how you hate the WLF. These are the things that drive my decisions... people's passions about the item in question.

With that in mind, I will tell my story...

I got my tax refund. I wonder how many camera purchase stories start that way. I'll be a LOT! I have a Yashica Mat 124 G that I really loved, but it fell off of a shelf onto a concrete floor and now leaks. I try to plug the leaks with gaffer's tape, but between the aesthetic of a taped up camera and having to constantly check to make sure the leaks are still plugged, I just don't use it much anymore. Shame really. I could have bought another 124G, but I started thinking about the SLR family of medium format cameras. A Hassleblad was well out of my budget, so I started looking at the 'upright' types like the Pentax 67 and the Pentacon Six. One of the appeals of this type of camera is that it has a familiar feel for 35mm SLR shooters. You hold it up to your eye and actuate the shutter with your right forefinger. So I looked at those for a while, considering what kinds of lenses I could afford for each and stay on budget. I am not wealthy by American standards, so my camera budget is modest. While looking around studying these two and the Kiev offerings, I came across a review that I had read before, but not really considered, and had actually forgotten. Even if you are not interested in this camera, the review and photos are worth reading. Zenza Bronica MADNESS! over on moominstuff. There is also a very good thread over on Filmwasters. These two reads are largely what sent me down the WLF/Hassy Clone path. I found the looks of the S2a to be very charming. The chrome accents were straight out of a 1950's cafe or soda fountain.

delta100-ftn-017

The descriptions of the sound of the shutter on this camera are a bit hyperbolic, but based in fact. It is loud, like a Japanese shinai coming down on your bogu men. It will turn heads, so if stealth and discretion is the name of your photographic game, save up and get the Hassleblad, or something else with a leaf shutter. I like it, personally. the great "THA-WHACK" of the shutter lets people around you know that you are shooting vintage. About 1 in 2 dozen or so people will comment positively and maybe half of the time they want to talk more about it. I like talking about old cameras, especially with young people (I'm 47, so sort of in the middle presently). They often have a curiosity, but also often don't quite "get it". I was at the Japanese Garden in Los Angeles recently and a mom and her ~ 12 yr old daughter wanted to look at the big camera around my neck. I gave them a brief tour of the features and took the film back off to show them the size of the negative. The girl's eyes lit up when I wound it and fired the shutter. Big smiles all around. Love that.

delta100-ftn-019

The camera itself is a bit of an engineering marvel. The idea behind it was to improve upon the Hassleblad. In some ways they succeeded. Partnering with Nikon to make the lenses and do the QC on the cameras was a stroke of genius. The camera itself will surprise you with some of the features. The fact that the focusing helicoid is separate from the lens and the body is very cool and kept the price of the lenses down. The body "knows" whether the shutter is cocked and also knows whether the film is wound. That means you can wind the film and cock the shutter, then change the back to one that hasn't been wound and the camera won't fire until you wind the film. Awesome! Inversely, if you have not wound the film or cocked the shutter and then switch to a back on which the film has been wound, you can turn the crank to cock the shutter without winding the film and losing a frame. Spectacular! The shutter won't fire with the dark slide in and the back won't come off without the dark slide in. The dark slide won't come out of the back when it is not mounted on the camera. Like I said, a marvel.

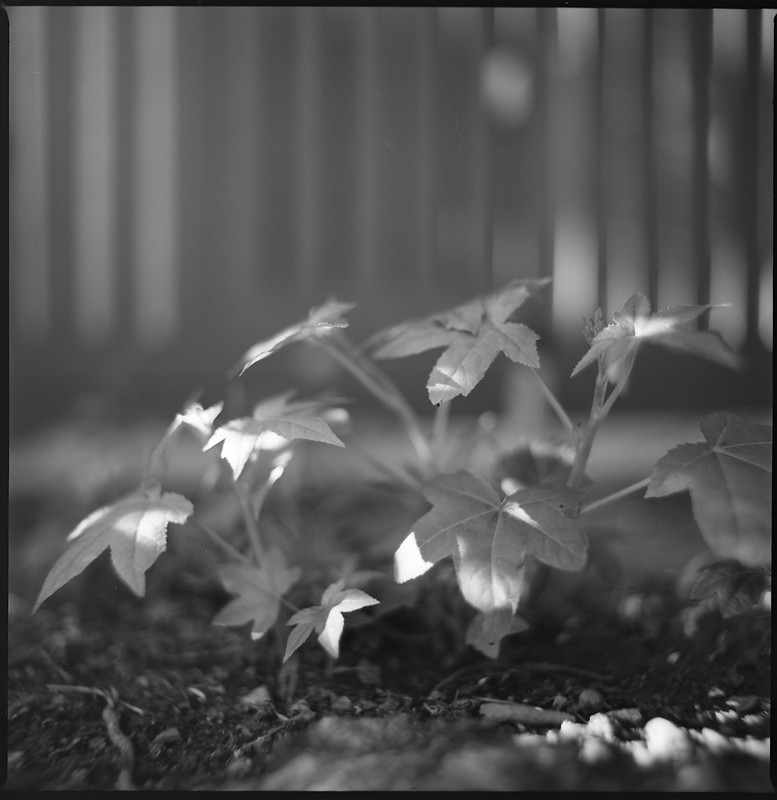
acros-s2a-011

I would recommend a good strap for this camera. It is not light by any stretch of the imagination and a thin leather one will make you want to swing it around and pitch it like those olympic hammer thrower guys. I highly recommend the Op-Tech Pro line. They make them with the correct attachments for the Bronica lugs. There are two versions so make some careful measurements and order the right one.

I should say in conclusion, that I really like this camera. The weight helps me to hold it steady when using the WLF (waist level finder). The ergonomics are good for my hand size and the size and sound help me meet other people who are interested in old cameras. On the down side, the view finder could use some help. It is not very easy to focus with, even with the nifty pop up magnifier. There are brighter fresnel lenses that will fit, so I may get one of those and see if it helps. There is also a well-known problem with degradation of the foam under the ground glass. This is easily fixed, so it is only worth mentioning for those who want to buy a 50 year old camera in perfect working order and never have it serviced. Over all, the benefits outweigh the liabilities by a mile. I am going to really enjoy shooting with this camera for a long time. Let me know if you have experiences good or bad. I like to talk to others about old cameras. ;)

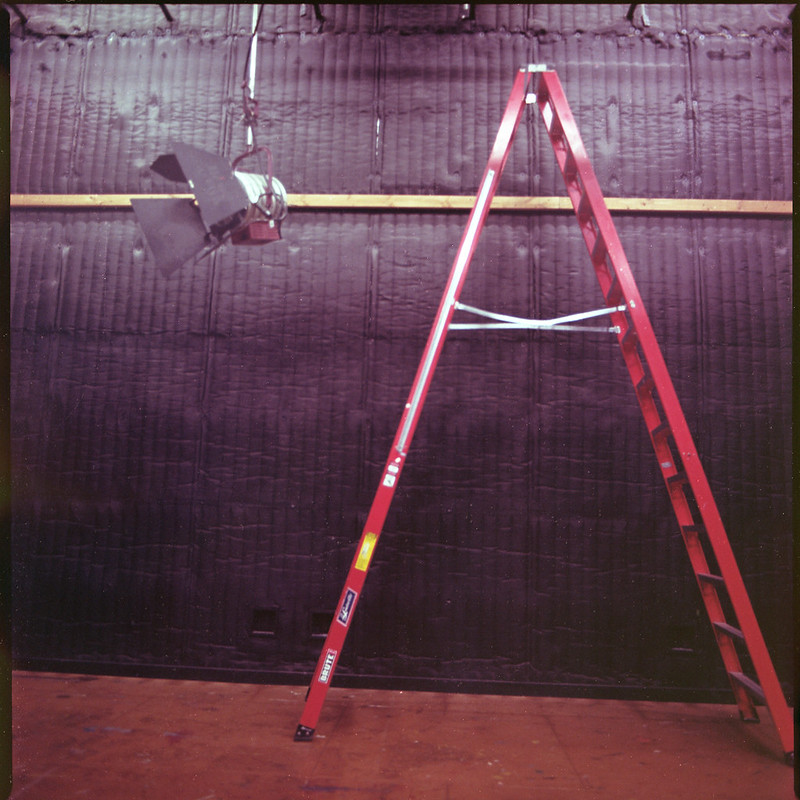
Sound Stage portra-s2a-023

Monday, April 20, 2015

DIY 120 Film

I am in the habit of saving the spools and backing papers from the 120 film I use. I keep thinking, "At some point these will be useful somehow." You know, typical pack rat mentality. I have long wanted to reuse them for their intended purpose and reload 120 film from bulk rolls. Sadly, it seems that I might be the only one. The film manufacturers just don't make bulk rolls of 6 cm film stock. So recently, while poking around the analog photography corners of the big auction sites, I found a bulk roll of 70 mm Vericolor III. It was cheap because the current owner didn't know how it had been stored. It was unopened IOB and marked expired in 5/89. Twenty-five years is not too old for film kept refrigerated, but kept in a So. Cal. closet, 25 years can be pretty damaging. Ah well, it was cheap (about 35¢/ft = <$1/roll). So I am set for rolling 616/116 rolls (though I need to get my hands on some backing papers), but I'm ~1cm too wide for 120. What I need is commonly called a film slitter. These are common among the sub-mini shooters who need to cut 35mm film lengthwise to fit their tiny format cameras. However, they are not so common for the medium formats. Being me, I figured "How hard can it be?" and drew a couple of little sketches to see what I thought might be feasible. For me though, the design work really starts happening when I sit down with a cutting mat, some foam core and an exacto knife.

Here is a list of the materials I ended up using:

  • Black Foam Core
  • Self-adhesive Flocking Material
  • Single-edged Razor Blade
  • Steel Ruler
  • School Glue
  • Thick Tape (Gorilla Tape)

The following is just my experience. I am not suggesting that you do this. Razors are sharp and you can get cut if you are not careful. Please don't sue me if you cut yourself or ruin a bunch of film. I am not liable for anything bad that happens as a result of anyone following these steps.

First, I made the film channel. I did this by cutting and gluing a foam core 'sandwich' with two narrow pieces on either end to create the gap and a 70mm wide channel through the middle. If I made another, I might make this with thinner material in the middle, but as it is, the thickness makes a good amount of material to hold the razor blade. I lined the channel with the camera flocking material. In my mind, it seems like this will help prevent scratches as the film passes through. In practice, it might just hold dust and stuff that will make the scratches worse. We'll see.

Next, I measured off 61mm and cut a slit in which to insert the razor. I could make other slits for different formats like 127, but maybe on the next one. I figured inserting it at an angle would increase the cutting efficiency and give more surface area for the razor to 'grip'. I don't want to glue this in as I would like to be able to change the razor if it gets dull. There was still a good amount of the razor exposed, so I used the Gorilla Tape to cover the sharp edge. Obviously, having an exposed razor in the dark is a bad idea.

Finally, I figured it would be good to have another channel to feed the backing paper through since it needs to line up with the film while I roll it onto the spool. I cut another piece of foam core to the width of the slitter and instead of using foam core pieces to make the channel, I just rolled up some Gorilla Tape and used that. This makes a narrower chamber and the paper slide through nice and straight. Here is a shot of it ready to go into the dark room. The film will be feeding through the top channel, emulsion side up. I put a crease in the backing paper where the film should start. In the dark, I just line up the end of the film with that crease and start rolling. There is another crease at the other end where the film gets taped down.

In the dark, I got the film out of the can and put the spool back into the cardboard box it came in so that the emulsion was up as I pulled the film out. I then started feeding the film into the top channel of the slitter. It wouldn't start cutting. After a few false starts, I decided I had to cut some off and try in the light. So I cut about 10" and put the spool back in the can, and put the can back in the box. In the light, I had no better luck. I thought the razor would just cut through that film like a hot knife through Justin Bieber's face, but it would not start. So I cut a little notch 1cm from the edge and tried again. Success!! It pulled through trimming a perfect 1cm strip from the edge of the film. So that's the trick. I have to start a cut 1cm from the edge in the dark. I cut a little strip of thin cardboard from a cereal box 1cm x ~6cm. This would be my guide. In the dark, I held the guide even with the long edge of the film and made a cut with a pair of scissors. Then I fed the film into the slitter and pulled the edge through so that it was even with the crease in the paper. Then I would pull a few inches through and roll it up, pull, roll, pull roll. All the time I was feeling for the final crease. That is where I would cut the film. I figured if I want to do another 120, then I would cut the film on the near side of the slitter, leaving the 'start' for next time. If I want to do a 116 next, I would cut the film on the far side, leaving the full 70mm width with no starting cut.

I loaded this 120 roll up into my Bronica S2a (article on that camera to come) and went out to test it and see if it at least fed through the camera normally. Twelve shots came off without a hitch. I suppose I could roll 220, but I would have to devise a way to measure the length in the dark. Not impossible, but probably not worth it since I don't really like 220. I will post some of the pictures if the film turns out to be any good. Feel free to post any questions or comments about this slitter or one that you have made. I am eager to improve the design.

Tuesday, February 17, 2015

From Russia With Love

I might be in love. No, I’m not getting a mail-order bride. I am talking about the Jupiter-8 lens that was given to me recently. This is a copy of the venerable Zeiss Sonnar design. This design was patented in the 30’s and is still being produced by most major lens makers today! My copy was probably made in the 60’s, so the coatings are somewhat primitive, leaving it susceptible to flares. It is just something to be conscious of, not really a problem and sometimes flares can be used intentionally to add to a composition. This photo has a very subtle flare in the upper left corner, but I wouldn’t say it adds or detracts from the image (which is kind of boring to begin with). The lens was mounted on a Fed-3 which is also a copy of another German design, the Leica. This camera is built like a tank and just works every time I push the button.

I know the backlit dandelion has been done to death, but I thought I would do a little twist on it by shooting an unopened flower as the main subject and the ‘puffball’ as an out of focus element. The lens was wide open at f/2 and I may have missed focus by a centimeter or so. The film is expired Kodak Ektachrome Slide Duplicating film cross processed in Unicolor C-41 chems. The scan was done on an Epson V600 and dust spotting in PS. No other adjustments were applied.


slidedupe-fed3-021

Monday, December 15, 2014

The Flying Leatherneck Aviation Museum

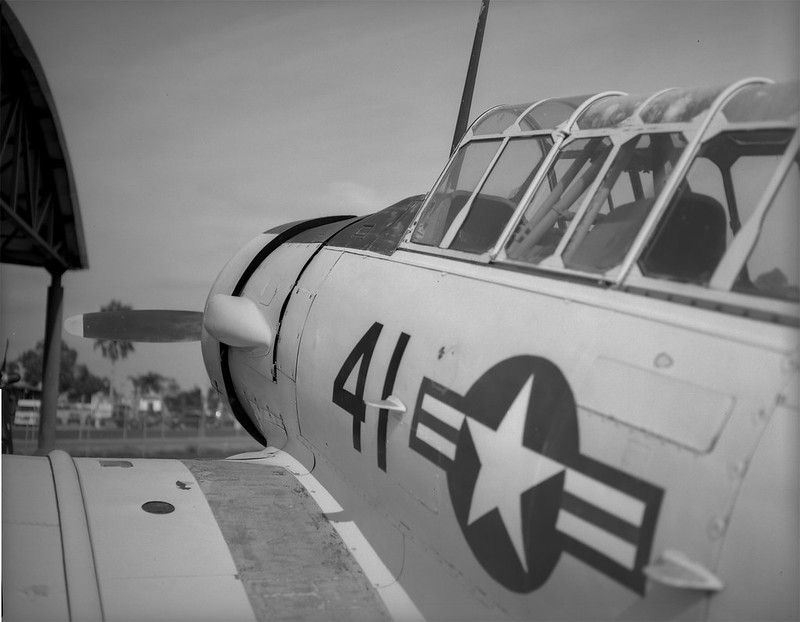
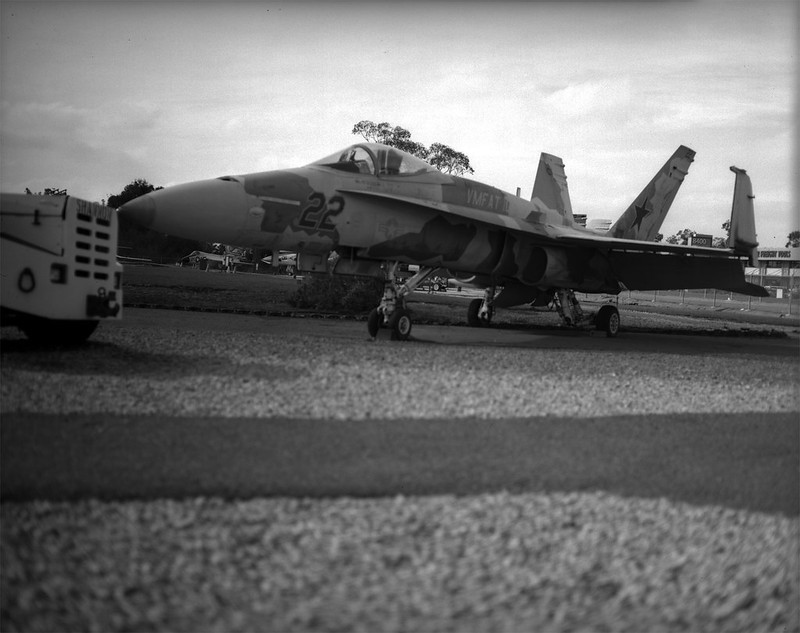
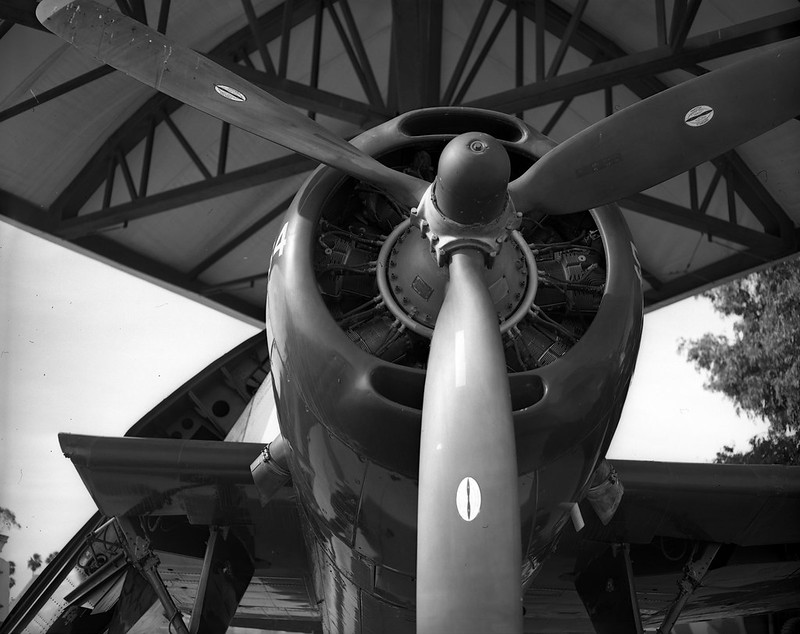
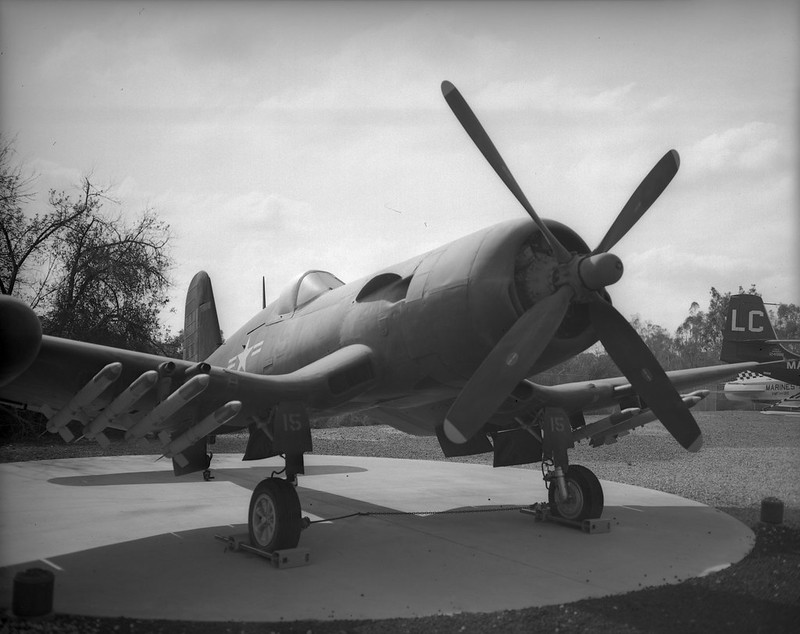
Ever since I was a little kid, I loved airplanes. The thought of flying was the most thrilling thing I could think of. In 1976 when I was 9, a show came on TV called Baa Baa Black Sheep. It was about Marine Attack Squadron 214, AKA The Black Sheep Squadron. This was a squadron of 8 F4U Corsairs, which immediately became my favorite fighter. I guess it still is. I love the look of the plane. The inverted gull wings and the enormous engine make it so unique and in fact proved to be a formidable fighting machine, serving from 1942 - 1953. But I really just like planes in general, so when I get the chance, I drive a couple of miles over to MCAS Miramar where the Flying Leatherneck Aviation Museum is. Last week I went over and took my 50's vintage Graflex Speed Graphic with a Graflex Optar 135mm f/4.7 lens and some sheets of Ilford Delta 100 film. The day was cloudy, so exposures were a little tough. Working with a large format camera means you are taking time to do everything and double checking it all before you trip the shutter. On days when clouds are covering and uncovering the sun every 30-60 seconds, that's a problem. So I just took an average reading and figured I would stand develop the film and that would correct for overs and unders. So here are the pics from my day at the Flying Leatherneck Museum.

Leatherneck 7 Leatherneck-8 Leatherneck-9 Leatherneck-4 Leatherneck-2 Leatherneck-5

Saturday, November 8, 2014

Perforating 126 Film II

I thought I would follow up with a little bit of what I've learned after using the perforating rig on two rolls and running them through the Kodak Instamatic 500.

First, there is a little bit of room in the rig, so the film can slip down maybe a mm or two and the holes end up being up on the edge of the film. That makes them too high for the shutter reset pin to engage. Here is a pic of the shutter reset pin in the camera.

And here is one of the film I perforated.

The two strips on the bottom are the first roll I did and after I only got 5 shots for 12 perforations, I was more careful about lining up the second roll with the top edge of the perforating jig. That one did much better and I got 10 shots on that one. The ones that missed were still up at the top edge. I attribute this to the 'wiggle room' I mentioned before and also to the fact that the holes are hard to find in the cardboard in the dark. Also the paper hole punch is a little difficult to manage in the dark because I have to get the cardboard and the film into the punch where it is designed for only a piece of paper to go.

The next steps are to cut a new jig out of 1/16 inch acrylic and possibly purchase a hollow leather hole punch to make the holes in the film. That would be simpler because I would just have to get the end of the punch into the existing hole in the jig and turn with a little pressure to punch out the film.

One last issue is frame spacing. I used an old roll of 126 film to position the holes in the jig, but the holes in the film are oblong, so I just aimed for the center. That made the images on the film come out right next to each other without any spacing between. I will adjust the distance between the holes and see if that problem doesn't go away. Stay tuned.

Here are a few shots I took with this film. It is Konica brand color negative film which I shot at its box speed of 160. It came out with a purple cast, which is not the end of the world, but I might lower the speed and see what it does. Also, my C-41 chemistry is WAAAY past the manufacturer's recommended roll count, so I will mix up a new batch.

instamatic-007
instamatic-006
instamatic-015