Sunday, October 30, 2016

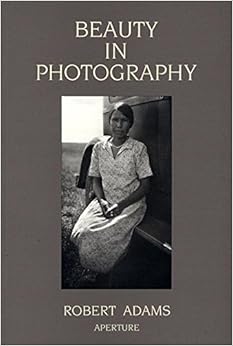
Book Review - Beauty In Photography by Robert Adams

Robert Adams is a photographer. He is best known for his landscapes of the American West and the development of the wild places therein. He is also a writer, and not just a writer, but a former English teacher. If you are looking for a "bathroom book" with a little blurb written in language familiar to the average 4th grader next to each picture, look elsewhere. The essays in this book are thoughtful with references to artists and authors that were unfamiliar to me. I kept my phone nearby, so I could look things up quickly in order to better understand the points being made. It isn't some esoteric tome of collected writings culled from the briny depths of academia, but you are going to find yourself re-reading some of the passages more than once to get a full understanding of Adams' point. Having said that, I found the essays in this book to be enjoyable and enlightening. For a book on photography, there are relatively few images. They are printed in black and white, though I don't think that any of them were originally color images, so that's fair. They are illustrative examples though. The point of the book is not to display beautiful photographs, but to describe Adams' thoughts on what makes a photograph beautiful. It is a book of essays about photography, not a book of photo-essays.

The first essay, "Truth in Landscape" is a brief but tightly packed essay that explores landscape photography and what it should (and shouldn't) be. Adams explores the possibilities and pretenses of landscape as well as the necessity for it. He talks of three qualities of landscape photography; geography, autobiography and metaphor, and details how the balance (or imbalance) of these can make a photo truthful and therefore meaningful and therefore beautiful. This is a short essay and well worth the brief time taken to read it.

"If the goal of art is Beauty and if we assume that the goal is sometimes reached, even if always imperfectly, how do we judge art? Basically, I think, by whether it reveals to us important Form that we ourselves have experienced but to which we have not paid adequate attention. Successful art rediscovers Beauty for us." This is from the second essay from which the book gets its title. It is a discussion of, you guessed it, beauty (which the author always capitalizes). I have to say, I think one of the reasons I liked this book so much is that I agree with just about everything Adams writes, so what's not to like? The quote above encapsulates my feelings about why I choose the subjects I do to photograph. I select the mundane, the ordinary and try to capture it in a beautiful way that (I would like to think) makes people say, "Hmm, I never thought of that as beautiful before." Adams goes on to link beauty with truth, which also strikes a chord with me as I am a Christian and a believer in absolute Truth. Adams says, "Is Truth Beauty and vice versa? The answer, as Keats knew, depends on the truth about which we are talking. For a truth to be beautiful, it must be complete, the full and final Truth." To me it sounds like he is talking about Truth that is independent of our belief or experience. Objective truth reveals objective beauty. This is a little harder to get one's head around since it is nearly impossible to separate our experience of viewing a photo from our life experience up to that point. We are not 'objective' creatures by nature. Still, I think it is a worthy artistic goal to try to take photos of beautiful truths.

The next essay is entitled "Civilizing Criticism" and in it Adams discusses the critique of art. I didn't think I was going to like this essay since I don't generally place much value on whether a critic likes something or not. If you read the paragraph above, you will see that (Adams and I think) beauty is rooted in Truth and in a personal connection to the subject of a photo. "Criticism's job is to clarify art's mystery without destroying it. Short of that it is a clumsy, intrusive embarrassment." He goes on to discuss three questions proposed by Henry James... What is the artist trying to do? Does he do it? Was it worth doing? I will leave the discussion for you to read, but will say that Adams identifies this as the "right methodology" for criticism and further identifies John Szarkowski as one of the few people to have employed it successfully. He is next on my reading list.

In Photographing Evil, Adams addresses the reasons we might want to take or view photos of evil things or events. "...photography as art does address evil, but it does so broadly as it works to convince us of life's value; the darkness that art combats is the ultimate one, the conclusion that life is without worth and finally better off ended." A more worthy cause I cannot conceive.

I really enjoyed Making Art New wherein Adams talks about the idea of making original art and the fallacy of that pursuit. He says "the only thing that is new in art is the example; the message is, broadly speaking, the same - coherence, form, meaning." He talks about making old things new again instead of trying to create something heretofore inconceivable. We can rely on the previous millennia of art to shape our vision without replicating specific pieces (although sometimes that can be fun). Bringing our experience and unique sensibility to an image is what makes it 'new' even if it is an image of the Eiffel Tower or the Grand Canyon.

The book is concluded with three very brief essays about individual artists. These are interesting and have caused me to look further into their work. I will probably come back and re-read these once I have explored the artists a little more and am more familiar with what they did.

So there you have Beauty In Photography, in a nutshell. I hope something in my review will prompt you to go pick it up. Each essay is good and can stand alone, so you don't even have to read it cover to cover, though I'm not sure why you wouldn't. Drop me a comment if you have read the book and/or have thoughts on the topics. Art is almost as much fun to discuss as it is to create!

Sunday, October 9, 2016

Apples and Oranges... and a Sunflower

I have wanted to write a little comparison article about these two films I have for a while, but you know... life... I finally got around to developing some sheets I had exposed months ago and I was happy to see that I had taken the same photo with each of these films. So, let's get to it.
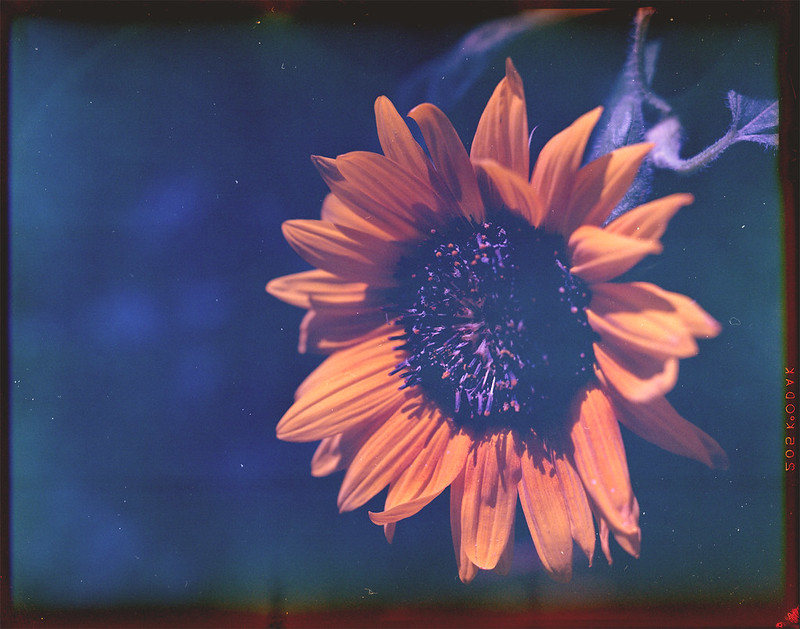
First, let's get the variables out of the way. Both are 4x5 sheets taken within minutes of each other with my trusty Graflex Speed Graphic with the nice Graflex Optar 135/4.7 lens mounted. This was in early summer in the full mid-day sun. Film #1 is Kodak Vericolor II expired in 1997. This film is tungsten balanced, so shooting it in sunlight gives a blue cast. This can be corrected either by putting an 85 color correction (warming) filter on the lens or applying it in post. I do the latter. The problem with this particular box of film is that I don't think it was stored well and the base is fogged. Also, the edges drop off suddenly. I think the original box speed was around 80, but I shoot it at iso 25 to try compensating for the base fog. However, with all of these flaws, it can make some interesting and dramatic photos. Please excuse the dust on this, I hadn't really planned to share this, so I didn't dust spot.
Graflex_Vericolor2_1
You can obviously see the blue shadows and the high contrast. I could let the shadows drop out, but then I would just have some orange flower petals floating in space. I would rather let the film's character shine through and appreciate the uniqueness.
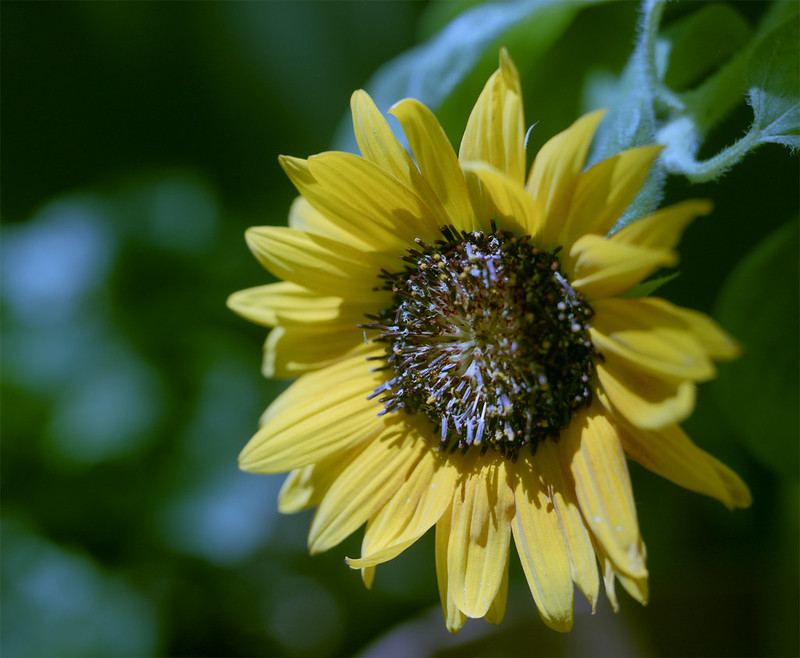
Next is Kodak Internegative Film. This was intended to make a positive duplicate from a negative which would then be used to make more negatives. Alternately, it could be used to make negatives from slides which would then be used to make prints. So it wasn't really intended to be a 'pictorial' film used in the camera. It was meant to be used in a commercial enlarger. With that in mind, I am shocked at the quality of this film. I don't think there was a set iso. The technician would have to test and adjust exposure depending on the original and any filtration they were using in the enlarger. I shot this at iso 5.
Graflex_Internegative_3
The colors are beautiful and the grain is nice and smooth. As I discovered when I scanned these and as I said in the title, these two films are not 'comparable'. So in that respect this little experiment failed. But that is not to say I didn't learn something. I found that the internegative film will produce nice smooth, accurate photos at iso 5. With a moderate scan resolution, this makes a 90 megapixel image that can be enlarged to any size you like. On the other hand, the Vericolor II makes a more unconventional/challenging image that brings a layer of abstraction to the subject. This definitely has its place in most film photographers' repertoire.
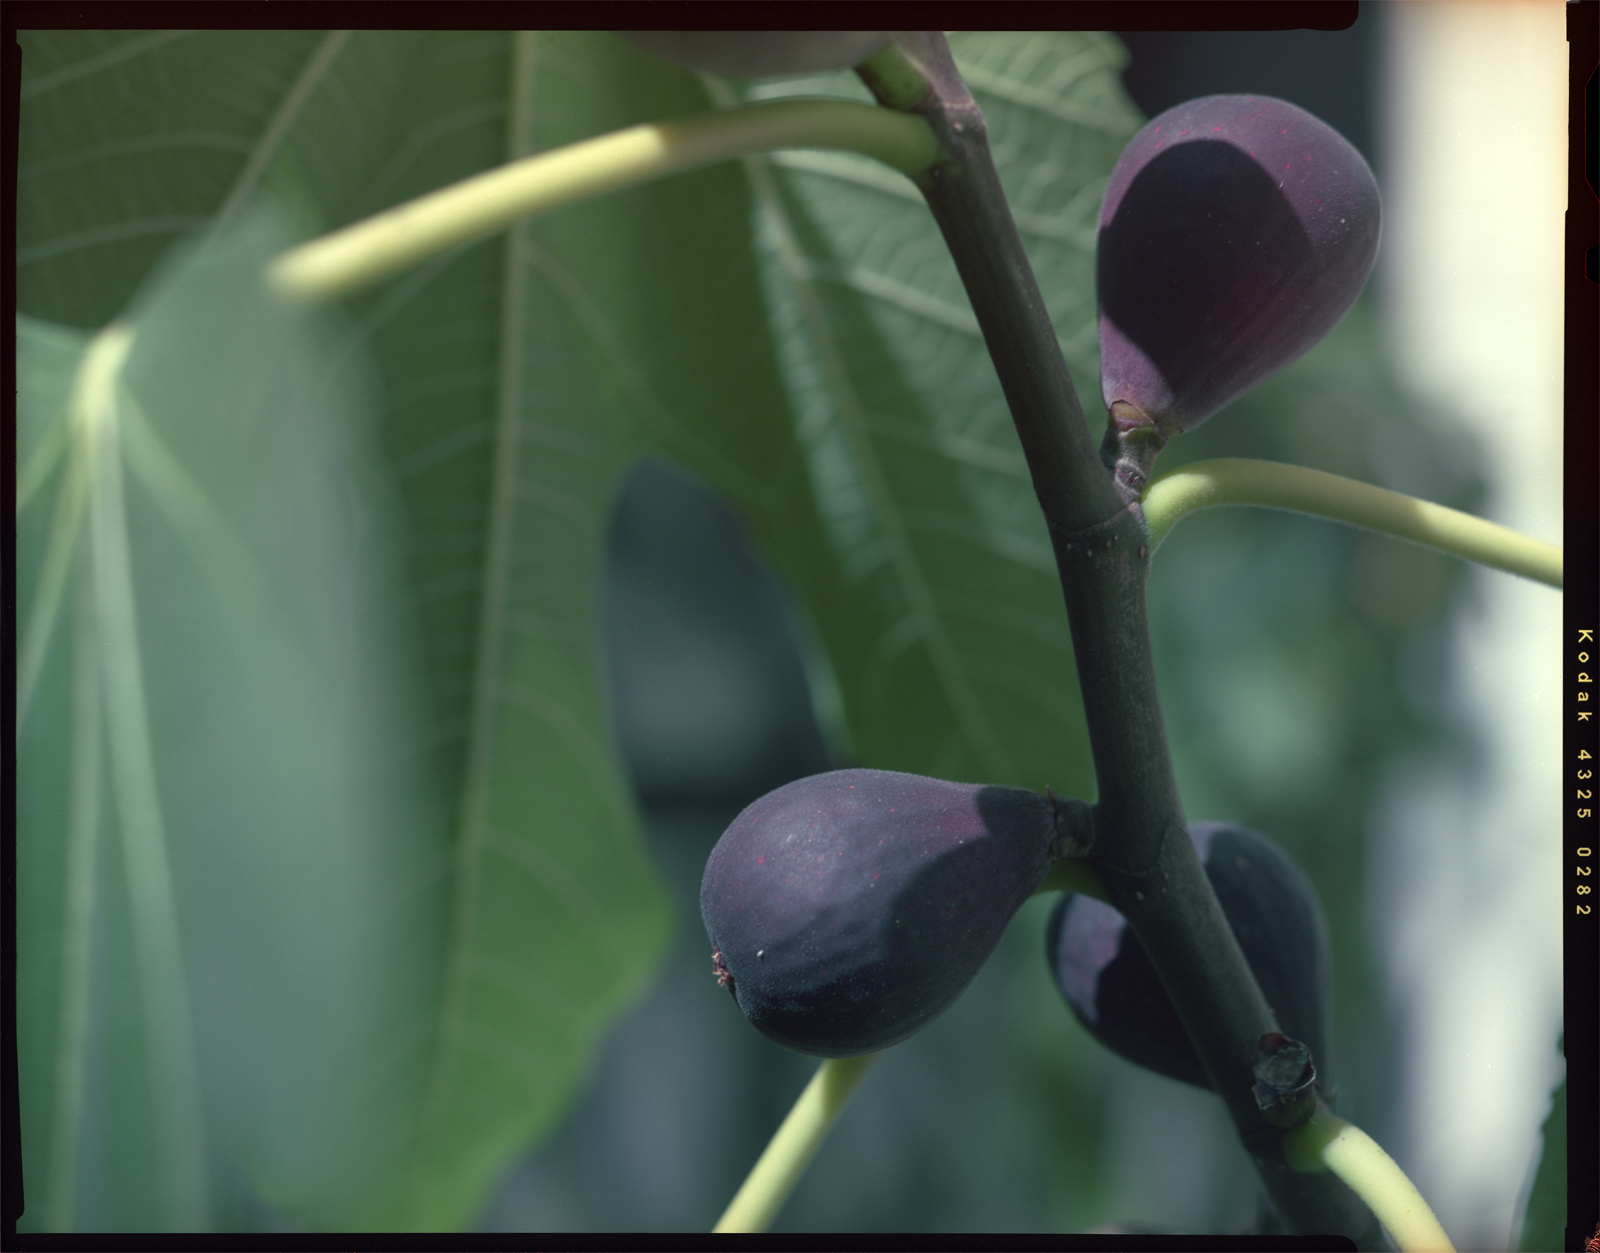
Here is another example of each film just for good measure. Enjoy.

Tuesday, June 28, 2016

Putting That Chemistry Degree To Work

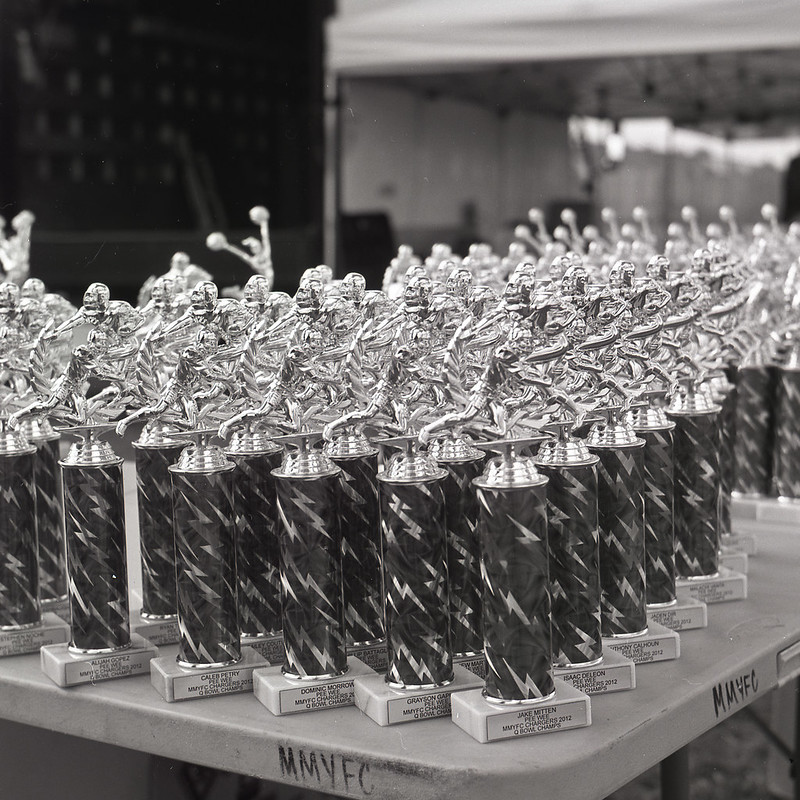
I have been a user (if not a devoted one) of caffenol ever since I ran into Reinhold's blog and saw the wonderful results he and others like Jon Caradies get with that simple 3-ingredient developer. I do enjoy weighing the ingredients on my little 3-beam balance and making the solution. The smell is a little funky, but I think it's growing on me and I don't mind it so much anymore. I even have my own modest gallery on Flickr where I upload various films both expired and fresh that have been processed with this earth-friendly concoction. Here is the first photo I ever developed and shared that was processed with caffenol-C-L.

Youth Football Trophies

I even went out on a limb and made my own variant, substituting ground up eucalyptus bark. I called it eucalyptol. You may have read about it HERE. That one needs to be revisited with a little different methodology, but I'll save that for another post. For this post, I want to talk about something very different. Okay, maybe it isn't "very" different. It is still a 3-ingredient developer made with things that are readily available at your local drug store and/or online. I chose to get my ingredients online just because it is easier than driving around to different places trying to find things. So what is this "different" developer? It is called Parodinal because it is a Rodinal clone based on Paracetamol. Paracetamol, also known as Acetaminophen, is the active ingredient in Tylenol which is cheap and abundant. Here is the shopping list and the amounts I use for a single 250 mL batch.

  • 30x 500mg Paracetamol tablets
  • 50gr of Sodium Sulfite (Anhydrous)
  • 20gr of Sodium Hydroxide (Anhydrous)
  • Water (distilled) to make 250ml

I based this recipe on what I found over on Martin Zimelka's blog. He in turn learned about it on APUG (I think).

For my first batch, I went simple. I made the Sodium Hydroxide (drain cleaner crystals) solution, then I just crushed up the Tylenol tablets with a stainless steel mortar and pestle and tossed it in. The Sodium Sulfite did not dissolve even in warm water, so I just combined the two as best I could and figured it would either work or it wouldn't and if it didn't, I'd try something different. But guess what? It worked!

S2a-acros-001

It was a cloudy suspension for sure. The binders and coatings of the ground up tablets did not dissolve and just sort of sat there. They didn't seem to have any effect on the action of the developer and that jives with things I read online. It's just sort of disconcerting to have a cloudy developer. You get the feeling that that all of that sediment is somehow ending up on your film. To get around this, some people either start with neat paracetamol. That gets around the sediment problem, but it is a little more expensive and a little more difficult to obtain. Others filter the binders out of the solution, I suppose with something like a coffee filter. That is also effective, but sheesh! That can take a loooong time to filter. Who has the patience for that? So what is a chemist turned data scientist to do? Extract the paracetamol away from the binders! Alright, so that isn't really going to save me any time. In fact, it's probably going to take a lot longer since I don't have a roto-vap handy. Ah well, it would be fun and interesting to see if I could get a clear developer that worked.

So off I went to the hardware store to find an organic solvent that would dissolve the paracetamol and leave the binders behind. I had done some internet research and found out that methanol is great at dissolving paracetamol. But pure methanol is hard to buy because it is quite poisonous. Next best? Ethanol. Denatured alcohol is mostly ethanol with a little bit of methanol thrown in to make it undrinkable. I ground up 36 tablets, just in case the extraction efficiency was low. I ground them up very fine and poured it into a bottle with 200 mL of denatured ethanol. I shook that for a few minutes. Then I let it settle and poured the supernatant (the clear part) through a coffee filter into a plastic tub. Thinking back, a shallow glass dish would have sped things up. That took about 2.5 days to evaporate. Yeah, I know. Filtering would have been faster, but this has more 'cool factor'. Once the ethanol evaporated, I had a pink-ish powder. I scraped it off the walls and bottom of the tub and weighed out 15g. I ended up with a few grams left over, so that means that the extraction efficiency is quite high. Now I used that as my paracetamol source and followed the recipe as before. Bingo! A nice clear solution (with some of the sodium sulfite settled on the bottom). I let it 'age' for a few days and a sort of 'crust' formed on the top. So I gave it a shake and re-filtered this off along with the extra sulfite. The next day, the usual 'rodinal' crystals formed on the bottom of my bottle and I knew I was in business. I had a nice clear parodinal with preservative crystals. The only thing left to do was to develop some film. So that's what I did.

Isolette-Acros-010

So what are you waiting for. Get out there and make some developer! :)

Sunday, April 17, 2016

127 - The Other Square Format

When you talk to a film photographer about square format, the first thing that probably comes to their mind is medium format 6x6 cameras that take 120 film. That is the format that most square shooters are using today (Impossible instant film notwithstanding). However, there are still a small handful of photographers using another square format. The film is 46mm wide and takes nominally 4x4 images. Back in the day, the family photographer would use slide film and they would be processed and mounted in the same size slide as the regular 35mm slides, but the opening accommodated the larger 4x4 image. It was a "super slide" and it filled the living room screens of families across the globe like never before. Since slide film is rather unforgiving as far as exposure, you needed a good camera with a full set of aperture and shutter speed controls. Kodak and other manufacturers made a whole slew of cheap plastic cameras with cheap meniscus lenses that took 127 format film. These were primarily used for print (negative) film which could manage the overs and unders of fixed aperture, fixed shutter speed cameras. There were other manufacturers that produced full-featured cameras for the 127 format. Among the most popular were Rollei in Germany and Yashica in Japan. This film used to be cheaply and abundantly available in many different flavors. These days there are about 4 fresh stocks available. You can find them at Frugal Photographer in two color and two b/w emulsions. These range from $11.45 to $14.95 for a single roll, so it's a little rich for my blood. However, recently I was given a 100' roll of 46mm film in some sort of expired, rebranded emulsion. It says "Konica 160" on the box with an expiration of 3/2006. This is right up my alley. I had an original 127 backing paper that probably came in one of the Brownies, so I used that as a template to cut some new backing papers out of old 120 rolls (I knew saving those would pay off some day). I cut the film off of the spool to the right length (I have a string the right length, so I can measure it in the dark) and taped it to the backing paper and rolled it up on the little metal spools. I wrapped these in aluminum foil just in case the backing paper isn't quite perfect and I don't want any light leaking around the edges. I have a couple of Kodak Brownies that use 127 film. These are fun to use little point and shoot cameras. For a quick outing where you don't need the precision of a higher-end camera, they are perfect. No fuss, no muss, just easy. And considering the primitive optics, they take pretty good pictures. Here are a few from my Brownie Starflash.
Starflash-Konica-010
Starflash-Konica-009
Starflash-Konica-011
Now on the other end of the spectrum are the "baby" TLRs (twin lens reflex). These were made by a few companies that were already making full size (120) TLRs. The big players were Rollei and Yashica. Rollei made the Baby Rolleiflex which was the top o' the line and is still seen as a desirable camera. Next though was the more affordable yet still high quality Yashica 44. Since I now have a spool of film and don't really want to run 40+ rolls through the Brownie, I thought I should get one or the other of these nice little TLRs. I'm usually looking for "value" when I go camera hunting. I am not a collector, so I don't need the pristine 'new in box' Rolleiflex with the ultra rare lens in the color that had a run of <100, etc. I just want a camera that works enough when I get it so that I can clean it up if needed and start making pictures with it. So I went looking for a Yashica 44. I found a reasonably priced Yashica 44LM which has a different look than the other Yashica 44s which were fairly close copies of the Rolleiflex. It also has an uncoupled selenium light meter, but mine isn't working (those meters don't really age well). But I liked the looks and it looked clean. The glass was clear, etc. Anyway, it works well enough to take pictures with (the shutter needs a CLA, especially on the slow speeds). Here are a few examples.

Y44-Konica-007
Y44-Konica-004
Y44-Konica-002

Monday, March 28, 2016

Film Mini Review - K-Mart Focal Slide Film

I belong to a pretty vibrant and active community of film photographers online. No, not APUG, not Photo.net, not Rangefinderforum. Those are all great places, but I have found a home over at Filmwasters.com. It is a very relaxed place to share photos and information about film photography in general. I enjoy running a film trading thread over there and have gotten a number of interesting films from other members. This film in particular wasn't part of that thread, but just came along in a box of film that one of the other members there sent to me. Yeah, people are still generous like that.

I had never heard of the film. Of course growing up and living in the US, I have always known about the K-Mart stores, but I wasn't aware that they made film. Actually, it was pretty common for drug stores and other corporate entities to rebrand films from the major manufacturers and this is one of those cases. The film is actually Scotch Chrome 640T probably from the Ferrania factory in Italy. To note, this was different than the 3M Scotch Chrome and also different than the new films being produced (hopefully soon) by the revived Film Ferrania.

So this film was produced for iso 640, and I generally follow the guideline to add a stop for every decade past expiration, but there was no expiration marked on this film. I didn't get the original boxes, just the 35mm cartridges, so now what? Well, I had a roll of 36 exposures and another of 20 (?) exposures, so I figured I would start with the short roll and see if I could gain any information about it. I figured it was at least 20 years past expiration, so that would mean 2 stops slower. That puts it at around iso 160. I threw it into my trusty Nikkormat FTn with a new-to-me Nikkor-S 50mm f/1.4 lens and set my handheld meter to 160. The lens I bought came with a 27.5mm extension tube, so I went a little crazy with the macro shots. I should have looked up the required exposure compensation for that tube, but I didn't and subsequently, a lot of the macro shots were under-exposed.

I developed the film in Unicolor C-41 chems at room temperature for 20 minutes with a 10 minute blix. Agitation was 1 minute initial and 4 inversions each minute thereafter. I did the RT development because I was developing some old 126 print film at the same time and wanted to be gentle with that. Unfortunately, there were no visible images on that film. So here are a few of the photos from this old film. The grain on the under-exposed shots is formidable, but on the brighter ones, not so bad. I have the 36 exposure roll left, so I will probably expose that with an EI of 80 and try to stay out in the sun without any extension tubes connected.

FTN-KMart-004
FTN-KMart-010
FTN-KMart-012
FTN-KMart-001

Thursday, March 24, 2016

Fuji Super HR Microfilm

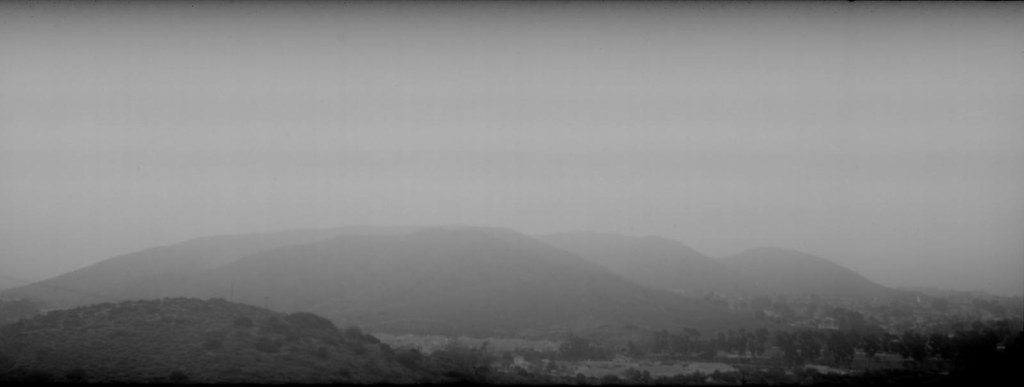
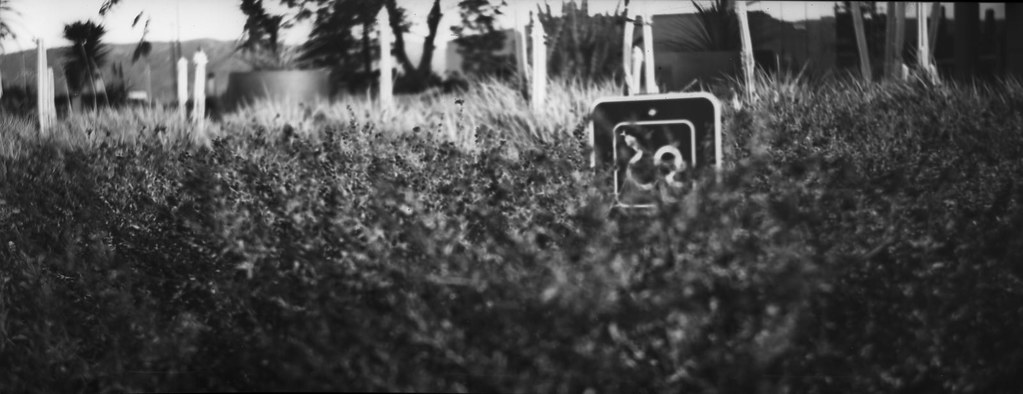
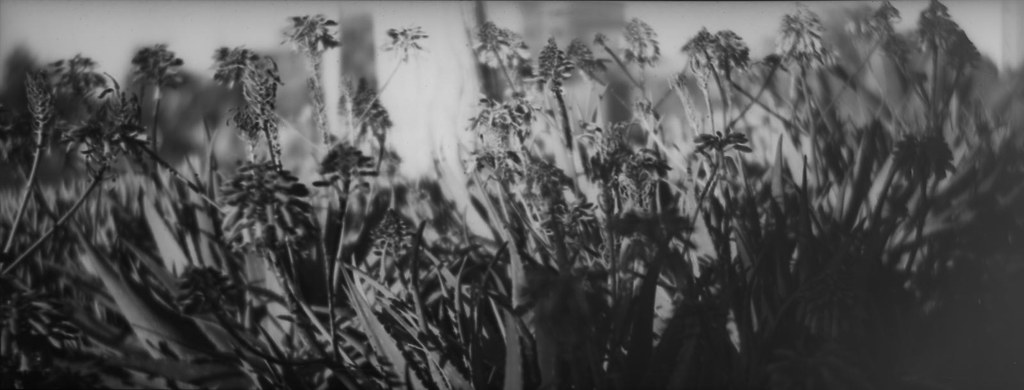
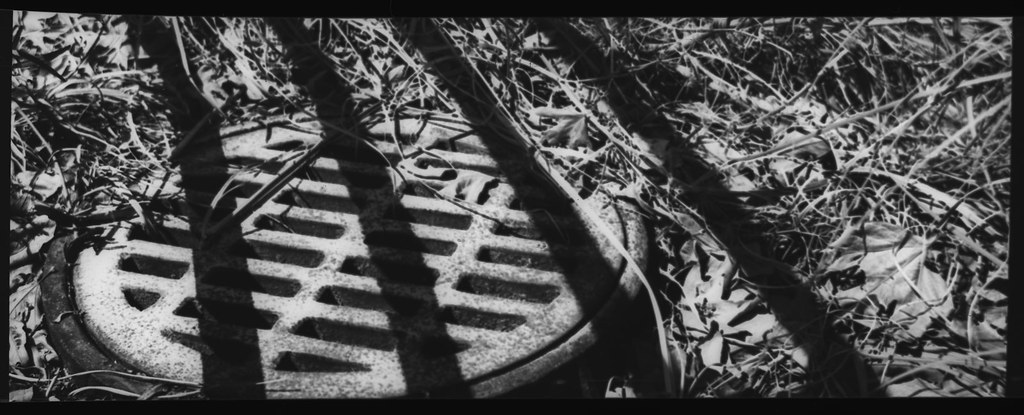
If you have accidentally stumbled across my blog and found yourself with nothing better to do than read it, you might know that I like to shoot expired film, and in addition I like to shoot expired non pictorial film. Non pictorial film is that film that was intended for other uses like radiography and copying documents. Recently, while perusing a large auction site, I came across some microfilm made by Fujifilm. This was truly microfilm in that it was 35mm film, but it has no sprocket holes. Most 35mm cameras need sprocket holes in the film for the winding mechanism and/or the frame spacing/counting mechanism to work. So needless to say, demand is pretty low for film without them. When I saw this film it reminded me of a 100'roll of sprocketless Konica 160 I have in the freezer that I have used in my Kodak Instamatic 500. Granted, I did have to add some spacing holes in it for the camera to work properly, but that's not too difficult. So my intention was to use this Fuji film in the instamatic. But I digress. What I want to talk about is what I actually did with this film when I got it. It is not unheard of to put 35mm film into medium format cameras and expose it edge to edge over the sprocket holes. Lots of people do that, so I thought I would do that with this film and not be bothered by the pesky hipster holes. So that's what I did. I taped it down to a 120 film backing paper. Getting it centered and straight in the dark was a challenge, but after a few tries rolling it up and unrolling it, straightening it out and re-rolling it, I finally got it all rolled up. I found it easiest to tape down the leading end, roll it onto a 120 spool and then re-roll it from the untaped end onto another 120 spool. That makes it so that you don't end up having to untape and retape the leading end because the film slid past the paper as you were rolling. I thought later of making some sort of a jig that would hold the paper flat and let me use both hands to align the 35mm film. That might be worth thinking about later. But today, I just need to show some pictures. These are full width 35mm taken in a 6x9 camera (Voigtländer Bessa) so 90mm wide. That is a fully manual camera with a viewfinder and range estimation focusing. On top of that, I had to sort of envision where the 'film' was in the viewfinder. So I was picturing a skinny mask running across the middle of the viewfinder in order to compose my shots. I got 8 shots on a roll which is good for me since I don't have a lot of patience. 36 exposures is torture. The film didn't have an iso rating marked, so I went to the googlz and found the spec sheet. From there, I found that the film's manufacturer recommends an iso of "medium". So, I figured "eh... 100??", but it expired in 2001, so I thought "ummm... 25??" So that's what I shot it at. I developed it in Adox Adonal (Rodinal) 1:100 for 60 minutes with 30 sec. initial agitation and 10 sec. agitation at 30 minutes. When I pulled the negatives out of the fixer, I thought, "Woah, that's a lot of contrast.", and it is, but not as bad as I initially thought. Most of the photos were shot in bright midday sun, so contrast is what you get. The first shot is fogged because I was taking too long to get it rolled up, but it turned out okay since it was a shot of a foggy landscape. :)

Bessa-HR20-007

This is a snake in the grass.

Bessa-HR20-006

Here are some more without the bad jokes.

Bessa-HR20-005
Bessa-HR20-001
Bessa-HR20-002

I hope you enjoy these photos. I sure had fun making them and am looking forward to having more panoramic fun with this sprocketless film.

Sunday, March 20, 2016

The Resilience of Film

I decided to visit a thrift store down in a part of town that I don't really get to very often. I had seen on CraigsList that they had some "darkroom equipment", so I thought I would go check it out. When I got there, the selection was sort of meager, but the prices were better than the 'bay', so I decided to have a closer look. There were a couple of Watson daylight film loaders and I can always use another one of those, so I picked one up. It had a typed (like on a typewriter) label on it that said "KODALITH ORTHO type 3 / 6556 film". I had a thought that there may still be film in it, so I did what any kid rummaging around under the Christmas tree would do... I shook it. It rattled a bit. It wasn't heavy like it had a full roll, so maybe there was just an empty spool in there. I decided to take a peek. What's the worst that could happen? If it was empty, no harm. If there was film in it, it wasn't very much and it was old iso 6 ortho film that had been sitting on a shelf for who knows how long and was probably fogged anyway. But I didn't just tear the lid off, I carefully cracked it a little and looked in. There was indeed film in there. Was it labeled correctly? Had someone else opened it and exposed the whole thing? How old was it? These were all unanswerable questions that really didn't matter. I needed the loader, so I bought it. The only question that mattered about the film was "Is it still any good for taking pictures?" and the only way to answer that was to stick it in a camera and shoot it. So that's what I did.

I loaded one roll of about 24 exposures and put that aside. I figured if my peek had fogged anything it would be most evident on the 'outer' parts of the roll. So I loaded another roll of about 20 exposures and put it in my trusty Pentax K1000. This was just a test roll, but I still tried to make a little effort to get something I would like to look at. I have never shot a picture of a test chart and I'm not going to start now.

I had some Kodak X-Tol developer mixed up already, so I decided just to use that at 1:1 with dH2O. I cut the leader off and did a quick test to make sure the developer was still good and to check the fixing time. I dunked the leader in developer for 5 minutes and it looked pretty opaque. Then I fixed for 4 minutes and the undeveloped area cleared in about 2 minutes, but the developed area got a bit less dense too. So I decided on a 10 minute dev time and a 5 minute fix. I don't have enough of this film to worry about figuring out 'the right' times and concentration. I probably only have enough in the loader to make 2 more 24exp rolls, so this is just for fun and for the information of anyone who might find themselves in a situation where they have to decide whether to keep some old unknown film or toss it.

So without further ado, here are some of the results... The highlights (and some of the mid-lights) are blown in all of them, and there is indeed some fogging (probably from my peek) on some frames. In fact in some (not shown here) there are only blown highlights! I think I may have over-exposed using iso 10. Next roll I will try iso 20 and see what happens. It is high contrast film by design, so a full range of tones is not to be expected. But the mere fact that I got recognizable images from this poor tormented film is really a credit to the medium. This film went out of production in 2002. Digital formats that old are already obsolete! So I'm going to enjoy my last few feet of this good found film and treat it with the respect it deserves. Thank you Kodak for making products to last decades, indeed centuries!!


K1000-6556-004
K1000-6556-006
K1000-6556-016
K1000-6556-017
K1000-6556-018