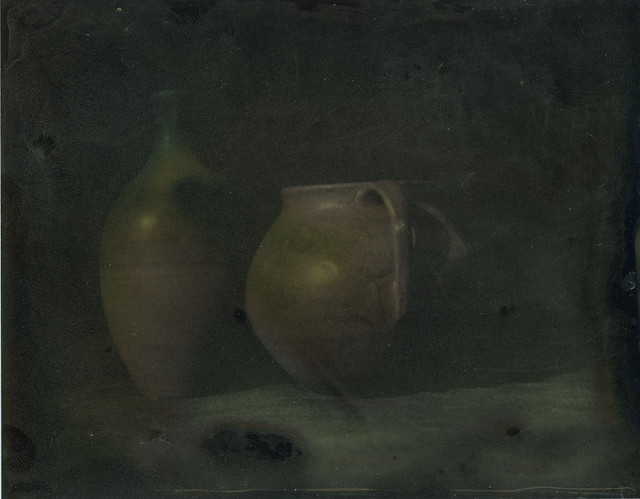
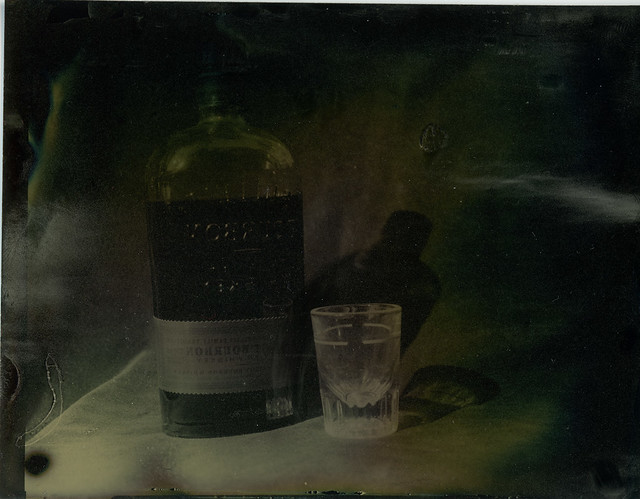
I have a project in mind. That usually means I will be spending more than I have of two different things... time and money. I have toyed with the idea for a while of getting into wet plate photography. It is all the rage apparently. I love the look. I love the 'one of a kind' aspect. I don't like the 'wetness'. Having to pour, sensitize, focus, compose, expose, develop and fix all within 10 minutes is too much of a push for my little brain. I need time. I need to think and rethink. I need to decide whether or not I even want to take that photo. These things become more difficult with the constraints of wet plate photography. So I will continue to enjoy the marvelous efforts of others working in that medium. So what do I do if I like the product but not the process? Well, I do what Richard L. Maddox did in 1871 and I use a similar process that uses DRY plates instead of wet. The dry plate process still uses plates of metal and glass coated with silver halides suspended in, let's call it 'goo' which is then allowed to dry in the dark and then exposed like regular film (sort of). This takes the rush of getting to the fixing step before the plate dries out of 'the picture'! (insert sad trombone sound here)
For my first foray into this process, I thought I would just start in the shallow end of the pool and get a dry plate tintype kit. These are sold by Rockland Colloid and come with 8 blackened aluminum plates (4x5), AG-Plus emulsion (light sensitive, open only in the dark), developer (top secret formula) and fixer (standard hardening fixer). Here are a few things I wish I had read before I wasted 4 plates.
- The emulsion is solid, so you have to heat it in a hot water bath to liquify it. That is outlined in the instructions included with the kit. What they don't tell you is that it will instantly solidify when you pour it onto a room temperature plate. That seems intuitive, but it caught me and I ended up with a big mess. So my solution was to get a regular old heating pad, like you use for sore muscles. Take the cover off and put some paper towels or newspaper on it. Now put your plates on that and let them warm up while the emulsion warms up in the water bath.
- Even warm, the emulsion is about the consistency of Elmer's Glue. It isn't going to flow nice and easy over your plate even if everything is warm. My first attempt, I tried spreading it around as evenly as I could with my finger. That didn't work well at all. Mostly, the emulsion was too thin and the image turned out to be too faint. Also, it was not at all evenly spread. I later settled on using a small rod to pull the emulsion across the plate. It was still imperfect, but much better and easier to control. I think with a little practice, this could work quite well.
- The spectral (light color) sensitivity of the emulsion does not lean toward blue. It IS blue (and uv). I tried exposing this under bright studio fluorescent lights and it just wasn't enough. Full sun or some other strong ultraviolet light source will be necessary. Under full sun, the iso comes in around 0.5. That means 1 second exposure at f/8. Now is a good time to mention that the developer starts to die when you open it. It takes about 2 weeks for it to really die, but your iso is going to suffer more and more as the developer ages. Development is done by inspection under red light, so you can extend it, but if development happens slowly, you will get greenish blue swirls (see my examples below).
Okay, enough blah blah. The bottom line(s) are:
- Coat mechanically with everything warmed up
- Expose in full sun.
- Use fresh chems.


No comments:
Post a Comment